

American Flag 'Slice And Reveal' Cake Recipe
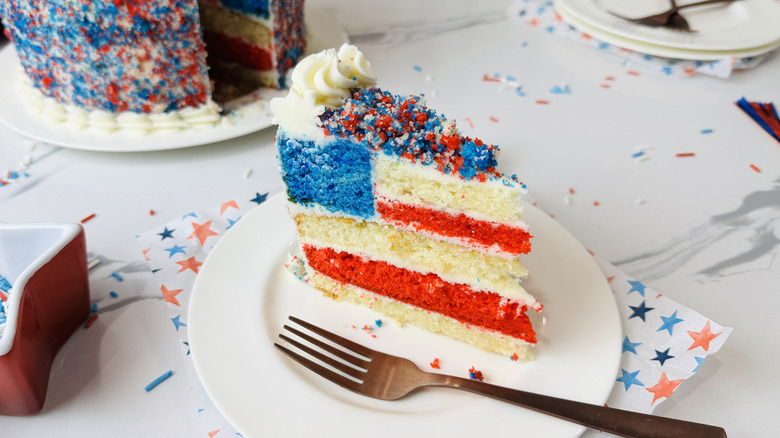
No Fourth of July barbecue or celebration would be complete without a dessert, and this American flag "slice and reveal" cake recipe from developer Katie Rosenhouse is just the show-stopper for the occasion. The cake looks plenty patriotic on the outside, thanks to the clever use of decorative red, white, and blue cake crumbs, but the real magic happens once you cut a slice, revealing an American flag layered pattern that almost looks too special to eat.
Though this is an impressive and visually striking cake, Rosenhouse assures us that this festive dessert is actually pretty easy to make. "This is such a fun cake to make, and surprisingly simple to pull off," she says. "One cake batter turns into three separate cake layers in red, white, and blue shades, and a simple cut out from the centers creates that flag reveal inside." You'll need a little patience as you move through the baking, slicing, layering, and decorating steps, but this is one of those recipes where the fruits of your labor are showcased front and center in the finished product.
Of course, patriotic colors and impressive layering aside, this is also just a delicious cake recipe, one that boasts a crowd-pleasing vanilla flavor with a rich buttercream. Rosenhouse describes it as "a cake that's deliciously tender and balanced," and one that's certainly fit to be the centerpiece of your Fourth of July dessert spread.
Gather the ingredients for this American flag 'slice and reveal' cake
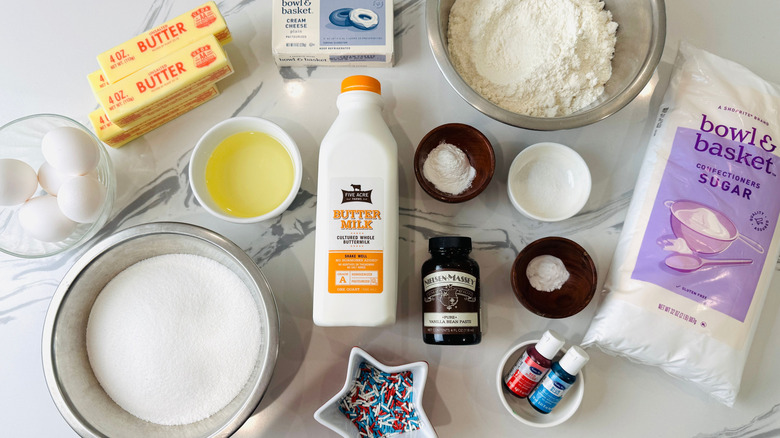
For the cake itself, you'll need softened unsalted butter, vegetable oil, granulated sugar, vanilla bean paste or extract, eggs, all-purpose flour, baking powder, kosher salt, baking soda, and buttermilk. This batter will serve as the base for the red, white, and blue layers in the cake, so you'll also need red and blue gel food coloring to bring the colors to life.
Otherwise, the only ingredients you need are those for the frosting: softened unsalted butter, softened cream cheese, confectioners' sugar, vanilla bean paste or extract, and kosher salt. You may wish to add extra decorative sprinkles to your cake as desired, but Rosenhouse cleverly uses crumbled cake scraps to create the sprinkle-like pattern on the outside of the cake, so no extra ingredients are necessary.
Step 1: Preheat the oven
Preheat the oven to 350 F.
Step 2: Prepare the cake pans
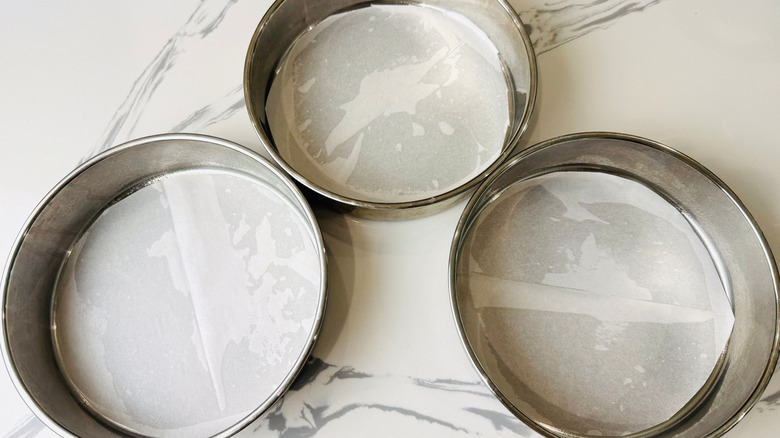
Spray and line three 8-inch cake pans with parchment paper.
Step 3: Begin the cake batter
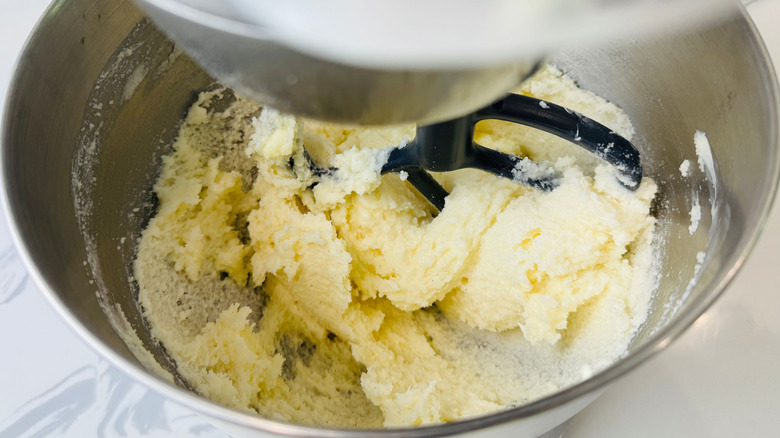
In the bowl of a stand mixer fitted with a paddle attachment, beat the butter, oil, sugar, and vanilla until combined.
Step 4: Add the eggs
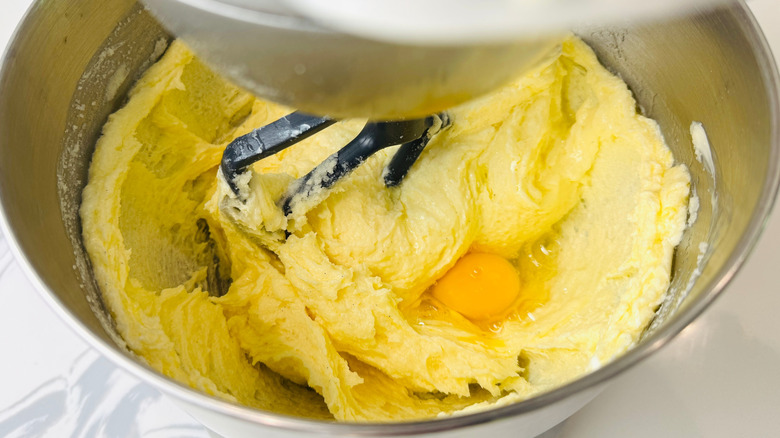
Add the eggs one at a time, mixing until combined between each addition.
Step 5: Mix in the dry ingredients
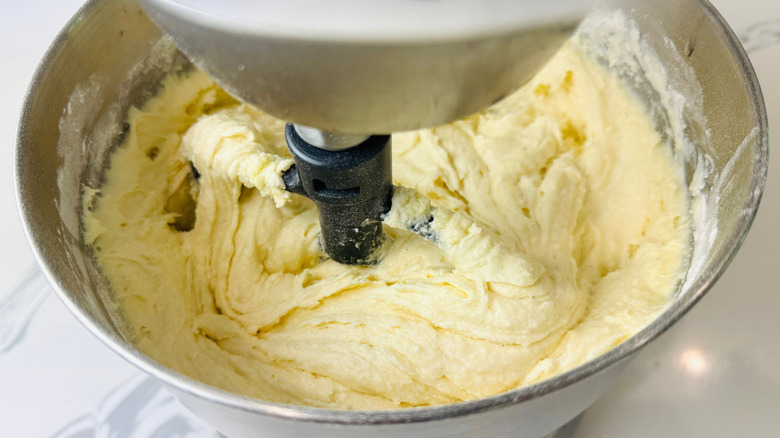
Add the flour, baking powder, salt, baking soda, and buttermilk, and mix to combine.
Step 6: Portion out the cake batter
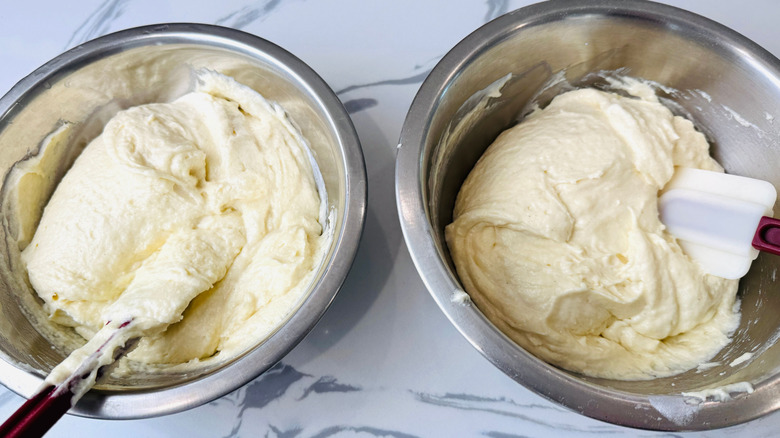
Transfer about 3 cups of batter into each of two bowls.
Step 7: Mix in blue and red food coloring
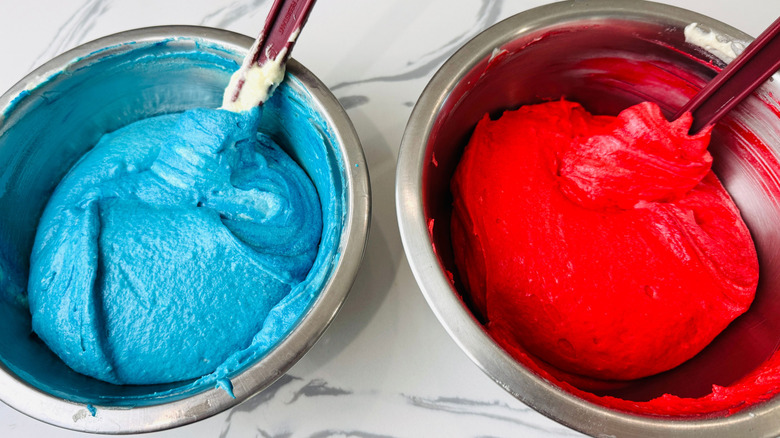
Mix blue color into one bowl, and red color into the other to reach your desired shade.
Step 8: Spread the cake batter into pans
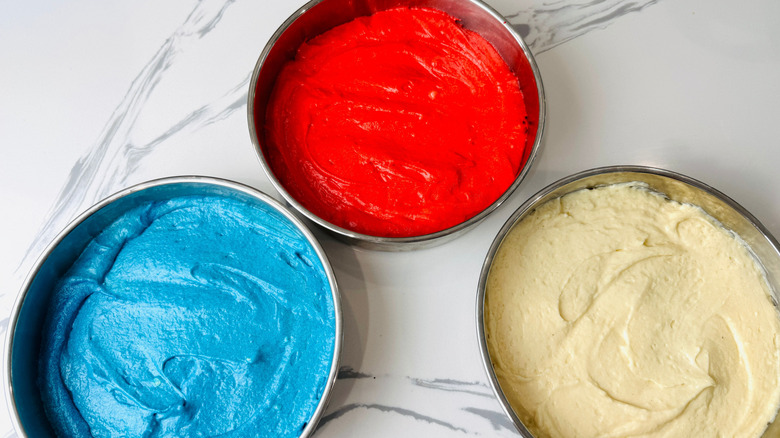
Transfer the blue, red, and white batters into cake pans and spread evenly.
Step 9: Bake the cakes
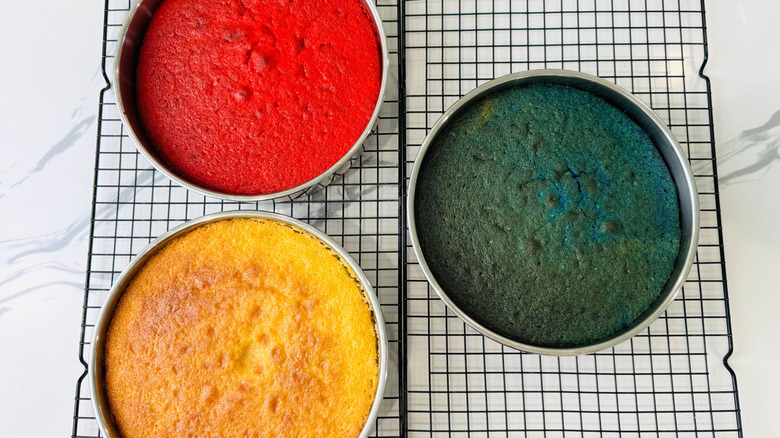
Bake for 45-50 minutes, or until a wooden pick inserted in the centers comes out clean.
Step 10: Unmold the cakes
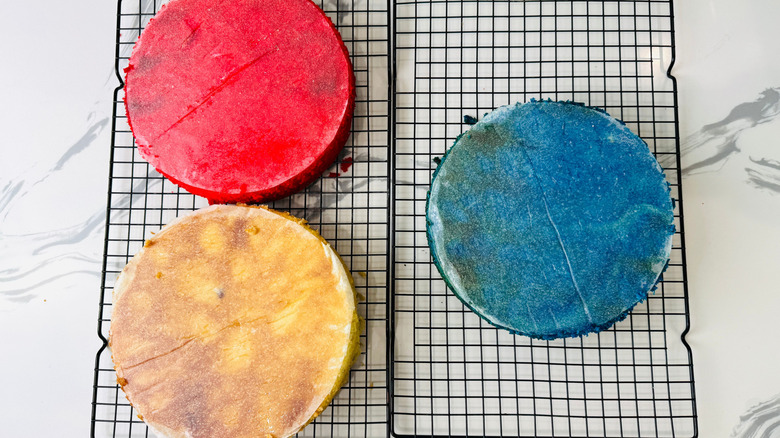
Cool slightly, then unmold onto a cooling rack and cool completely. (If you have time, chill until cold for easier slicing.)
Step 11: Beat butter and cream cheese
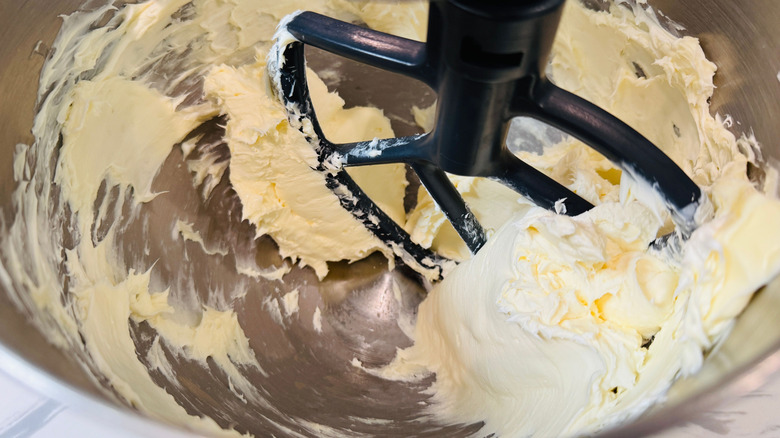
Once the cakes are cool, prepare the frosting. Beat butter and cream cheese to combine.
Step 12: Add the remaining frosting ingredients
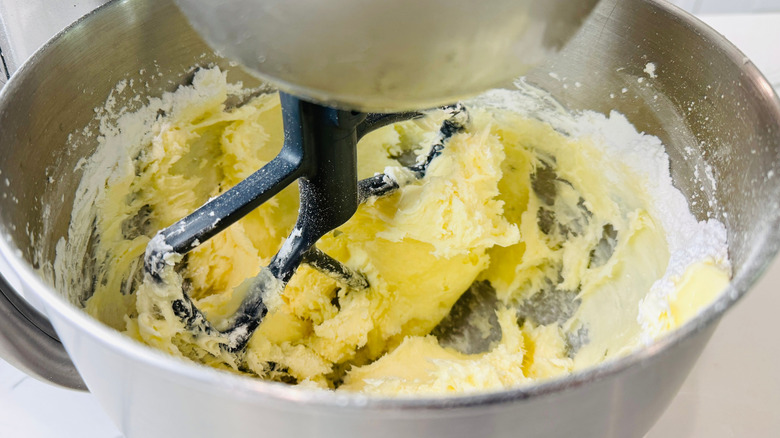
Add half the confectioners' sugar, vanilla, and salt, and beat until uniform.
Step 13: Add the remaining sugar
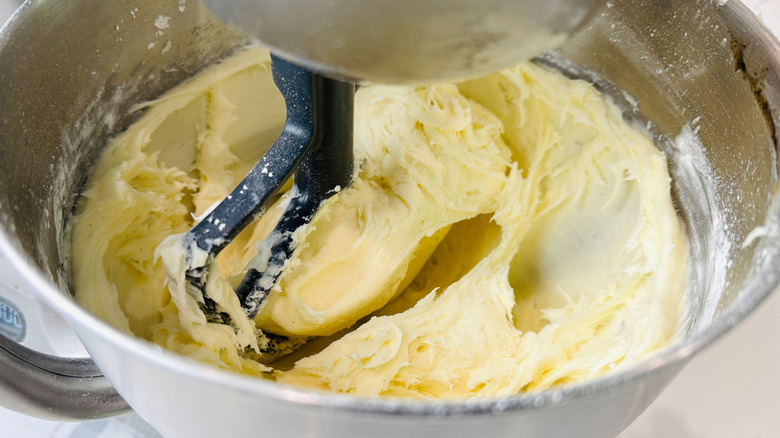
Add the remaining confectioners' sugar and beat on low speed to combine, then increase the speed and beat until light and fluffy.
Step 14: Slice the cakes into thinner layers
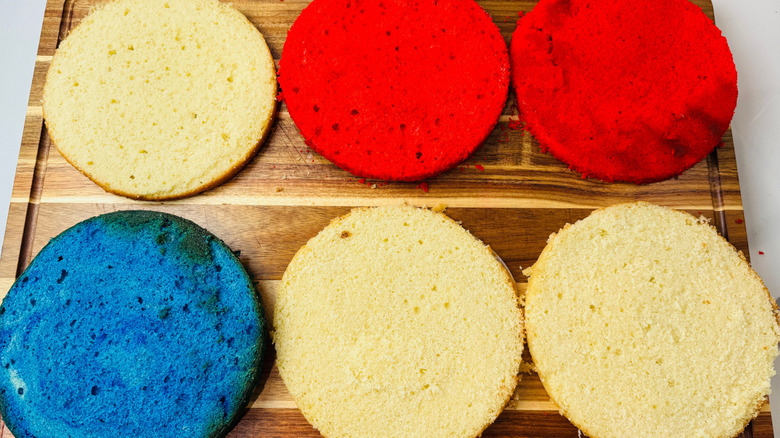
Use a serrated knife to divide the white cake into three layers, and the red cake into two layers.
Step 15: Cut the centers out of some of the cake layers
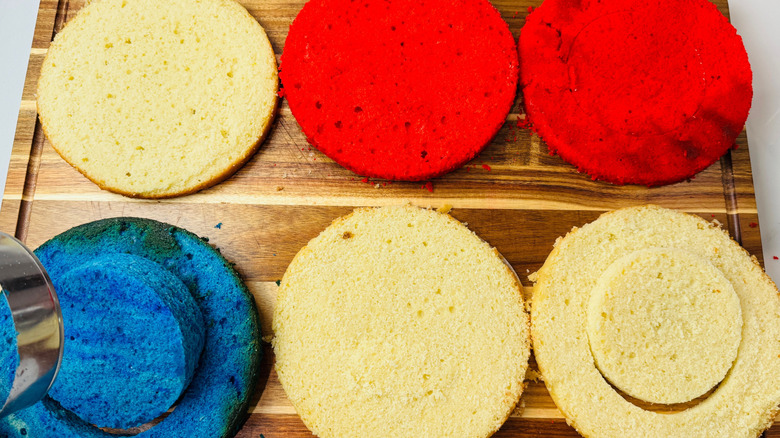
Use a 4 ½ or 5-inch round cutter to cut out the center of one white cake layer, one red cake layer, and the blue layer. If you don't have a cutter, trace a plate or bowl and use a knife to cut out the rounds.
Step 16: Transfer some of the cake scraps to a separate bowl
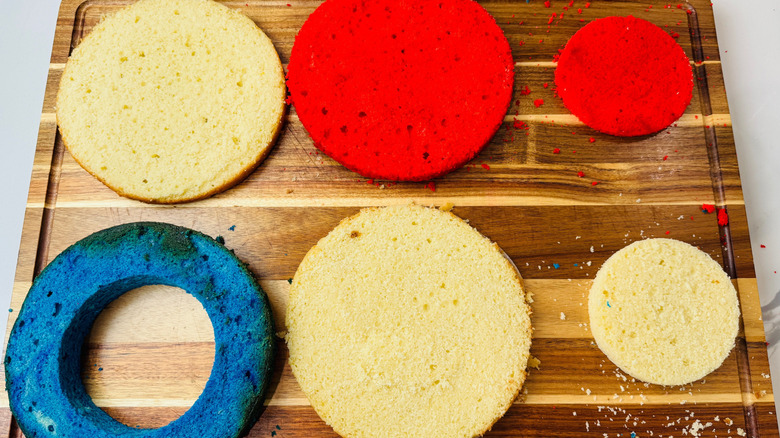
Transfer the outer ring of the red and white cakes to a bowl, along with the center of the blue cake.
Step 17: Transfer frosting to a piping bag
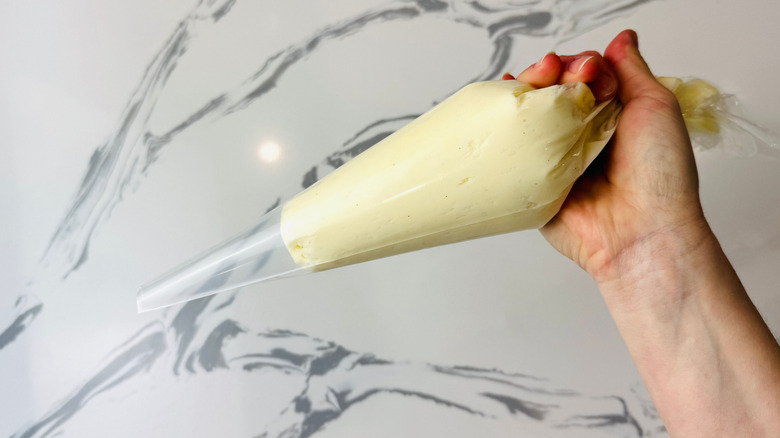
Transfer half of the frosting into a piping bag.
Step 18: Begin layering the cake
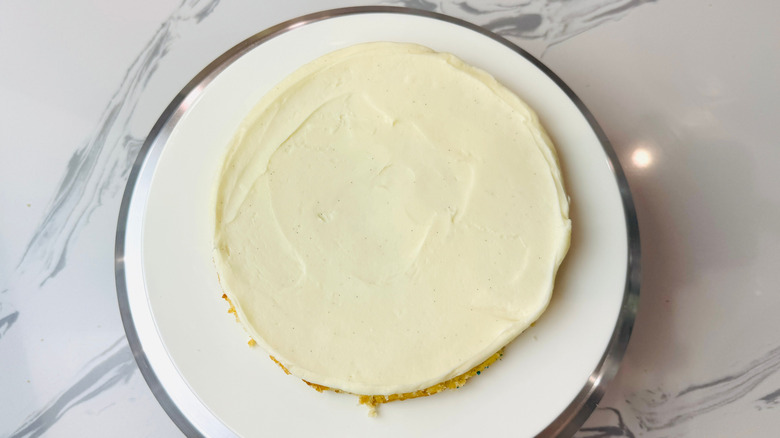
Place a white cake layer onto a serving plate or cake board, and top it evenly with a thin layer of frosting.
Step 19: Add a red layer
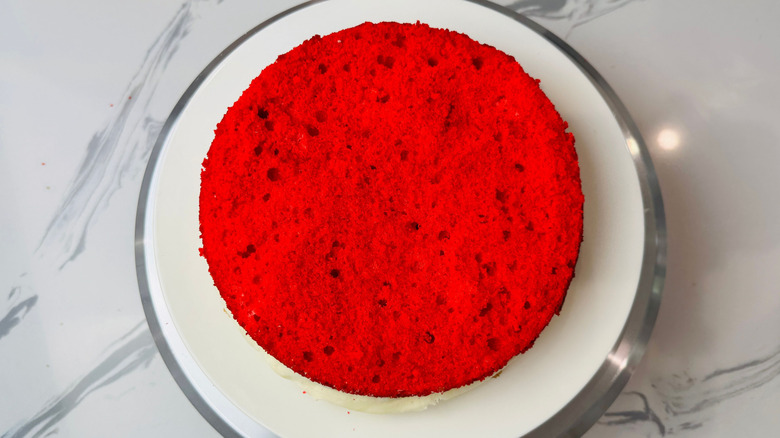
Top with a red cake layer and repeat.
Step 20: Add a blue and red layer
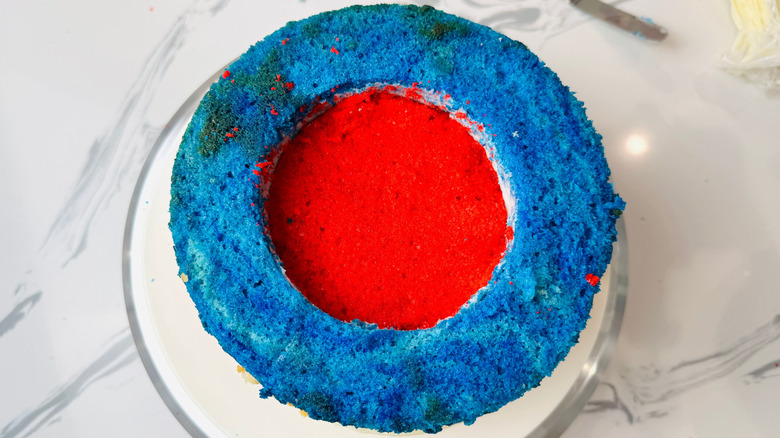
Top with the blue ring of cake, then place a round of red cake in the center.
Step 21: Add frosting and a white cake layer
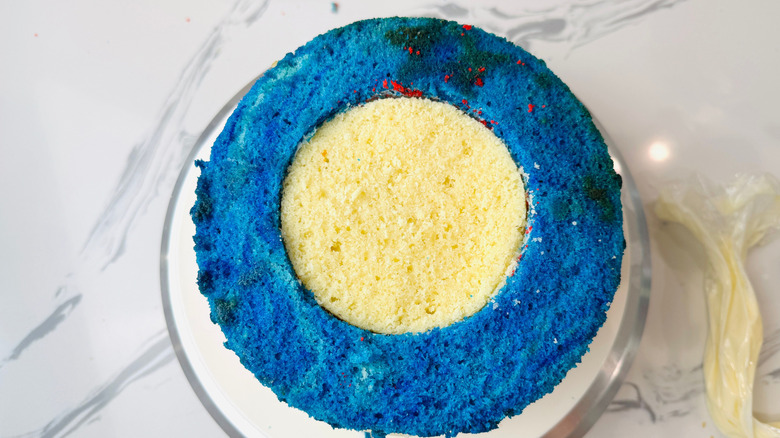
Top the red cake center with a thin layer of frosting, and top with the white cake round.
Step 22: Crumb coat and chill the cake
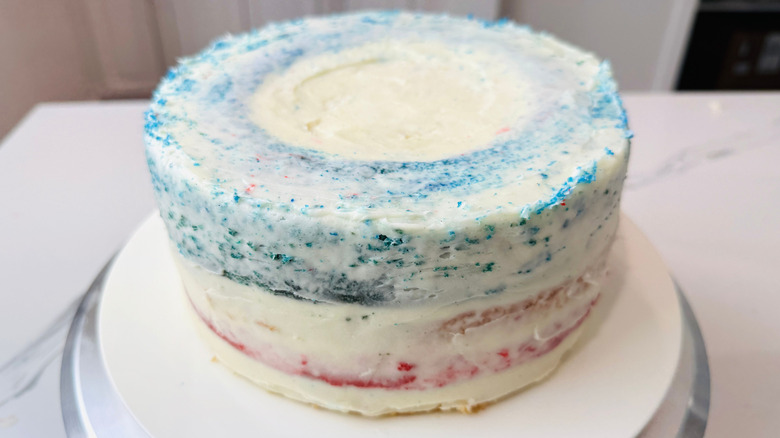
Coat the cake with a thin layer of frosting as a crumb coat. Chill until firm.
Step 23: Crumble cake scraps
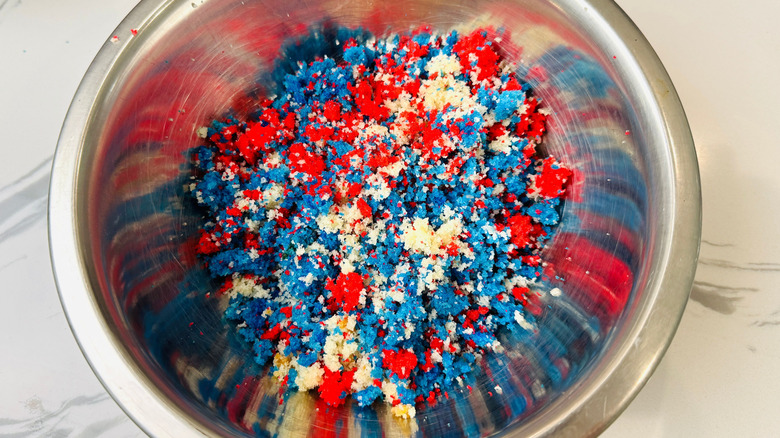
Crumble about half of the cake scraps in a bowl to create a coating and topping for the cake.
Step 24: Transfer frosting to a piping bag with a star tip
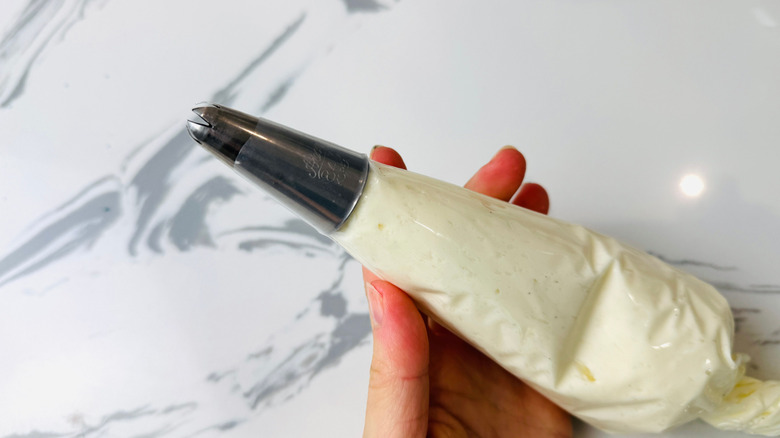
Transfer about 1 ½ cups of frosting to a piping bag fitted with a star tip.
Step 25: Press crumbs onto the cake
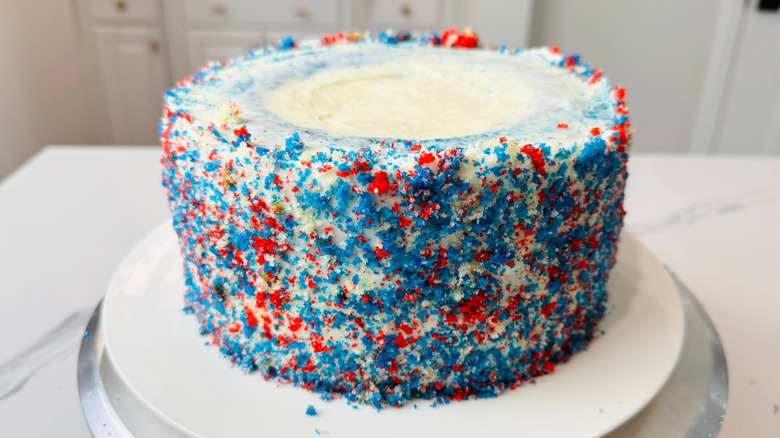
Coat the sides of the cake with any remaining frosting, and press on cake crumbs to coat.
Step 26: Pipe rosettes onto the cake
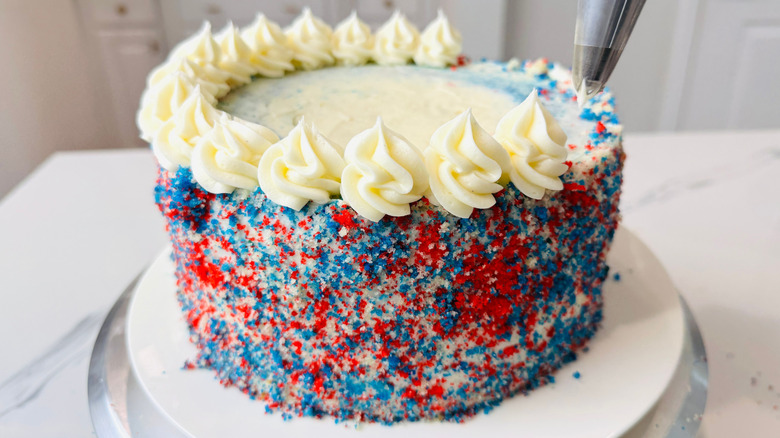
Pipe rosettes around the border of the top of the cake.
Step 27: Add another frosting border and more crumbs
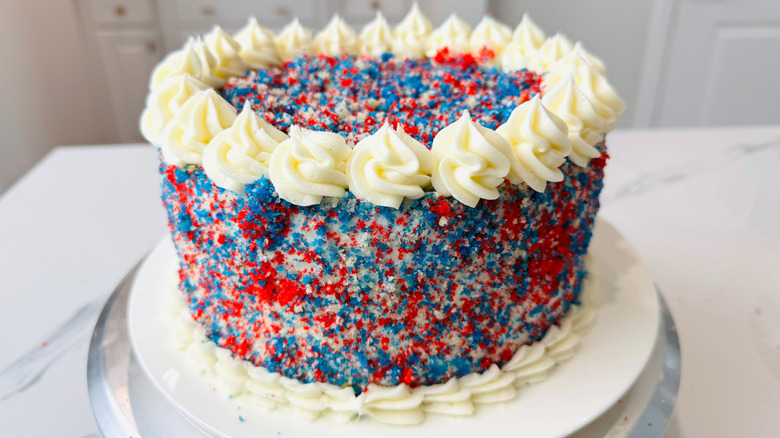
Pipe a border around the base of the cake and fill the center with the remaining crumbs.
Step 28: Decorate and serve the cake
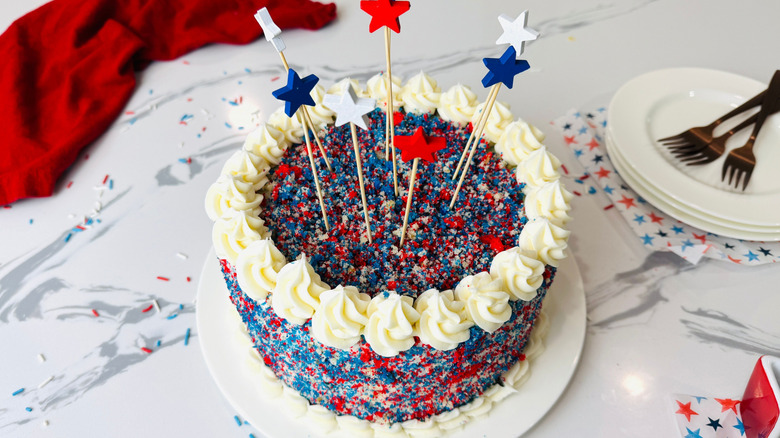
Add any desired toppers and serve or store in the refrigerator.
What can I serve with this American Flag cake for a party?
American Flag 'Slice and Reveal' Cake Recipe
This delicious and show-stopping American flag 'slice and reveal' cake is sure to be a crowd-pleaser at your Independence Day party or picnic.
Ingredients
- For the cake
- 1 cup unsalted butter, softened
- ½ cup vegetable oil
- 2 ¾ cups granulated sugar
- 2 teaspoons vanilla bean paste or extract
- 5 large eggs
- 3 ¾ cups all-purpose flour
- 2 teaspoons baking powder
- 1 ½ teaspoons kosher salt
- 1 teaspoon baking soda
- 2 cups whole buttermilk
- Red and blue gel food coloring, as desired
- For the frosting
- 1 cup unsalted butter, softened
- 1 (8-ounce) package cream cheese, softened
- 6 cups confectioners’ sugar, divided
- 1 teaspoon vanilla bean paste or extract
- ½ teaspoon kosher salt
Directions
- Preheat the oven to 350 F.
- Spray and line three 8-inch cake pans with parchment paper.
- In the bowl of a stand mixer fitted with a paddle attachment, beat the butter, oil, sugar, and vanilla until combined.
- Add the eggs one at a time, mixing until combined between each addition.
- Add the flour, baking powder, salt, baking soda, and buttermilk, and mix to combine.
- Transfer about 3 cups of batter into each of two bowls.
- Mix blue color into one bowl, and red color into the other to reach your desired shade.
- Transfer the blue, red, and white batters into cake pans and spread evenly.
- Bake for 45-50 minutes, or until a wooden pick inserted in the centers comes out clean.
- Cool slightly, then unmold onto a cooling rack and cool completely. (If you have time, chill until cold for easier slicing.)
- Once the cakes are cool, prepare the frosting. Beat butter and cream cheese to combine.
- Add half the confectioners’ sugar, vanilla, and salt, and beat until uniform.
- Add the remaining confectioners’ sugar and beat on low speed to combine, then increase the speed and beat until light and fluffy.
- Use a serrated knife to divide the white cake into three layers, and the red cake into two layers.
- Use a 4 ½ or 5-inch round cutter to cut out the center of one white cake layer, one red cake layer, and the blue layer. If you don’t have a cutter, trace a plate or bowl and use a knife to cut out the rounds.
- Transfer the outer ring of the red and white cakes to a bowl, along with the center of the blue cake.
- Transfer half of the frosting into a piping bag.
- Place a white cake layer onto a serving plate or cake board, and top it evenly with a thin layer of frosting.
- Top with a red cake layer and repeat.
- Top with the blue ring of cake, then place a round of red cake in the center.
- Top the red cake center with a thin layer of frosting, and top with the white cake round.
- Coat the cake with a thin layer of frosting as a crumb coat. Chill until firm.
- Crumble about half of the cake scraps in a bowl to create a coating and topping for the cake.
- Transfer about 1 ½ cups of frosting to a piping bag fitted with a star tip.
- Coat the sides of the cake with any remaining frosting, and press on cake crumbs to coat.
- Pipe rosettes around the border of the top of the cake.
- Pipe a border around the base of the cake and fill the center with the remaining crumbs.
- Add any desired toppers and serve or store in the refrigerator.
Nutrition
| Calories per Serving | 773 |
| Total Fat | 37.7 g |
| Saturated Fat | 18.8 g |
| Trans Fat | 0.2 g |
| Cholesterol | 136.8 mg |
| Total Carbohydrates | 104.5 g |
| Dietary Fiber | 0.9 g |
| Total Sugars | 80.6 g |
| Sodium | 484.8 mg |
| Protein | 7.2 g |

Can I make this cake ahead?
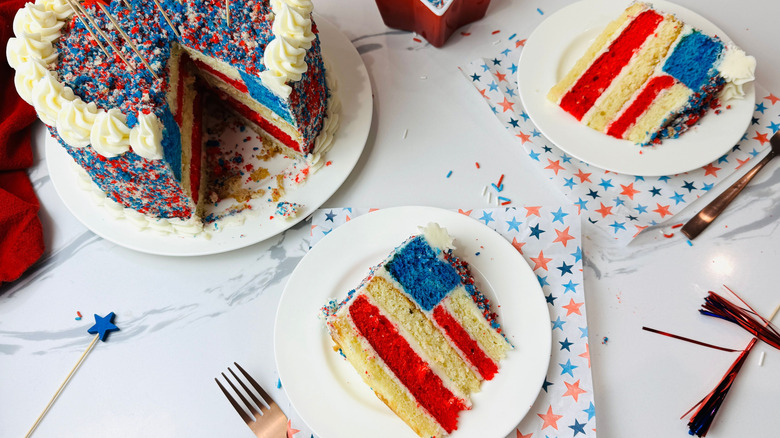
While this cake is actually relatively easy to make given its impressive design, that doesn't mean that it isn't still somewhat labor intensive between the baking, chilling, layering, and frosting. Fortunately, Rosenhouse assures us that the cake definitely has some make-ahead potential, whether you want to get going earlier in the week on making the layers, or you want to nearly assemble the whole thing before adding the finishing touches.
An easy way to start is simply by baking up the cake layers so that the task is out of the way. "You can bake the cake layers in advance — just cool, wrap tightly, and refrigerate for up to two days or freeze for up to two months before cutting and assembling," Rosenhouse advises. To store cake layers for maximum freshness, make sure they're fully cooled before wrapping them (to avoid excess condensation), and double-wrap them in plastic to ensure moisture stays locked in.
You could even prepare the cake in its entirety a couple of days ahead, all the way up to the final piping of the rosette borders. Simply execute the cake as written and then refrigerate for no more than two days before you plan to serve, allowing the cake to sit at room temperature for a bit before slicing and serving.
What are tips for making a successful slice and reveal cake?
If you feel overwhelmed by all of the layers within this cake, you likely aren't alone — but Rosenhouse has some pro tips to ensure your slice and reveal cake does, indeed, resemble an American flag. It all starts with giving yourself plenty of time, as this is the type of recipe that you can't really make on a whim. And, if you have some extra time to chill the cake layers, that will make the process even easier. "If you're able to, chilling the cake layers before cutting makes them much easier to handle, and less crumbly when stacking," Rosenhouse explains.
There's also a reason Rosenhouse calls for transferring the frosting to a piping bag (as opposed to slapping frosting onto the cake straight from a bowl). "Since the layers are sliced, using a piping bag to pipe on the frosting will also keep cake crumbs from ending up in the filling," she explains. And, speaking of sliced cake layers, make sure you're moving slow and steady when slicing up those layers so everything stays as even as possible. Finally, keep in mind that the exterior of the cake (and the frosting in particular) doesn't have to look perfect since you'll be coating it in crumbs anyway.