

No-Churn Apple Cider Ice Cream Recipe
We may receive a commission on purchases made from links.
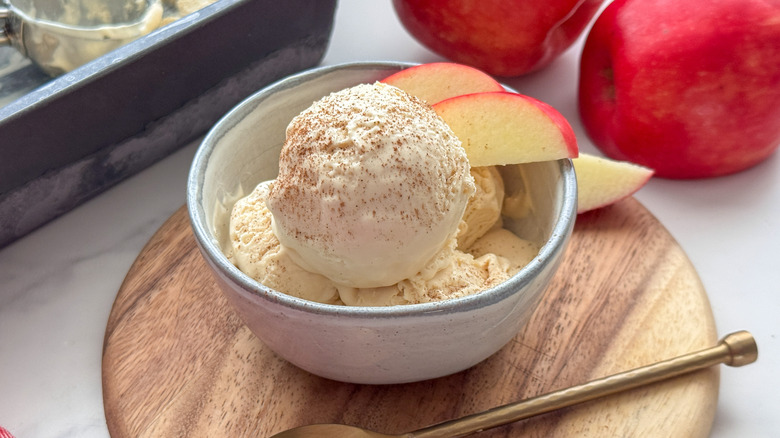
Ice cream is one of the most iconic desserts out there, serving as a great way finish a meal or enjoy as an afternoon treat. While there's no shortage of store-bought ice creams readily available at the grocery store, learning how to make the frozen treat at home is an invaluable skill. It's a surprisingly easy task when you go for the no-churn route, like I did in this no-churn apple cider ice cream recipe, meaning that you don't need a specialty appliance — just a hand mixer and a freezer will do most of the heavy lifting.
This fall-inspired ice cream recipe requires only a few ingredients, but they all play an important role in yielding that final texture and flavor profile. Sweetened condensed milk provides optimal sweetness and thickness, while the addition of homemade whipped cream creates a churned texture without an ice cream maker. One of my favorite things about making my own ice cream is being able to add a unique flavor spin, and here, spiced apple cider is the autumnal star of the show. This recipe involves two chilling steps, but it can be made several days in advance to save time the day you want to enjoy it. Storing homemade ice cream is quite easy, just make sure to use an airtight container and keep it in the freezer for upwards of two weeks.
Gather the ingredients for no-churn apple cider ice cream
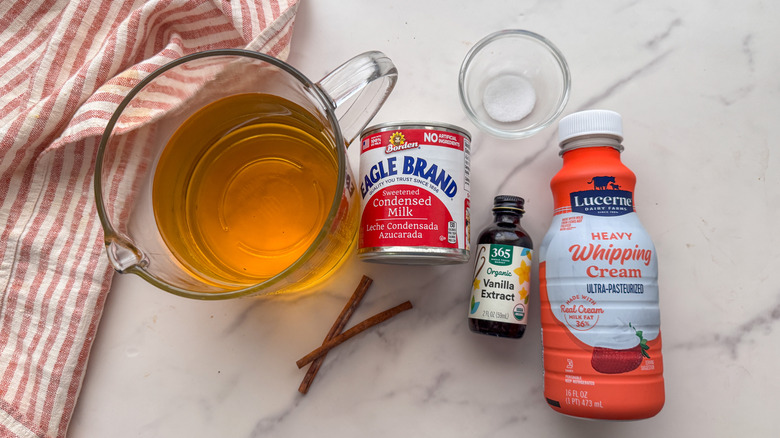
To make this recipe, start by picking up some apple cider. Note that apple cider is different than apple juice, so make sure you're grabbing actual cider for optimal depth of flavor. Then you'll need sweetened condensed milk, heavy cream, cinnamon sticks, vanilla, and kosher salt. Regular salt can be substituted but use half the amount.
Step 1: Add cider and cinnamon to pan
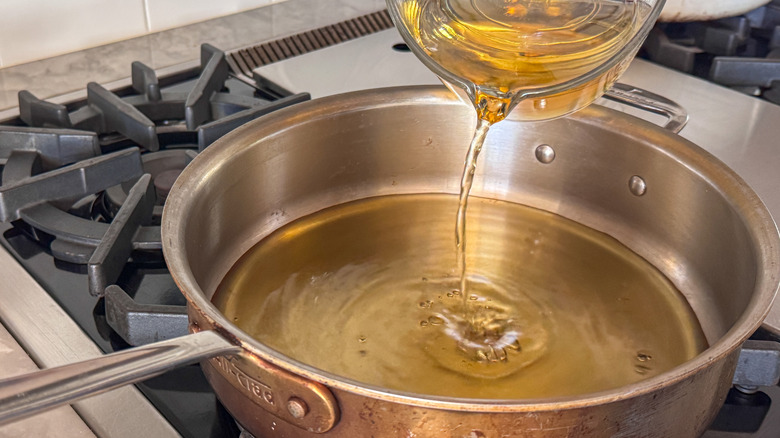
Pour the apple cider and cinnamon sticks into a large saute pan.
Step 2: Simmer the cider and cinnamon
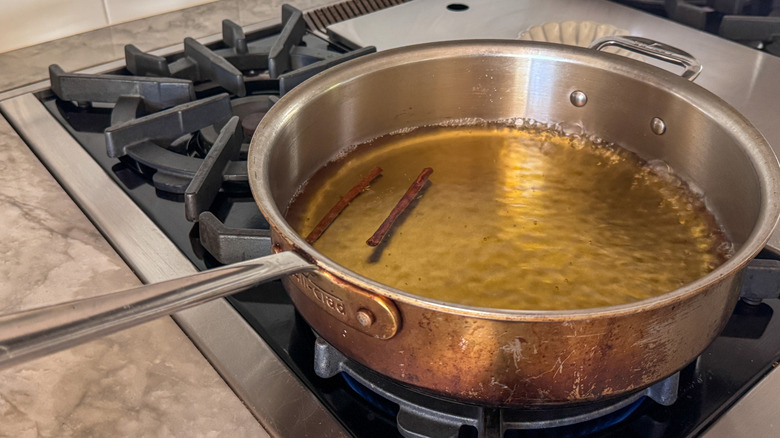
Bring to boil over high heat, then lower heat to medium and cook for 30 minutes.
Step 3: Measure the liquid
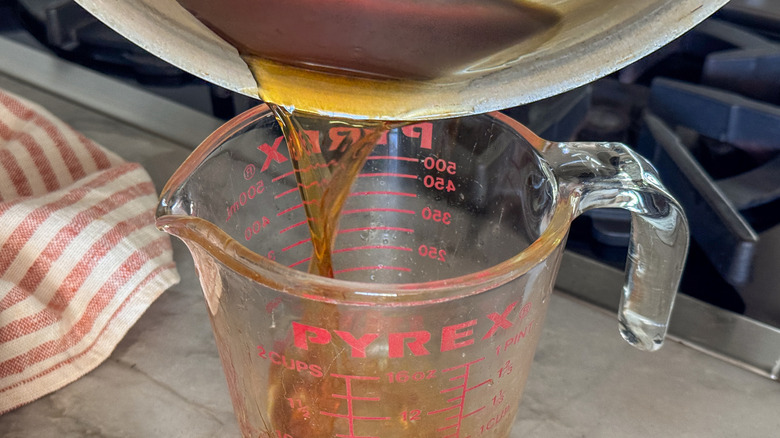
After 30 minutes, pour into a glass measuring cup to see if the cider has reduced down to ½ cup. If not, return it to the pan to reduce for another 15 minutes.
Step 4: Discard cinnamon sticks
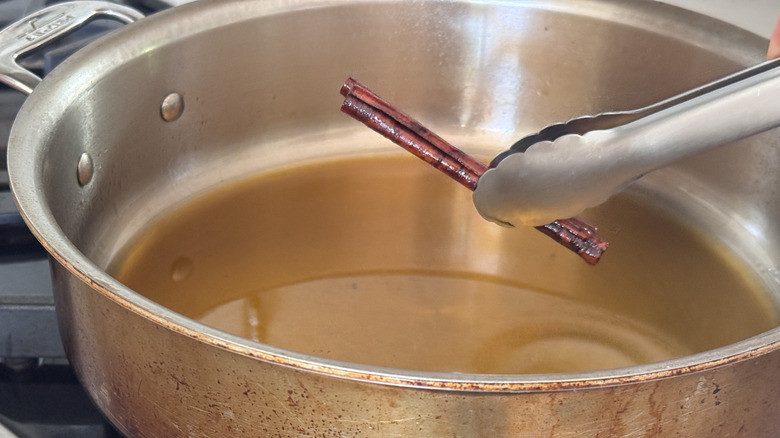
Remove and discard the cinnamon sticks.
Step 5: Cover and refrigerate the reduced cider
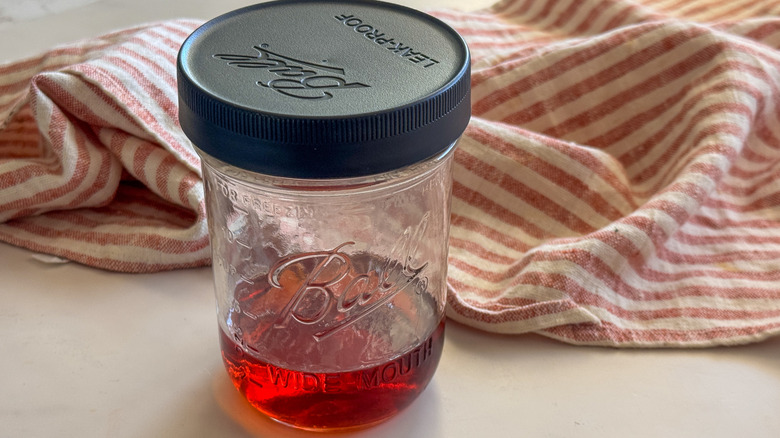
Transfer the reduced cider to a small bowl or jar and refrigerate until completely cold, at least 2 hours.
Step 6: Put bowls in the freezer
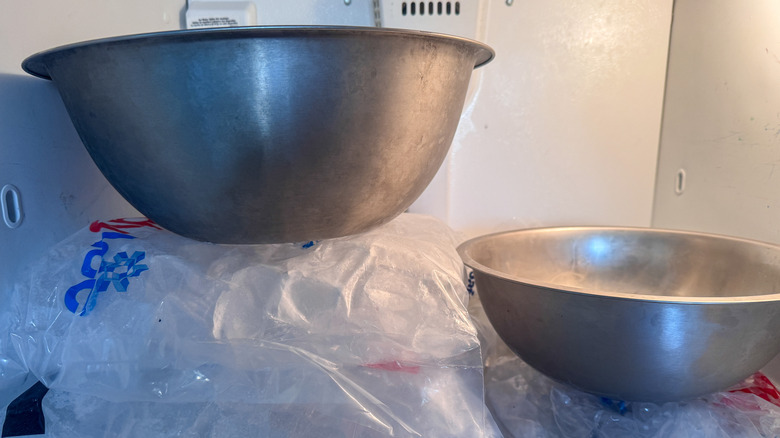
Put one large and one medium metal (or glass) bowls in the freezer for at least 20 minutes.
Step 7: Combine the cider with sweetened condensed milk
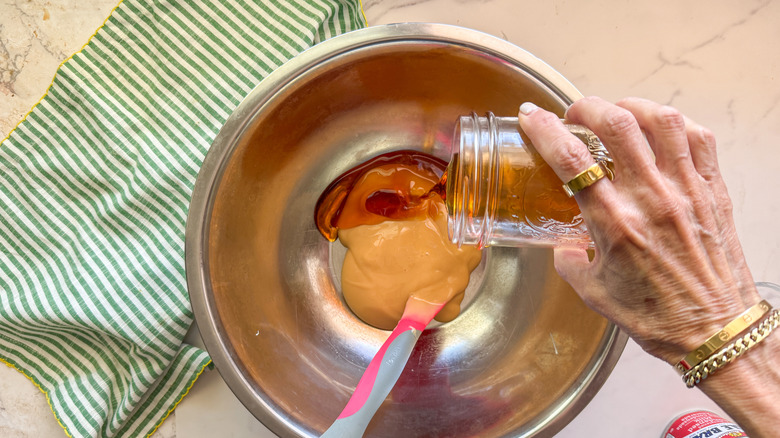
In the large bowl, add the cold cider reduction, sweetened condensed milk, vanilla, and salt together until smooth.
Step 8: Make the whipped cream
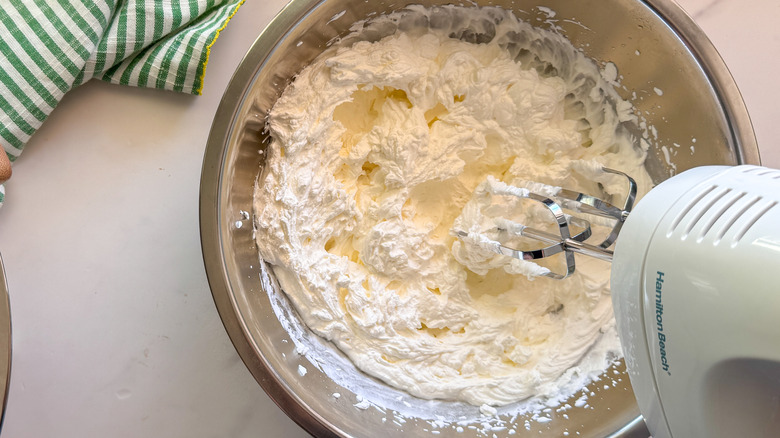
Pour the cold heavy cream into the medium bowl. Beat with an electric hand mixer on medium-high speed until stiff peaks form, about 3 to 5 minutes.
Step 9: Fold the whipped cream into the cider mixture
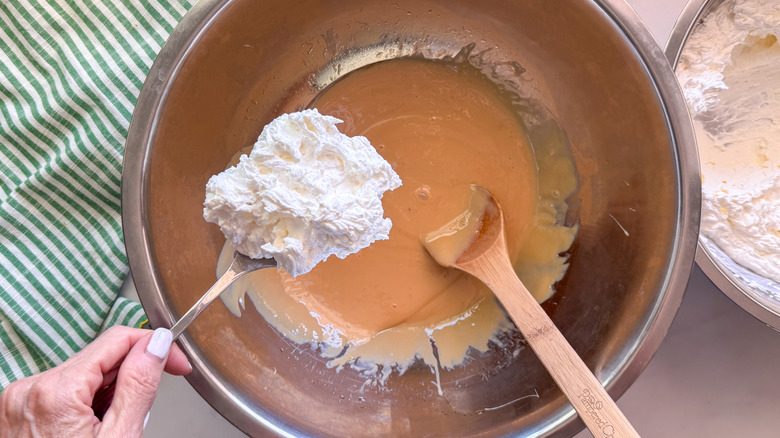
Fold the whipped cream into the cider mixture a little bit at a time, and gently stir until no white streaks remain.
Step 10: Transfer ice cream mixture to loaf pan
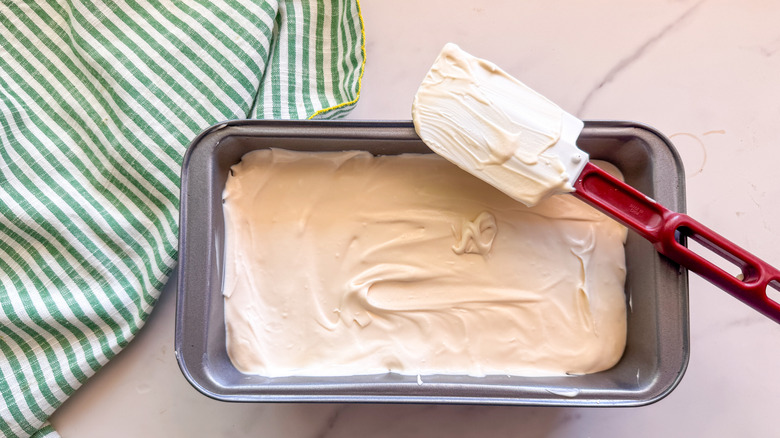
Transfer the mixture to a 9x5-inch loaf pan.
Step 11: Cover and freeze the ice cream
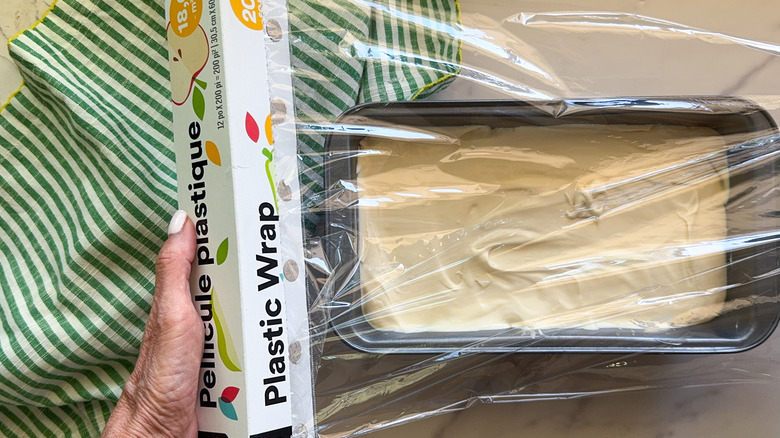
Cover and freeze for 8 hours or overnight.
Step 12: Scoop and serve the apple cider ice cream
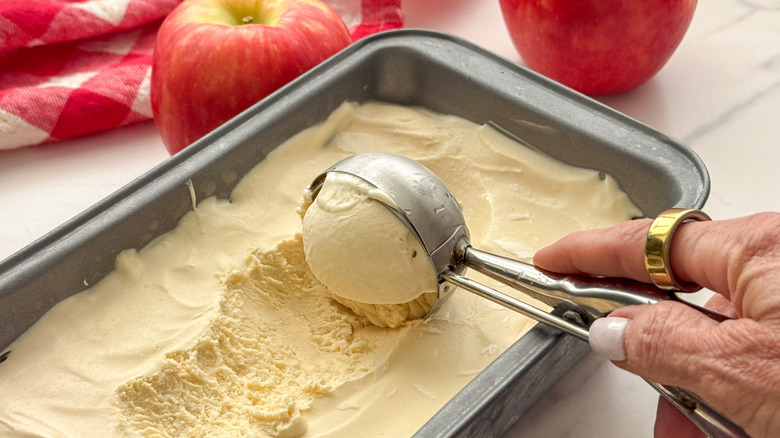
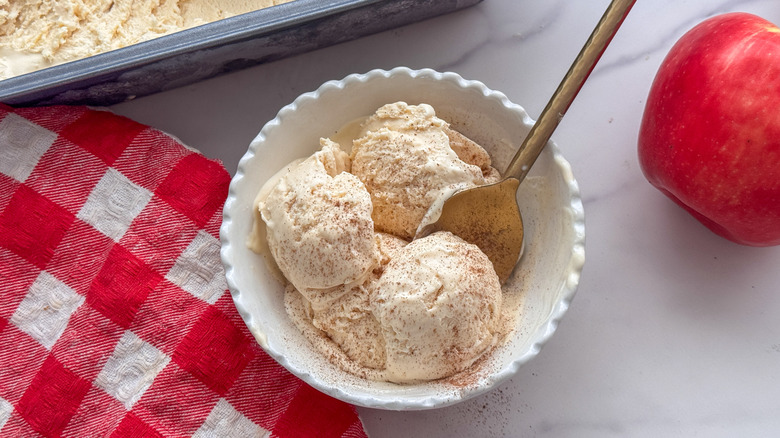
Scoop and serve the apple cider ice cream.
Pairs well with no-churn apple cider ice cream
No-Churn Apple Cider Ice Cream Recipe
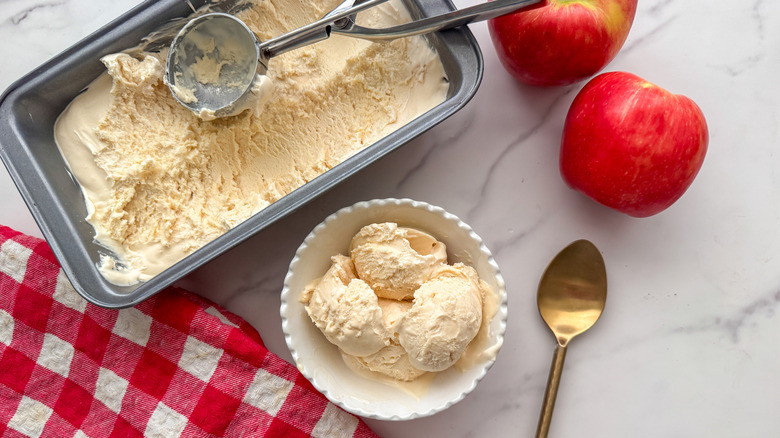
This no-churn apple cider ice cream is sweet, creamy, and perfectly spiced, and best of all, you don't need an ice cream maker to enjoy this fun fall treat.
Ingredients
- 3 cups apple cider
- 2 cinnamon sticks
- 1 (14-ounce) can sweetened condensed milk
- 2 teaspoons vanilla extract
- ½ teaspoon kosher salt
- 2 cups cold heavy cream
Directions
- Pour the apple cider and cinnamon sticks into a large saute pan.
- Bring to boil over high heat, then lower heat to medium and cook for 30 minutes.
- After 30 minutes, pour into a glass measuring cup to see if the cider has reduced down to ½ cup. If not, return it to the pan to reduce for another 15 minutes.
- Remove and discard the cinnamon sticks.
- Transfer the reduced cider to a small bowl or jar and refrigerate until completely cold, at least 2 hours.
- Put one large and one medium metal (or glass) bowls in the freezer for at least 20 minutes.
- In the large bowl, add the cold cider reduction, sweetened condensed milk, vanilla, and salt together until smooth.
- Pour the cold heavy cream into the medium bowl. Beat with an electric hand mixer on medium-high speed until stiff peaks form, about 3 to 5 minutes.
- Fold the whipped cream into the cider mixture a little bit at a time, and gently stir until no white streaks remain.
- Transfer the mixture to a 9x5-inch loaf pan.
- Cover and freeze for 8 hours or overnight.
- Scoop and serve the apple cider ice cream.
Nutrition
| Calories per Serving | 327 |
| Total Fat | 20.7 g |
| Saturated Fat | 13.1 g |
| Trans Fat | 0.6 g |
| Cholesterol | 67.3 mg |
| Total Carbohydrates | 31.9 g |
| Dietary Fiber | 0.4 g |
| Total Sugars | 30.3 g |
| Sodium | 160.5 mg |
| Protein | 4.6 g |

Why isn't my apple cider reducing on the stovetop?
A common reason why your cider is not reducing properly is the size of the pan. If it is too tall, steam builds up and slows the process down. A more shallow pan is best for a successful cider reduction. You also want to make sure to leave the shallow pan uncovered during the process. A lid will keep moisture and steam in the pan, so leave it uncovered the whole time for the quickest and most successful results.
The heat is important here too, and since everyone's stove heats up a little differently, it's something to watch out for. You want to see a low boil during the 30-minute cooking time. If the liquid is not quite bubbling, kick up the heat enough to get it there (but avoid a rolling boil). If you are cooking at high altitude, the reduction might happen sooner. Be sure to pour the liquid into the measuring cup at the 30-minute mark to see how much it has reduced. Finally, keep in mind that there are many ciders on the market, and they all differ a bit. If you happen to have one on the thinner side, you'll most likely have to reduce it down for 45 to 50 minutes.
Can I add any mix-ins to the ice cream?
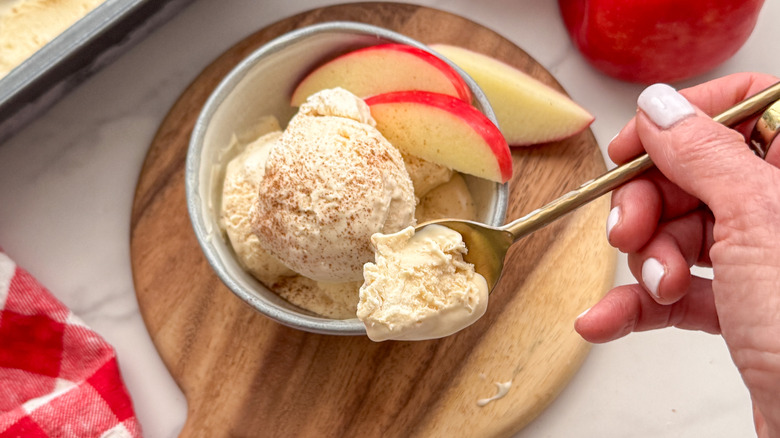
Another benefit of making ice cream using a no-churn method is that you can get creative with the mix-ins. Apples pair great with caramel, so try swirling some caramel sauce right into the ice cream mixture after you've transferred it to the loaf pan but before you freeze it. For any other mix-ins, add them after the whipped cream has been folded into the bowl, before you transfer it into the loaf pan. Nuts are a natural addition, as they add a great crunchy element to ice cream. Try toasted pecans or walnuts. Candied walnuts are a delicious pairing with even more of a fall flair, or try spicy walnuts for a unique flavor contrast. Crushed gingersnaps play well with the apple spices, and chopped graham crackers also add nice flavor. If you want to add a boozy touch, try mixing 1 to 2 tablespoons of bourbon or apple brandy into the ice cream base before freezing.
There are a few mix-ins to avoid as well. Chocolate chips will freeze too hard, so instead, use chocolate shavings as a topper. Fresh fruit won't work here because it contains too much water, which will seep out into the ice cream when you freeze it. You can, however, add sauteed apple chunks, so long as they've been heavily reduced on the stovetop.