

Vintage Sour Cream Raisin Pie Recipe
We may receive a commission on purchases made from links.
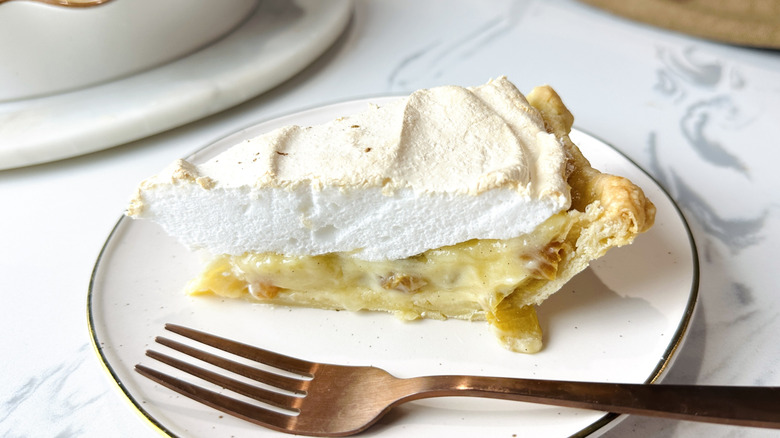
As someone who has made a lot of pies (and desserts in general) over the years, I've never been more pleasantly surprised by a dessert than I was with this sour cream raisin pie. Creamy, indulgent, nicely balanced, and undeniably tasty, it's exactly the kind of vintage pie I wouldn't have necessarily made without prompting, but one I'm so happy I did ultimately whip up.
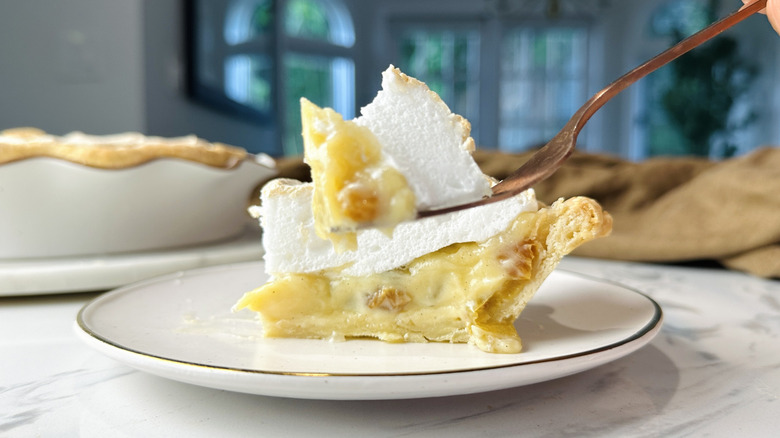
I'll be the first to admit that a name like sour cream raisin pie doesn't exactly instill a lot of confidence in terms of how the flavor might turn out. You may naturally wonder if it will be too sweet, sour or tart, savory-leaning from the sour cream, or just not necessarily the kind of dessert that would win over a crowd. But this gem has a rich, custardy filling with pops of sweet raisins throughout, for a kind of mashup between a luscious pudding and rum raisin ice cream. The sour cream adds just the right touch of richness and a slight tanginess, but it ultimately blends seamlessly with the sweeter elements, so you don't have to worry about this pie tasting too much like sour cream. A crown of meringue acts as the final elegant topping for this pie, resulting in a nostalgic, comforting, and surprisingly sophisticated dessert that serves as a reminder to not judge a pie by its name.
Gather the ingredients for vintage sour cream raisin pie
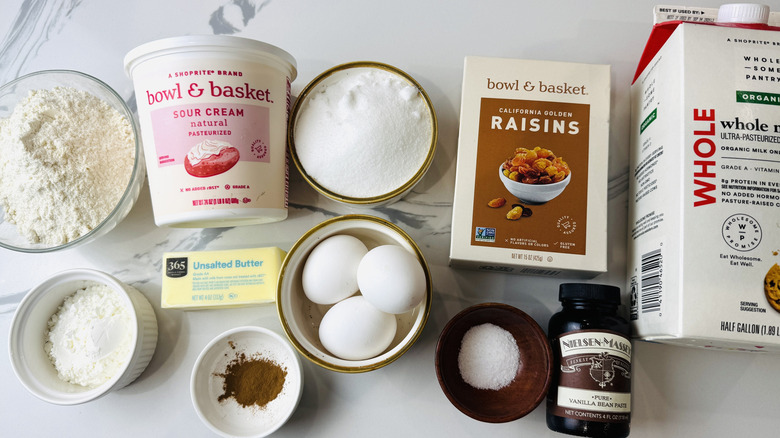
It's no wonder this old-fashioned pie has withstood the test of time, as most of the ingredients are pantry and fridge staples. For the filling, you'll need golden raisins (the star of the show), sour cream, whole milk, egg yolks, vanilla bean paste or extract, granulated sugar, cornstarch, ground cinnamon, and kosher salt. Feel free to swap in dark raisins if that's what you love, and the cinnamon for nutmeg or pumpkin pie spice for a fall-inspired feel. When soaking the raisins to plump them up before using, hot water will do the trick, though you can optionally add bourbon to the mix for a subtle boozy touch.
For the homemade pie crust, you'll need all-purpose flour, granulated sugar, kosher salt, and unsalted butter. Make sure the butter is cold for the flakiest crust result. Finally, for the meringue topping, grab egg whites (left over from separating out your yolks earlier), salt, and sugar.
Step 1: Soak the raisins
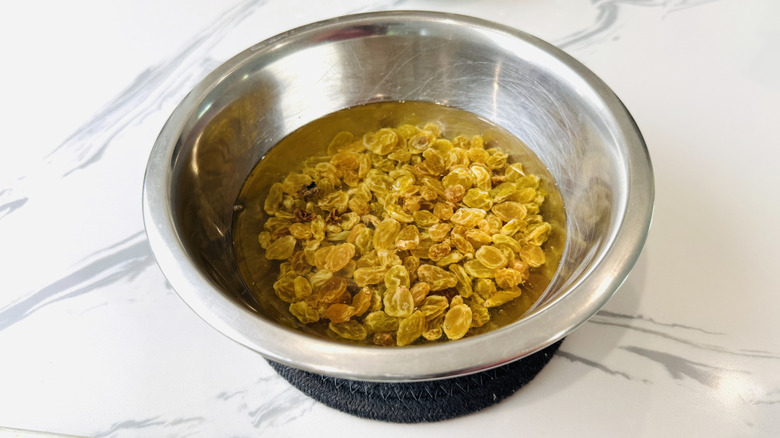
Place the raisins in a bowl and cover by 1 inch with boiling water and optional 1 tablespoon bourbon. Set aside to soak as you prepare the crust.
Step 2: Begin the pie crust dough
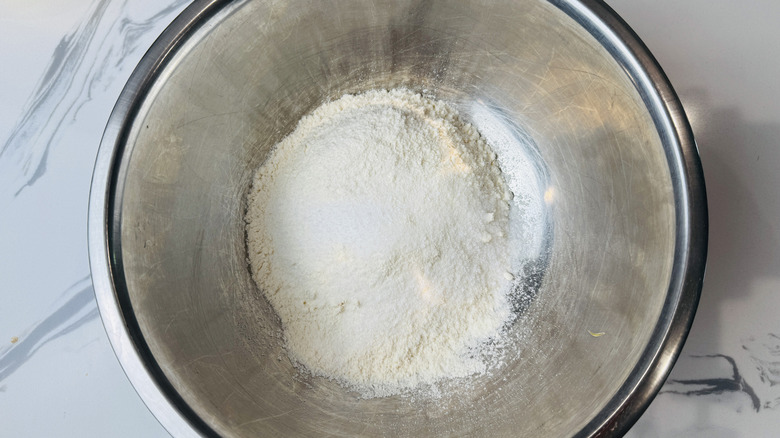
Meanwhile, prepare the pie crust: In a bowl, stir to combine the flour, sugar, and kosher salt.
Step 3: Add the butter
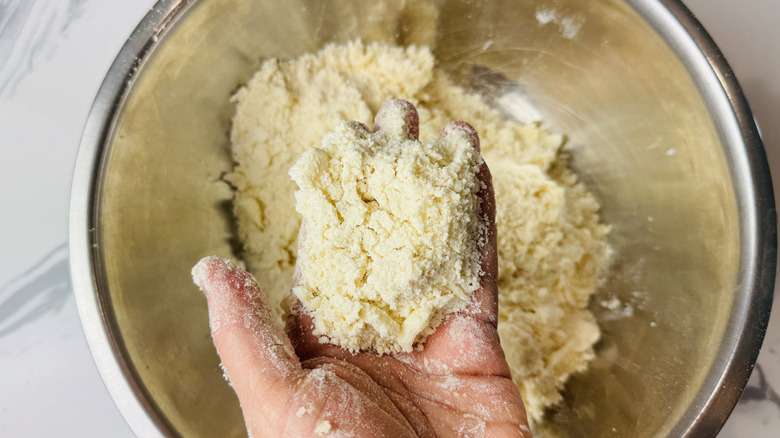
Work the cold butter in with your fingertips or a pastry cutter until only pea-sized bits are visible.
Step 4: Mix in water
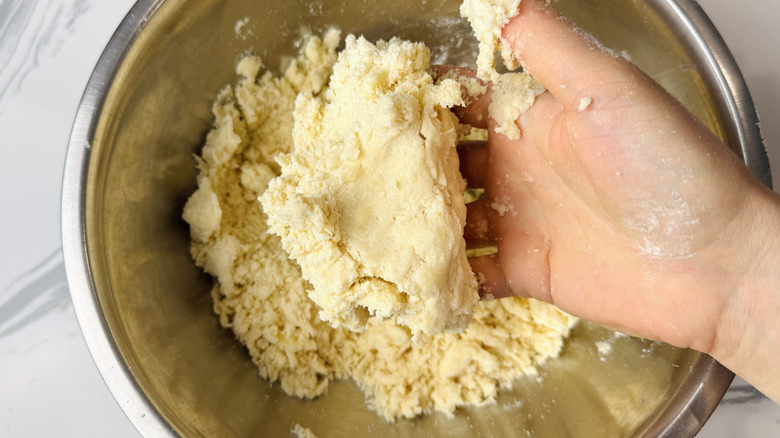
Mix 3 tablespoons of cold water into the dough, adding an additional 1 tablespoon if needed, until the dough holds together.
Step 5: Chill the dough
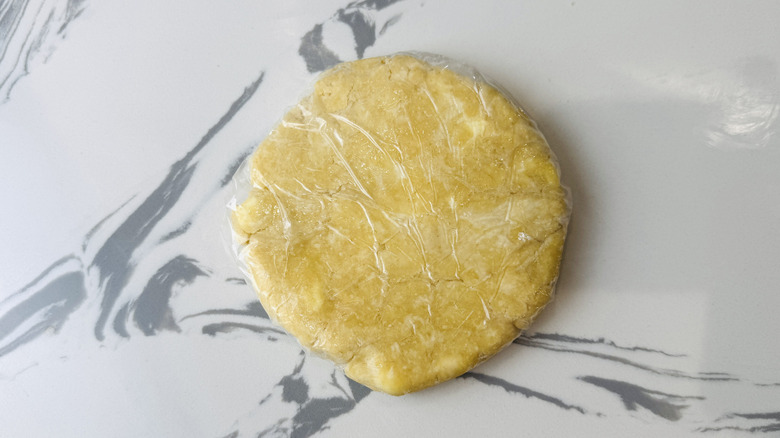
Form into a disk, wrap, and refrigerate for 30 minutes.
Step 6: Preheat the oven
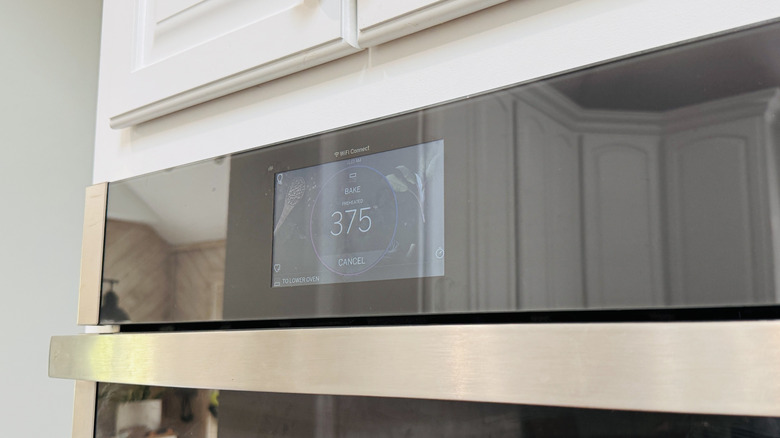
Once the pie dough is chilled, preheat the oven to 375 F.
Step 7: Roll out the dough
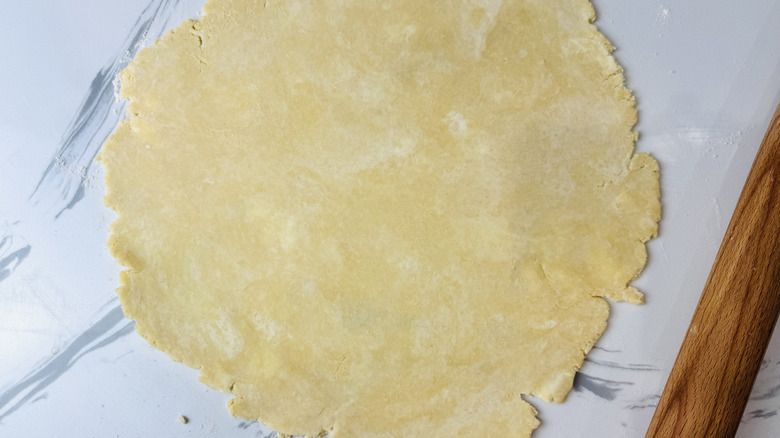
Roll the chilled dough out onto a lightly floured surface to ⅛- to ¼-inch thickness.
Step 8: Transfer dough to a pie plate
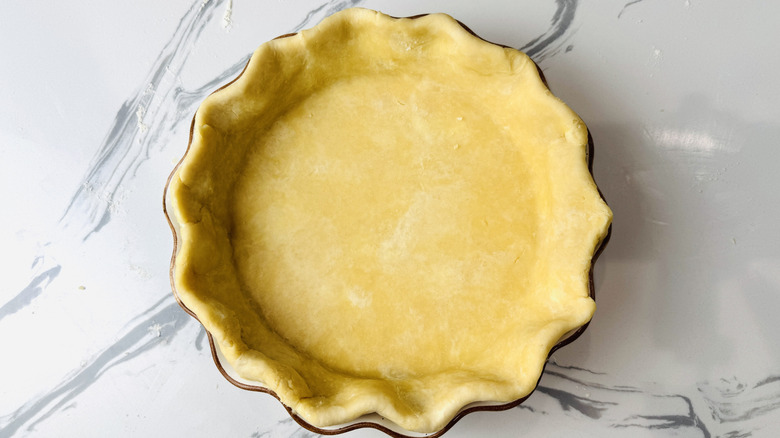
Press the dough into a standard pie plate, then trim and crimp the edges as desired.
Step 9: Line crust with foil and fill with pie weights
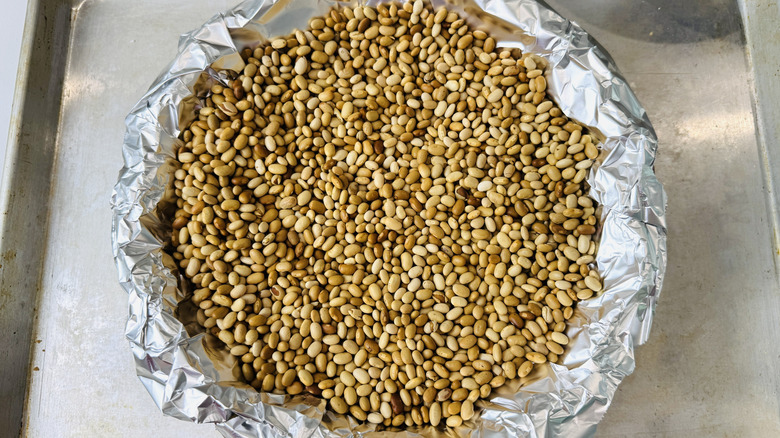
Line the pie crust with foil, then fill halfway up with pie weights or dried beans.
Step 10: Bake the crust
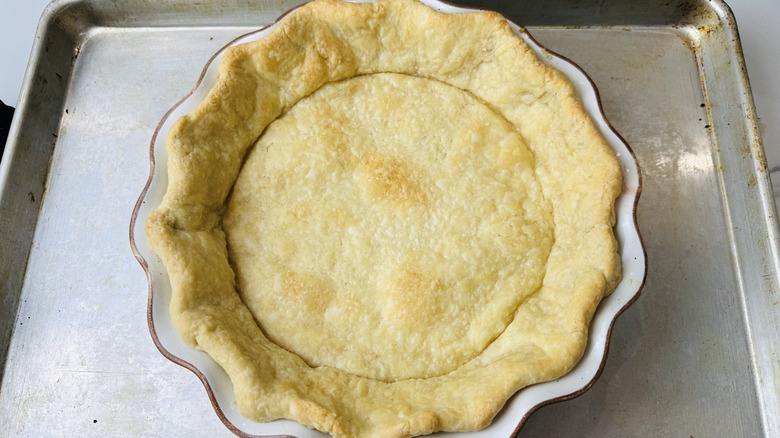
Bake the crust for 25 minutes, then remove weights and foil and bake for an additional 10 to 15 minutes, or until golden brown.
Step 11: Drain the raisins
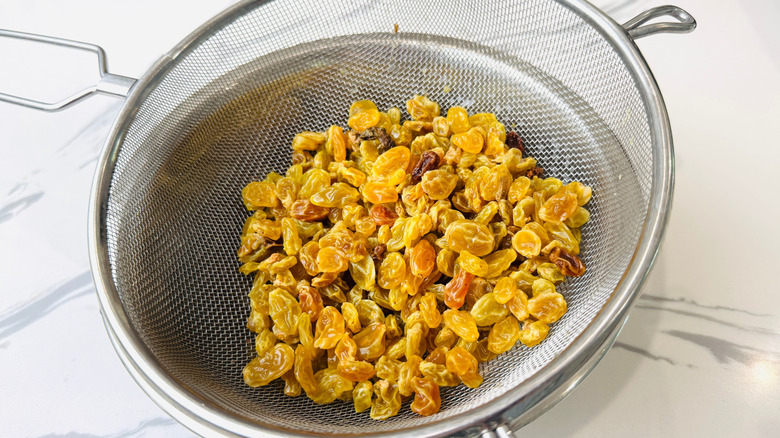
As the crust bakes and cools, begin the filling. Start by draining the raisins thoroughly.
Step 12: Simmer the filling ingredients
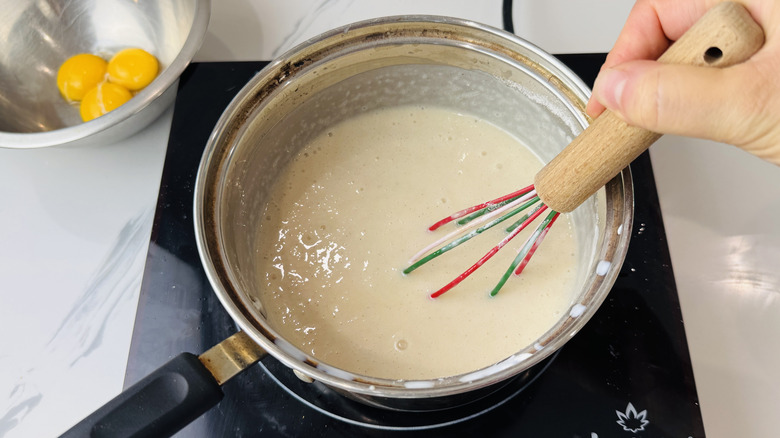
In a medium pot, whisk to combine the sour cream, milk, vanilla, sugar, cornstarch, cinnamon, and salt. Heat over medium low heat until steaming.
Step 13: Temper the egg yolks
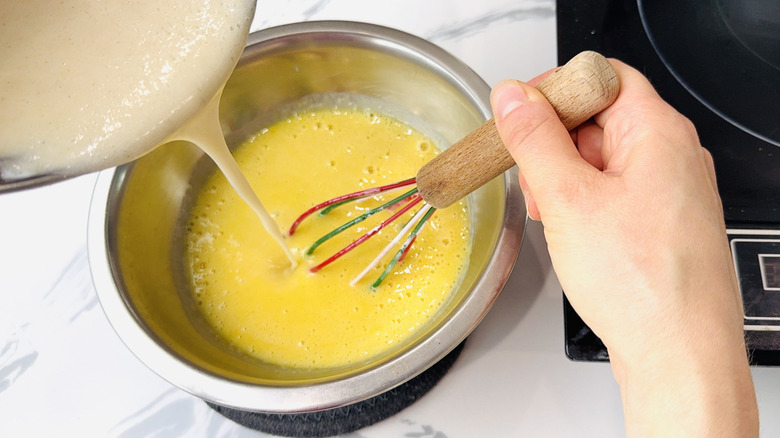
In a small bowl, whisk together the egg yolks. Slowly stream the hot milk mixture into the eggs, whisking constantly, until about ⅓ of the liquid has been added.
Step 14: Whisk egg mixture into pie filling
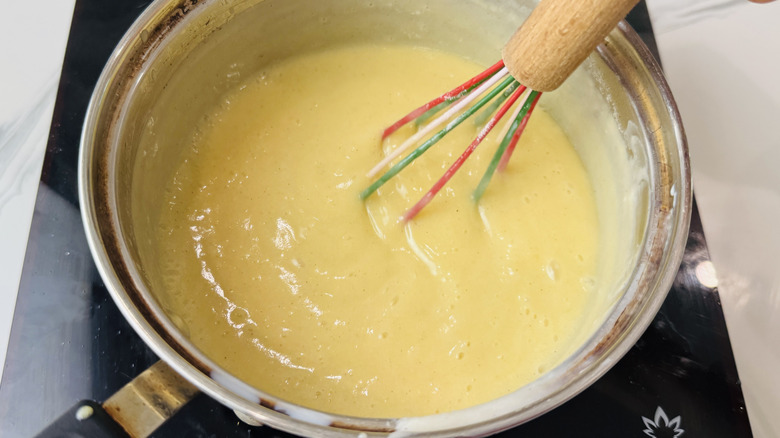
Transfer the egg mixture to the pot with the rest of the milk mixture and continue to cook, whisking constantly, until thickened and bubbling.
Step 15: Stir in the raisins and transfer filling to pie crust
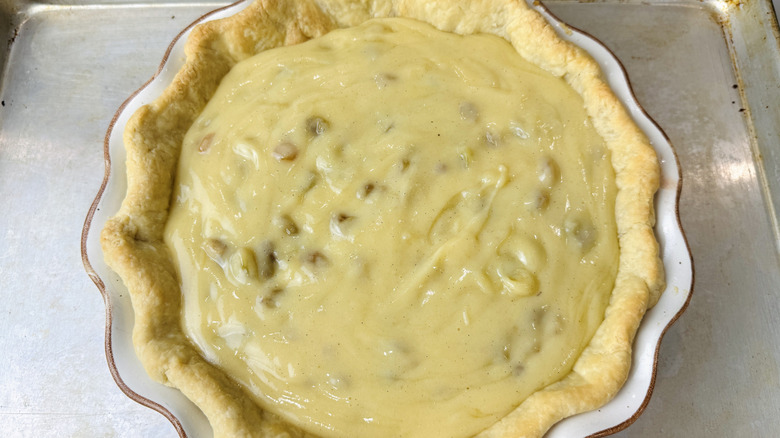
Remove from the heat and stir in raisins, then pour the mixture into the pie crust.
Step 16: Prepare the meringue
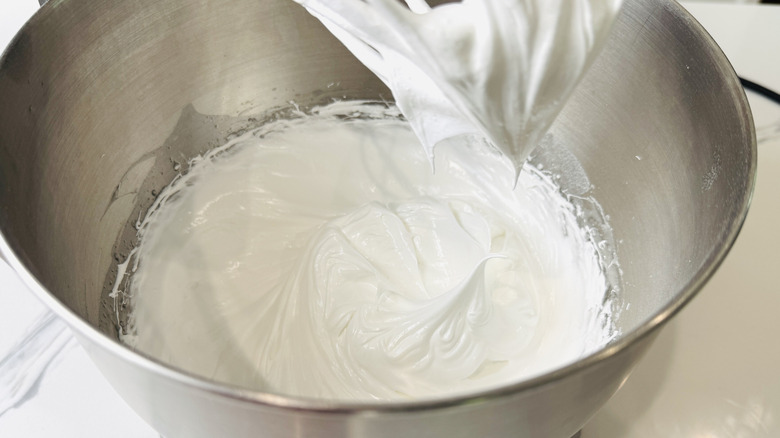
Prepare the meringue topping: In the bowl of a stand mixer fitted with a whisk attachment, whip the egg whites and salt to medium-stiff peaks. Gradually add in the sugar as the eggs whip.
Step 17: Spread meringue out on top of pie
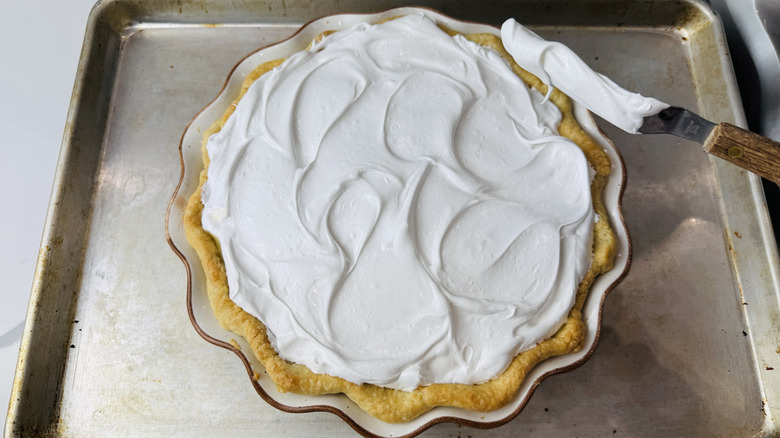
Spread the meringue evenly over the pie filling.
Step 18: Reduce oven temperature
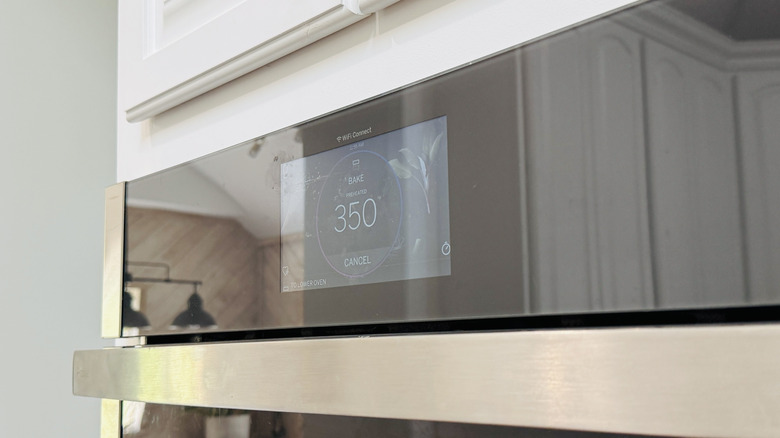
Reduce oven temperature to 350 F.
Step 19: Bake the pie
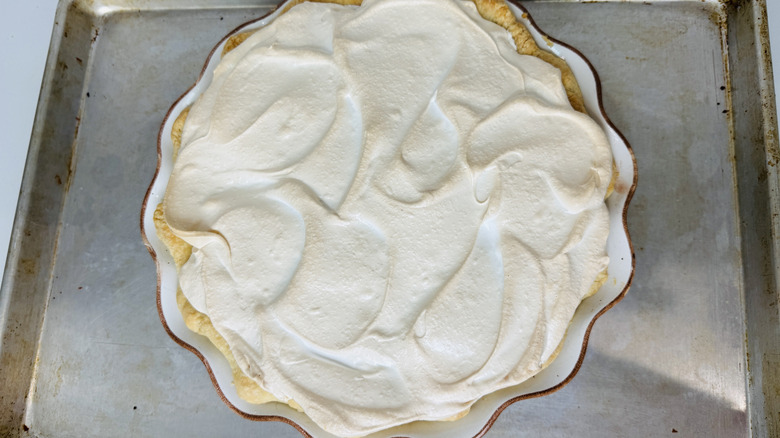
Bake the pie for 10 to 15 minutes, or until the top is lightly browned.
Step 20: Chill and serve the sour cream raisin pie
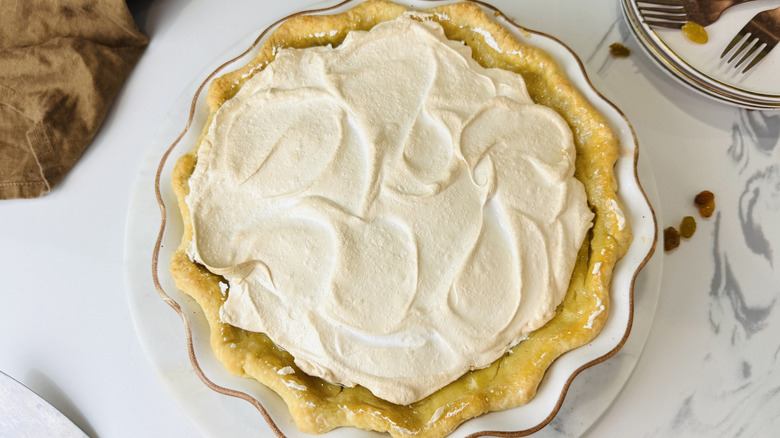
Cool the pie at room temperature for 1 hour, then chill at least 4 hours before serving.
What to serve with vintage sour cream raisin pie
Vintage Sour Cream Raisin Pie Recipe
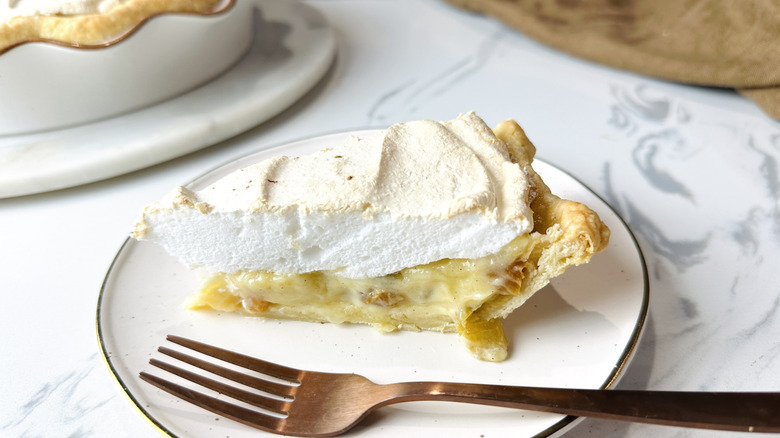
This vintage sour cream raisin pie features a rich, delicately sweet, pudding-like filling with pops of golden raisins and a meringue topping as garnish.
Ingredients
- For the filling
- 1 ½ cups golden raisins
- 1 ½ cups sour cream
- ½ cup whole milk
- 2 teaspoons vanilla bean paste or extract
- 1 cup granulated sugar
- 3 tablespoons cornstarch (or all-purpose flour)
- ½ teaspoon ground cinnamon
- ½ teaspoon kosher salt
- 3 large egg yolks
- For the pie crust
- 1 ¼ cups all-purpose flour
- 2 teaspoons granulated sugar
- ½ teaspoon kosher salt
- ½ cup cold unsalted butter, cubed
- For the meringue topping
- 3 large egg whites
- 1 pinch kosher salt
- ¾ cup granulated sugar
Optional Ingredients
- 1 tablespoon bourbon
Directions
- Place the raisins in a bowl and cover by 1 inch with boiling water and optional 1 tablespoon bourbon. Set aside to soak as you prepare the crust.
- Meanwhile, prepare the pie crust: In a bowl, stir to combine the flour, sugar, and kosher salt.
- Work the cold butter in with your fingertips or a pastry cutter until only pea-sized bits are visible.
- Mix 3 tablespoons of cold water into the dough, adding an additional 1 tablespoon if needed, until the dough holds together.
- Form into a disk, wrap, and refrigerate for 30 minutes.
- Once the pie dough is chilled, preheat the oven to 375 F.
- Roll the chilled dough out onto a lightly floured surface to ⅛- to ¼-inch thickness.
- Press the dough into a standard pie plate, then trim and crimp the edges as desired.
- Line the pie crust with foil, then fill halfway up with pie weights or dried beans.
- Bake the crust for 25 minutes, then remove weights and foil and bake for an additional 10 to 15 minutes, or until golden brown.
- As the crust bakes and cools, begin the filling. Start by draining the raisins thoroughly.
- In a medium pot, whisk to combine the sour cream, milk, vanilla, sugar, cornstarch, cinnamon, and salt. Heat over medium low heat until steaming.
- In a small bowl, whisk together the egg yolks. Slowly stream the hot milk mixture into the eggs, whisking constantly, until about ⅓ of the liquid has been added.
- Transfer the egg mixture to the pot with the rest of the milk mixture and continue to cook, whisking constantly, until thickened and bubbling.
- Remove from the heat and stir in raisins, then pour the mixture into the pie crust.
- Prepare the meringue topping: In the bowl of a stand mixer fitted with a whisk attachment, whip the egg whites and salt to medium-stiff peaks. Gradually add in the sugar as the eggs whip.
- Spread the meringue evenly over the pie filling.
- Reduce oven temperature to 350 F.
- Bake the pie for 10 to 15 minutes, or until the top is lightly browned.
- Cool the pie at room temperature for 1 hour, then chill at least 4 hours before serving.
Nutrition
| Calories per Serving | 376 |
| Total Fat | 14.9 g |
| Saturated Fat | 8.3 g |
| Trans Fat | 0.2 g |
| Cholesterol | 84.2 mg |
| Total Carbohydrates | 58.5 g |
| Dietary Fiber | 1.1 g |
| Total Sugars | 43.4 g |
| Sodium | 237.5 mg |
| Protein | 4.7 g |

Why do I have to bake and chill the pie?
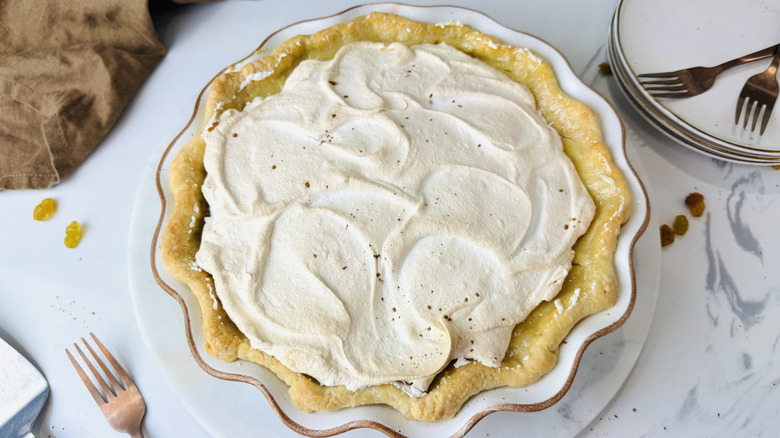
If you're making this pie for the first time, you might be wondering why it's essential to both bake and chill the pie, and if you can skip one process or the other. Both the baking and chilling times are crucial to getting that right custardy texture, so tedious as they may be, it's important to see these steps through from start to finish. The pudding-like filling will mostly be cooked through by the time you transfer it to the pie crust, but the meringue on top won't be. By baking the pie, you'll help that custard filling set up even more, and ensure that the meringue on top is perfectly toasted and safe for consumption.
Chilling the pie after baking ensures that the filling has time to set completely before slicing, helping each slice come out cleanly. Cooling at room temperature before transferring to the fridge is a nice gradual way to cool it down, preventing condensation from forming on the surface and keeping the meringue from experiencing dramatic temperature shifts. A great way to make the chilling period feel less time-intensive is by prepping the pie through the baking period in the evening, and then letting it chill overnight.
What are some tips for making and blind baking a pie crust?
When preparing the pie crust, chilling it in a disk shape serves a few purposes. It keeps the fat (AKA the butter) in the dough cold, helping to create a flaky crust when it eventually bakes. The chilling period also helps rest the gluten in the dough, keeping it from shrinking once it's rolled out and baked. Pie weights serve an important function here as well, keeping the crust from puffing up or shrinking as it blind bakes. You can use traditional pie weights for this, but dried beans will work just as well.
Blind baking the crust happens in two phases. Initially, the pie goes into the oven with weights inside, but you don't want to call it done at that point. Removing the weights halfway through and giving the crust a chance to bake without them is essential for even browning. Since you'll only be baking the pie for another 10 to 15 minutes once the filling is in it, you'll want to make sure that the crust is thoroughly cooked and nicely browned after the blind baking phase. Otherwise, it won't be quite as flaky and delicious when it comes time to serve the pie.