

10 Mistakes Everyone Makes Building A Charcuterie Board
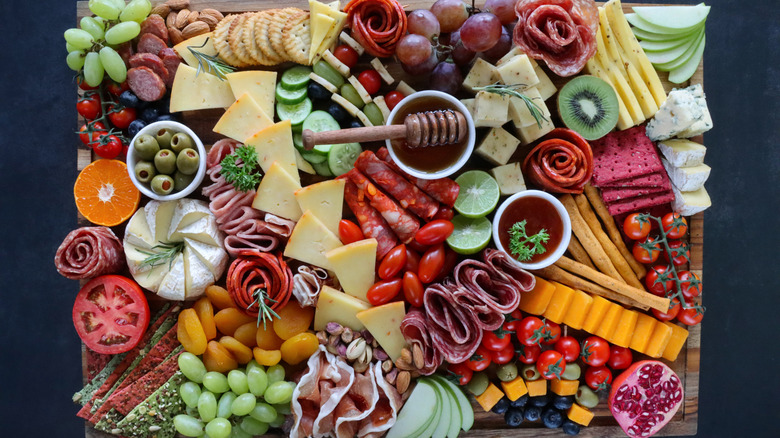
There are few dishes more impressive to set out at a party than a good charcuterie board. They can be colorful and attention-grabbing, with enough different flavors and textures to keep everyone at your get-together excited to take another bite. Plus, we love that they're relatively easy to put together — you don't have to be an amazing chef or home cook to pull off an excellent charcuterie board. But just because you don't really need to flex your cooking skills to make a good one doesn't mean that it's impossible to make mistakes in the arranging process. In fact, many amateurs make some telltale mistakes that lead to a less-than-beautiful (or less-than-delicious) board that ultimately fails to impress.
We're taking a look at some of the most common mistakes people run into while building a charcuterie board and how you can avoid them. We spoke with charcuterie experts, including Cali Gitlin, owner of charcuterie and grazing board company Custom by Cali; Shannon Bonilla, licensed Wisconsin cheesemaker, American Cheese Society Certified Cheese Sensory Evaluator, and Certified Cheese Professional; and Sarah Michel, owner of Madam Sara(H) Charcuterie & Grazing, to identify these mistakes. They'll also walk you through how to build a better board, so your next one is bound to shine, whether you're serving it to your guests or keeping it all to yourself. After learning about the mistakes you should avoid in the board-building process, you can guarantee that the next one you make is going to be your best yet.
Not utilizing enough contrast between flavors
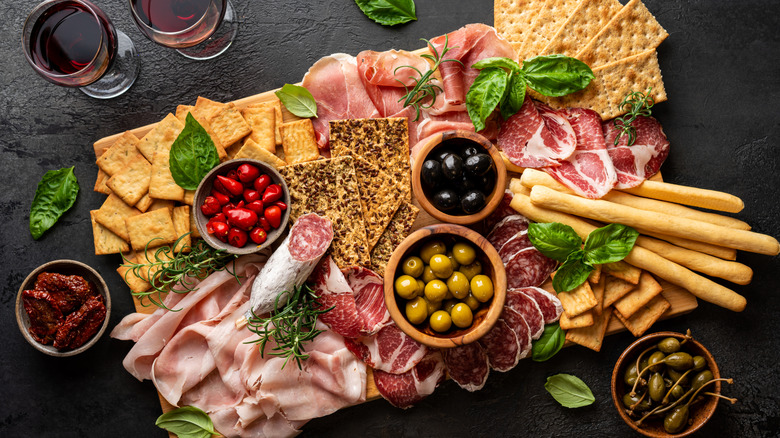
When you take a glance at a particularly well-done charcuterie board, you'll probably notice that there are a ton of different elements. This can lead home charcuterie board makers to assume that they just need to pack on as many different items as possible. But if you do this without paying attention to how flavors work with one another, you're likely to end up with a subpar board. One of the biggest mistakes that Cali Gitlin of Custom by Cali notices in charcuterie boards is "too many components without enough flavor and texture contrast."
"Overloading boards with lots of items that all taste and feel similar, such as multiple mild cheeses, no variety of hard vs. soft cheeses, or different shapes of similarly flavored crackers, creates visual volume but a flat, one-note eating experience," she explains. You probably don't need several different types of brie, just like you don't want to be focusing solely on prosciutto without introducing any other meats into the mix.
Luckily, though, there's an easy way to mitigate this problem. "Choose fewer items deliberately," Gitlin instructs, "making sure each one contributes something different — soft vs. hard, creamy vs. crunchy, mild vs. sharp, sweet vs. salty." One of the most important flavor factors in a charcuterie board, for example, is acid, since you're working with so many other fatty flavors that can easily overwhelm your palate. Don't forget to add some pickles, mustard, or roasted red peppers to the mix to really take your board to the next level.
Using pre-sliced cheese
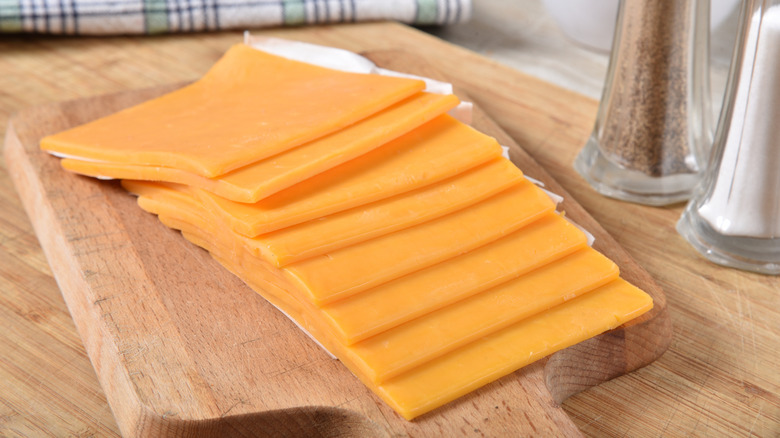
Now, don't get us wrong: We aren't sliced cheese haters across the board. There are some delicious sliced cheeses out there — they just don't belong on a charcuterie board, according to Sarah Michel of Madam Sara(H) Charcuterie & Grazing. She says that one common mistake she often sees with charcuterie boards is the utilization of sliced cheese. Although it might be an easy option, it's rarely going to be the most delicious one out there.
"Most pre-sliced cheeses are hyperprocessed and are often basic types of cheese," she says. Luckily, though, there are plenty of other excellent cheese options out there that don't require you to spend a ton of extra money. "A lot of grocery stores have great specialty cheese selections at affordable prices," Michel continues. "Trader Joe's, Aldi, and Lidl are great popular grocery stores with affordable selections and tons of variety. Guests will appreciate you expanding their palates."
Trader Joe's is also one of our favorite places to buy cheese for a charcuterie board. Choose from options like Manchego, Italian truffle cheese, and cheddar cheese with Scotch bonnet chili and red peppers for variety. Aldi also has an incredible (and affordable) cheese selection, with options ranging from goat cheese to cheddar. Swap out your typical sliced cheese for some of these options, and you'll see your charcuterie board immediately elevated.
Buying for the board, not the occasion
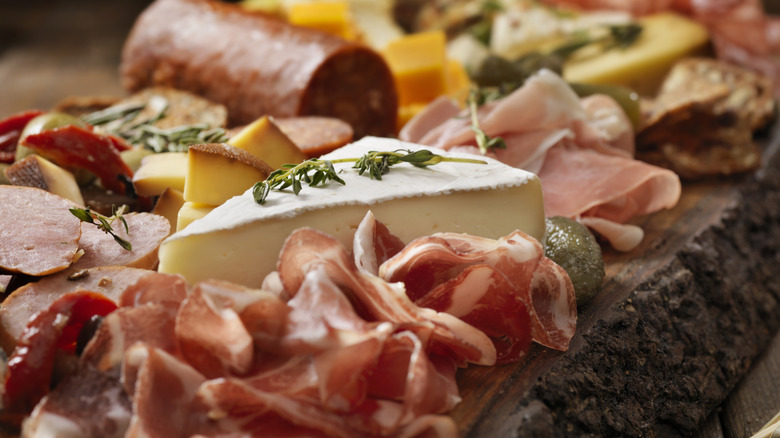
It's way too easy to simply look at the boards you have in your kitchen and plan on building your charcuterie board around them. Maybe you have an exceptionally large board, but you're only having a couple of people coming together. Alternatively, if you have a particularly cute small board at your disposal, you may be tempted to use it even though you're trying to feed the crowd. But according to licensed Wisconsin cheesemaker Shannon Bonilla, it's a mistake to buy meat, cheeses, and accoutrements for the board without thinking about what the occasion truly calls for.
"Consider how many people you're serving and how much variety you truly need," Bonilla suggests. If you're feeding a moderate number of people (or you're serving plenty of other foods at your event), then "three to five cheeses with different textures and flavor intensities is often a great starting point," according to Bonilla. She says that it's a good idea to start with a mild, classic cheese, an aged cheese that's packed with more complex flavors, and one cheese that offers a bold, flavorful surprise. Think something with coffee, fruit, or peppers. "The goal is to offer an inviting range of choices without overwhelming your guests," she says.
If you're feeding a larger crew, don't be afraid to pile on even more meats and cheeses. And if it's just a board for yourself or you and one other person, consider limiting yourself to only two cheeses and two meats.
Using arranged meats out of the pack without styling
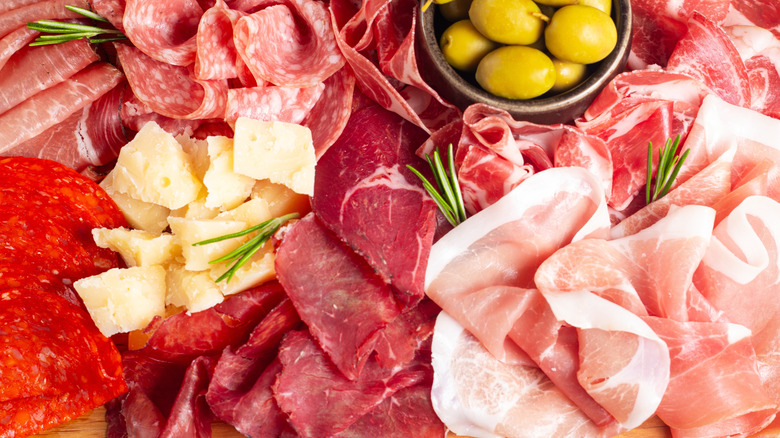
Have you ever noticed that when you buy cured meats, they're often laid out nicely in the packaging? This allows you to get a better look at the meat when it's on display, and it might make the product look more tempting at the store, better convincing you to give it a try. Because it's already arranged so beautifully in the package, you may assume that you can simply take it out and lay it directly on your charcuterie board. But according to Sarah Michel, this is generally a mistake.
"Though salami and other cured meats are nicely lined up in their packaging," Michel explains, "laying them on the board without styling makes them look flat and boring." And to make matters worse, displaying meat on your board in this way can also make it tricky to pull apart and separate. So, what's the solution? According to Michel, "Folding the salami slices into quarters will not only give the board more style and visual appeal, but it will make it easy for guests to grab their desired amount of slices as well."
If you're looking for an even more impressive presentation, consider learning how to make salami roses. They're perfect for a Valentine's Day charcuterie board, but honestly, we think they look amazing at any time of year. There are also plenty of creative ways to serve prosciutto on your board, including wrapping it around breadsticks.
Trying to plan everything before building the board
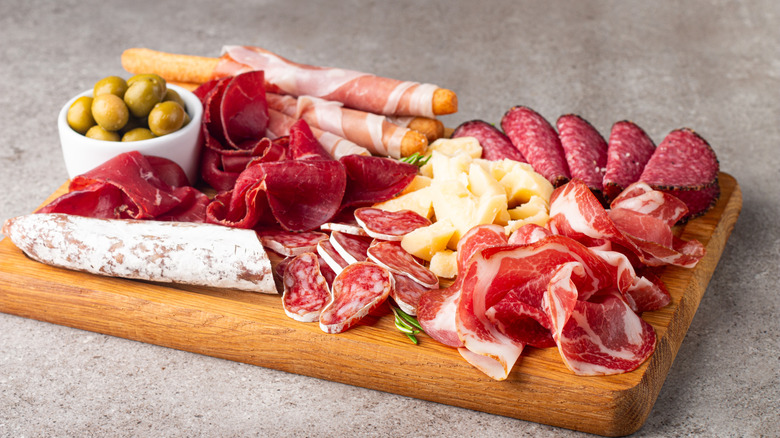
If you're sort of a type A person, then you may feel the need to perfectly plan out your board before actually laying anything out. This way, you may think you can better control what the finished product will look like. Although this dedication to a beautiful board may be admirable, it can actually be a mistake to try to plan your entire board in advance instead of letting it all come together in a more natural, flowing way. In fact, this is a common mistake Cali Gitlin notices when people are building charcuterie boards.
"Trying to map out every placement, pairing, and garnish in advance often leads to overwhelm when building and spacing doesn't go exactly as planned," she says. Instead, you might want to start with a few focal points on the board and work your way out from there. "Start by placing key components like dips, cheeses, or meats, then build organically onto the board, allowing the gaps and empty space to guide where the next items go," Gitlin suggests. If you'd like a bit more structure when it comes to building your board, you might want to use sticky notes to plan out a rough idea of where different elements are going. It's a simple trick to stay organized while creating a charcuterie board, but it doesn't have to be too rigid. By letting yourself be creative and make changes as you go, you'll have a more natural-looking board — and probably have a better time making it in the process.
Cutting all the cheese the same way
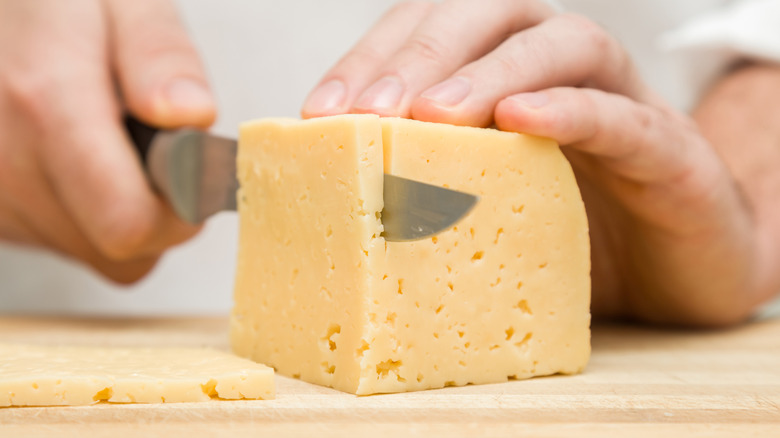
You already know that when you're building a charcuterie board, you need to include different types of cheese to provide enough variety in terms of flavor and texture. But simply choosing a variety of different cheeses may not be enough. If you really want your charcuterie board to look (and taste) as good as possible, Shannon Bonilla says that you should avoid cutting all of your cheeses the same way. "Defaulting to slices makes the board feel monotonous," she says.
Okay, so you know you don't want to cut all of your cheese into the same exact shapes. But does that mean you should just leave the blocks totally uncut? Not necessary. Bonilla says that doing so creates extra work for your guests, who should be enjoying your party instead of trying to find a knife with which to cut a slice of cheese. This is especially true if you plan on grazing instead of sitting down to eat a meal — trying to cut slices of cheese while you're standing up and holding a drink isn't easy.
Instead, Bonilla suggests "[mixing] it up with wedges, triangles, batons, and rustic crumbles based on each cheese's texture." That way, you'll have a variety of textures and shapes, which creates a prettier and more texturally engaging board. "For example," she says, "slice firm cheeses into thin triangles and break hard, crumbly cheeses into bite-sized pieces." Don't forget to check out these 11 ways to slice cheese for a charcuterie board for even more ideas.
Not including enough fresh fruit
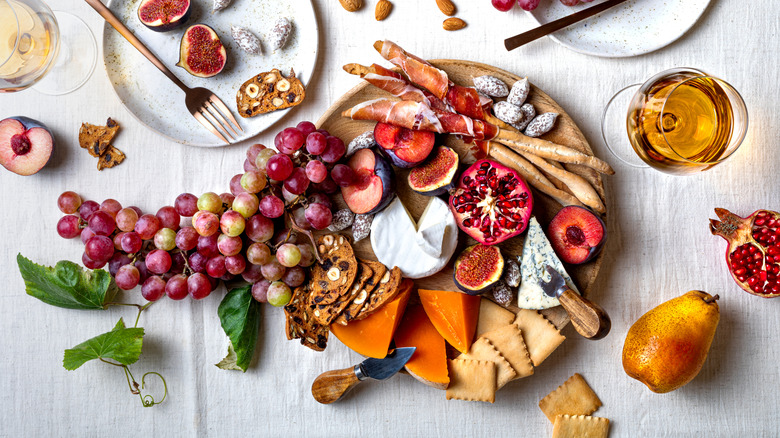
This next common charcuterie board mistake may be surprising to those who tend to make meat and cheese the centerpiece of their boards. Although these are both incredibly important elements, you should ideally be including other types of flavors and textures in the mix for a truly tasty (and more beautiful) board. That's why Sarah Michel says that not including enough fresh fruit is a typical mistake people make when building a charcuterie board.
"Cheeses and meats are the backbone of any good charcuterie board," she says. "However, what takes a board from good to great is the fruit. When making a board at home, people tend to overlook fruit." According to Michel, you should be adding more than a few grapes to your board. She suggests using berries, stone fruits, and tropical fruits to add both flavor in the form of sweetness and acidity. It also provides a bright pop of color that can make your board look a lot more impressive. If you're looking for sweeter flavors and chewier textures, dried fruit can be a great option — but you shouldn't cut the fresh stuff, either. "The addition of fresh fruit is what will turn your board into a mosaic of edible art," she adds.
Just keep practicality in mind. Extra juicy fruits generally aren't a fit, since they can bleed into other ingredients, making them soggy.
Not using different colors in your board
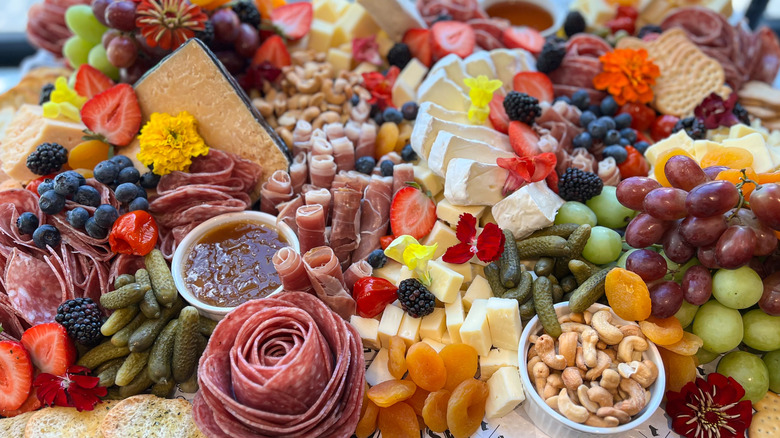
As much as we love to add fruit and other non-cheese-and-meat elements to a charcuterie board for their flavors, they play another important role that we just touched on above: They can add an incredible amount of color to a board that can otherwise look sort of beige and bland. These are the elements that will really make your charcuterie board pop, and it's why Cali Gitlin says it's a mistake not to use plenty of different colors on your board. Color shouldn't just be an afterthought — it's an essential part of board-building and one you should pay attention to when you want the best-looking display possible.
"Building the board without ever pausing to check color balance across your list leads you to shop and assemble without stepping back to see whether the overall palette is repeating (like beige, brown, beige, brown)," explains Gitlin. "This is how boards end up looking flat even if they taste good." Yes, we're looking for contrast in flavors, of course, but contrast is equally as important on the color front.
"Before purchasing, consult your list and assign a color to each component," Gitlin suggests. "This lets you quickly spot a monochrome board in advance and fill in color gaps so your spread really pops." We've already mentioned adding fruit to the mix, which is a great start. But freshly cut veggies, jewel-toned jams and jellies, and even a colorful hummus can all be excellent additions to your board.
Serving the cheese immediately after taking it out of the fridge
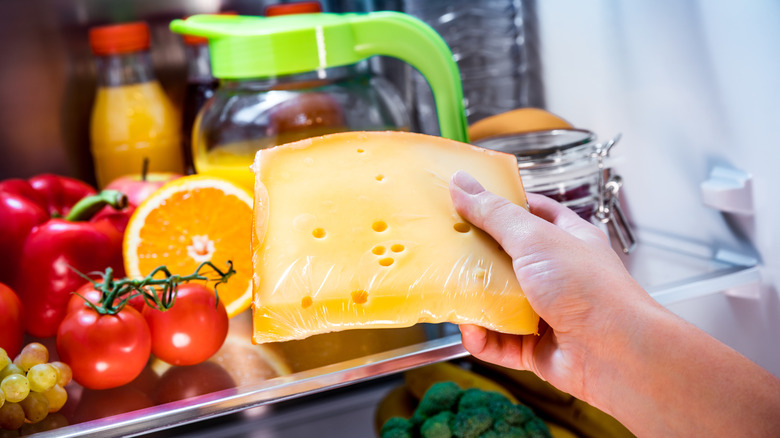
We get it: You want your board to be as fresh as possible when you serve it to your guests. This is especially true if you're hosting an event that you know is going to go on for a while. The board might be sitting out for a few hours, and you don't want any of that food to go bad. Because of that desire for freshness, it might seem like it makes sense to refrigerate your cheese until the last possible minute before arranging your board. But according to Shannon Bonilla, it can actually be a mistake to serve your cheese straight out of the fridge. Rather, she says, it's a good idea to give your cheese some time to open up before placing it on the board.
"Cheese becomes more expressive as it approaches room temperature, revealing more of its flavor, aroma, and texture," she says. "Consider removing it from the refrigerator 30 to 60 minutes before serving so guests can experience its full character." If you know you're going to be super busy right before your get-together, though, you can go ahead and slice your cheese and build your board ahead of time. Just make sure to pop it back in the fridge before taking the whole thing out to serve it. That way, your cheese won't be too cold, and you'll get to enjoy more of those interesting, complex flavors at play in every bite.
Refusing to use the right utensils
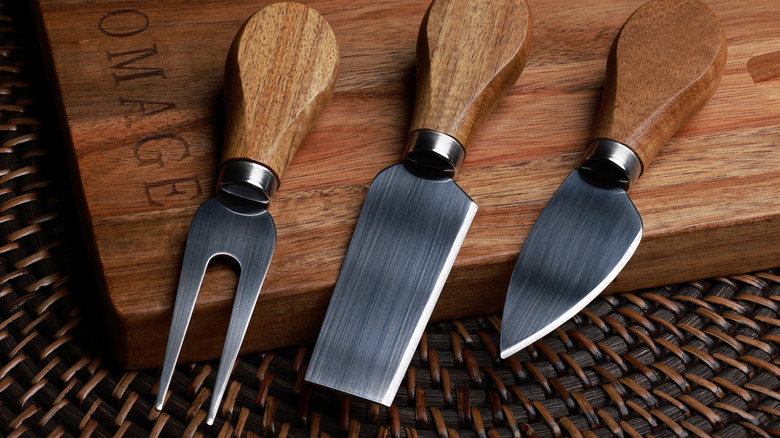
If you're a casual charcuterie board maker, then you may just want to stick to butter knives to serve the cheese on your board. They can get the job done when you're in a pinch. But if you really want to take your charcuterie board to the next level, it only makes sense to use the correct kind of utensils. Failing to do so, per Shannon Bonilla, is a common mistake.
"Soft cheese can stick to a thick, solid blade, while a delicate knife may struggle with a hard cheese," she says. "Use a thin blade or soft-cheese knife for creamy varieties, a spreader for soft or spreadable cheeses and a chisel or parmesan knife for hard, crumbly varieties. If possible, give each cheese its own utensil to avoid mixing flavors."
In our ultimate guide to building a charcuterie board, we outlined some of the other important utensils you should have on hand alongside your board. Cocktail picks are important, as they'll allow your guests to pick up those small, finicky, snacky items like pickles. Additionally, you'll want to have separate, appropriate serving spoons and knives for your selected accoutrements so you don't have to spread any mustard or jam with a knife intended to cut cheese. Having all of these items in place ahead of time will make your charcuterie board experience one that feels elevated instead of thrown together.