Old-Fashioned Onion Rings Recipe
We may receive a commission on purchases made from links.
Seeing onion rings on a menu feels like a treat. Completing the trifecta of classic fried sides, the battered, golden-brown onion rings rival even the fluffiest French fries and tater tots, each bite filled with crunchy texture and mouth-watering flavor without even needing a sauce. The onion rings we know and love today weren't exactly how they were always made, though. One of the earliest iterations of onion rings, written in "The Art of Cookery Made Easy and Refined," included ingredients like cream, flour, and Parmesan cheese. Many iterations later, onion rings are almost always battered and fried into a smooth, doughy ring with an airy crunch. Somewhere along the lines, breadcrumbs were added for crunchy texture, and for some (like myself), this is still the iteration that reigns supreme.
This old-fashioned onion ring recipe combines a thick and creamy buttermilk batter with crispy panko breadcrumbs, creating a unique texture more crunchy than beer-battered, doughy rings. The secret is in the buttermilk, which takes the place of vinegar in tenderizing and sweetening the onions before coating in large pieces of breadcrumb that fry into crisp, dense crusts. Perfect with any sauce and alongside any food, this old-fashioned onion rings recipe may become your favorite way to use onions (and there are a lot of ways!).
Gather the ingredients for old-fashioned onion rings
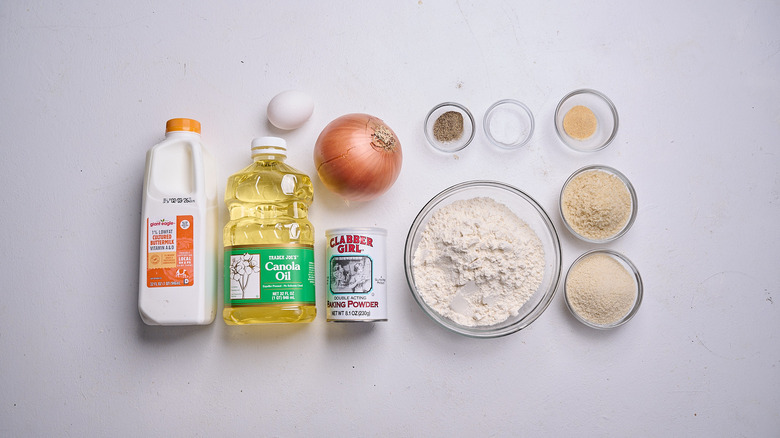
The first and most important ingredient to grab for onion rings is, of course, an onion. You'll want to use a yellow or sweet onion, which has a mild, sweet flavor perfect for breading and frying, and you'll just need one to make nearly 40 fried rings.
To make the batter, you'll then need flour, baking powder, salt, an egg, and buttermilk, and to coat the rings afterwards, you'll need a mixture of plain and panko breadcrumbs (this helps coat the rings completely while also adding crunch). To season, grab black pepper and garlic powder, and then just grab a large bottle of canola or vegetable oil for frying.
Step 1: Separate onion layers into rings
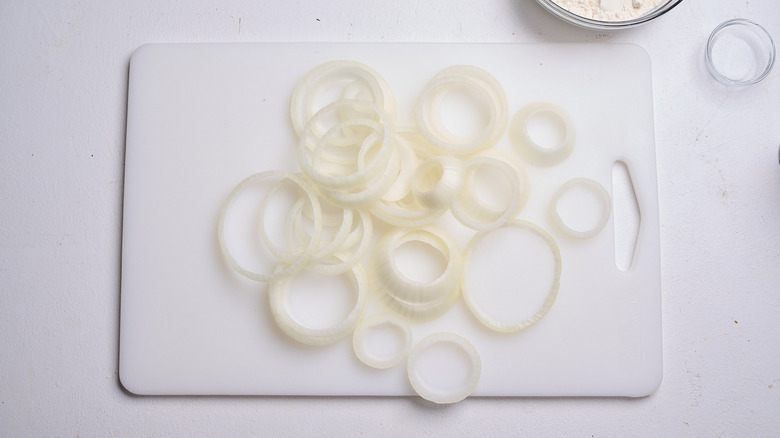
Separate the onion slices into individual rings.
Step 2: Arrange a wire rack for prepping
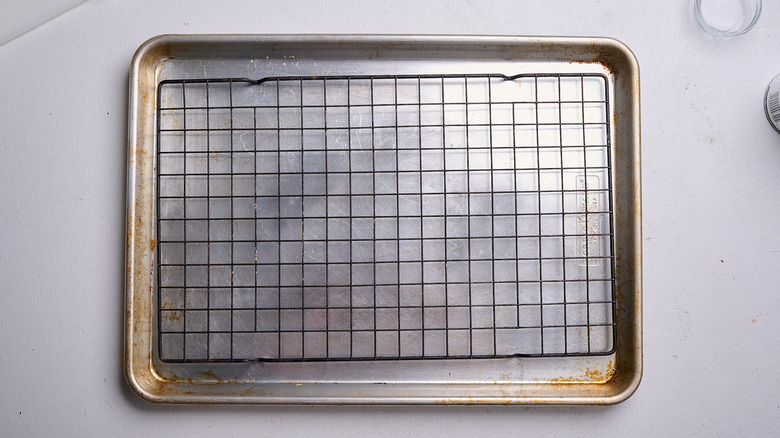
Arrange a baking sheet with a wire rack.
Step 3: Prepare the ingredients for the first dredge
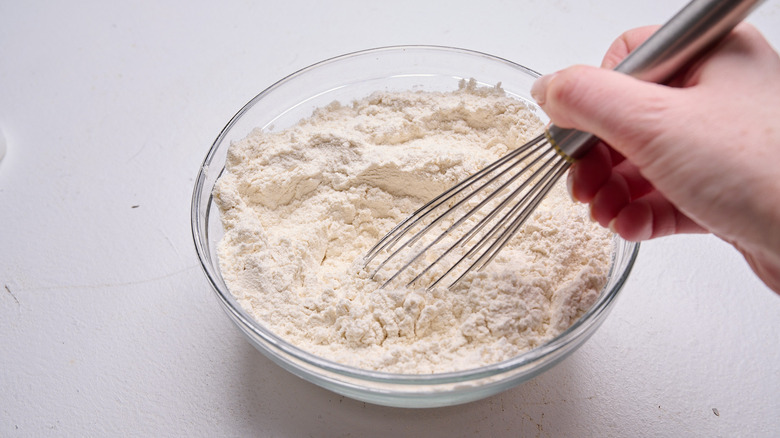
In a bowl, whisk together the flour, baking powder, and 1 teaspoon salt.
Step 4: Coat onion rings in flour
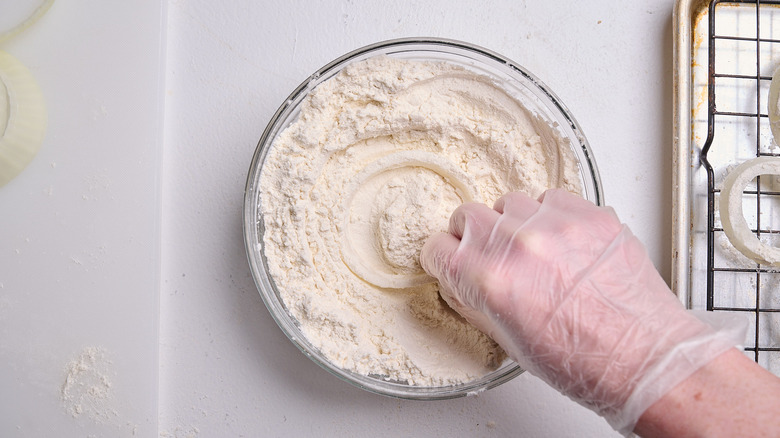
Dredge the onion slices in the flour mixture and set aside on the rack.
Step 5: Mix flour into a wet batter
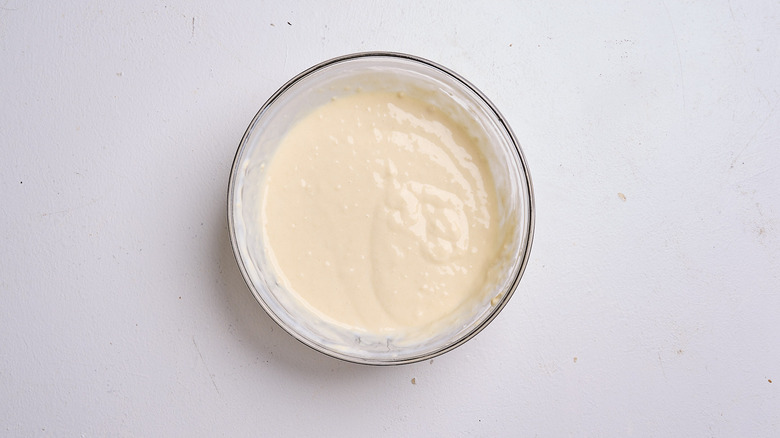
In another bowl, whisk together the egg and buttermilk, then add half of the flour mixture to the milk and combine into a batter.
Step 6: Dredge onions with batter
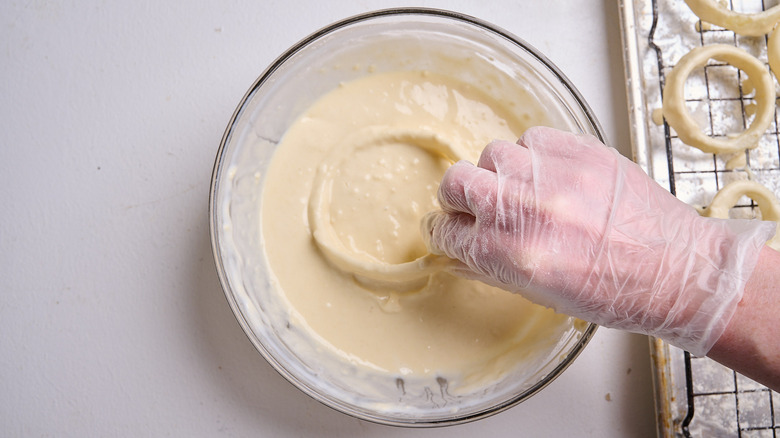
Dredge the onion rings in the batter and return to the wire rack.
Step 7: Heat oil for frying
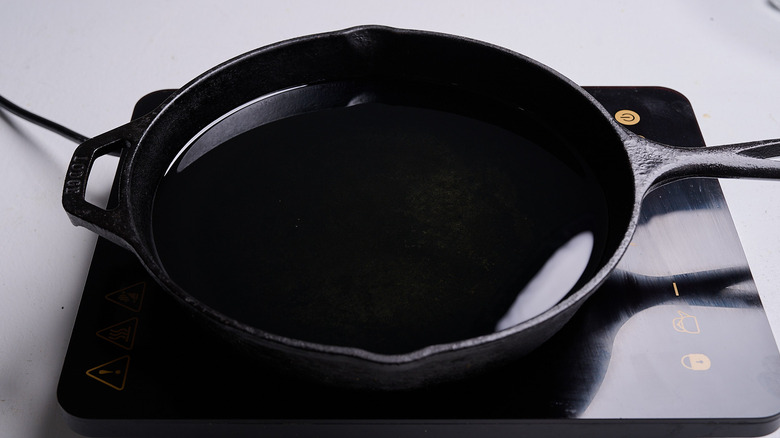
Heat the oil in a cast-iron skillet over medium heat until the temperature reaches 350 F.
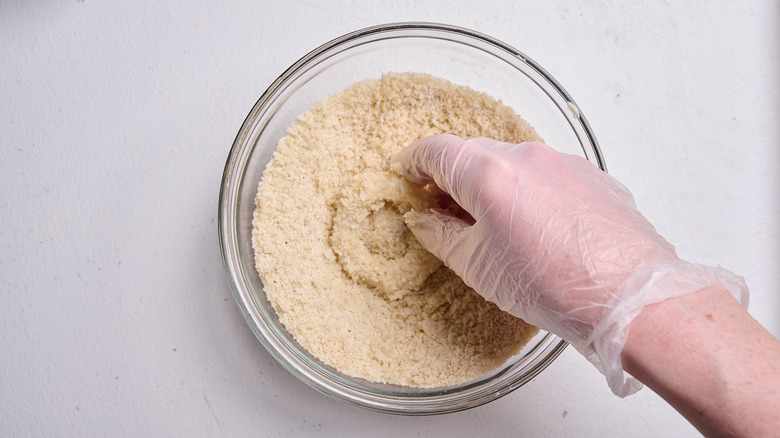
Step 8: Combine breadcrumbs with seasoning

Combine the breadcrumbs, 1 teaspoon salt, pepper, and garlic powder in a medium-sized bowl.
Step 9: Press onions into breadcrumbs
Working one at a time, press the onions into the breadcrumbs, making sure to coat both sides.
Step 10: Add onions to the oil
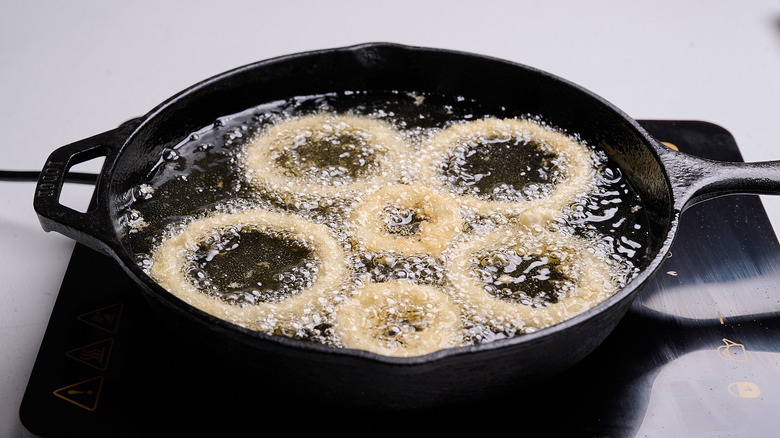
Carefully drop the onion rings into the oil, making sure not to crowd the pot.
Step 11: Fry onion rings in batches
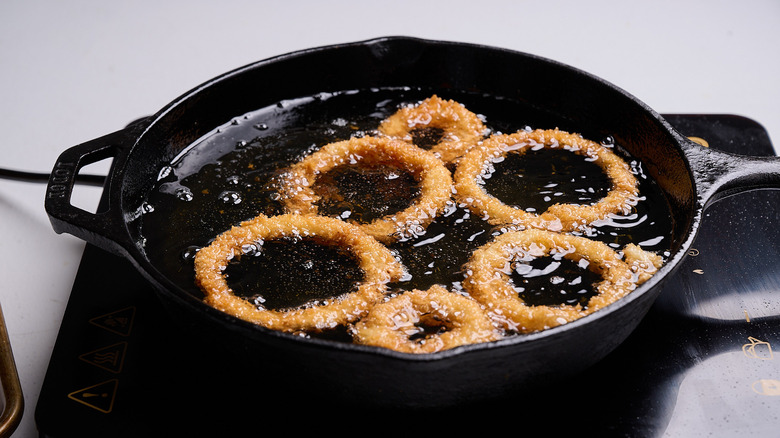
Fry the onion rings in batches for 4 to 5 minutes, or until golden brown, flipping halfway through.
Step 12: Remove and drain
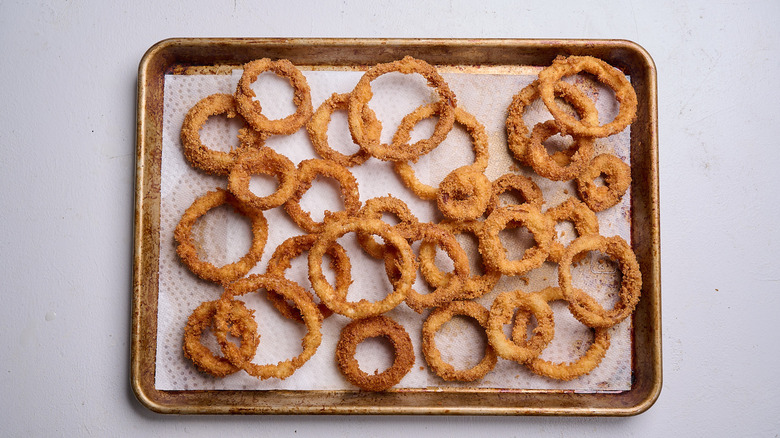
Once fried, remove the onion rings and drain on a paper towel-lined sheet tray.
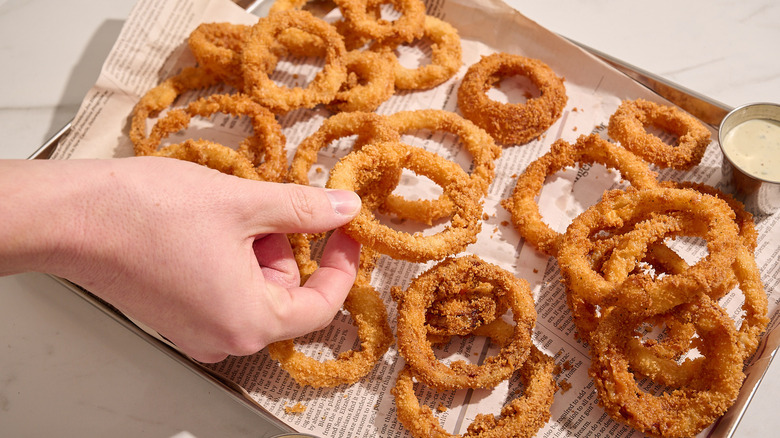
Step 13: Serve the onion rings
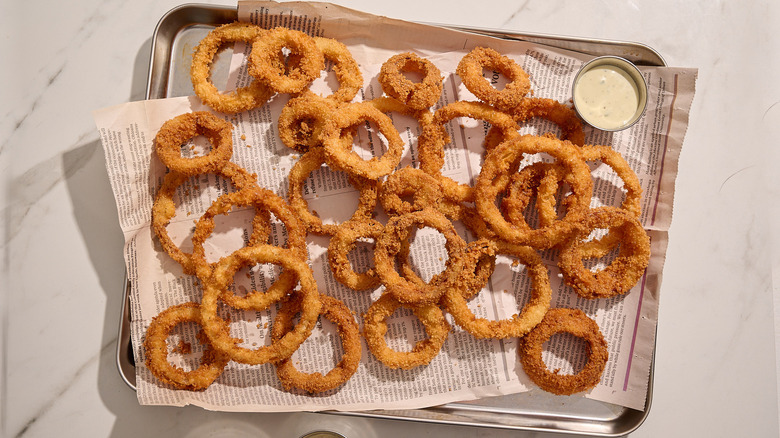
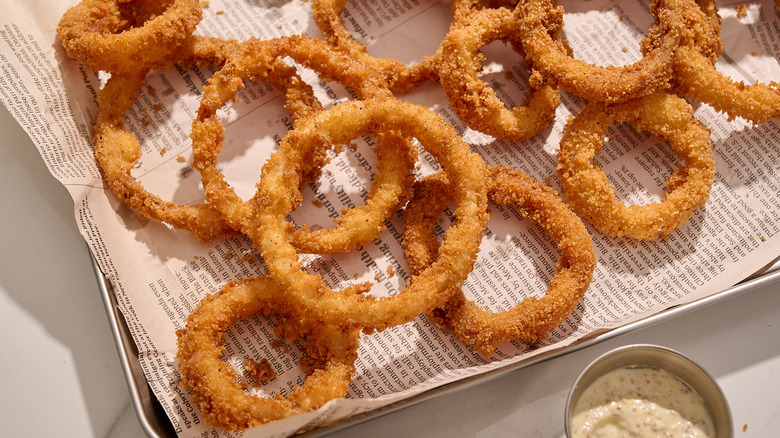
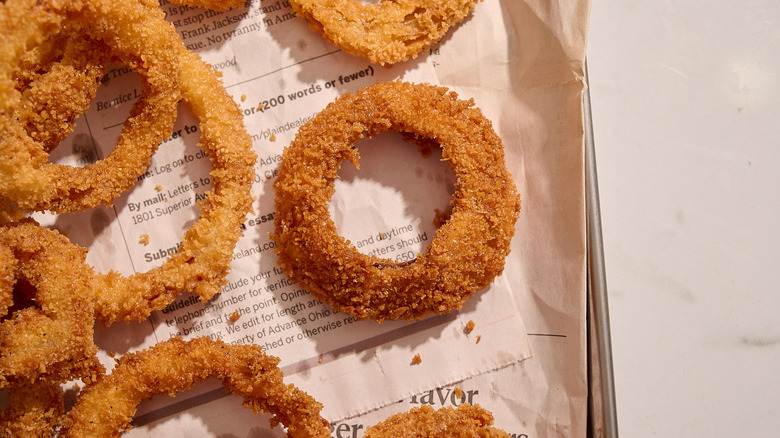
Serve the onion rings warm, with a dipping sauce of choice.
What to serve with old-fashioned onion rings
Old-Fashioned Onion Rings Recipe
These old-fashioned onion rings feature a classic buttermilk batter and breadcrumb coating, resulting in a perfectly crispy-crunchy fried snack.
Ingredients
- 1 large sweet or Spanish onion, sliced into ¼-inch slices
- 2 cups flour
- 1 teaspoon baking powder
- 2 teaspoons salt, divided
- 1 egg
- 1 cup buttermilk
- 1 quart vegetable or canola oil, for frying
- ½ cup plain breadcrumbs
- ½ cup panko breadcrumbs
- 1 teaspoon black pepper
- 1 teaspoon garlic powder
Directions
- Separate the onion slices into individual rings.
- Arrange a baking sheet with a wire rack.
- In a bowl, whisk together the flour, baking powder, and 1 teaspoon salt.
- Dredge the onion slices in the flour mixture and set aside on the rack.
- In another bowl, whisk together the egg and buttermilk, then add half of the flour mixture to the milk and combine into a batter.
- Dredge the onion rings in the batter and return to the wire rack.
- Heat the oil in a cast-iron skillet over medium heat until the temperature reaches 350 F.
- Combine the breadcrumbs, 1 teaspoon salt, pepper, and garlic powder in a medium-sized bowl.
- Working one at a time, press the onions into the breadcrumbs, making sure to coat both sides.
- Carefully drop the onion rings into the oil, making sure not to crowd the pot.
- Fry the onion rings in batches for 4 to 5 minutes, or until golden brown, flipping halfway through.
- Once fried, remove the onion rings and drain on a paper towel-lined sheet tray.
- Serve the onion rings warm, with a dipping sauce of choice.
Nutrition
| Calories per Serving | 620 |
| Total Fat | 32.2 g |
| Saturated Fat | 3.1 g |
| Trans Fat | 0.1 g |
| Cholesterol | 42.4 mg |
| Total Carbohydrates | 69.9 g |
| Dietary Fiber | 3.3 g |
| Total Sugars | 5.9 g |
| Sodium | 507.6 mg |
| Protein | 12.9 g |
How long should the buttermilk stay on the onion rings?
If you're having trouble adhering the breadcrumbs to the battered onion rings, it may be because the onion rings are still too wet. It is important to let the onion rings rest on a wire rack for 5 to 10 minutes before continuing to coat in breadcrumbs in order to let excess buttermilk drip from the onion rings and set into a tacky, glue-like texture. By letting the onion rings get tacky, the breadcrumbs better adhere to the surface. Think about attaching two surfaces with glue — it is more effective to let the glue dry very slightly before adhering together.
The recipe is written in the order that best lets the onion rings rest for the proper amount of time. Usually, when dredging and breading, I recommend heating the oil in advance so that the food can be dropped into the oil right away. In this recipe, I recommend heating the oil after dredging the onions in batter and before pressing into the breading to allow about 10 minutes for the batter to become sticky. Once the oil is hot, you can press into the breadcrumbs and fry.
What is the best way to reheat onion rings?
You can make a surprisingly large amount of onion rings with just one onion — about four servings or more, depending on how many onion rings you can eat in one sitting. For that reason, it's wise to make a batch to store and reheat as needed so that you always have a few onion rings on hand and don't need to make a batter from scratch (or stink up the kitchen by deep frying). Instead, you can simply bake or air fry the onion rings in minutes.
Store the onion rings in a large, sealable freezer bag in the refrigerator for up to five days or the freezer for up to three months. To reheat, add to the oven at 350 F for 10 minutes, until warm, baking on a wire rack so that excess oil drops below the rings instead of soaking back into the breading. To air fry, preheat the air fryer to 400 F and place the onion rings on a single layer, then fry until crispy, about 3 minutes. You can also re-fry the onion rings in a shallow layer of oil (which also happens to be the best way to reheat French fries) but be sure to heat the oil until very hot before adding the onions to the pan.