

Mini Bacon And Gruyère Quiche Cups Recipe
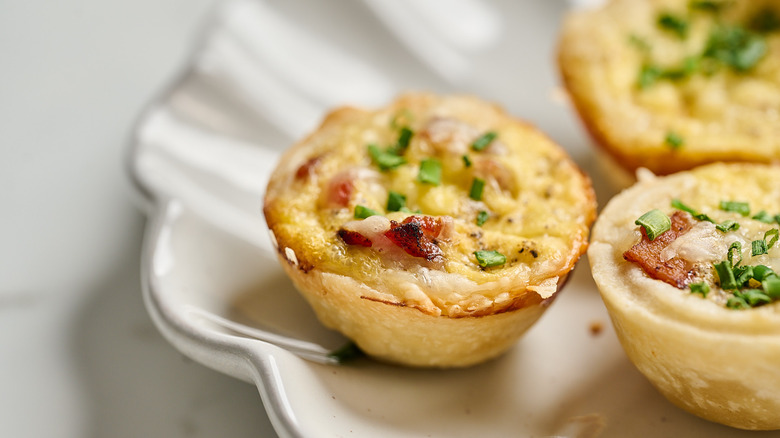
Creamy, custardy, and customizable, quiche is a powerhouse breakfast, brunch, or light lunch that is both filling and easy to make, all while being elegant to serve. Unfortunately, that's also what makes quiche difficult for busy mornings or elaborate gatherings, especially when you're making it from scratch. While reheating slices or making it sheet-pan-style can suffice in a pinch, quiche still requires a fork and knife, making it nearly impossible to eat on-the-go.
To satisfy both a quiche craving and a busy morning or party-planning, this recipe turns the full-sized pie into mini, one-bite cups of soft, eggy quiche with that classic combination of nutty Gruyère and smoky bacon. Even from scratch, these tiny quiches take half the time to prepare — and yield enough mini pieces to fuel your entire work week, or serve as hors d'oeuvres at parties; the small size and crispy crust make it easy for guests to snack on while mingling. Offering all the elegance of the full-sized pie in tiny, bite-sized portions, these quiche cups are the perfect way to have a wonderfully delicious breakfast, even on-the-go.
The ingredients needed to make mini bacon and gruyère quiche cups
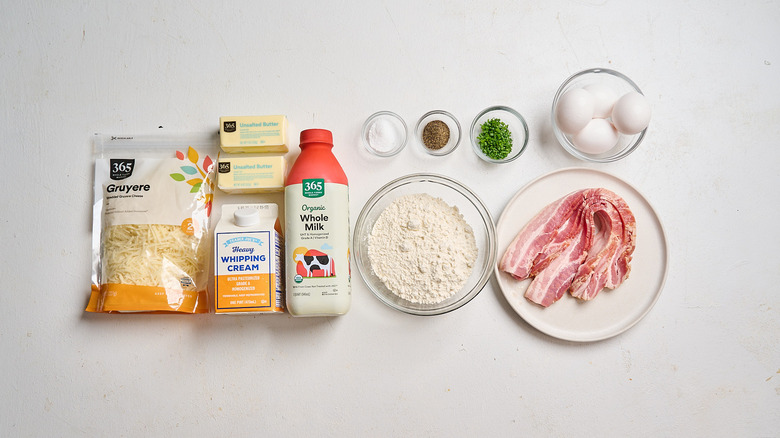
This recipe includes a homemade crust, which requires flour, salt, and chilled, super-cold butter. Then, for the filling, you'll need eggs, milk, heavy whipping cream, salt, pepper, Gruyère, bacon, and chives. If you can't find Gruyère, you can use fontina, a similarly melty and mild cheese, or you can swap it for mozzarella, cheddar, or Monterey Jack, which are all easy to find and lower in price.
Step 1: Pulse the butter into the flour
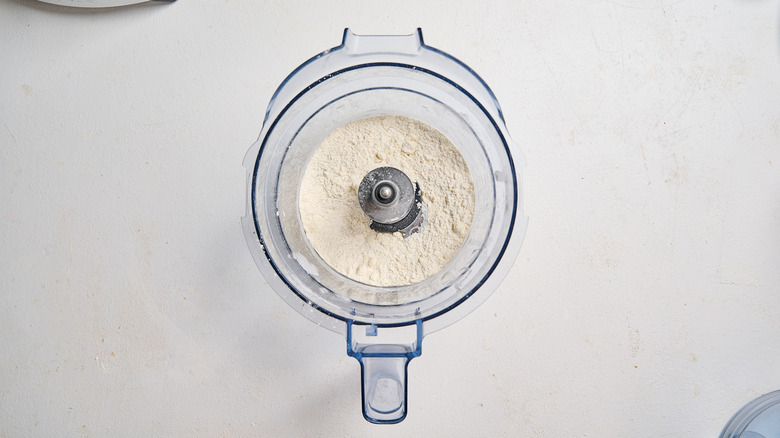
To make the crust, add the flour and salt to a food processor. Add the butter cubes and pulse until chopped into pea-sized pieces, about 10 pulses.
Step 2: Pulse into a dough ball
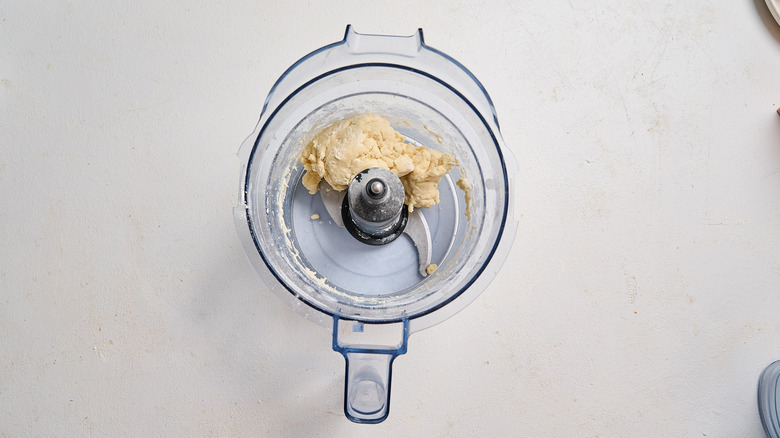
Add ½ cup ice-cold water and pulse until a ball of dough forms.
Step 3: Knead and chill
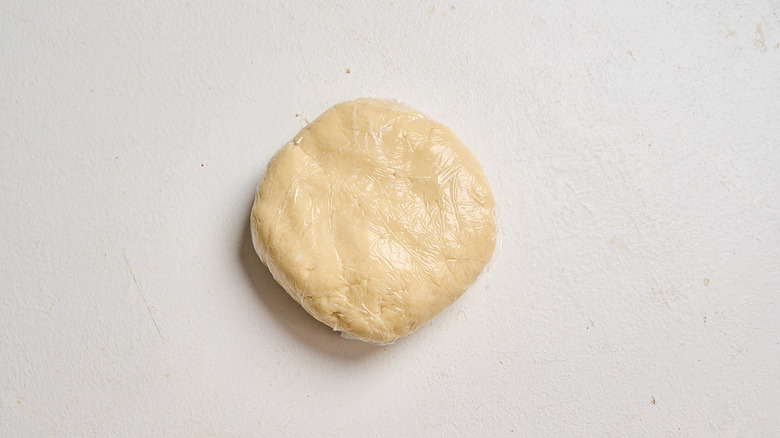
Remove the dough from the food processor and gently knead it into a disc. Chill for 30 minutes.
Step 4: Heat up a skillet
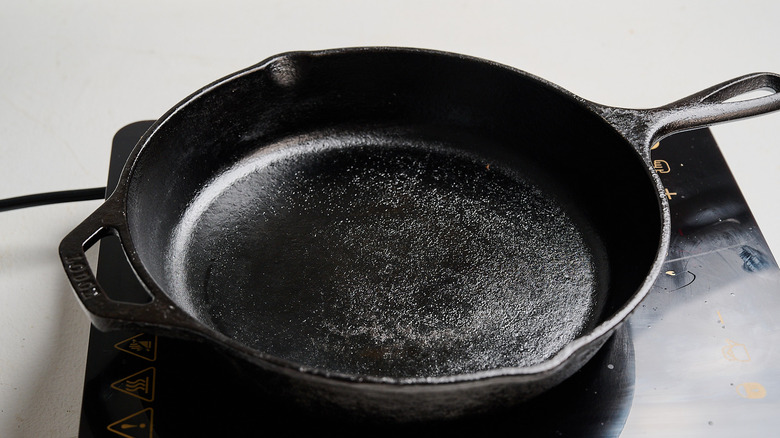
In the meantime, heat a cast iron skillet over medium heat.
Step 5: Cook the bacon until crispy
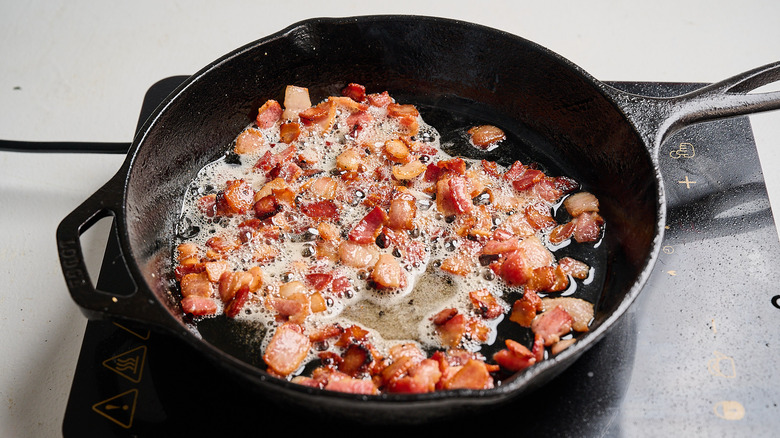
Add the bacon pieces and cook until crispy, about 5 minutes.
Step 6: Drain the grease
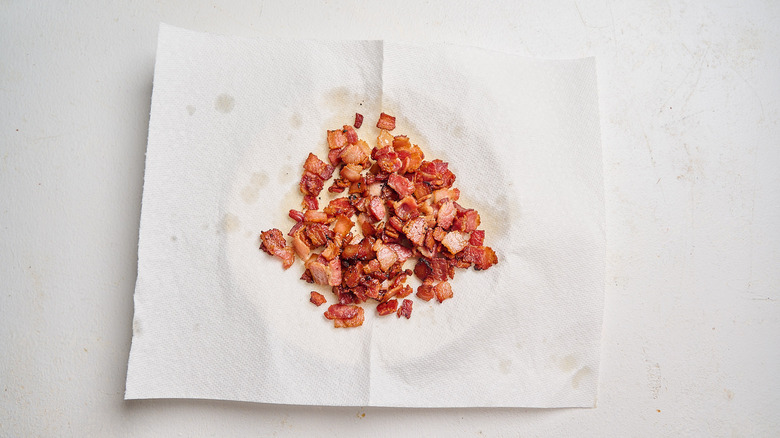
Drain on a paper towel-lined plate.
Step 7: Whisk the filling together
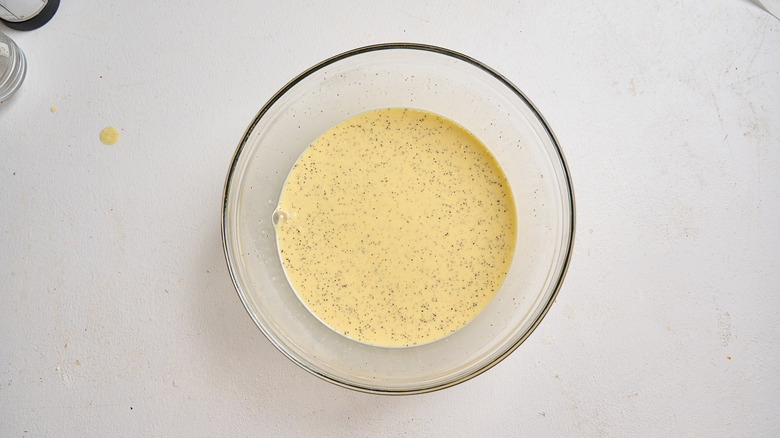
In a large bowl, whisk the eggs, milk, cream, salt, and pepper together until smooth.
Step 8: Heat up the oven
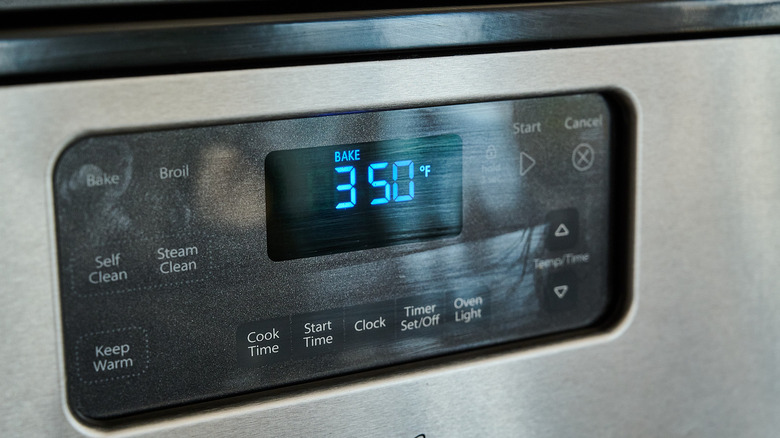
Preheat the oven to 350 F and spray a mini muffin tin generously with cooking spray.
Step 9: Roll out the dough
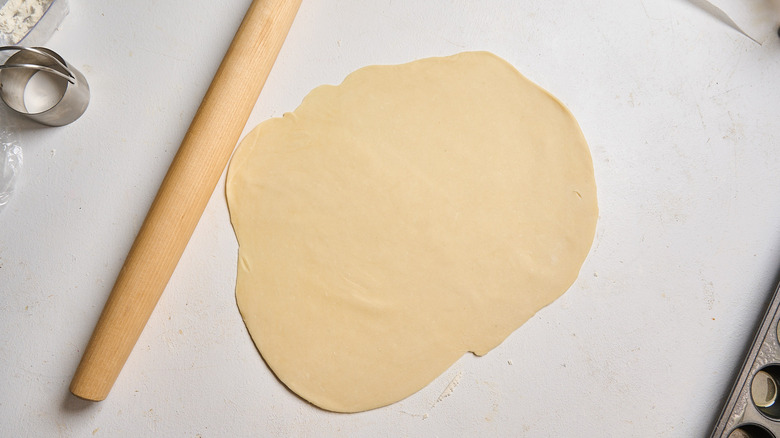
Roll the dough out to ⅛-inch thickness, or about the thickness of a quarter.
Step 10: Cut mini crusts from the dough
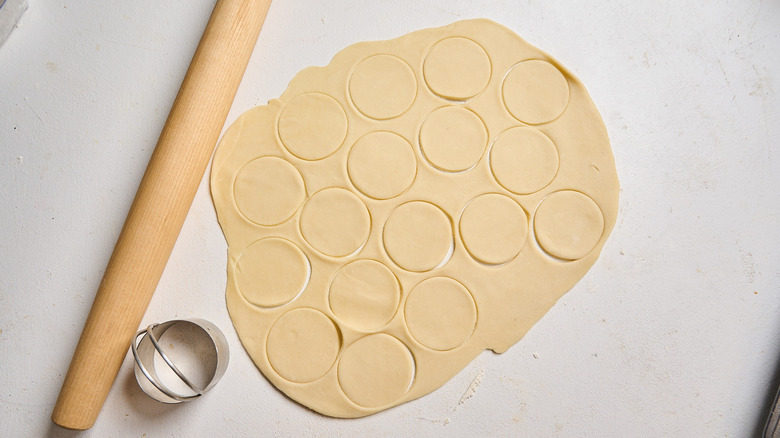
Using a 3-inch round biscuit cutter or cookie cutter, cut 24 rounds out of the dough. Chill the remaining dough while the first batch bakes.
Step 11: Press into the prepared pan
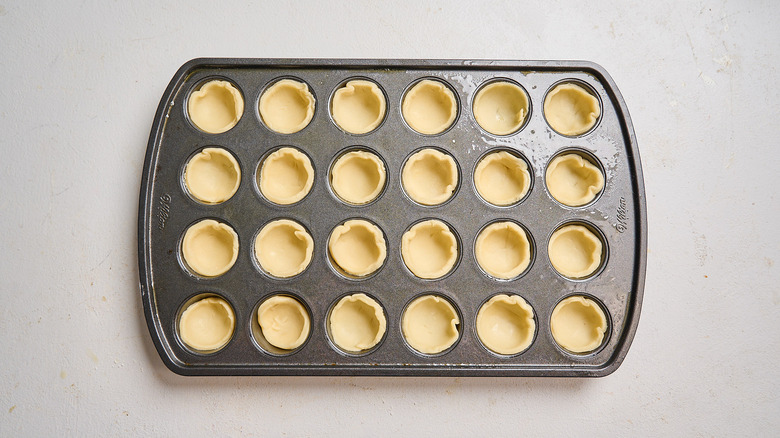
Press into the muffin tin to form pie cups.
Step 12: Divide the cheese and bacon into the cups
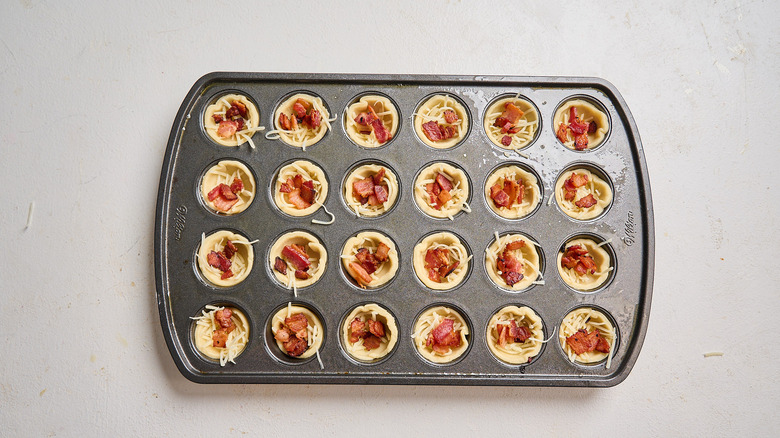
Divide the bacon and Gruyère across the cups, filling just under halfway, or a pinch of each ingredient. Save some Gruyère for the top.
Step 13: Pour the filling into each cup
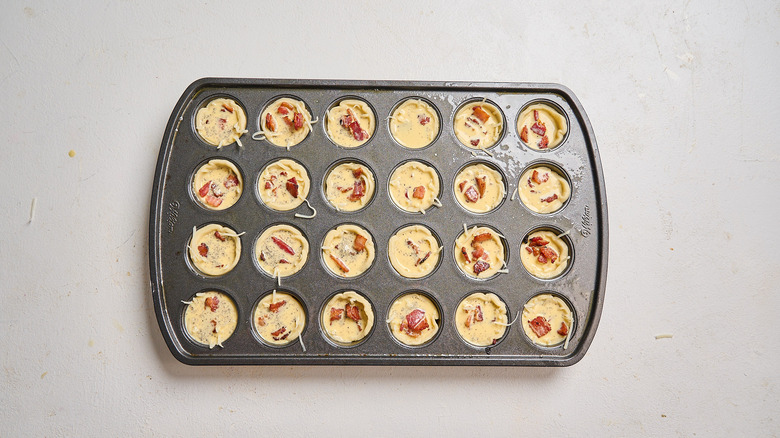
Pour the egg mixture to fill each cup.
Step 14: Top with cheese
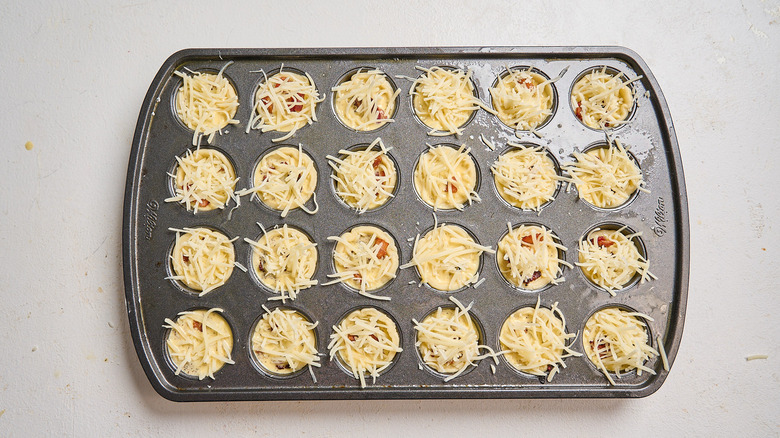
Top with Gruyère.
Step 15: Bake until just set
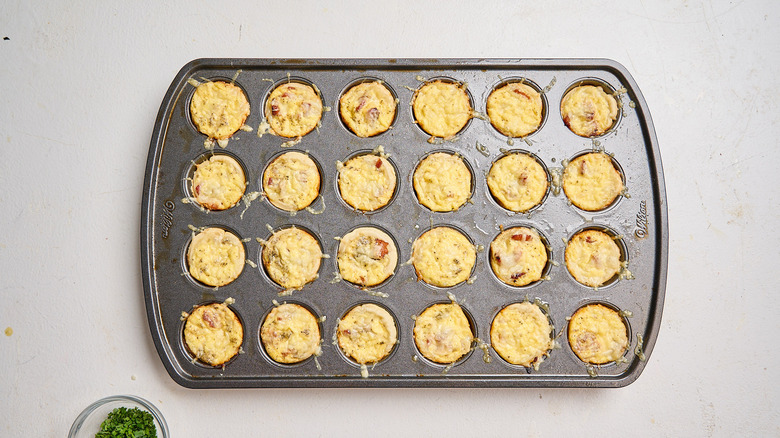
Bake for 25 to 30 minutes, or until just set. To make 48, repeat with the remaining ingredients.
Step 16: Cool and serve the mini quiche
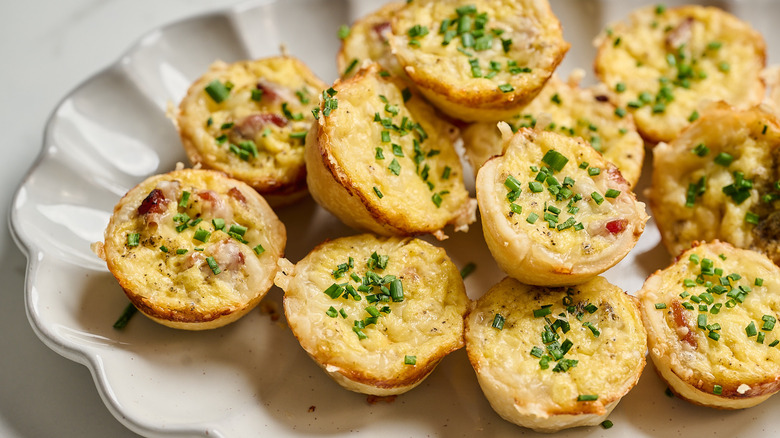
Let the cups cool before removing them from the muffin tin. Top with chopped chives to serve.
What can I serve with mini quiche cups?
Mini Bacon and Gruyère Quiche Cups Recipe
These cute mini bacon and Gruyère quiche cups make for a perfect for breakfast on-the-go, but they're equally at home as part of a brunch spread.

Ingredients
- For the crusts
- 2 ½ cups all-purpose flour
- 1 teaspoon salt
- 16 tablespoons butter (2 sticks), chilled and cubed
- For the filling
- 6 strips bacon, diced
- 4 eggs
- ½ cup whole milk
- ½ cup heavy whipping cream
- ½ teaspoon salt
- ½ teaspoon pepper
- ½ cup shredded Gruyère cheese
- 2 tablespoons finely chopped chives
Directions
- To make the crust, add the flour and salt to a food processor. Add the butter cubes and pulse until chopped into pea-sized pieces, about 10 pulses.
- Add ½ cup ice-cold water and pulse until a ball of dough forms.
- Remove the dough from the food processor and gently knead it into a disc. Chill for 30 minutes.
- In the meantime, heat a cast iron skillet over medium heat.
- Add the bacon pieces and cook until crispy, about 5 minutes.
- Drain on a paper towel-lined plate.
- In a large bowl, whisk the eggs, milk, cream, salt, and pepper together until smooth.
- Preheat the oven to 350 F and spray a mini muffin tin generously with cooking spray.
- Roll the dough out to ⅛-inch thickness, or about the thickness of a quarter.
- Using a 3-inch round biscuit cutter or cookie cutter, cut 24 rounds out of the dough. Chill the remaining dough while the first batch bakes.
- Press into the muffin tin to form pie cups.
- Divide the bacon and Gruyère across the cups, filling just under halfway, or a pinch of each ingredient. Save some Gruyère for the top.
- Pour the egg mixture to fill each cup.
- Top with Gruyère.
- Bake for 25 to 30 minutes, or until just set. To make 48, repeat with the remaining ingredients.
- Let the cups cool before removing them from the muffin tin. Top with chopped chives to serve.
Can I make crustless mini quiche?
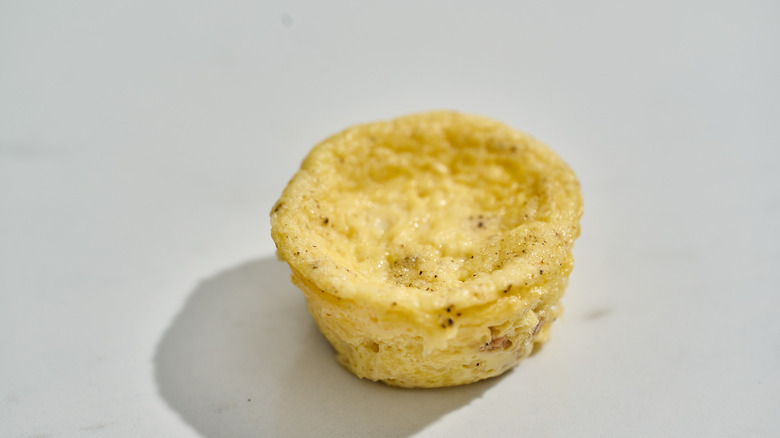
One way to shortcut this recipe is to use store-bought pie crusts, but another way is to skip the crusts altogether. This recipe actually works well for crustless quiche, which essentially becomes egg bites (like the kind Starbucks made popular). While more dense than our favorite store-bought sous-vide egg bites, they make a great gluten-free option for easy, on-the-go breakfasts. To prepare this recipe this way, the process is virtually the same, but there are a few things to keep in mind when making crustless quiche.
First, be sure to spray the muffin tin exceptionally well to prevent the egg bites from sticking, then prepare the filling as directed. Instead of filling each cup with crust, you'll skip ahead to filling them with the egg mixture, then you'll add the bacon and cheese. Carefully add the muffin tin to the oven and cook the egg bites without opening the door until the egg is just set, about 15 to 20 minutes. Without the crust, the egg cooks faster, so the cook time can be shortened to almost half.
Can I parbake the crusts?
What you might notice with your mini quiche is that the crust is much lighter and less crunchy than it would be for a full-sized pie. Though the crusts are indeed cooked all the way through, they never quite get the chance to brown while filled with egg. While this might not matter for meal prepping where the crust color is barely noticed, for special occasions you may want a more polished-looking, crunchy crust. You can do this by par-baking the crust, which just requires a few extra minutes and is actually another great way to cut down the same-day prep time for this recipe. Par-baked crusts will last well-covered for up to 3 days in the fridge.
Pre-baking quiche crust is helpful in achieving a brown and crunchy crust, because the crust takes longer to bake than the eggy insides. To use this method with minis, fill each cup with the dough, then poke several small holes into the bottoms of each crust with the prongs of a fork. This releases steam and prevents the dough from rising and becoming pillowy, which would make it impossible to fill the tiny cups. Bake the crusts for about 8 minutes, or until just barely browned. During this time, keep an eye on the crusts: If any begin to rise, remove the tray from the oven and let the crusts deflate before adding a few more holes and returning them to the oven again.