

10 Common Propane Grilling Mistakes You Need To Stop Making
We may receive a commission on purchases made from links.
Charcoal will always have its fans, but gas grills are overwhelmingly America's choice, accounting for about 60% of U.S. sales. It's hard to argue with the convenience of modern gas grills: They ignite at the push of a button and shut off again at the turn of a dial; there's no waiting, no ash, and no mound of hot coals to dispose of afterward. And, with prices starting at under $100, there's a gas grill for every budget.
You can even find smart grills from established brands and innovative newcomers that let you monitor — sometimes even set and control — heat and doneness remotely, from your phone. But that base-level ease of use can lead to overconfidence and poor results if you don't understand the ins and outs of working with your gas grill.
I'm a trained chef and longtime griller myself, and I've learned a lot (often the hard way) from grilling on everything from tiny portables to those table-sized grills caterers use. Let me tell you about 10 common grilling mistakes I see all the time, and how you can avoid them.
Choosing your grill based on raw BTUs
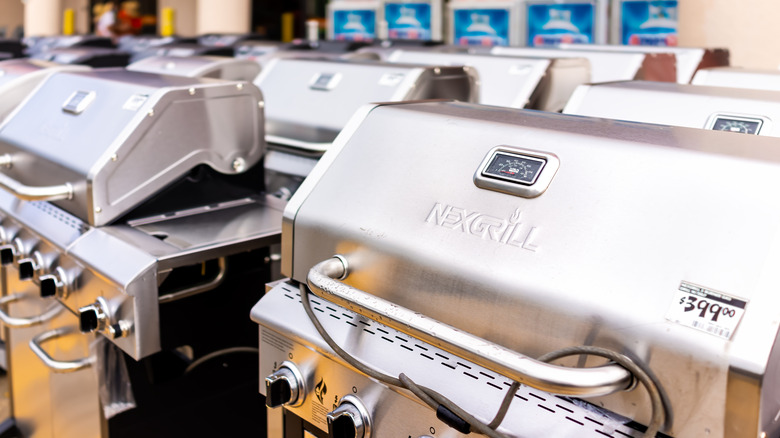
Let's start at the beginning, with the process of actually choosing your grill. You'll find all kinds of features and specs, as you browse from store to store or manufacturer to manufacturer, but one number features prominently in almost every spec sheet: how many BTUs that bad boy pumps out.
BTUs (British Thermal Units) measure the heat output of your burners, but they don't tell the whole story. The tube-style burners heat more efficiently than the old H-shaped designs, for example, but even high-BTU burners won't help if your grill is too large for them. To check, divide the total BTUs (for all burners) by the cooking area in square inches. For everyday grilling, you need at least 80 BTUs/square inch, and if you want high-temperature searing, 100 BTUs/square inch is better.
But sheer heating power isn't the whole story, either. A really powerful furnace won't keep you warm if your home is uninsulated and has Victorian-era windows, and grills have the same issue. A well-constructed grill with a heavy, close-fitting lid and firebox will retain a lot more heat than a lightweight, flimsy one. And depending on your cooking style, you may get better results from a grill with fewer BTUs per burner and a specialized searing burner. So give some thought to the features you want, read lots of buyer reviews, and don't put your faith in BTUs alone.
Not inspecting your grill ahead of time
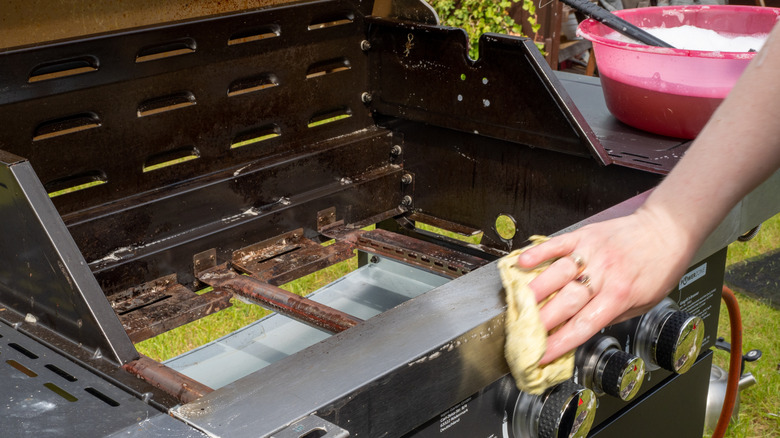
Gas grills are pretty safe when they're maintained properly. If they aren't, all bets are off. In a best-case scenario, your grill just won't perform as it should. In a worst-case scenario, lack of maintenance can result in a fire or an ER visit.
At the start of barbecue season, you should give your grill a deep cleaning and inspection. Take a good look at the burners to see if any vents are clogged with gunk. Check the venturi tubes, which carry gas to the burner and mix it with air (analogous to the carburetor on a gasoline engine), because small critters like to get in there. They have spider guards to prevent this, but they don't always work. Evicting various kinds of creepy-crawlies is usually part of this kind of "spring cleaning." Spiders and earwigs are common, for example, and I've even once removed a (populated) mouse nest.
After checking out the grill itself, use the soapy-water test to check your tank's regulator, the gas line, and its fittings for leaks. If you see bubbles, replace the regulator and the attached hose and fittings. If your gas grill is the type that uses pumice stones to diffuse heat, discard the old ones (you'd have removed them anyway, before cleaning) and put in new ones. Finally, give your grill a thorough cleaning. Now, you're ready to host that first weekend get-together!
Trying to grill on an empty tank
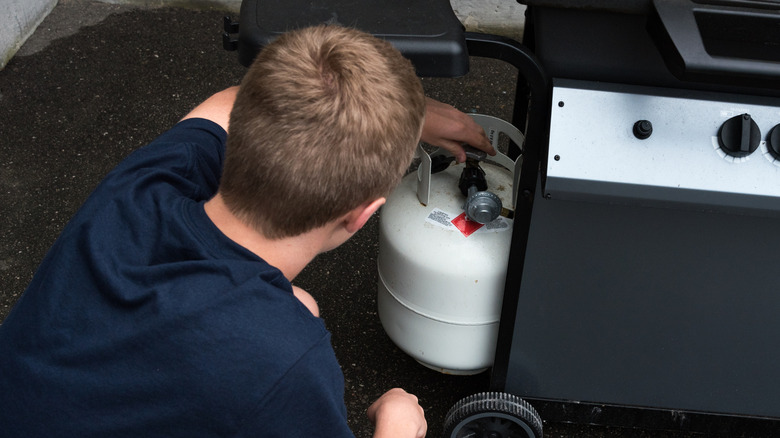
Okay, this is something that we've probably all done (I'll cop to it, right up front). It's easy to lose track of how much grilling you've done since that last fill or exchange of the tank, and to run out of propane while food is on the grill.
It's easy to avoid if you check your tank first. This gets drilled into any professional who's using a grill for catering: Running out at home is embarrassing and inconvenient, but running out during a paid job is a costly reputation-killer. Chefs and caterers often minimize that risk by installing a gas gauge on the tank, which works just like the one in your car (they're inexpensive; this highly rated propane tank gauge is $12.99 at the time of writing).
That doesn't help you today, though. If you need to know how much is in your tank right now, without buying anything, pouring warm water over your propane tank is an easy test (the full and empty parts feel different to the touch afterward). Alternatively, you can plop the tank onto your bathroom scale for a more accurate measurement. A standard 20-pound tank usually weighs 17 or 18 pounds when it's empty (your tank's empty or "tare" weight should be stamped somewhere around the top), so everything above that is gas. So — for example — if your tank weighs 17 pounds empty, and it now weighs 22 pounds, you know you've got a quarter-tank (5 pounds).
Not knowing your grill's hot spots
Every grill heats just a little bit differently, just as every home oven does. Over time, if you grill regularly, you'll slowly get to know where your own grill's hotter and cooler spots are through trial and error.
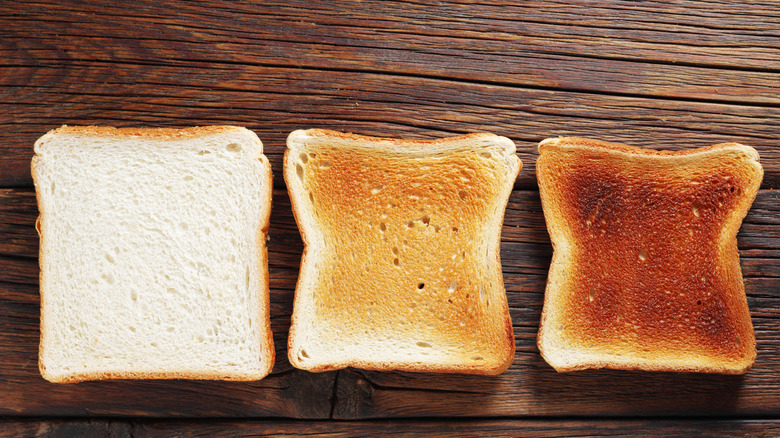
Or (hear me out, here), you could just spend a few minutes testing your grill, and skip most of the "error" part of trial and error. After all, why should you and your family have to eat the resulting mistakes? There are a few different ways you could do this — if you're a serious "grill geek," you could deploy a bunch of probe thermometers — but for me, the easiest technique calls for nothing more than a loaf of plain ol' store-bought white bread.
Start by firing up your grill and setting it to a medium cooking temperature (let's say 350° Fahrenheit). Once it's up to temperature, spread slices of ordinary white sandwich bread across the grate, then close the lid and wait for two or three minutes. When you open it, the places where your bread has browned the most are your hot spots, and those where it's still pale are the cool spots (you may have used the same test at some point to find the hot spots in your oven).
Putting food on the grill before it's fully heated
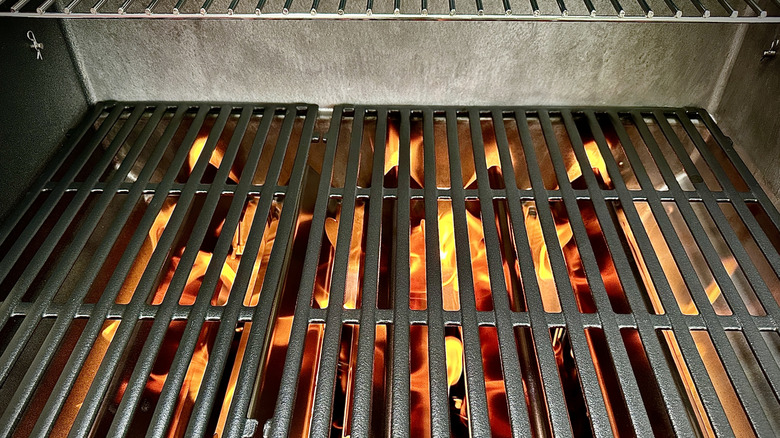
Fast startup is one of the big advantages gas grills have over charcoal. No fussing with a chimney starter or (ugh) lighter fluid, no waiting for the coals to turn gray, just turn on the gas and hit your igniter button.
Still, don't be too wedded to the whole quick-start idea, because there's a point of diminishing returns. The thing is, your food is only partly cooked by the heat rising from the flames. Heat radiating from the lid, the firebox itself, and direct contact with the metal grates all play a role. And it's the grates, of course, that give you those beautiful grill marks that impress the neighbors and look great in the shots you post on your Instagram. If the grill isn't hot enough, the grill marks will be underwhelming, and your food may stick to the grates, just as they do in a skillet that's not hot enough.
So invest about 10 minutes, first, in letting your grill heat up with the lid closed. That's time enough for your grates to come all the way up to temperature, and for the metal of the lid and the grill's body to come fully up to temperature. At that point, you can raise the lid, oil your grates, and start grilling, knowing you'll get good grill marks and that your food won't stick to the fully-heated grates.
Not cleaning your grill's grates after every use
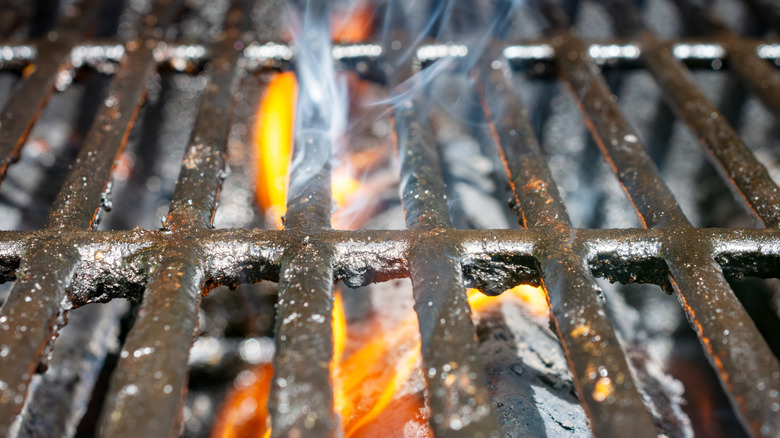
This is something that I'm really adamant about, because aside from being a former chef and restaurateur, I was also a food safety trainer. I've met a surprising number of people who are reluctant to clean their grates, on the grounds that a buildup on the grate "adds flavor."
Think about this for a minute, and ask how you'd feel about somebody who didn't clean their pots and pans, or their plates and silverware, for that matter. You see what I mean, right? "Last week's charred fat and barbecue sauce" is a flavor, for sure, but not one I can be enthusiastic about. More importantly, the accumulated gunk can harbor bacteria and mold.
The best and easiest time to clean your grill is usually right after you've finished cooking. Close the lid for a few minutes while you're eating so any debris stuck to your grill has time to fully char to ash, then scrape off the gunk with your choice of cleaning tool. Old-school wire brushes pose an injury risk, but there are plenty of newer, safer choices out there, like this bristle-free option from BBQ-Aid and this bristle-free brush and scraper from Grillart. If you're too busy with your guests to clean the grates right away, the second-best time is when you've just preheated the grill (if you needed another reason to cultivate that good habit).
Cooking everything at full blast
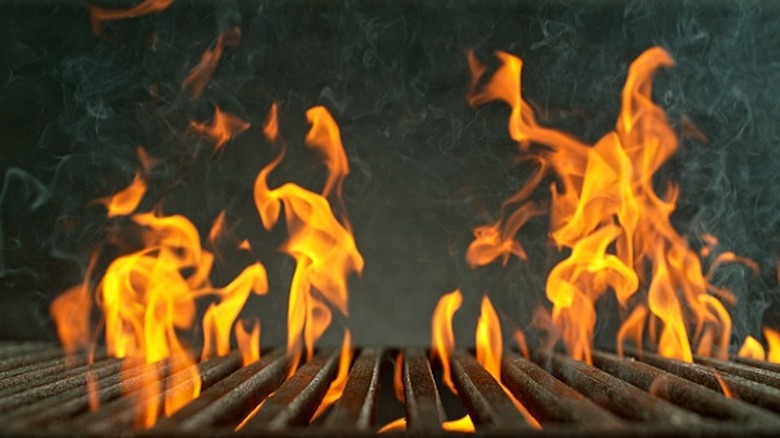
You probably don't drive your car with your pedal to the floor (at least I hope not!), and you shouldn't run your grill that way, either. Although comparative reviews put a lot of emphasis on a grill's ability to crank out high heat, it's something to use selectively.
There aren't really a whole lot of foods that actually need to cook on high heat. For common grilling items, off the top of my head, they're limited to thin steaks, chops, hamburger patties, and shrimp. For everything else, you're better off dialing it back and cooking over moderate heat. Better yet, learn to set up your grill for two-zone cooking, with the burners hot on one side but turned off on the other (depending on how many burners you have, and how they're configured, you may have other options, but this is the most common setup).
For thick steaks and chops, ribs, large cuts of poultry, or even — if you're ambitious — roasts or pork shoulders on the grill, the indirect heat of a two-zone setup is your best way to do most of the cooking. Then, once they're cooked through to almost your preferred doneness, you can give them a final blast at high heat to get a good, hard sear. It's the grilling version of the popular "reverse sear" cooking method, and it works really well for grilling thick steaks so they're perfectly done.
Not planning for flare-ups
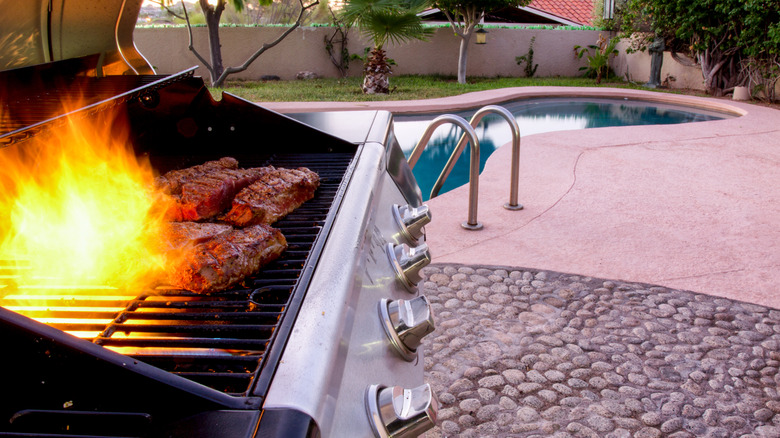
There are going to be times when the fat dripping from your meat ignites and causes flames to leap up from below the grill grates. If you're standing right there at the time — it often happens when you move food around — it can give you a real horror-movie jump scare, or even a burn, and that sooty smoke makes your food black and nasty-tasting.
Flare-ups aren't a surprise. You know they'll happen, especially when you cook fatty foods like ribs, skin-on chicken, or ribeye steaks, so plan for them in advance. For starters, you can proactively trim excess fat from your steaks and chops, and any under-skin fat (or loose bits of skin) from chicken pieces. Two-zone cooking also reduces flare-ups, among its benefits, because most of the cooking and fat-rendering happens where the burners are turned off. And — it should go without saying — if the innards of your grill are thick with accumulated drips, give it a good cleaning before the next use.
When you do still get flare-ups (and you will), don't try to put them out with water. Instead, move your food away from the heat and then close the lid to smother the fire. If necessary, turn off your burners as well (you can restart them quickly, and your grill is already heated). Flare-ups may look dramatic, but they can be dangerous. So don't disregard them, but plan around them and do what you can to keep them to a minimum.
Trusting your grill's built-in thermometer
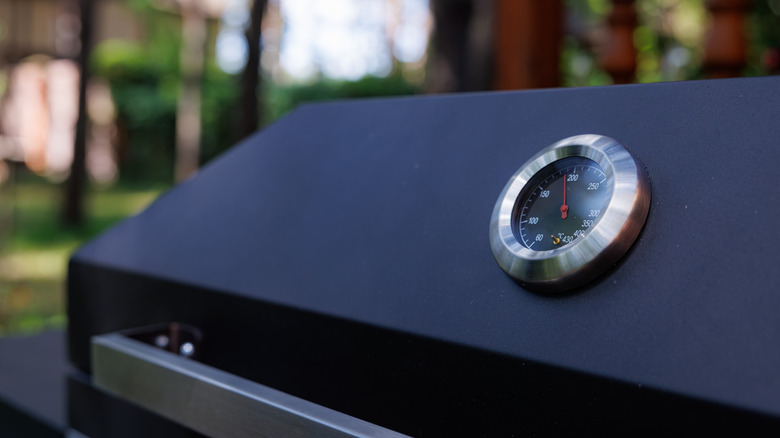
One of the sad truths about the grill-manufacturing business is that, however shiny and new your grill, the thermometer that's built into the lid is not reliable. They're not a feature that drives sales, so manufacturers have little incentive to spend more than the bare minimum to have one there.
Even if the thermometer in the lid was accurate to within a few decimal points, there's a larger problem at play: It tells you the temperature at the lid, which is not where your food cooks. It's not even good at telling you the temperature within the grill as your food cooks with the lid down, because heat circulates around the food. Temperatures will be higher in some places, and lower in others.
A point-and-shoot infrared thermometer can give you spot temperatures for the grill bars and lid, which can tell you when your grill is adequately preheated. I have one (it looks much like this Etekcity infrared temperature gun on Amazon) and use it for that exact purpose. Alternatively, you can use probe-style remote thermometers to get accurate temperatures from the grates and multiple points inside the grill. A good probe thermometer with multi-lead capability, like the more sophisticated models in our roundup of best meat thermometers, can give you accurate grill temps and food temps at the same time.
Constantly opening the lid
It's a common truism in baking that opening the oven door is a mistake. It won't necessarily make your cake fall, as they did for laughs in old sitcoms, but it's still an error that can keep your cake from reaching its full height.
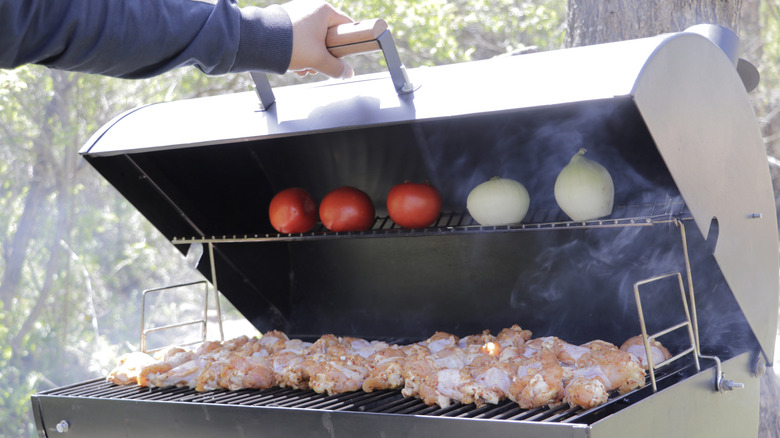
The same holds true for grilling. A lot of the best grill cookery is done with the lid down, trapping heat (and minimizing the impact of outdoor conditions), essentially turning it into a temporary oven in its own right. As you'll know if you've read this far, lid-down cooking is the best option for thick steaks and burgers, big pieces of chicken, and more. That's doubly true when you use a two-zone cooking setup, which relies on trapping the heat from the active burners to cook what's positioned over the inactive burners.
So every time you lift that lid to have a peek, and "see how things are doing," you're letting out a lot of the heat that would otherwise be cooking your food. Every time you do it, dinner gets a little further away. Worse yet, sometimes the reduced heat means your food won't cook evenly, depriving you of that ideal combination of a perfectly cooked interior and a perfectly seared exterior. So be patient, and trust that your grill will do its job without being watched. There are plenty of grilling sites that can tell you how long a given cut should take, at a given temperature, so you don't need to guess.