10 Kitchen Items You Should Be Cleaning Weekly
We all know how important it is to keep our kitchens clean. After all, hygiene is key in any space where food is being prepped. If you're a stickler for your countertop-wiping routine, and great at keeping on top of your dish-washing, you're off to a good start. But are you really covering every nook and cranny that needs attention?
On the surface, your kitchen might look sparkling clean, but if you take a closer look, there are likely a few areas that you're missing, such as handles or even certain item you regularly use. We'll admit, it's easily done. Our kitchens are home to countless appliances, food containers, and cleaning tools, and these items often get overlooked when giving the kitchen a quick once over. But, once you're aware of them, staying on top of these less obvious spots doesn't have to be complicated.
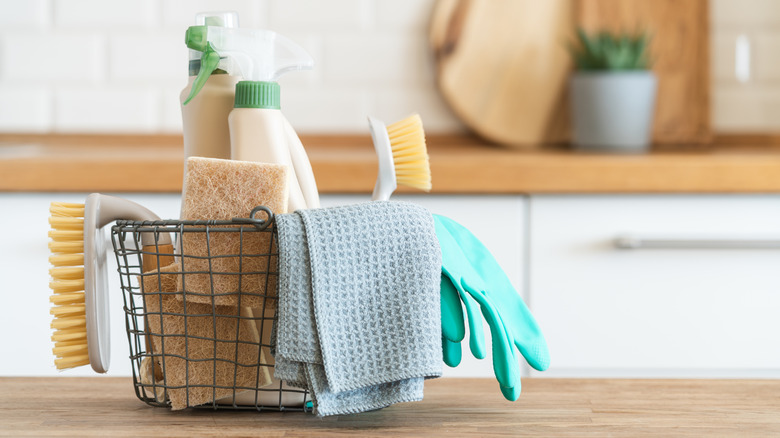
With a quick weekly reset, you'll prevent grime and bacteria from building up in your kitchen, meaning there'll be less need for time-consuming deep cleans further down the line. A few small habits can go a long way in helping you maintain a fresher, safer environment, so here are some of the items to add to your weekly cleaning checklist.
1. Sponges
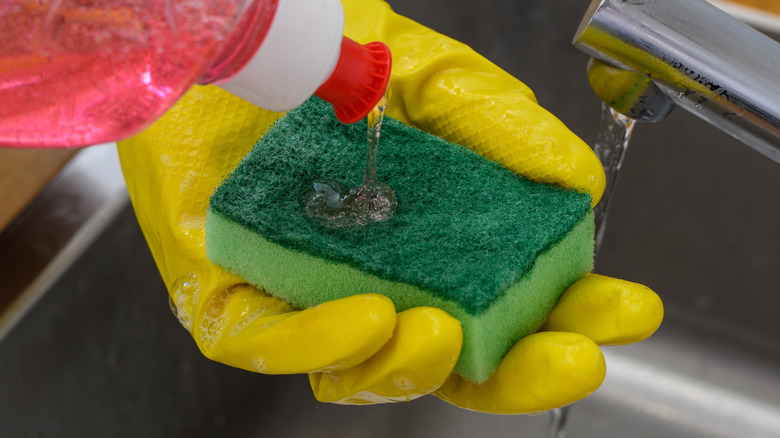
It might be getting a daily dowsing of dish soap and water while you scrub plates and surfaces, but your kitchen sponge does in fact require regular cleaning itself. Being constantly exposed to moisture and food residue, this sinkside staple offers the perfect environment for bacteria to thrive, making the kitchen sponge one of the dirtiest items in your home.
To avoid spreading germs around your kitchen, it's best to thoroughly clean, or even better, replace your sponge altogether once per week. There are a few different ways to clean and sanitize a sponge effectively. One of the easiest methods is giving the sponge a quick soak in a 10% bleach solution. Around three minutes is all that's required to eliminate any potentially harmful bacteria. Alternatively, you can pop the sponge in the dishwasher, or zap it in the microwave for two minutes, so long as it doesn't contain any metal. Couple this weekly clean with a daily rinse in hot water, and you'll help keep bacteria at bay.
Kitchen sponges typically need replacing around once every two weeks, and there are a few tell-tale signs that it's time to switch yours out. For example, if the sponge is starting to fall apart, has a musty smell, or visible staining. Or, if you've used it to scrub mold or raw meat residue, it's probably best to toss it.
2. The microwave
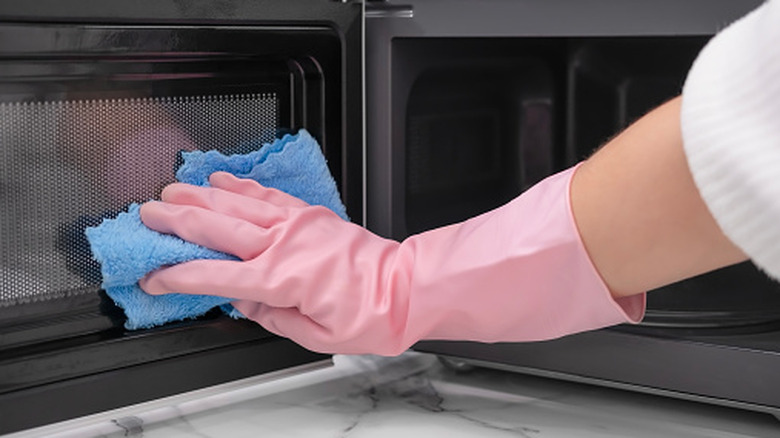
If your microwave looks relatively clean from the outside, it's easy to forget those splatters and spills lurking behind the door. Food residue can quickly build up in a microwave's interior, and left unchecked, this may cause unpleasant odors, harbor bacteria, and potentially affect the taste of any food you heat up.
Keeping your microwave fresh doesn't require a huge amount of effort, and a quick weekly clean is usually enough to stay on top of things. One particularly nifty method is to clean your microwave with lemons by popping in a bowl of water containing a few lemon slices, and heating it for a couple of minutes. The combination of the steam and citric acid from the lemon helps to break down any stubborn grime, making it easy to wipe away with a cloth afterwards. If your microwave has a removable turntable, you might find it simpler to remove this and give it a quick scrub in the sink with some dish soap.
3. The garbage disposal
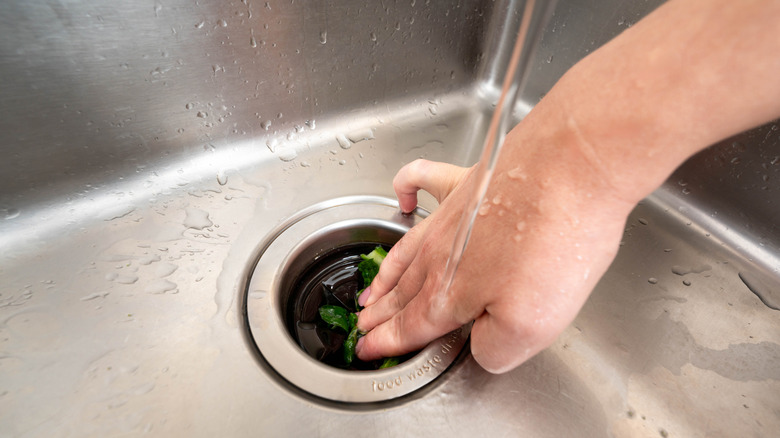
The garbage disposal is another hotspot for hidden buildup in the kitchen. With food scraps passing through it daily, the grinding container can quickly develop a layer of rather unpleasant-smelling residue if not regularly cleaned. Because it's tucked out of sight, this notoriously grimy area is often missed, but a weekly freshen up will keep things smelling great and running smoothly.
A great way to tackle buildup is with lemon juice and vinegar ice cubes. Simply freeze a mixture of the two, and pop a handful of the cubes into the disposal while it's running. Run some water through at the same time, and keep it on until everything is ground up and you can only hear the motor running. This is a highly effective way to dislodge grime, thanks to the gentle abrasive nature of the ice, and the acidity of the vinegar and lemon.
If your disposal is in need of a deeper clean, try scrubbing the inside of the chamber manually with a sponge and some dish soap (just make sure to cut the power first). Follow this with some baking soda and vinegar (a one-to-two ratio works well), covering the opening and leaving everything to fizz for 10 minutes or so before rinsing thoroughly with running water.
4. The dish rack
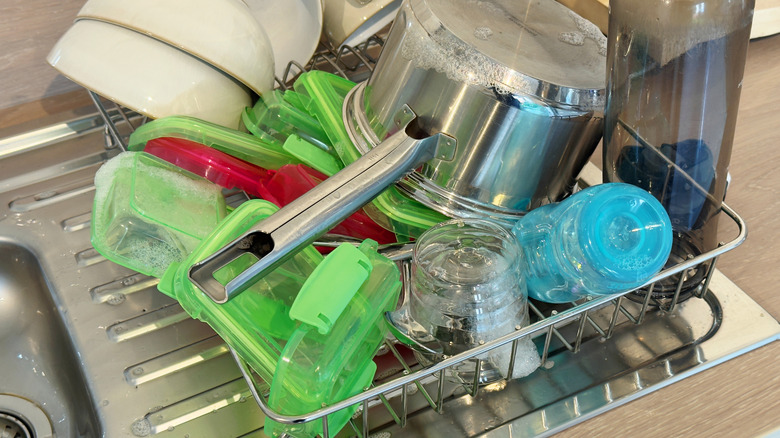
Your freshly washed kitchen utensils might be sparkling clean, but what about the dish rack they're sitting on? This trusty draining tool speeds up drying times by allowing airflow between your pots, pan, and plates, but the water that drips off often gets trapped in the rack itself. And, that lingering moisture creates the perfect conditions for unwanted bacteria and mold to develop. Despite seeing daily usage in most kitchens, dish racks aren't cleaned nearly enough, and a weekly wash and dry is highly recommended.
Many dish racks are dishwasher safe, and this is a wonderfully hassle-free way to keep things fresh. Just pop the rack on the top shelf and run the cycle as normal, and everything will come out completely sanitized. If your dish rack isn't suitable for the dishwasher, you can also scrub it by hand. A combination of good old-fashioned dish soap and warm water is the best approach here. Give the rack a good rinse, and make sure it's completely dry before setting it back down on the sink. Sometimes, stubborn limescale stains won't come off with soap and water alone. In this case, try spraying some white distilled vinegar onto the affected areas, and letting this sit for 10 minutes before wiping and rinsing.
5. Faucet handles
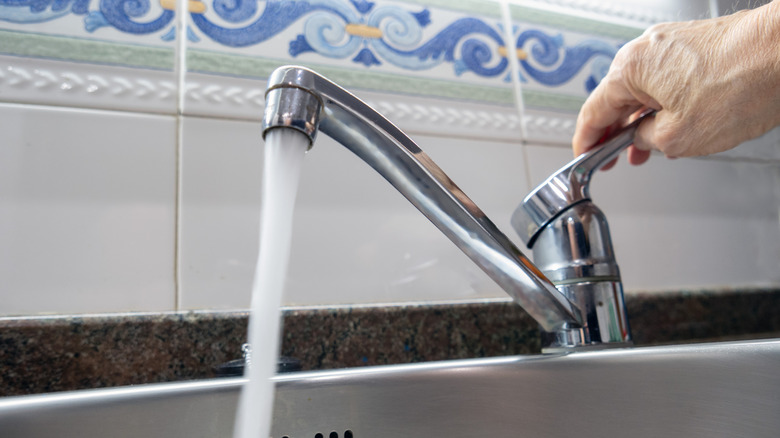
As one of the most frequently touched spots in your kitchen, faucet handles are a prime spot for germs. Every time you turn on the tap with wet or messy hands, food residue and bacteria can transfer onto handles, slowly accumulating over time and going unnoticed. So, when you're wiping down the sink itself, don't forget to give the faucet handle some attention too.
A good scrub with soap and water works well for most types of faucet handles, such as those made from stainless steel, brass, or copper. Start with a sponge, then go in with a toothbrush to tackle any particularly stubborn stains. If you're dealing with limescale, soak a cloth in white vinegar or lemon juice and wrap it around the faucet handle. Let this sit for an hour or so, and the limescale should then wipe away easily. You can use this technique to clean the faucet nozzle too.
In addition to weekly cleaning, it's also wise to sanitize your faucet handles after handling raw meat. Pathogens can spread quickly around the sink area when cleaning cutting boards or washing your hands, so a quick spray with an antibacterial cleaner, followed by a wipe with a fresh cloth, will help keep your kitchen safer.
6. Fridge and cabinet handles
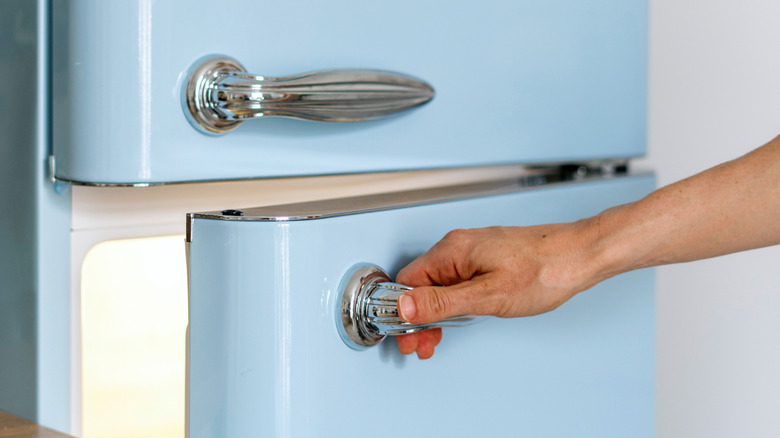
Your fridge handle is another area that's probably not been factored into your weekly cleaning routine. Yet, it's touched multiple times throughout the day when cooking and snacking, making it a hotspot for dirt. The underside of the handle is a particularly prone to grime, since it's not generally visible unless you're looking at the fridge from beneath. Thankfully, cleaning this area is quick and simple, and a weekly wipe with warm, soapy water or antibacterial cleaning spray will help to keep it sparkling.
The same applies to cabinet handles, which are often grabbed with wet or greasy hands, so these will also benefit from a weekly wipe. Harder-to-shift buildups are common here, too, caused by a mixture of of airborne cooking oils and dust. To remove this kind of grime, a seemingly counterintuitive approach is required — adding more oil. That's right, the binding properties of olive oil make it an excellent tool for lifting oil-based grime. Just add a few drops to a cloth, and wipe any sticky areas on the handles and doors using a circular motion. Then, you can remove any residue with warm soapy water before drying everything off.
7. Spice jars
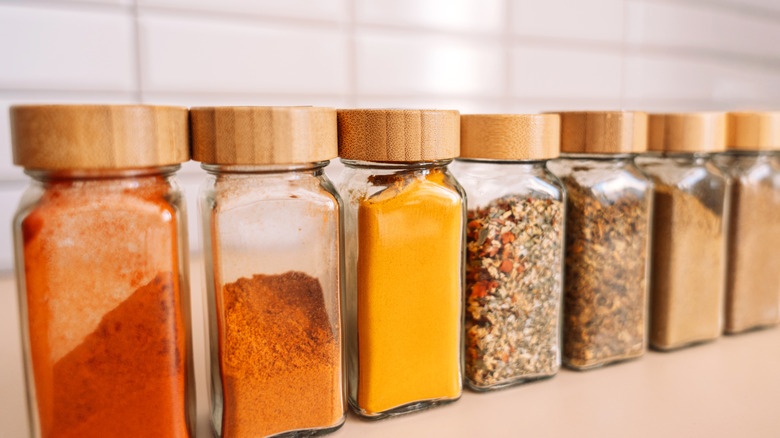
Those spice jars sitting pretty on your kitchen countertop are another unexpected harborer of germs. As you go about your daily food prep, jars are often picked up with less-than-clean hands, allowing residue to build on the lids and sides. And, if you're storing them close to the stovetop, the containers will also likely be exposed to airborne cooking oil droplets, which can leave a greasy film over time. To clean the exterior of the jars, wipe them down with warm, soapy water. Follow with a spritz of antibacterial spray, then dry everything off with a clean cloth or some paper towels.
A preventative approach is important here, too. Being mindful of washing your hands during food prep will limit how much residue ends up on the jars in the first place, so if your hands are messy, a quick wash will go a long way in keeping things hygienic. This is especially crucial when handling raw meat, where thorough hand-washing is essential to prevent the spread of harmful bacteria around your kitchen.
8. The dishwasher door seal
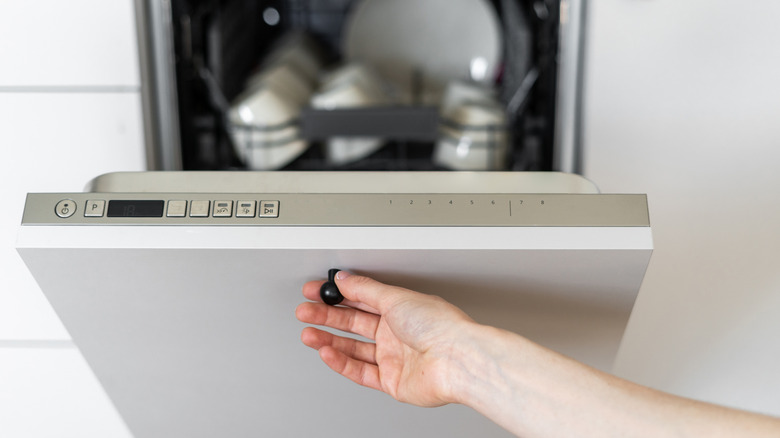
Many assume that dishwashers are a self-cleaning appliance, but sadly this isn't the case. Regular maintenance is essential to prevent mold from developing and food debris from building up, and one part of the dishwasher that's commonly overlooked is the door seal. This is a prime place for food to get stuck, and in addition to being unhygienic, leaving the seals caked in grime can also lead to damage and subsequent leaks. So, giving this area a weekly wipe is really a no brainer. This should only take a few minutes of your time, with a warm, soapy cloth being ideal for freshening things up. Cleaning out the filter once per week is also recommended, to prevent any blockages.
Topping up your dishwasher with rinse aid and dishwasher salt one per month will also help to keep limescale at bay, and a biannual deep clean is advisable too. For this, you'll use a specific dishwasher cleaning product, adding this to the emptied machine and running a hot cycle at a temperature of at least 140 degrees Fahrenheit. Another simple step that can make a big difference is leaving the door slightly ajar after each wash cycle. This lets the interior air out to prevent moisture being trapped inside, reducing the risk of mold growth.
9. The trash can

Arguably the smelliest item in your kitchen, your trash can probably isn't getting cleaned as often as it should be. Filled with food scraps and shut off from the open air, the inside of the bag is a breeding ground for bacteria, which is easily transferred to the lid, sides, and bottom of the can.
To keep bacterial growth in check, it's a good idea to wipe down your trash can with antibacterial spray weekly, after you've removed the bag. Make sure to clean both the inside and outside of the can, including the lid, and wipe everything dry with paper towels. Opting for a smaller trash can is also an excellent way to reduce odor and germs, since it'll require more frequent emptying, allowing less time for bacteria to accumulate. Another top tip is to sprinkle some baking soda in the bottom of the can before adding the bag. This humble pantry staple is a powerful deodorizer, and works to absorb moisture too. You could even add a few drops of essential oil to the powder for an ultra-fresh scent.
If a deeper clean is in order, take the trash can outside and give it a generous spray all over with a bleach-based cleaner. After 10 minutes, rinse the can off with hot water. You can also scrub any particularly grimy areas with a soapy sponge if required.
10. Light switches

You've wiped the surfaces, doors, and handles, but there's another spot that often goes under the radar: light switches. This is another part of the kitchen that's constantly coming into contact with potentially dirty hands, and while they rarely look that unclean, switches can harbor a rather gruesome-sounding cocktail of oil, skin cells, and microbes.
Make light switch cleaning a regularly part of the weekly routine, and you'll cut through greasy smears while catching any microbial buildup before it has a chance to reach dangerous levels. You should never spray liquid directly on the electrics, but wiping the switch with a damp, soapy cloth will do the job. Alternatively, you can use a disposable disinfectant wipe, ideally one containing 70% isopropyl alcohol. Whichever approach you prefer, this task only takes a few seconds, and plays a valuable role in preventing cross-contamination in your kitchen. And, while you're at it, why not give the other switches in your home a quick wipe, too?