20 Tips For Making Flavored Syrups At Home

We may receive a commission on purchases made from links.
There are many reasons you might hop on Google to research homemade syrups. Perhaps you are attempting to recreate your favorite Starbucks order, or maybe hoping to infuse your baking with more creativity. It's also possible that you want to start crafting homemade sodas, or yearn to drizzle something other than maple syrup over a stack of pancakes. No matter the reason, you are in the right place.
Simple syrup is, indeed, very simple, and it can be made in infinite variations using fruits, spices, herbs, and even vegetables. Despite its simplicity, you can still challenge yourself to step outside your comfort zone by making uncommon syrup flavors for, say, coffee, like jalapeño and black sesame. In other words, you can get as experimental and complex as you want.
In this article, we will shed light on our top tips for making flavored syrups at home. We will cover common mistakes and explain the nature of certain ingredients and the ratios that work best in flavored syrups. If there's just one thing we ask of you as you read this guide, it's never to stop thinking outside the box.
Experiment with different ratios for infusions
One simple syrup recipe may call for a few sprigs of rosemary or a small handful of basil. Another will ask you to fill the measuring cup to the brim. Neither strategy is right nor wrong. After all, you may be seeking more or less intensity, depending on how you intend to use the simple syrup.
Sometimes, less is more: Subtler flavors may be better suited for applications like glazing cakes and drizzling over fruit salads. Conversely, stronger flavors may be needed to jive with the bitterness of coffee or shine through in a cup of hot cocoa. Simple syrup is very forgiving, so don't enslave yourself to recipes and experiment as needed to achieve your desired results.
Source food-grade ingredients
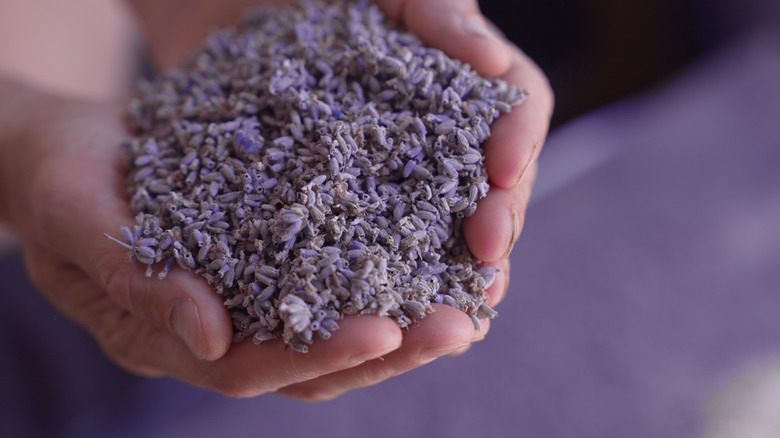
Certain herbs, seeds, and flowers have a wide range of applications. For instance, rose water and dried lavender might show up in your cosmetics drawer and in your kitchen cabinet. When this is the case, you should look for food-grade ingredients to use in recipes like simple rose syrup and simple lavender syrup. If possible, source organic products. This helps ensure that you won't be consuming dangerous toxins and chemical residues.
Worried about what to do with all the leftover leaves and petals? While you shouldn't use botanicals meant for something like potpourri in simple syrups, you can definitely do the reverse. In other words, feel free to repurpose leftover food-grade botanicals for applications outside the kitchen.
Wash fresh produce
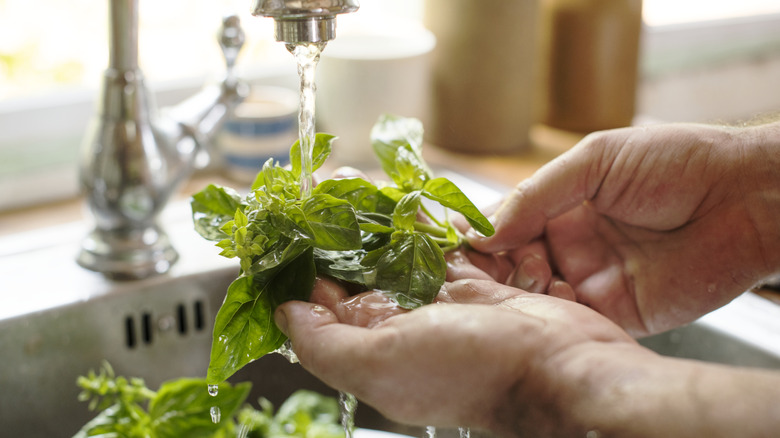
You're not alone in your reluctance to spend time washing and drying produce, but that's still not a free pass to toss ingredients directly from the garden into your pot. After all, who wants dirt dissolving into their simple syrup? Leaves, fruits, and flowers with ample texture are particularly adept at hiding dirt.
This includes strawberries, ginger, and sweet potato (which makes an unexpectedly fantastic simple syrup). The last two should be peeled and thoroughly rinsed with water before being incorporated into your recipe. Going the extra mile and drying produce will help you spot any leftover specks of dirt. Finally, even if you don't see visible traces of dirt, giving the produce a proper wash will help remove any unwanted chemical residues.
Decide whether you want to simmer or blend your ingredients
Whether to simmer simple syrup ingredients depends on who you ask. Some folks say that because heating sugar changes its chemical composition, the resulting syrup will have an uneven texture. Instead, you could add the ingredients to a blender (or whisk them together) before straining. As long as the sugar dissolves and melds smoothly with the water, your purpose is achieved.
On the other hand, simmering simple syrup has the added benefit of killing unwanted bacteria (despite our pleas, we know that not everyone will wash their produce!). You will, however, need to be patient until everything comes together. This is especially true if you are using larger sugar crystals, which take longer to dissolve.
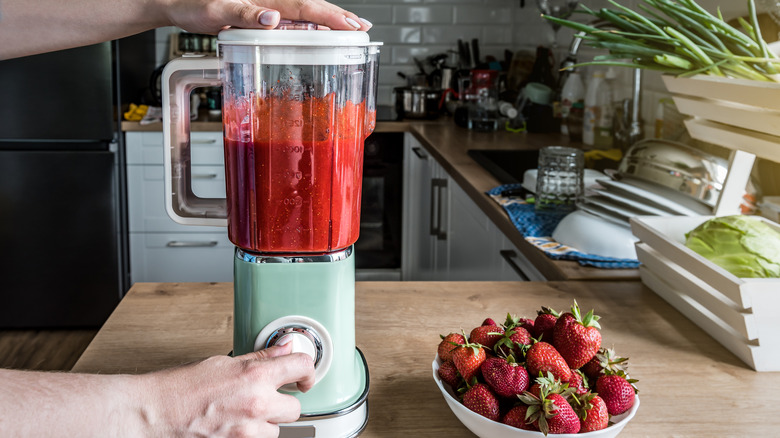
There are pros and cons to each technique, so experiment and decide what works best for your needs. Besides, the best method largely depends on the recipe you are following. For example, if you want a refreshing beverage that tastes like its ingredients have come straight from the garden, blend sugar, water, and fruit, and strain the concoction. See how to achieve this fresher flavor in fruit-infused simple syrup.
Safeguard against crystallization
Have you ever peered into a jar of honey and wondered how a sweetener known for its antibacterial properties has grown mold so quickly? What you are seeing might not be mold. It could be crystallized sugar, and that same phenomenon can occur in a jar of simple syrup if you don't take the proper precautions.
Crystallized sugar is not harmful, but it will cause textural issues in your recipes. Crystallization is more likely to occur the longer your syrup sits. However, if you add a stabilizer like corn syrup or incorporate an acidic ingredient, such as cream of tartar or citrus juice, you might not have to deal with this particular headache.
Steep most recipes for 30 minutes to an hour

When cooking simple syrup on the stove, ensure to remove the pot from the heat once the sugar has dissolved in the water. Then, if you are infusing the syrup with any other ingredient, set a timer for anywhere from 30 minutes to an hour and let the concoction rest. Any less time than that, and you might not be satisfied with the level of flavor achieved.
Some recipes might require you to caramelize the flavorings first, while others instruct you to add them only after the pot has been removed from the heat. It's truly all about timing. For instance, you should only ever add vanilla extract after the mixture has stopped simmering.
Don't forget the tea bags
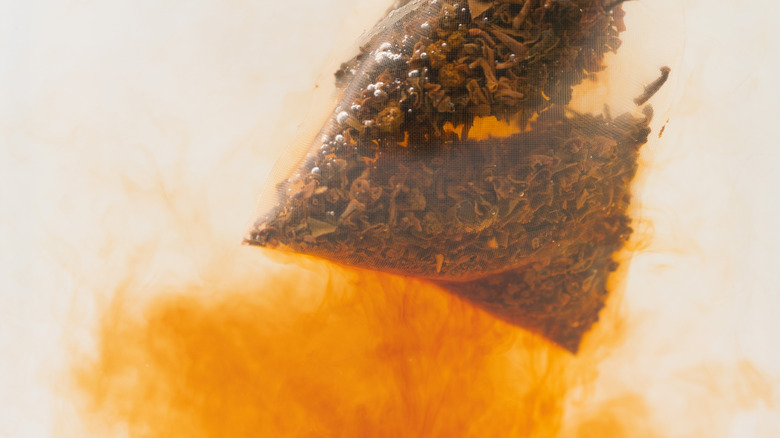
If you have a box of tea bags that has been sitting in your kitchen cabinet for far too long, here is your opportunity to use them. You can make simple syrup from just about anything, including all the varieties of tea. That said, you might find more uses for some types of tea-infused simple syrups — such as masala chai, Earl Grey, and chamomile — than others.
Let's see why. Masala chai syrup would function as a spectacular replacement for maple syrup on pancakes and French toast. Chamomile syrup, on the other hand, would serve as an excellent sweetener for steamers and vibrant cocktails.
Caramelize your bananas
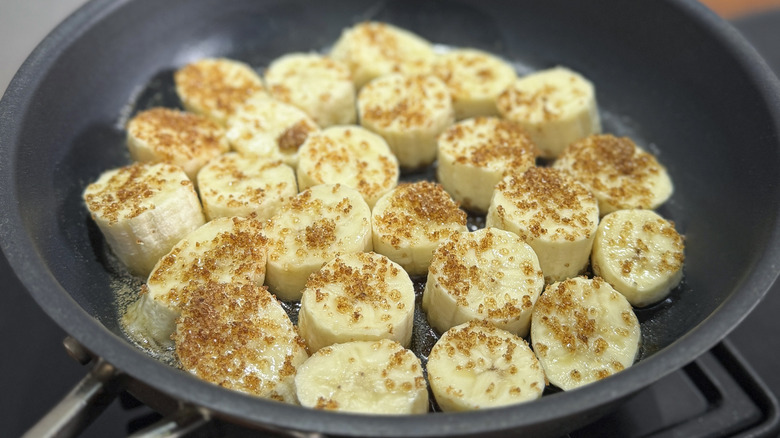
You can thank the Maillard reaction (see why it works) for the outstanding aroma, flavor, and texture of caramelized bananas. This simple preparation has earned a spot atop food items like ice cream, pancakes, and oatmeal. Transform caramelized bananas into syrup, however, and you'll be wondering where it has been all your life.
After sauteing bananas in a fat source like butter or coconut oil, we suggest adding a generous amount of brown sugar, a large pinch of cinnamon, and a dash of salt. Water is not needed here. Finally, blend everything, then use the finished syrup to take beverages like milkshakes and coffee to a whole new level.
Chop and roast nuts
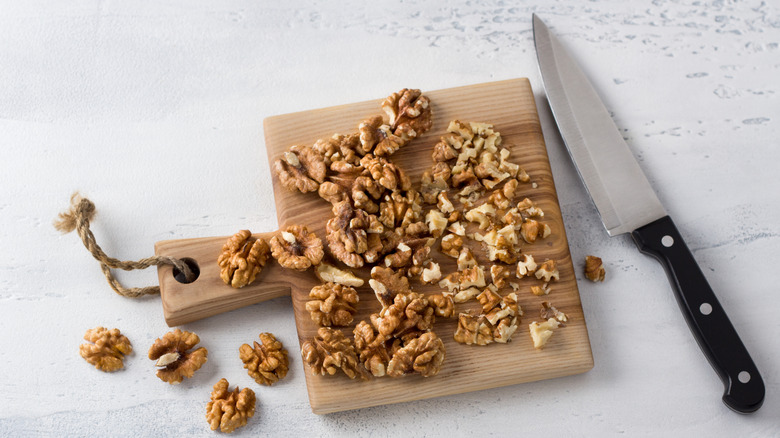
Is a homemade hazelnut latte on your mind? Making simple syrup from nuts is as easy as simmering and steeping them with sugar and water, then straining the mixture. Even so, it helps to chop and roast the nuts beforehand to lend additional flavor.
Chopping will increase the surface area of each nut, allowing even contact with the syrup. Meanwhile, roasting helps elicit the nuts' toasty flavors, while also working to limit their bitterness. You can prepare this ingredient in the oven or on the stovetop. Just make sure not to over-toast nuts, lest you end up with overpoweringly burnt flavors.
Consider using an extract
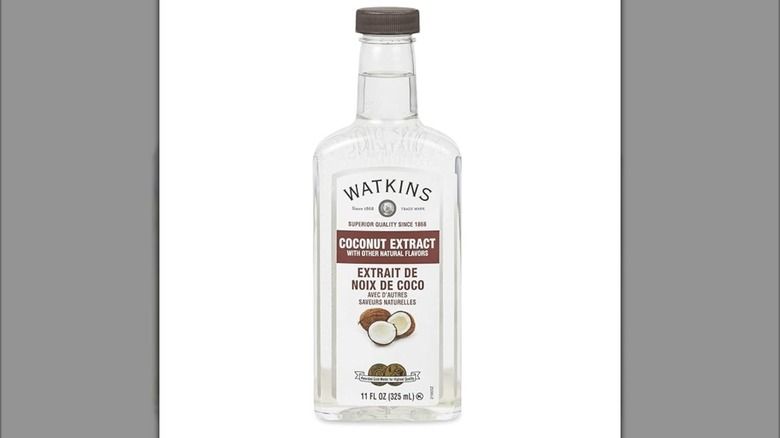
At some point in everyone's baking or cooking journey, we realize that vanilla is not the only extract available at the grocery store. One can also find bottles of rum, banana, orange, strawberry, coconut, maple, peppermint, and lemon extract, each of which can provide intense flavor to a batch of simple syrup. These products often include artificial flavors for added intensity, but the impact varies from brand to brand.
Regardless, extracts lend a robust flavor that may be just what you need for your simple syrup to shine through the bitterness of a cup of joe. On the other hand, you will likely achieve a more full-bodied, complex flavor profile with fresh ingredients. Therefore, it's best to act in accordance with your recipe.
Blend or mash fruit well
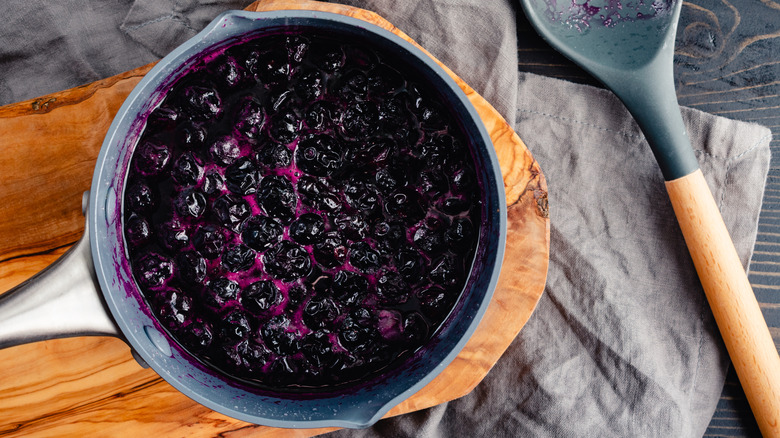
Blending sugar, water, and fruit is an easy, low-effort way to extract every drop of succulent nectar from fruits like blueberries, strawberries, raspberries, pears, and apples. In fact, blending may be necessary for fruits like pomegranate, whose arils will not break down easily without sufficient friction.
However, if you would like to use a potato masher to mash fruit directly in the pot, this is frequently feasible as well and helps reduce the number of dirty dishes. This method is what we recommend in our homemade blueberry simple syrup recipe. Yet another option is to use juice directly, which is often recommended for recipes like grenadine.
Don't forget the salt

Salted lattes are all the rage right now, and here's why: Salt helps balance the bitterness in coffee, which is also why the simple, cheap ingredient is often added to coffee syrup. But salt can find a place in other simple syrup varieties as well. For instance, salted dark chocolate syrup can shine in hot cocoa, while salted honey syrup can make for a fabulous batch of cookies.
Meanwhile, adding salt to simple syrup can amp up a margarita so that even when the salt rim runs out, you still have something to balance the citrus and tequila. Just be mindful not to use a heavy hand when adding the salt. Lastly, remember that you might not want to use it for recipes like fruit salad.
Keep an eye on the pot when simmering caramel syrup
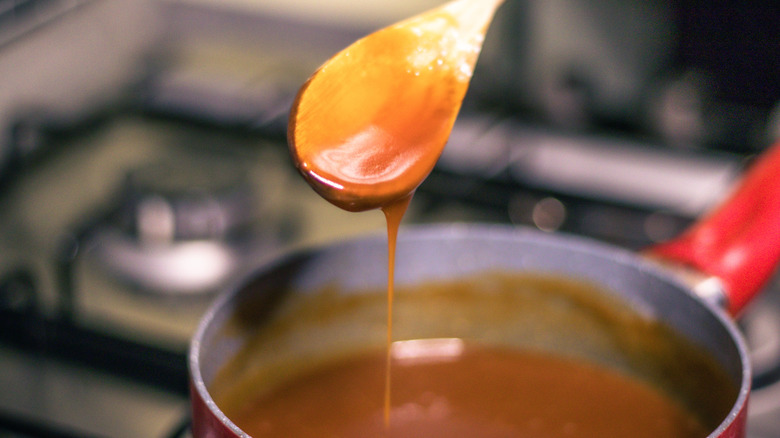
Caramel sauce and caramel syrup have similar preparations, yet they have somewhat different uses in the kitchen. While caramel sauce is thicker, richer, and might be destined for drizzling over freshly sliced apples or a bowl of ice cream, caramel syrup is thinner and usually bound for drinks.
When simmering caramel syrup, you will initially be instructed to use less water so that the sugar can adequately caramelize. To achieve a syrupy consistency at the end, though, you will add more water. Although making caramel syrup tends to be less stressful and precise than making caramel sauce, it is still critical to ensure that the sugar does not burn when placed over the heat.
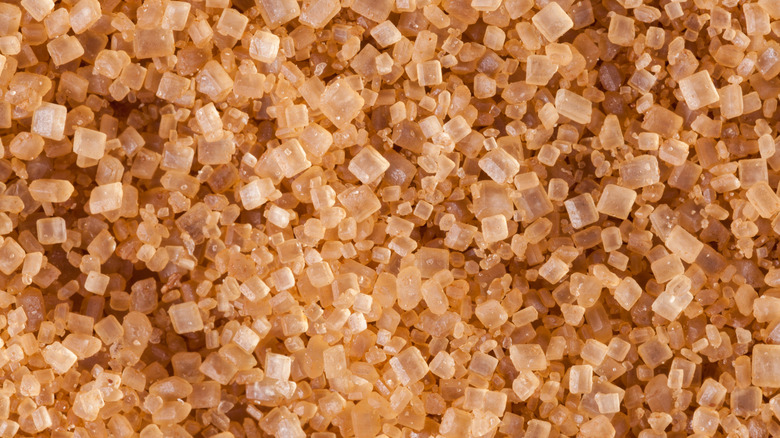
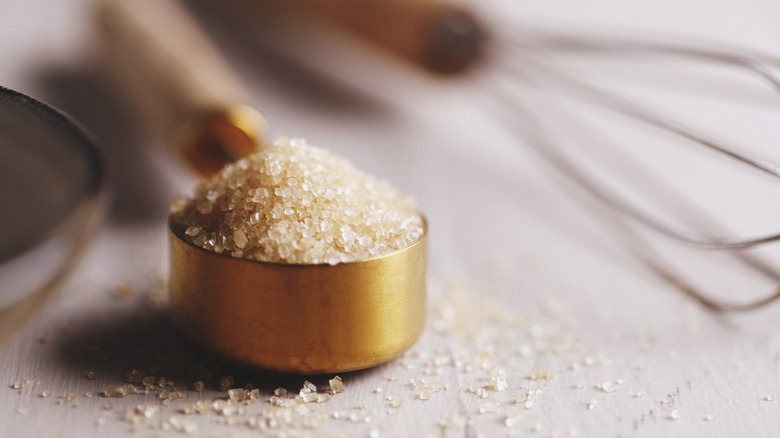
Choose the right type of sugar for your recipe
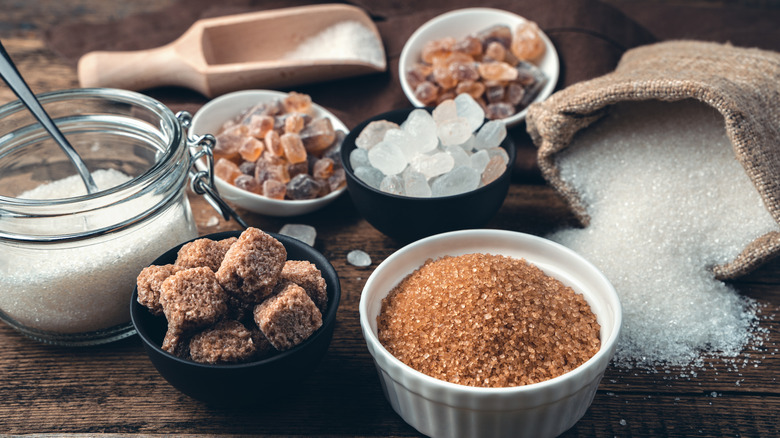
White sugar is predominantly used in simple syrup recipes. This is partly because it neither disturbs the syrup's coloration nor imparts as strong a flavor as many other sweeteners. Even so, alternatives like brown sugar and coconut sugar can be more complementary in recipes like cinnamon simple syrup and banana simple syrup.
Meanwhile, honey simple syrup offers floral notes and a more full-bodied mouthfeel that especially shines in cocktails. See why honey works well in drinks. Or, if you are making vanilla syrup, substitute turbinado for white sugar to capitalize on its caramel-tasting notes.
Decide on a sugar ratio
Instead of blindly following a recipe, adjust the amount of sugar in your homemade simple syrup to account for shelf life, flavor, health, and textural preferences. Increasing the amount of sugar in a recipe reduces its water activity, or the availability of water molecules capable of supporting microbial life. Thus, preparing a rich simple syrup, with a 2:1 sugar to water ratio, will bless you with a longer shelf life and maybe even allow you to keep your jar at room temperature instead of in the refrigerator.
In small amounts, and when mixed with other ingredients, you probably won't notice the extra sweetness. That said, depending on your application, you might notice subtle changes in flavor and texture. If you are concerned about consuming too much sugar on a daily basis, feel free to run with a 1:1 ratio.
Use a fine-mesh sieve for straining
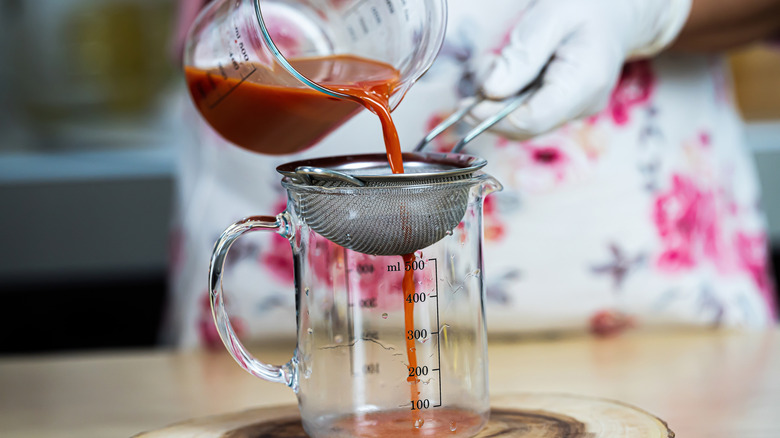
If you pull out the same colander you use for draining pasta to strain your simple syrup, you may be left with unappealing specks of leaves, fruits, or spices in your flavored concoction. For a purer decoction, opt for a fine mesh sieve. A small sieve with a handle that fits over jars is perfect for this purpose.
If that is not available, you could use a cheesecloth or a nut milk bag. However, it is important to make sure that the liquid has sufficiently cooled before handling it with a cloth. Do not forgo this last step, lest you burn yourself.
Keep any leftover ingredients for flavoring future recipes
If you peer into your sieve after straining a batch of simple syrup and feel hesitant about dumping its contents into the trash, don't worry. Leftover ingredients can be repurposed into future recipes. Although they won't offer as much pungency as fresh ingredients, leftover flavoring agents can still pack a punch.
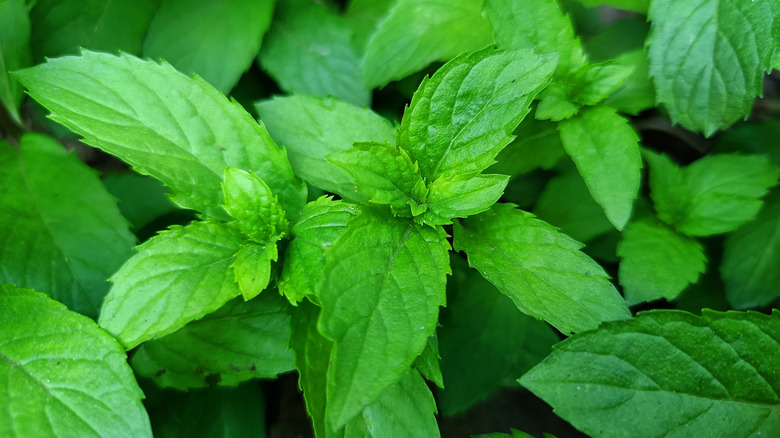
Mint leaves, for instance, can be steeped in water for hydration throughout the day. Ginger can lend a kick of flavor to a steaming cup of tea. Cinnamon sticks can infuse soup with earthier tones. Even leftover nuts can be dried and enjoyed as a sweet snack.
Sterilize containers before pouring
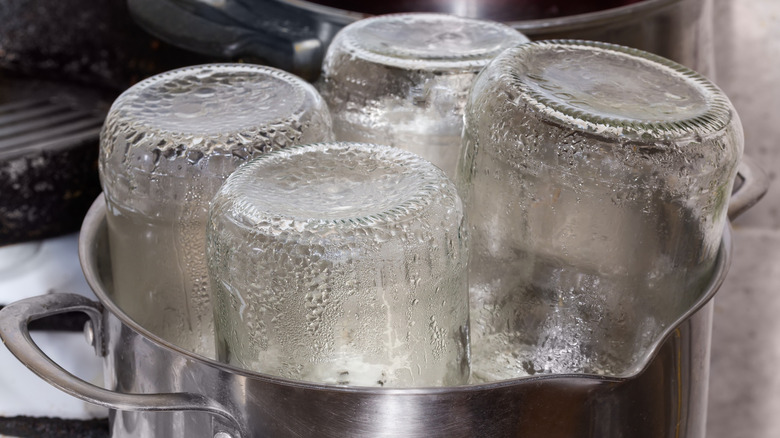
Sterilizing containers before filling them with simple syrup will help slow the growth of unwanted microorganisms (read: mold). It's a necessary step because simple syrup is only simmered for a few minutes, if at all, which may not be enough time to kill all the bad guys.
Sterilization can be as simple as boiling glass jars in a pot for 10 minutes if you live within 1,000 feet of sea level. However, one extra minute is required for every additional interval of 1,000 feet. While it will not affect the sterility of boiled jars, we recommend not repurposing containers that have retained scents from foods like pasta sauce, olives, and strong spices.
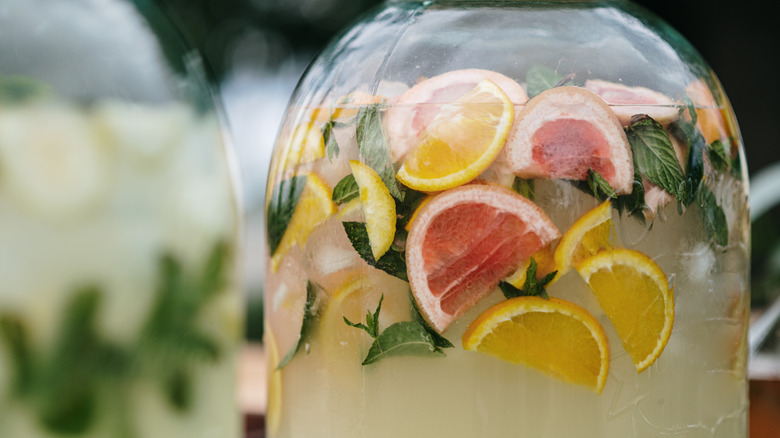
Consider long-term storage options
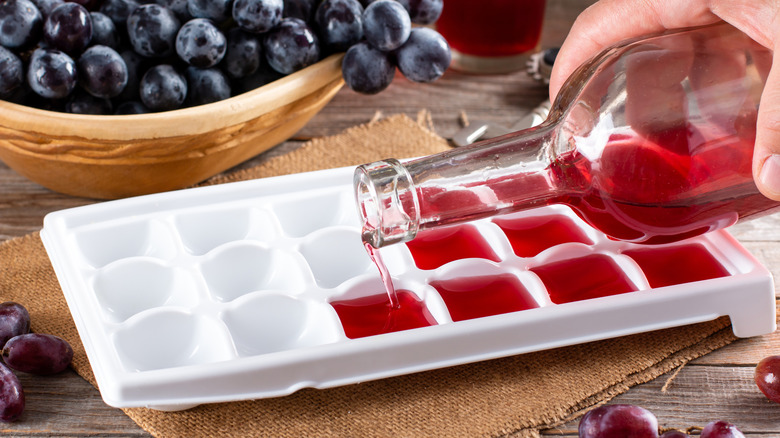
Simple syrup is a nifty way to use the mint crop that runs wild or the bed of rosemary that makes your garden so fragrant every summer. It is a versatile ingredient that can help you enjoy seasonal flavors all year round, if only you know how to properly store it. Canning simple syrup in glass jars is one feasible option, while freezing it in ice cube trays is another convenient method.
The former technique is ideal if you plan to use a great quantity of simple syrup in a short span of time — for instance, if you need to sweeten lemonade. On the other hand, the latter method allows you to pull out only as much simple syrup as you need for one recipe. For example, if you just want to make a single cocktail.
Know the signs of expiration

The length of time that a batch of homemade simple syrup will last depends on how much sugar you have used. Other factors include the ingredients it contains and whether you stored it in the refrigerator. As we explained earlier, the more sugar in your recipe, the longer your syrup will last. Even so, simple syrups containing juices may only last a few weeks, while those with herbs may have several months of shelf life.
Besides, if you tend to double-dip or use your fingers to extract and round off pours of syrup, your jars might develop mold at a faster rate. To get the most life out of your simple syrup, simply store it in the refrigerator. The moment you see it become cloudy or smell funky, dump it and start anew.