15 Common Backsplash Mistakes That Can Ruin Your Kitchen
A backsplash is the protective surface above your countertops designed to shield the walls from spills and stains — but it is also so much more than that. It can serve as the visual focal point of the room, typing together your cabinets and countertops into one harmonious rhythm. But whether you are choosing to go the DIY route or calling in the professionals, the smallest mistakes and oversights can turn this feature into an eyesore.
If that sounds like something you'd rather avoid, it pays to heed the words of Kadambari Uppal, founder and creative director of KAD Designs. Over the course of her career, she has observed several simple, yet avoidable, mistakes that can change the final impact of the backsplash. Choosing porous materials won't earn you any brownie points in her book, and she also wants you to pay detailed attention to wall prep, tile selection, and your choice of grout color. To ensure that your new backsplash is an investment that reaps rich rewards for years to come, it helps to sidestep these common mistakes.
Choosing the wrong materials
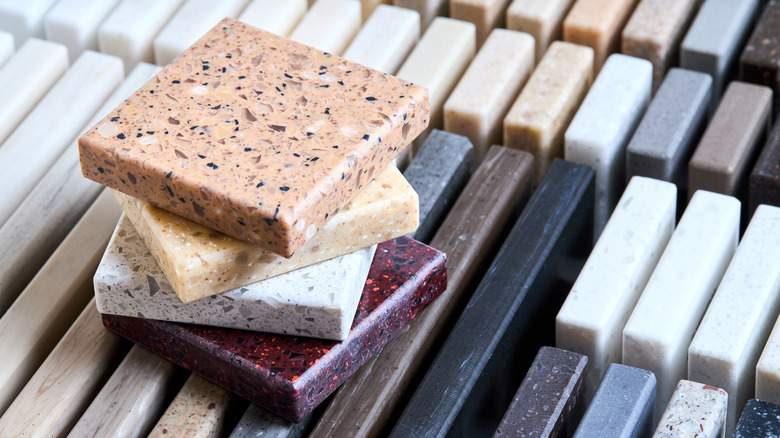
There is a hidden drawback of some backsplash tiles that no one talks about: upkeep and long-term maintenance. Natural stone and other porous materials might make for a stunning focal point in the kitchen, but they lose their charm once you try scrubbing out last night's spaghetti sauce from textured slabs. Kadambari Uppal concurs, "Kitchen backsplashes endure constant exposure to heat, steam, and grease, so choosing the wrong material can lead to quick wear and tear."
When shopping for materials, she wants you to wheel your cart right past any slabs of untreated marble, wood, or wallpaper. These materials are notorious for trapping stains as well as swelling and warp when faced with a constant stream of moisture. "Instead, durable and easy-to-maintain materials like Neolith, porcelain slabs, or quartz are ideal for most kitchens. These options are heat- and moisture-resistant, non-porous, and maintain their finish beautifully over time," she says.
But what if you have your heart set on certain decorative options? For areas in the kitchen that witness less traffic — spots that are away from the stove and the sink — you can expect more leeway and opt for striking options, such as sealed marble. The latter does come with the caveat that it needs to be resealed diligently and maintained regularly to retain its shine.
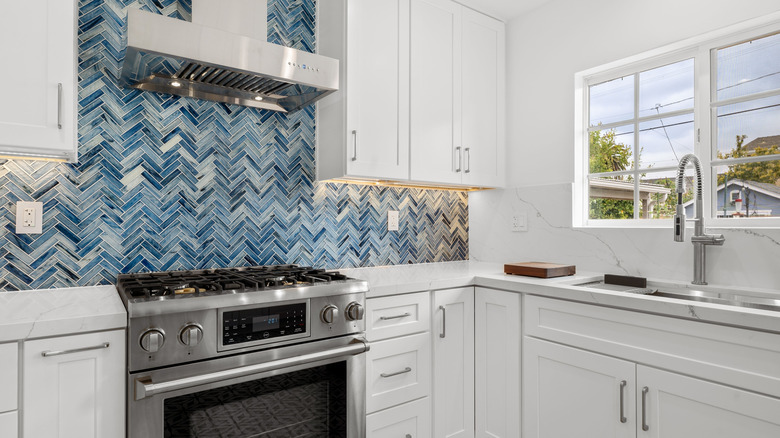
Prioritizing style over function
The world of backsplash trends is a fast-revolving carousel, and there is always a shiny new penny waiting to steal your heart. But given the heavy duty that backsplashes are expected to pull in the kitchen, form can never come at the cost of function.
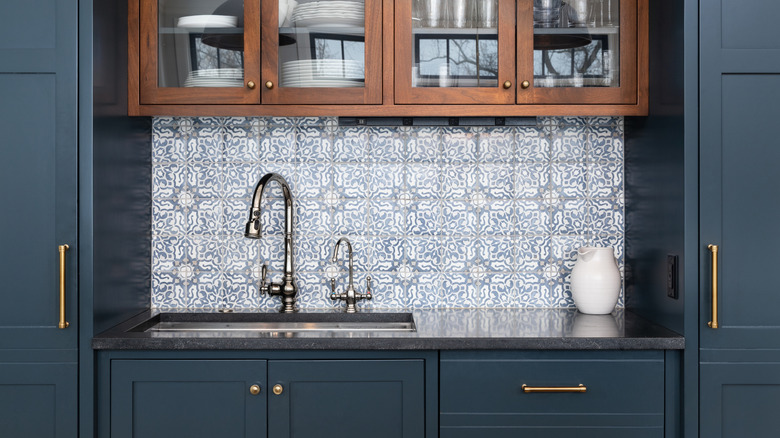
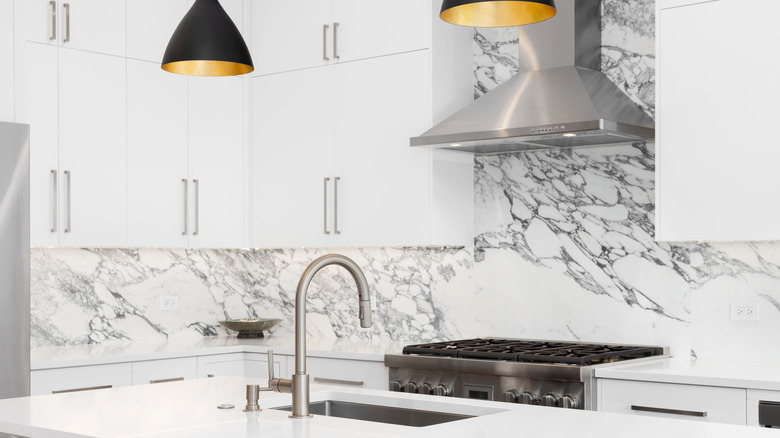
Consider, for instance, the rise in popularity of slab backsplashes: A sleek trend that looks great but comes with certain trade-offs. Apart from being heavy on the pocket, any significant damage will require you to replace the entire slab as opposed to a single tile. It comes as little surprise then that Kadambari Uppal cautions against designs and trends that ignore the functional necessities of a backsplash. "Overly decorative or intricate designs, such as small mosaics, tend to trap dirt and require frequent upkeep, which can be impractical for busy households," she points out.
Instead, Uppal wants you to turn your attention towards low-maintenance materials, such as large-format porcelain or quartz. "These materials resist stains, are easy to clean, and give the kitchen a seamless, sophisticated look," she says. There is also the question of longevity — a backsplash that is easy to clean and maintain will naturally retain its luster for years, while the show ponies will start to betray signs of wear and tear within a short period of time.
Ignoring your personal aesthetic
While your choice of backsplash cannot be led entirely by the newest trends to hit the market, you won't want to overlook your personal preferences in the decision-making process, either. "Because a backsplash is a semi-permanent fixture, it should be a reflection of your personality rather than fleeting trends. It sets the tone for your kitchen's overall design narrative," Kadambari Uppal explains. It also helps to bear in mind that the backsplash is the first thing that your eyes will hit every morning — if the color, pattern, or texture feels jarring to your personal sense of style, you will soon be ringing up your contractor to request a remodel.
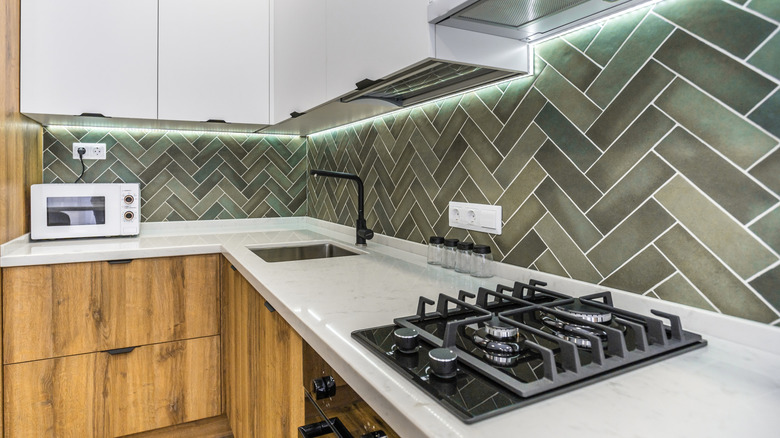
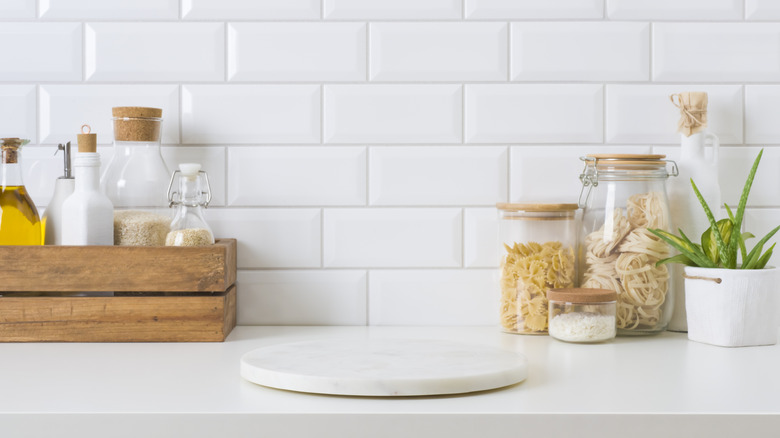
Depending on your personal tastes and preferences, you'll find a host of options to choose from. Fancy the no-fuss appeal of pared-back designs? Read through this ultimate guide on putting together a minimalist kitchen first and then opt for sleek options, like white quartz or seamless porcelain slabs. Maximalist lovers, meanwhile, will delight in statement-making patterns and terrazzo. "Farmhouse kitchens pair beautifully with hand-glazed subway tiles, while coastal styles embrace sandy or oceanic hues. For a bohemian flair, Moroccan zellige or textured ceramics add warmth and artistry," Uppal suggests.
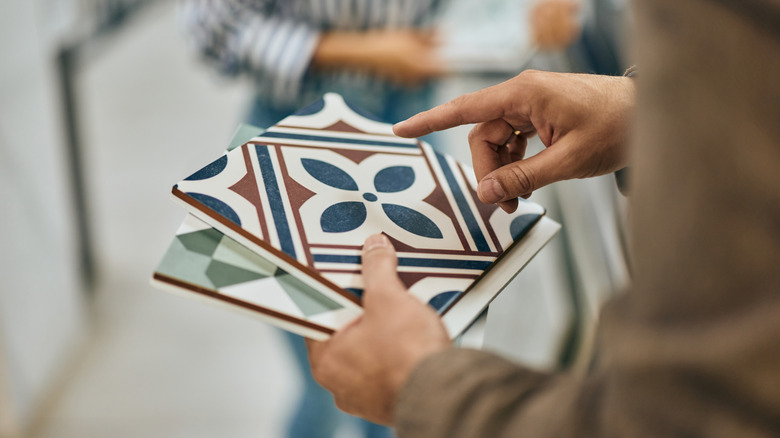
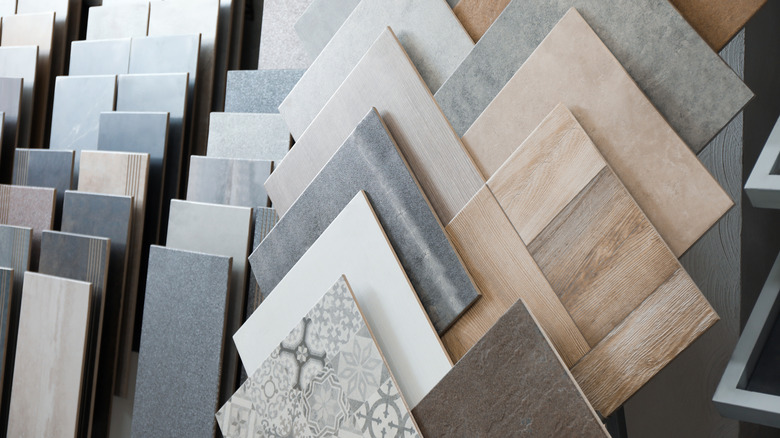
Not testing tile samples at home
Whether you are redoing your countertops, flooring, or backsplash, not testing your favorite tile samples at home will instantly earn you a spot in the doghouse of any interior expert. The same tiles that appeared to pop vibrantly in the store can often look inexplicably dull once installed at home. "Showrooms often use bright, cool-toned lighting that can distort color perception," Kadambari Uppal explains. Meanwhile, the amount of natural light that your kitchen receives can drastically change how the samples appear at home. Other factors, such as the height of the ceiling and the size of the entire kitchen, can also help you decide whether the scale of the tiles looks too big or small for the space.
Once you bring your shortlisted samples home, it is important to test them under different lighting conditions — from the peak of natural daylight to the ambient lighting at dusk. By investing sufficient time in this vetting process, you can avoid costly do-overs down the line. "Testing ensures that the final selection complements the kitchen's tone and atmosphere perfectly, avoiding any post-installation regrets," Uppal says.
Ignoring backsplash height
In an ideal kitchen, the cabinets, countertops, and backsplash have to be in a fluid conversation with each other. Stopping the backsplash awkwardly across the wall can make the cabinets and counters look out of place and throw off the sense of symmetry that is so essential to kitchen design.
But the fallout isn't just aesthetic — there's a functional price to pay as well. "A backsplash that stops too low above the countertop not only looks incomplete, but also fails to protect the wall from splashes and stains," Kadambari Uppal elaborates. As a rule of thumb, you'll want to ensure that your backsplash covers a minimum area of 18 to 20 inches above the countertop. If you are still not sure how to decide where your backsplash should end, another handy guideline is to go all the way till the base of the upper cabinets for a cohesive look.
Those in the quest of a high-end finish will want to extend their backsplash all the way till the ceiling for a seamless, luxurious look — one of the many kitchen upgrades that can dial up the value of your home. "Full-height slabs not only enhance visual flow but also minimize grout lines, making cleaning easier while protecting the wall from moisture and heat exposure," she says.
Poor grout selection
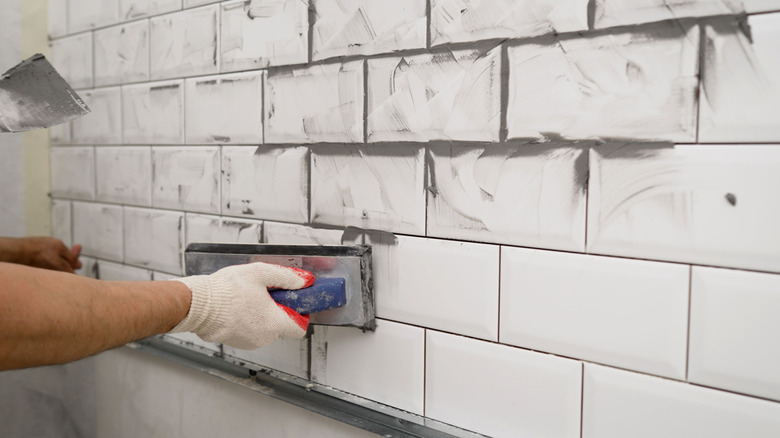
Your backsplash tiles can blend together seamlessly, or they can stand out in stark contrast against each other. And the decision comes down entirely to your choice of color for the grout. Choose wisely, and you can create a cohesive look that promotes visual harmony.
If you're not familiar with it, grout is usually made from cement and colored pigments. It's the filler material used between tiles to enhance the integrity of the installation. This prevents debris and grime from getting trapped in the minuscule gap between tiles. And while it may seem like a trivial decision in the larger scheme of things, Kadambari Uppal believes that you'll be surprised by the difference that grout can make. "A poor grout choice can overpower the tile pattern or make it appear outdated. For instance, light grout with dark tiles creates contrast and highlights joints, while tone-on-tone combinations feel cleaner and more refined," she suggests.
When choosing grout color, you can go matchy-matchy, such as teaming beige stone with neutral hues. Alternatively, opt for a striking contrast, such as pairing white subway tiles with black grout for an industrial look. The latter has its own merits as darker colored grouts are less likely to get stained and discolored with food spills and splatters.
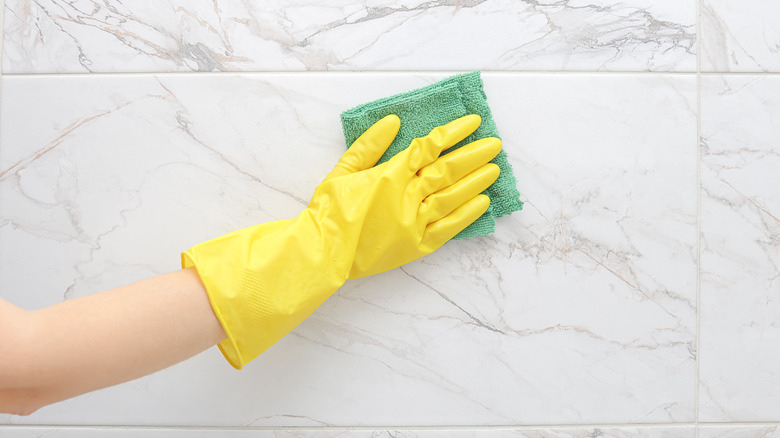
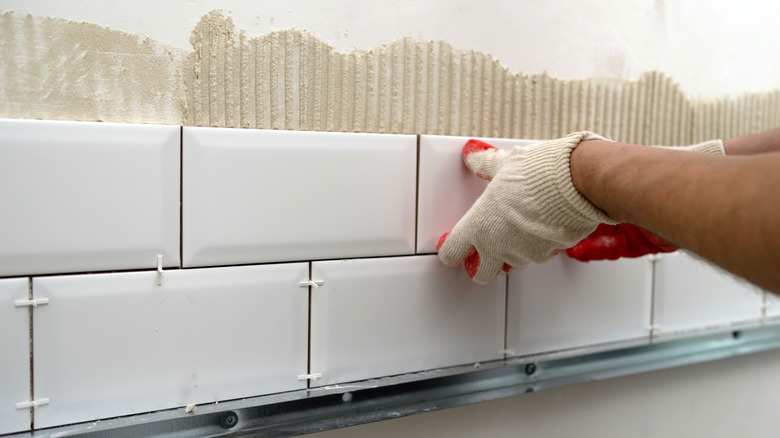
Skipping wall prep
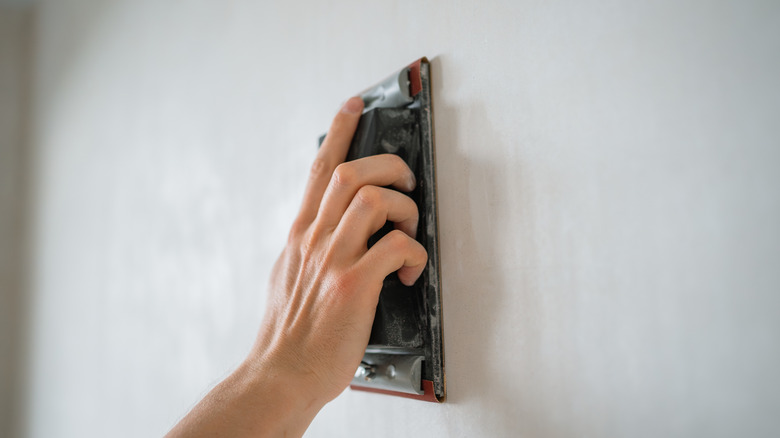
With your choice of tiles and grout locked in, you might be eager to piece together your masterpiece on the walls — but you won't want to hang up that first tile without first prepping the surface underneath. In Kadambari Uppal's rulebook, proper wall prep can make the difference between a long-lasting backsplash versus one that needs to be redone within some time.
"Applying a backsplash directly onto greasy, dusty, or uneven walls leads to poor adhesion, resulting in tiles cracking or peeling over time," she says. When working with clients for a backsplash installation, her work generally starts with adequate wall prep to dislodge any residue and level out any imperfections — this is usually followed by a generous hand of primer to ensure better adhesion. Any stubborn stains or blemishes can be coaxed out by using paint deglosser on a sponge to create a smooth surface — sans the arm workout that comes with sandpaper. "Skipping these steps can compromise even the best materials, leading to costly rework later," she says.
Choosing the backsplash before the countertops
Countertops bring considerable main character energy to the kitchen given that they lay down the visual foundation of the room and also serve as the most important workspace. If your backsplash is chosen and installed first, it can be a struggle to find complementary countertop options that work with your chosen colors and designs. "Selecting the backsplash first can limit countertop options and create a mismatched look," Kadambari Uppak claims. As a rule of thumb, she finds that it helps to finalize both at the same time to achieve visual harmony.
While you can choose to go rogue by creating unexpected combinations and allowing the backsplash to serve as the focal point of the room, Uppal believes that you will never be let down by timeless combinations — pairings such as white quartz and marble-veined porcelain, travertine and beige stone, and black granite with grey ceramics rank highly in her book. "When chosen cohesively, these materials flow naturally, creating a unified design that enhances both elements rather than allowing one to overpower the other," she says.
Not sealing porous materials
Do not worry if you have lost your heart to the intricate veining of marble or the natural warmth of limestone — you can make porous materials work for your backsplash as long as you are willing to adopt the right precautionary measures. Simply put, porous materials have micro pores that allow the passage of liquids and air. These materials serve as a sponge in the kitchen, eagerly soaking up every last spill, stain, and splatter. According to Kadambari Uppal, adequate sealing and timely maintenance can enhance the beauty and longevity of these materials for years — yes, even in the moisture-laden environment of the kitchen.
"Porous materials like marble, limestone, and travertine naturally absorb moisture and oils, leading to stains and dullness over time," she observes. In order to stay one step ahead, she recommends opting for a professional-grade sealant that serves as an invisible blockade against spills and stains. This procedure needs to be repeated every 12 to 18 months given the high-traffic nature of the kitchen. "This process preserves the stone's natural color, texture, and sheen while preventing permanent damage," she adds.
Mismatched caulking
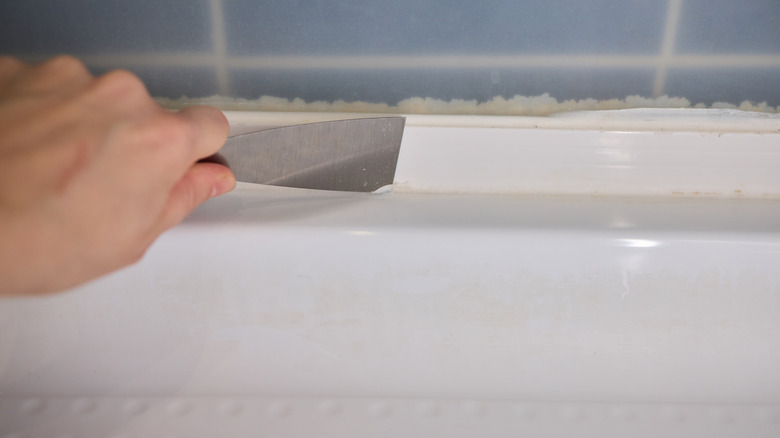
For the budding DIYer, caulking and grout can seem like interchangeable terms. After all, both are used to seal in gaps, right? Wrong. While grout fills in empty spaces between tiles, caulking protecting the joints in the wall. "Caulking is a flexible sealant used between the countertop and backsplash to prevent moisture from seeping into joints," Kadambari Uppal explains.
But simply remembering to use caulking is not enough — you'll also need to pay special attention to the color. The go-to rule is to ensure that your caulking blends in with your tiles instead of standing out like a sore thumb. "When the caulking color clashes with either surface, it disrupts the visual flow and makes the design appear unfinished," she says. Some golden examples in her rulebook include warm caulking colors for travertine, grey for concrete, and white for quartz or porcelain. "Coordinating the caulk tone with both materials ensures a smooth, cohesive transition," she adds.
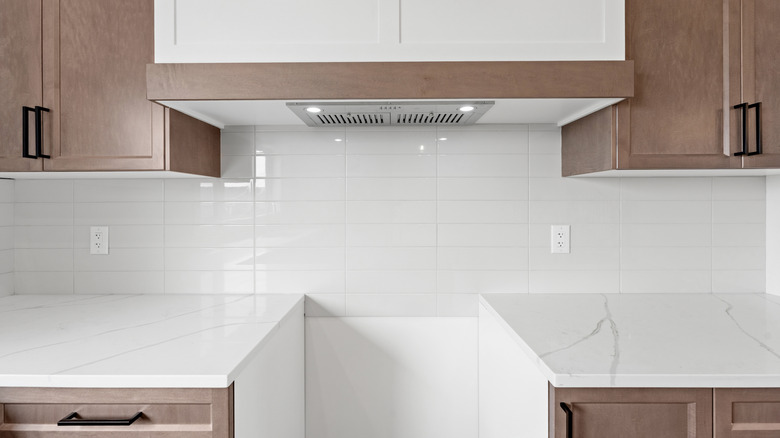
Overlooking outlet placement
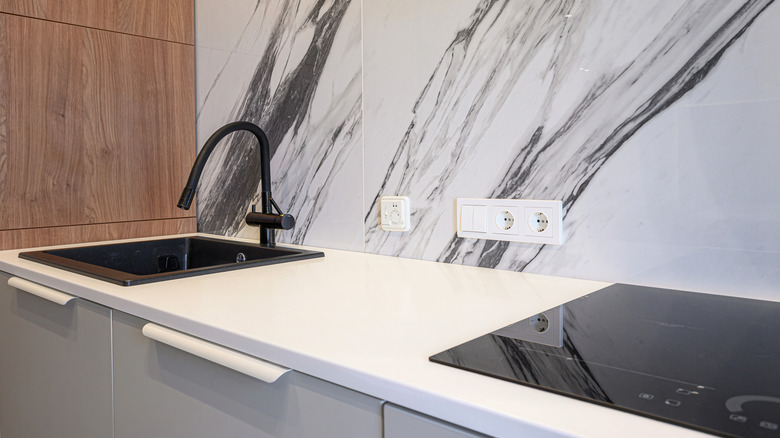
The smallest details can have the maximum impact on your backsplash design — this holds especially true for the placement of electrical covers. Forget to account for yours in advance, and the electrical outlets might end up cutting awkwardly through decorative borders and interrupt the tile design. Suddenly, a high-end backsplash looks inexplicably amateur.
Kadambari Uppal believes that it is crucial to plan for the outlet height and placement early in the process to ensure that it works in harmony with the layout of the tiles. The golden rule is to position all your electrical outlets within 20 inches above your countertop. "Thoughtful outlet placement maintains the backsplash's visual rhythm, making the space look intentional, organized, and custom-finished rather than pieced together after installation," Uppal says.
Once you have penciled in the position, you'll want to get creative with your choice of outlet covers. Your options range from color-matched outlet covers that blend in seamlessly with your backsplash to decorative brass covers that are guaranteed to make a statement.
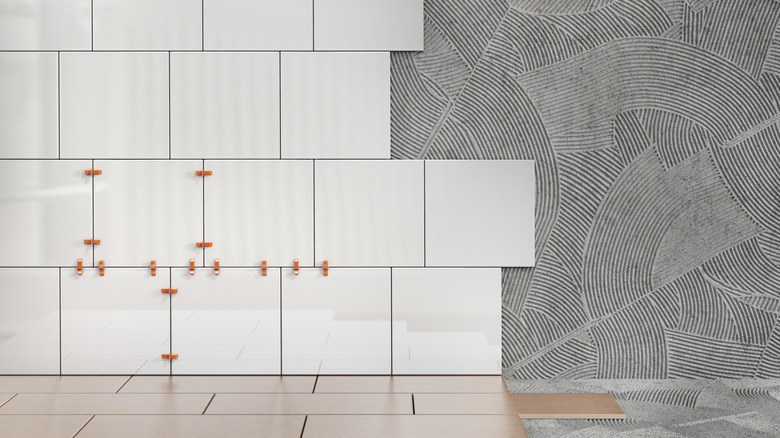
Rushing the installation
Whether you are going down the DIY route or hiring a professional contractor, Kadambari Uppal wants you to know that backsplash installation is a game of patience. "Rushing the process can lead to uneven alignment, shifting tiles, or even detachment later on. This precision ensures long-term durability and eliminates the need for costly repairs," she says.
At a minimum, you'll want to account for more than one day to get your new backsplash done in order to give the adhesives and grout adequate curing time. Uppal has found that anything between 24 and 48 hours is required to ensure sufficient adhesion. Depending on the amount of space you need to cover, and any cutting required, this timeframe can expand. "Taking the time to do it right the first time results in a flawless, lasting installation that performs as beautifully as it looks," she adds.
Choosing overly trendy designs
You may have mastered the grout selection and labored over the wall prep, but there is one backsplash mistake that can make your kitchen look outdated fast: Opting for here-today, gone-tomorrow designs. "While trends can inspire creativity, overly trendy backsplash designs tend to age quickly and may make your kitchen feel dated within a few years," Kadambari Uppal notes.
It's not uncommon that the newest, must-have designs might catch your fancy. There are metallic mosaics twinkling under the showroom lights, unexpected color pairings to be explored, and bold patterns that draw your eye from across the room. But trends are notorious for being short-lived. Since a backsplash can't be changed quite easily, it helps to opt for trend-proof designs that can stand their ground in the long run. "Classic subway tiles, marble veins, and minimalist slabs never go out of style and can evolve effortlessly with changing decor preferences," she suggests.
Skipping professional help when needed
There are several easy ways to get a new backsplash, from stick-on vinyl paper to simply painting your existing tiles. If you are feeling creative, you can even choose to nail laminate flooring tiles above your countertop. However, while certain projects can be glued into place with ease, it is better to call a professional if you find the intricacies of the job escaping your grasp. "While DIY projects can be rewarding, backsplash installation requires precision that's hard to achieve without experience," Kadambari Uppal remarks.
While peel-and-stick tiles make for a doable DIY project, she has found that larger slabs and interlocking designs require a professional hand. The fallout of overlooking expert help when needed? "Uneven leveling, misaligned cuts, and poor sealing are common DIY mistakes that are often irreversible without redoing the entire wall," she comments. Experts can often catch the small mistakes that you are likely to miss and ensure that your backsplash doesn't turn into a visual eyesore.
Forgetting to purchase extras
When your backsplash budget is bursting at the seams, the last thing you'll want to do is purchase more tiles than you'll strictly need — but it helps to hear out Kadambari Uppal. "Breakage during transport, cutting, or installation is common, and matching tiles later can be difficult due to batch variations," she warns.
As a rule of thumb, she finds it helpful to purchase up to 15% more tiles than you believe you'll need. Since the backsplash is prone to kitchen-related accidents, you'll thank yourself for keeping some spares at hand when you need to make quick repairs in the future. "This simple foresight saves time, stress, and ensures that your backsplash retains its original look for years," she concludes.