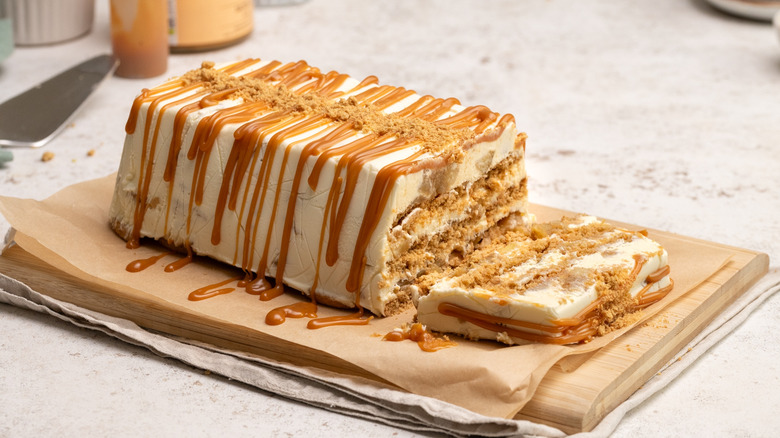
No-Bake Caramel Apple Icebox Cake Recipe
We may receive a commission on purchases made from links.
Cake is a truly wonderful thing. There is an almost endless array of cakes perfect for any event or occasion, from the classic birthday cake to the elegant and refined types, and here at Tasting Table, we love them all. Then there's the icebox cake, a unique type of cake that requires no baking but rather relies on refrigeration (or the ice box, if you will) to yield a cool and oftentimes creamy dessert.
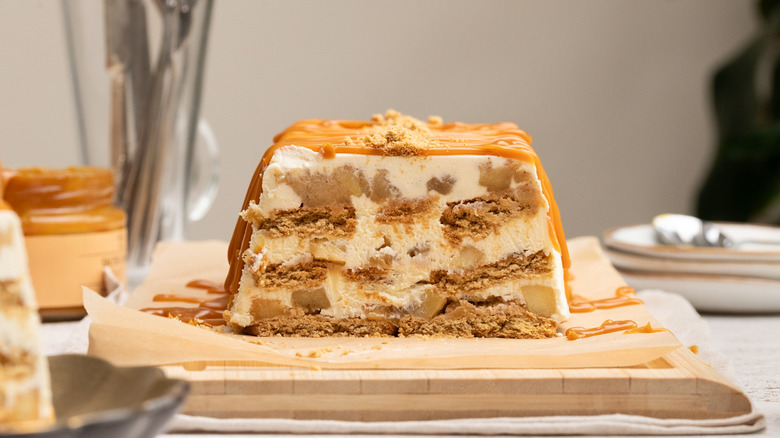
From the kitchen of recipe developer Jennine Rye, this no-bake caramel apple icebox cake recipe is perfect for warm days when you want a cake-like treat but don't want to turn the oven on. Like traditional icebox cakes, this one requires no baking, though it does require a small amount of stovetop cooking to soften the apples a bit. Those softened, spiced apples join layers of sweet vanilla flavored cream cheese, rich caramel sauce, and crunchy cookies, making for a sophisticated yet familiar take on classic icebox cake. After layering everything into a loaf pan, it's just a matter of letting the refrigerator work its magic (and having a touch of patience).
Gather the ingredients for this no-bake caramel apple icebox cake recipe
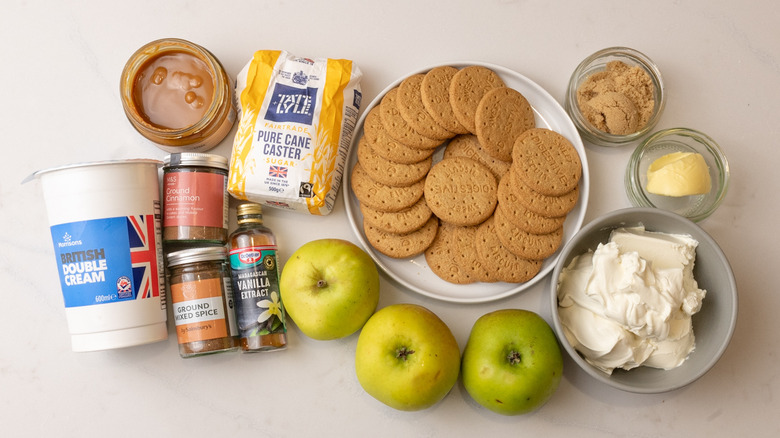
To begin this no-bake caramel apple icebox cake recipe, first you will need to gather the ingredients. For the apple layer you will want apples (ideally a type of cooking apple such as Granny Smith or Bramley apples), butter, brown sugar, ground cinnamon, and mixed spice (or pumpkin pie spice). For the cream layer you will need heavy cream, cream cheese, granulated sugar, and vanilla extract. To assemble the rest of the icebox cake, you will want caramel sauce and digestive biscuits.
Step 1: Prepare the apples
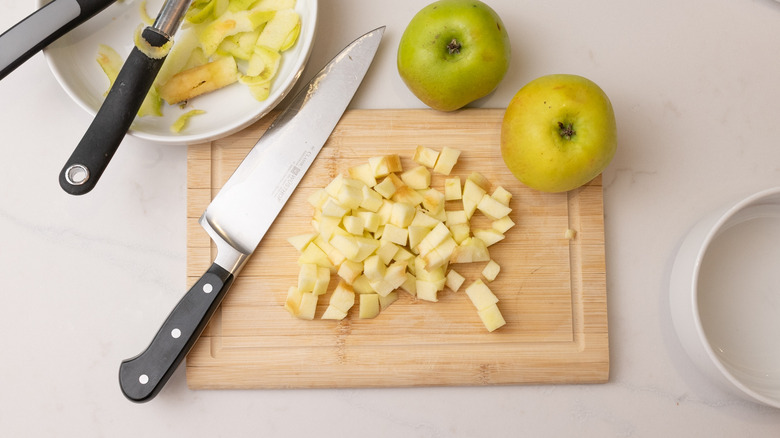
Peel, core, and dice the apples.
Step 2: Heat a pan with butter
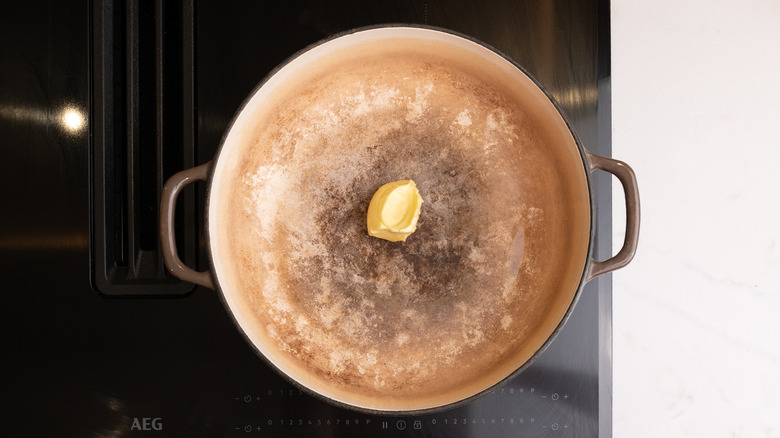
Add the butter to a large pan over medium heat.
Step 3: Add apples, sugar, and spices to pan

Add the diced apple to the pan, along with the brown sugar, cinnamon, and mixed spices.
Step 4: Cook until apples are softened
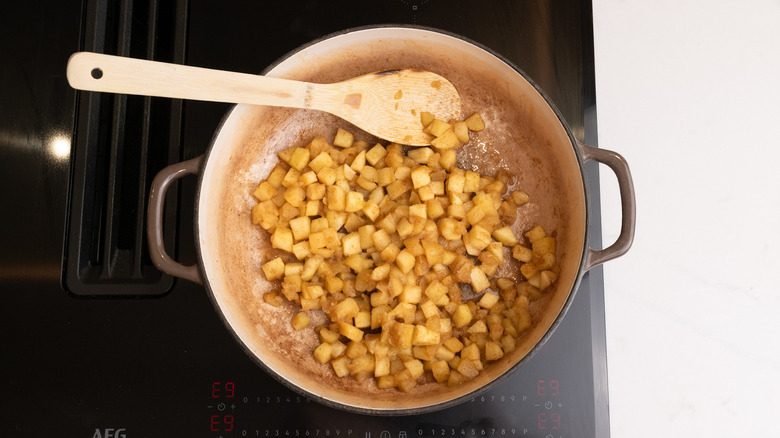
Cook for 5-10 minutes, until the apple pieces are tender, adding a splash or two of water to the pan if needed.
Step 5: Set apples aside to cool
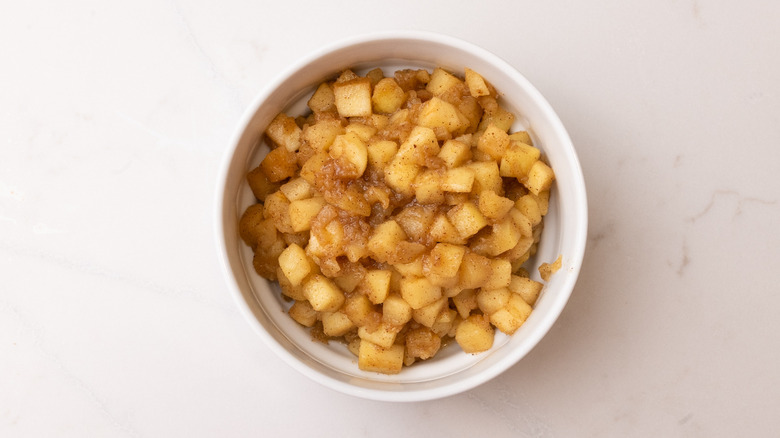
Remove the apples from the heat and set aside to cool.
Step 6: Form the cream cheese mixture
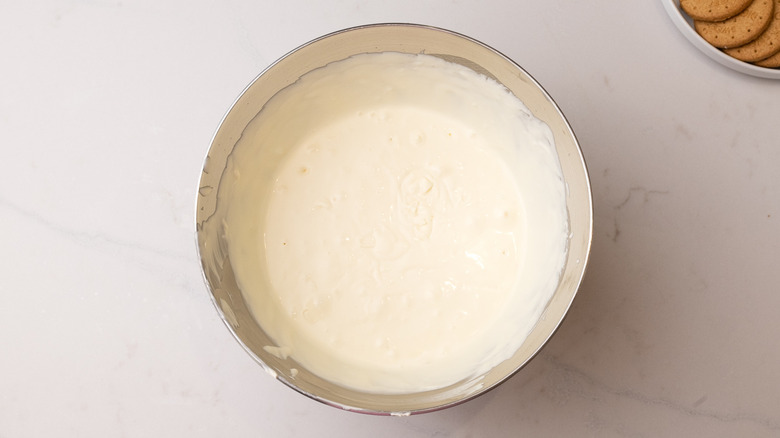
In a stand mixer, beat together the heavy cream, cream cheese, sugar, and vanilla extract until smooth.
Step 7: Prepare a loaf tin
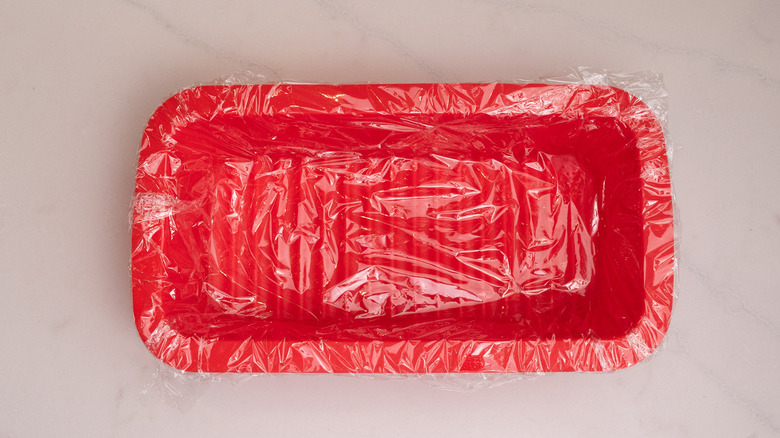
To assemble the caramel apple icebox cake, line a large loaf pan with plastic wrap.
Step 8: Smooth out a layer of cream cheese mixture in loaf pan
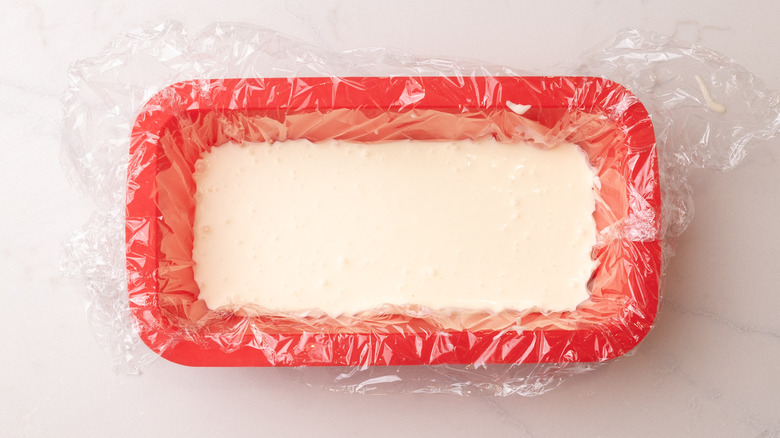
Place ⅓ of the cream cheese mixture at the bottom of the loaf pan and smooth it out.
Step 9: Add a layer of spiced apples
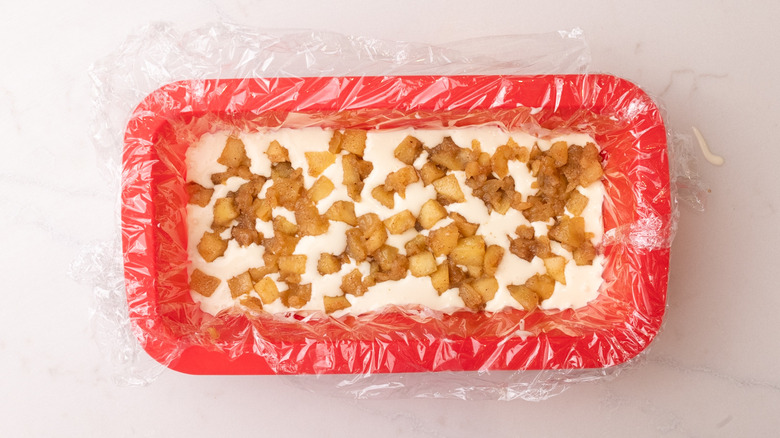
Add ⅓ of the cooled spiced apple mixture on top of the cream cheese layer.
Step 10: Top with caramel and biscuits
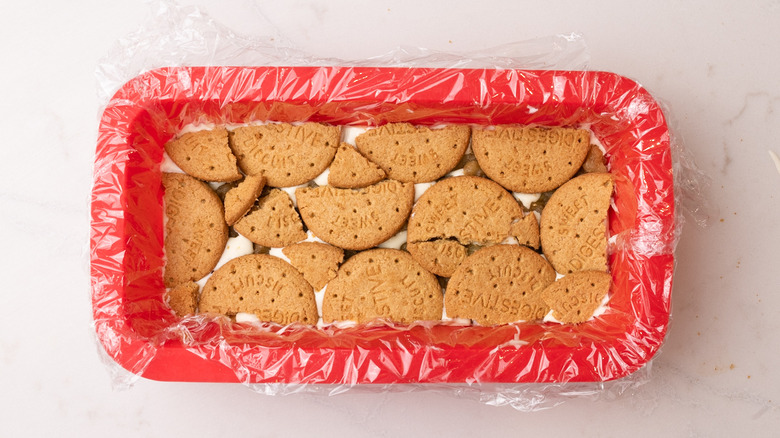
Drizzle ⅓ of the caramel sauce over the apple layer, then top with a layer of biscuits, breaking them as necessary to fill any gaps.
Step 11: Complete the icebox cake assembly
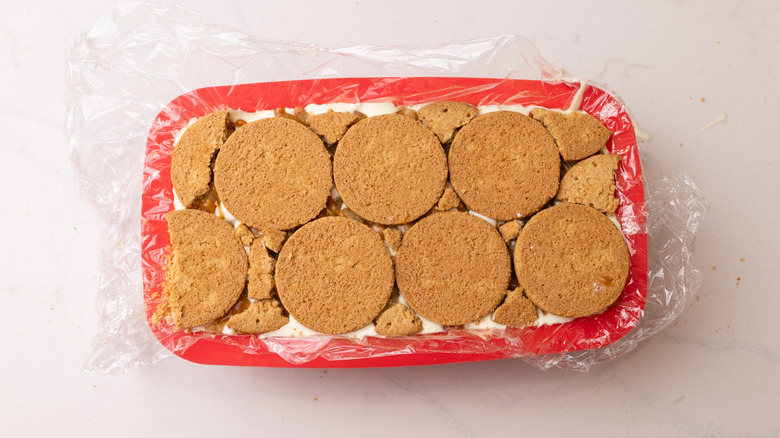
Repeat the layering process until all the ingredients have been used up.
Step 12: Wrap the cake well and refrigerate
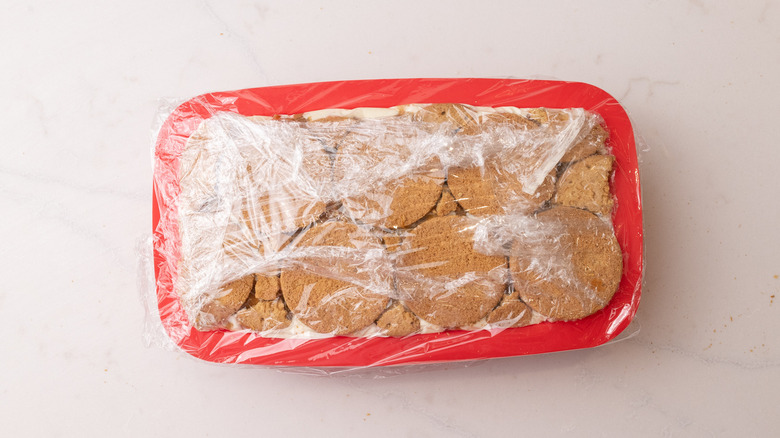
Cover the top of the cake with plastic wrap and refrigerate for at least 8 hours, or until fully set.
Step 13: Turn out the icebox cake
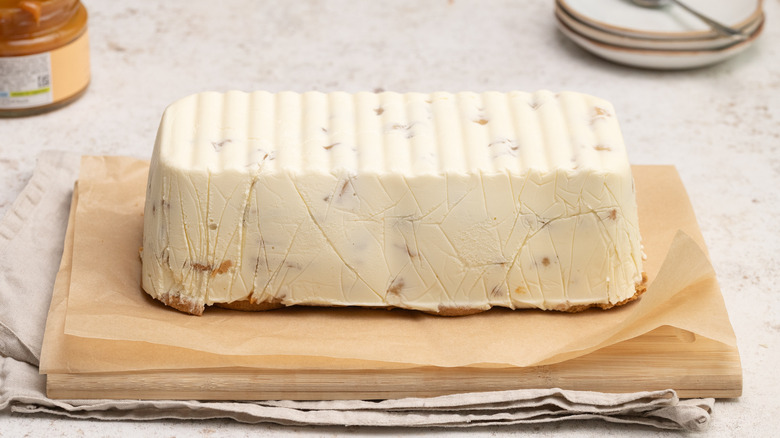
To serve, remove the plastic wrap and invert the cake onto a serving dish.
Step 14: Decorate and serve the caramel apple icebox cake
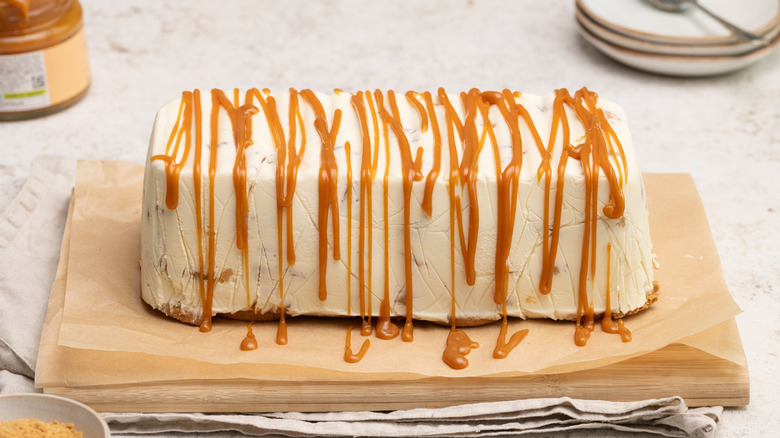
Drizzle with more caramel before slicing and serving.
Pairs well with caramel apple icebox cake
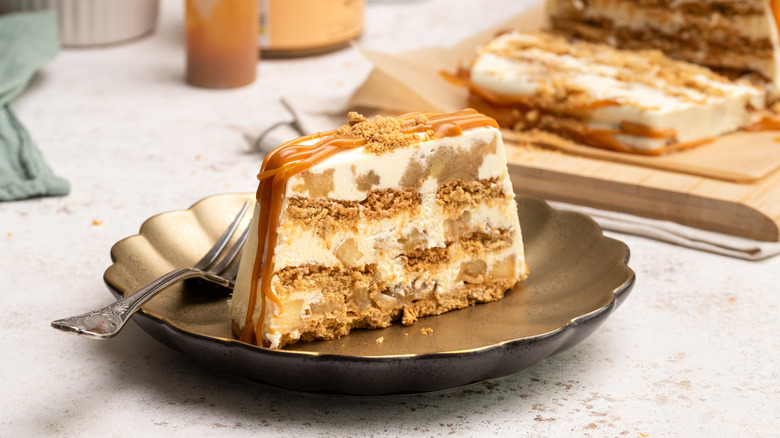
No-Bake Caramel Apple Icebox Cake Recipe
This no-bake caramel apple icebox cake recipe yields a delightfully creamy, spiced, ice cream-like cake, with absolutely no need to turn on the oven.
Ingredients
- 3 large apples
- 2 tablespoons butter
- 3 tablespoons brown sugar
- ¼ teaspoon ground cinnamon
- ¼ teaspoon mixed spice (or pumpkin pie spice)
- 1 ½ cups heavy cream
- 2 (8-ounce) blocks cream cheese
- 1 cup granulated sugar
- 1 tablespoon vanilla extract
- ½ cup caramel sauce, plus extra for serving
- 24 digestive biscuits
Directions
- Peel, core, and dice the apples.
- Add the butter to a large pan over medium heat.
- Add the diced apple to the pan, along with the brown sugar, cinnamon, and mixed spices.
- Cook for 5-10 minutes, until the apple pieces are tender, adding a splash or two of water to the pan if needed.
- Remove the apples from the heat and set aside to cool.
- In a stand mixer, beat together the heavy cream, cream cheese, sugar, and vanilla extract until smooth.
- To assemble the caramel apple icebox cake, line a large loaf pan with plastic wrap.
- Place ⅓ of the cream cheese mixture at the bottom of the loaf pan and smooth it out.
- Add ⅓ of the cooled spiced apple mixture on top of the cream cheese layer.
- Drizzle ⅓ of the caramel sauce over the apple layer, then top with a layer of biscuits, breaking them as necessary to fill any gaps.
- Repeat the layering process until all the ingredients have been used up.
- Cover the top of the cake with plastic wrap and refrigerate for at least 8 hours, or until fully set.
- To serve, remove the plastic wrap and invert the cake onto a serving dish.
- Drizzle with more caramel before slicing and serving.
Nutrition
| Calories per Serving | 1,648 |
| Total Fat | 88.0 g |
| Saturated Fat | 36.6 g |
| Trans Fat | 1.2 g |
| Cholesterol | 124.4 mg |
| Total Carbohydrates | 191.4 g |
| Dietary Fiber | 6.6 g |
| Total Sugars | 58.9 g |
| Sodium | 2,020.0 mg |
| Protein | 26.5 g |
How can I switch up this icebox cake recipe?

This no-bake caramel apple icebox cake recipe is already bursting with fruity and creamy flavors, but there are still plenty of ways to switch things up if you are looking for something a little different. While this dessert features apples cooked with butter, sugar, and spices, you don't have to stick to just apples. Try mixing in some pears or berries to add a different fruity dimension to your icebox cake, or leave the apples out entirely and instead layer the dessert with roasted peaches and strawberries for a celebration of summery flavors.
Similarly, while this version uses digestive biscuits to add crunchy layers between the cream and fruit, switching these out for some gingersnaps or Biscoff cookies will add further spice and sweet warmth to your cake. Alternatively you can use slices of vanilla cake in place of the cookies for a softer finish. Adding chopped nuts to each layer, such as pecans or almonds, will add even more texture as well as a delicious complementary nutty flavor. You can also add more flavor to the cream by mixing some of the caramel sauce into the cream layers themselves. Similarly, you can mix ground cinnamon or pumpkin spice mix into the cream cheese mixture to add even more spice to your icebox cake.
What's the best way to store an icebox cake?
Once you have assembled your caramel apple icebox cake you will want to place it into the refrigerator to set. Not only does this time in the fridge give the softer elements of the dessert time to harden, it also allows for the biscuits to soften slightly and for the cake to become cohesive. So, to make a really good icebox cake, you are going to want to keep it refrigerated for a decent amount of time before serving. Due to the layers of cream and cream cheese in this dessert, as well as the fresh fruit, you will need to keep the icebox cake in the fridge unless you are serving it. Not only will the cream lose some of its stability when kept at room temperature for too long, but it will also quickly spoil. If the icebox cake is well wrapped or stored in an airtight container, it will last well for two to three days in the refrigerator.
Alternatively this icebox cake can be made ahead and frozen, just make sure to wrap it well to avoid any freezer burn. Remove it from the freezer half a day before serving and keep in the fridge to allow the cake to thaw just enough that it is easily sliceable.