The Possible Reasons Your Sourdough Is Sticky And How A Professional Baker Would Fix It
Sourdough bread has been around for hundreds of years and has culled fans who love to eat it and bake it. But that doesn't mean it's easy to make, no matter how simple a video tutorial seems. One of sourdough's challenges is that it is a lengthy process, and one misstep at any of the various stages can lead to a failed loaf. It can be very deflating, pun intended, to realize after an all-day rise that your dough is a sloppy, tacky, unworkable mess. There are many reasons sourdough can be unreasonably sticky, leading to poorly baked bread, but with some small tweaks to the recipe or the method, this can be overcome.
I've been eating sourdough my whole life and baking yeasted bread professionally for over 20 years. I started working with sourdough about 10 years ago when my test kitchen boss brought a small jar of sourdough starter back from a trip to Alaska. "Juneau," dating back to the Gold Rush, became my entry into baking sourdough, developing recipes, and writing articles about best practices, tips, and techniques. A small share of Juneau came home and I have continued to feed, discard, and create from it. I've had disastrous loaves along the way as I tried new things, but each fail furthered my knowledge and expertise as I learned how small changes can have a large impact.
The basics of making sourdough bread
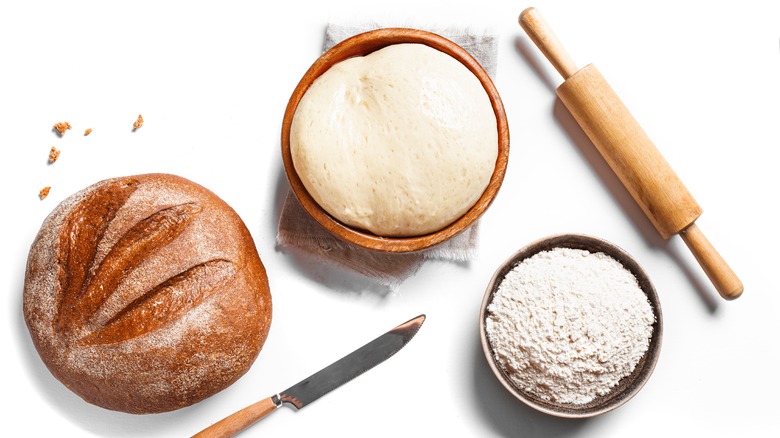
To understand what can go wrong making sourdough, it is helpful to understand the steps. Although there are a variety of methods to make bread, from no-knead to using an unfed sourdough starter as the base, most basic recipes follow the same process. First, feed your starter several hours or the night before beginning so it is vigorously bubbly and active. Next, there are two options: autolyse or fermentolyse. For the first, simply mix flour and water and set aside covered for at least one hour and then knead in the sourdough starter and salt. Fermentolyse includes the active starter from the beginning.
Then, the dough has its first rise, called bulk fermentation. Bulk fermentation begins as soon as the starter is added and is the step where the dough will gain most of its volume. Depending on the ambient temperature and the amount of starter in the dough, this can take anywhere from 3 to 12 hours. During this time, the dough also gains strength, which is helped by occasionally performing what's called stretch and folds or coil folds, where the dough is gently stretched without deflating the building gas. Finally, the dough is shaped and has a final proof in a lined and floured bowl or bread banneton. It can be baked immediately or refrigerated for up to a few days, called cold proofing, for a deeper sour flavor.
The dough is underproofed
Knowing when a dough has risen enough can be challenging. If the dough is underproofed, the baked loaf will be very dense and heavy and not pleasant to eat, but it can happen to the best of us in an attempt to avoid overproofing. Rather than focus on the volume the dough gains (has it doubled? Risen 30%?), which can be difficult to judge visually, go by the feel and look of the dough.
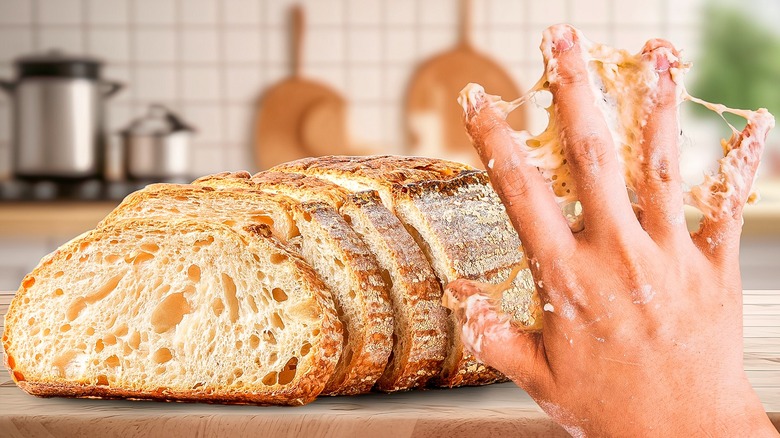
As the dough sits and ferments, as well as when the dough is stretched, it gains gluten strength and holds the carbon dioxide given off by the starter, giving lift. When the dough is properly bulk fermented, it will feel light and soft and the surface will jiggle slightly if you shake the bowl, like barely set cheesecake. When you shape it, the dough should stretch easily and stick to itself, but not your hands. Once it's in a bowl or basket for final proofing, you can test the proof with your finger. Press the dough gently to see how quickly the dough springs back. If it springs back immediately, give it more time.
To overcome underproofed dough, simply let it rise more at either stage. Even before baking, if you realize you rushed the process and the dough doesn't pass the poke test, springing back immediately, let it rest at room temperature before baking and proof a little longer.
The dough is overproofed
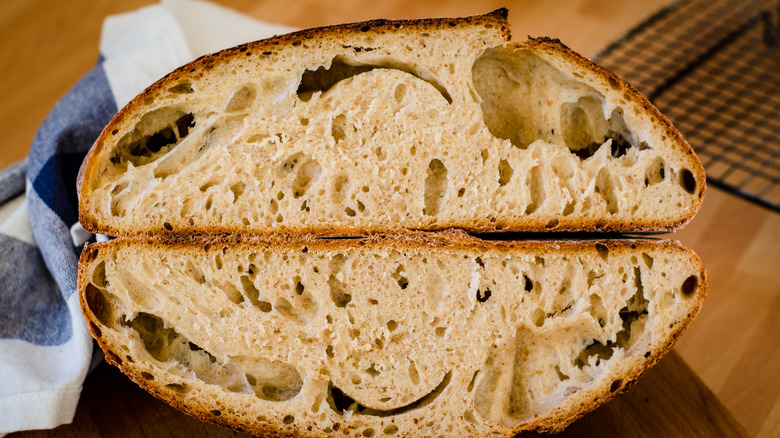
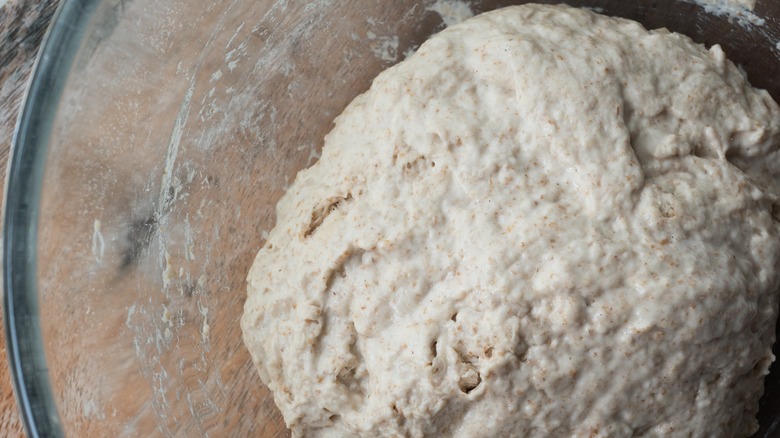
Overproofing happens when the dough has been left to rise for too long. The dough rises as the starter feeds on the flour and emits carbon dioxide. Eventually, there will be more gas in the dough than the structure of it can hold and it will essentially collapse on itself. Once baked, an overproofed loaf can have huge irregular air pockets, gummy dough, and an overly tough exterior.
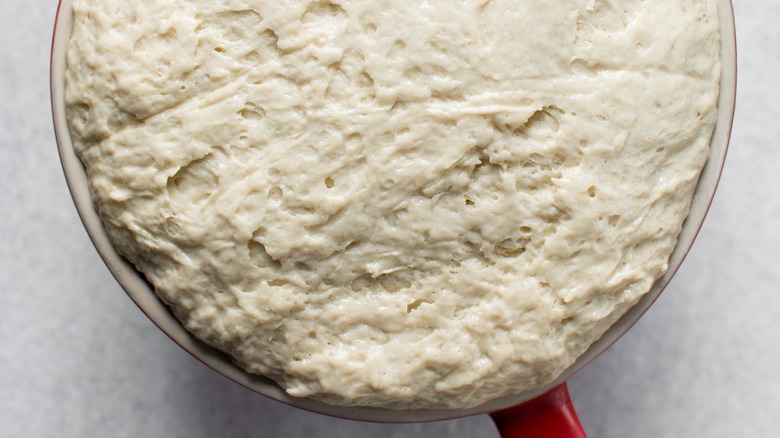
Overproofed dough may have huge air bubbles on the surface or be ready to spill over the sides of the bowl. Once tipped on the counter for shaping, it will flatten and not tighten into a ball, no matter how it's worked. At this stage, you can try and salvage the loaf by degassing it and starting the bulk fermentation process again. You can also transfer the dough into a square pan with oil and turn it into focaccia, skipping the need to shape the dough at all. It may seem easy to avoid overproofing, but every loaf is different and even a small change in the ambient temperature can speed up the process more than expected, catching the baker by surprise with a giant balloon like bowl of dough.
The dough has too much water
Have you ever read a sourdough recipe that talks about the hydration percentage of the dough and wondered what that means or why it's significant? The ratio of liquid ingredients to flour creates the hydration percent of the dough. The higher the hydration, the wetter the dough and the more open and tender the baked bread. But, it also makes the dough extremely sticky and hard to work with. A high hydration dough will also rise less, making it difficult to judge when it is properly proofed.
I count myself in as a baker with a failed high hydration experiment. The heavy, wet dough seemed to lose strength and air as it sat, and shaping was almost impossible since most of the dough bonded with my hand and counter. Professional bakeries may have the right combination of flours and time dialed in to manage this dough, but for the home baker, a lower ratio of water to flour will produce a dough that is easier to manage while still being soft when baked. To avoid having too much water, be sure to measure accurately and review the recipe before starting. If the baked bread is too dense due to not rising, pulverize it for fresh breadcrumbs.
The flour was measured incorrectly
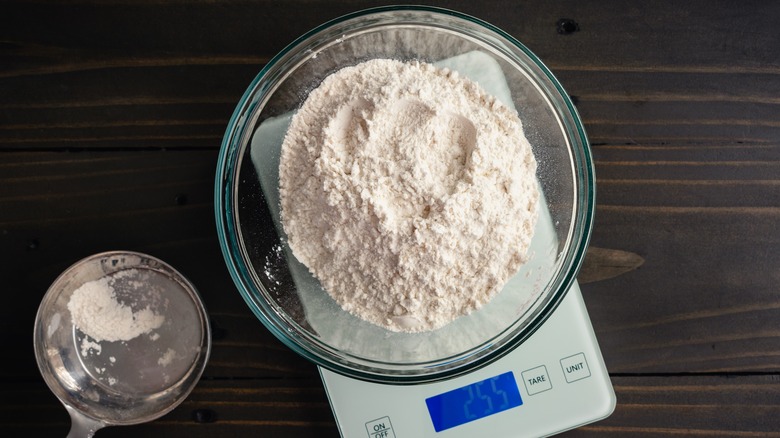
The perfect ratio of flour to water is dependent on the correct amounts of each being added. This is why a kitchen scale is so essential in baking and specifically bread baking. It's also why many bread recipes are listed in metric grams rather than cups. When a recipe lists flour in cups the recipe developer could have been dipping the cup into flour and leveling the top or spooning it into a cup and sweeping the top flat. The difference between these methods of filling a cup can be drastic enough to throw off the ratio of the recipe and can cause an overly wet sourdough.
To ensure a sticky dough is not due to adding the wrong amount of flour, the easiest thing to do is to use a scale. They are inexpensive and a time saver. There is no need to count and remember as you add cups of flour to a bowl, worried a distraction will make you forget if you added three or four cups. Of course, in America many recipes will still be listed in cups, but you can find your own weight. Weigh one cup of flour and then multiply by the number of cups in the recipe. You can make adjustments after seeing how the dough bakes, but you will have a set baseline to work off of.
The gluten is underdeveloped
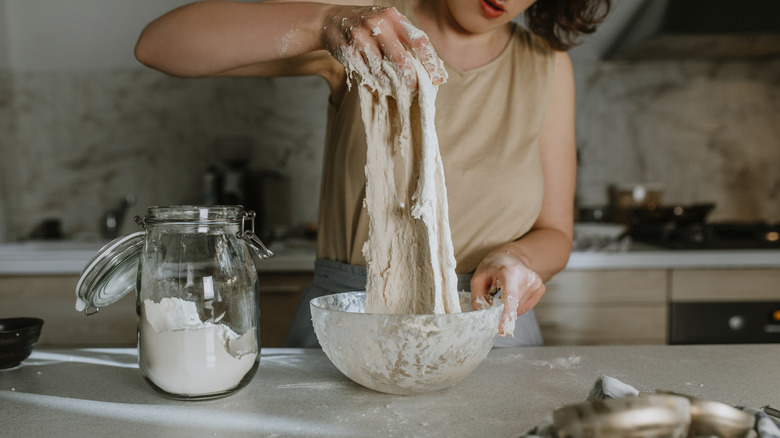
Gluten is developed during the autolyse, mixing, bulk fermentation and stretch and folds. Gluten is what gives the dough elasticity, so as it rises, it can hold all the air inside and continue to expand without tearing. If the dough hasn't gained enough strength, it will be sticky and shapeless. Some recipes call for doing only a few stretches and folds, while others recommend doing them throughout bulk fermentation. Every stretch, if done carefully, works the gluten a little bit more and encourages the dough to hold more air.
If you are plagued with wet dough, add in more mixing. If starting with an autolyse, when you work in the starter and salt, don't just mix until combined. Instead, stretch the dough until it gains some pliancy, and you can pull a small piece between your fingers until it is thin without ripping. During bulk fermentation, add in a few extra stretches and folds or coil folds. As an added bonus, you can feel the dough as it changes, noting the shift from a rough and tacky ball to a supple, airy dough.
Using different flour than the recipe calls for
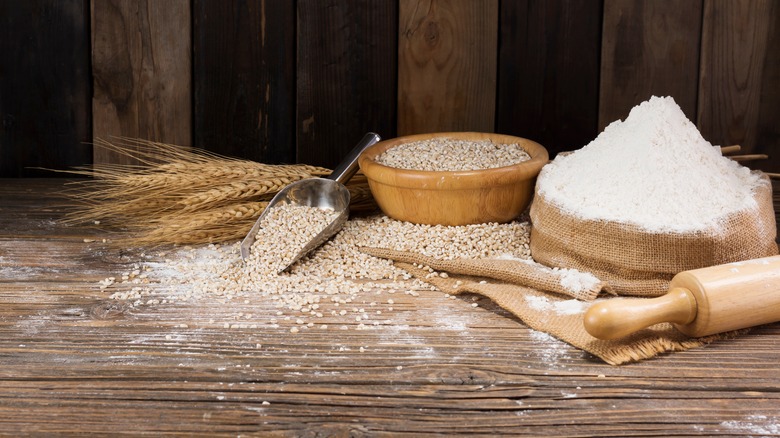
There are a lot of different flour options for every baking project, but that does not make them interchangeable. Every type of flour has a different protein content, size, and texture. These factors impact the final flavor and texture of the bread, as well as the consistency of the dough.
Bread flour is a common choice for making sourdough bread. It has a higher protein content than all-purpose, and that translates to bread with a chewy texture and a dough with strong gluten development. The higher protein content also means it can absorb more water, especially if kneaded or stretched, breaking up the starch in the flour allowing it to hydrate even more. So, the amount of water and the type of flour work in unison and swapping the flour for a different choice or a blend can throw off the water ratio and lead to overly wet and sticky dough.
To avoid a dough disaster, use the flour called for in the recipe. If you want to introduce a whole grain flour like whole wheat or rye and can't find a recipe that works, start by swapping very small amounts so that you can see how it changes the dough without going so far that it is unworkable, keeping in mind that flour does not hydrate instantly but will continue to soak up the water throughout bulk fermentation.
The sourdough starter is weak
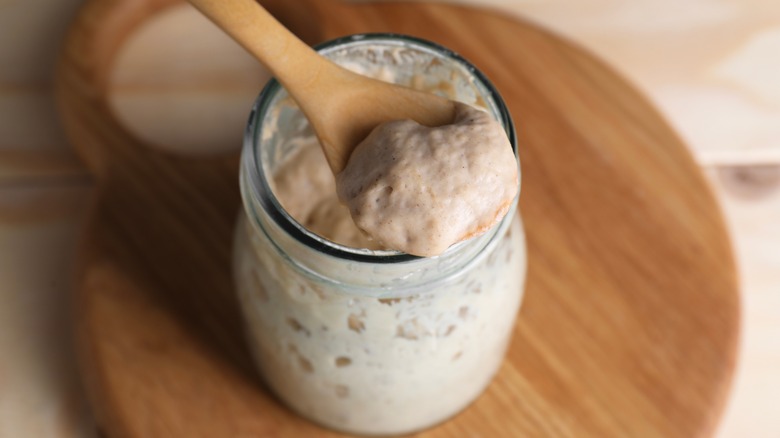
Sourdough starter is what gives your bread rise, but if it is too young or has been insufficiently fed, it may lack the ability to rise dough, leaving it flat and tacky. Feeding a starter is the process of adding fresh flour and water to give the wild yeast something to eat. As it eats, it will rise until it has eaten everything it can and then begins to deflate. A starter can be kept in the refrigerator, requiring less frequent feeds, or at room temperature, which needs daily maintenance.
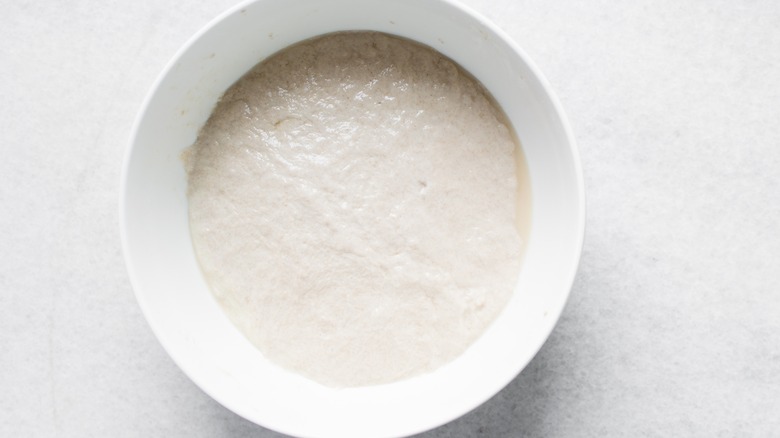
After a starter is fed, it will reach its peak, the time before it starts to fall. Making bread with a starter at its peak is the best way to ensure the starter has enough strength to rise a loaf of bread and give the dough the stretch it needs to be shapeable and not sticky. To judge if the starter is at its peak, it should have at least doubled, and the gently domed surface should be full of air bubbles. If a starter is kept in the refrigerator, plan on extra time to reactivate it and a few feeds. The cold temperature slows the starter's activity, so before it's ready for use, it needs to warm up and wake up. If you struggle with sticky dough and a poor rise, back off baking and focus on feeding the dough, watching its pattern for how long it takes to reach the peak.
You forgot the salt
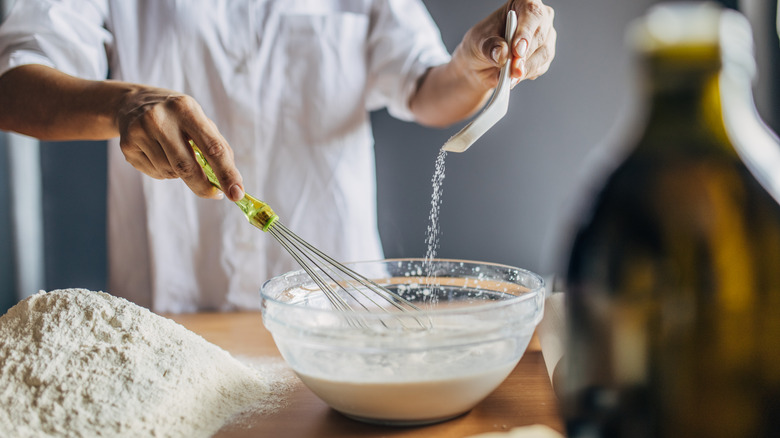
Salt is more than just a seasoning in sourdough, though it's contribution to taste is important. Salt plays a key role in the structure and rise of the dough. If it seems you did absolutely everything right but your dough is sloppy, runny, and coats your hand like you stuck it in a bowl of porridge, you might have forgotten the salt.
Salt tightens the gluten in the dough and slows the rate at which the bread ferments. Paired together, you get a dough that rises at a rate that can hold the building carbon dioxide. Without salt, the dough will rise quickly, which seems like a good thing, but it will lack structure, making it very hard to turn into a tight loaf. Some recipes add the salt from the start, while others add it after the autolyse or the first hour of fermentolyse. So, if you forget to add salt immediately, there is time to sprinkle it over the dough with a splash of water to help dissolve it, and work it in. The key is to catch it before the bulk fermentation has gone too far. If it has gone too far, like any overproofed or impossible to shape dough, you can still bake it and grind it into breadcrumbs or cubes and toast for croutons.
Your kitchen is very hot
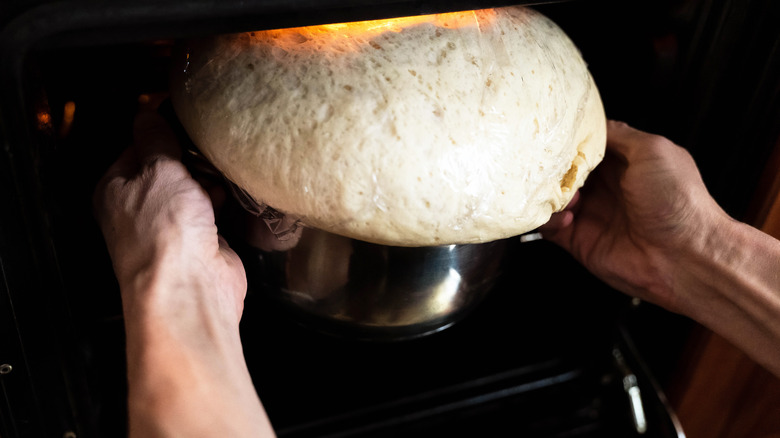
Sourdough, or any yeasted dough, rises faster at higher temperatures. Winter presents its own challenges, with people using blankets, microwaves or the light in a turned off oven to encourage rising, but when the temperatures soar in the summer, the goal is to find a place cool enough to control the speed of the rise.
Similar to overproofed or salt-less dough, a dough that rises too fast due to temperature will not have enough time to ferment properly and build strength, making it loose and very sticky. Even if the dough seems on track after bulk fermentation, it can still overproof, deflate, and become sticky after shaping or cold proofing because the dough will continue to rise until it becomes cold enough to slow the yeast's activity. To combat a warm kitchen, start bread making early in the day, use cool water in the recipe, and be cautious with bulk fermentation and final rise. You may need to transfer the shaped dough immediately to the refrigerator and skip a final rise at room temperature. Place the loaf away from the refrigerator door to avoid warm drafts so it can cool more rapidly.
You skipped the autolyse
Autolyse is not a required step. Some recipes skip it completely and add the starter from the beginning. Making an autolyse (mixing flour and water and letting it sit) adds time to the bread-making process, but because it does not contain any yeast or sourdough starter, it is not highly time-sensitive. It can be made an hour before starting or several hours. The flour continues to hydrate as it sits and builds strength. It's a difference you can feel. After initial mixing, an autolyse is dry and stiff, but after it has sat, it becomes pillowy and pliable. Autolyse gives the dough a head start on building strength and skews the odds that when it comes time to shape, the dough can be handled easily without sticking to your hands.
I have baked with and without an autolyse, and there is a difference in the dough after bulk fermentation and after baking. With an autolyse, the dough can be pulled taut when formed into a loaf, and the baked bread has an even texture throughout. If you are new to baking or struggling with shaping due to overly tacky dough, add an autolyse to your steps or extend the time the autolyse rests. Being able to shape the dough well is vital as it creates surface tension so the bread can continue to hold the trapped gas during its final rise and bake.