Fresh-Baked Sourdough Bread Recipe
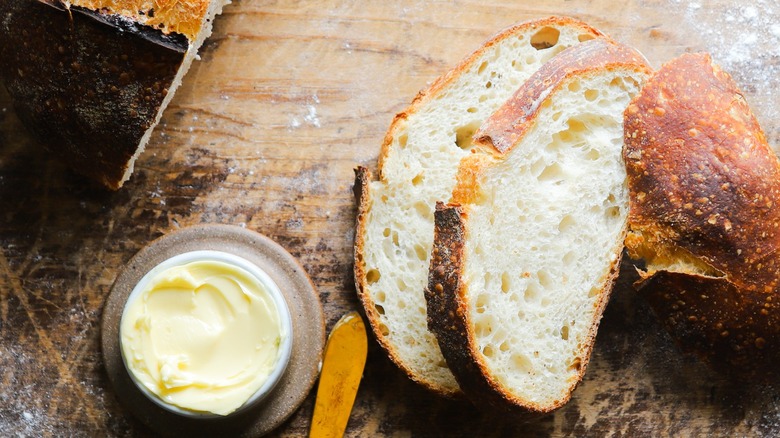
Making sourdough bread is an art that may go back as far as the Ancient Egyptians. While the process was likely invented by accident, the fermentation that occurs actually helps our bodies digest gluten due to the high level of probiotics found within the finished product. There is some evidence to suggest that even gluten-intolerant people can eat properly fermented sourdough bread. The acids produced by this fermentation also help the bread stay fresher longer, so it doesn't need preservatives.
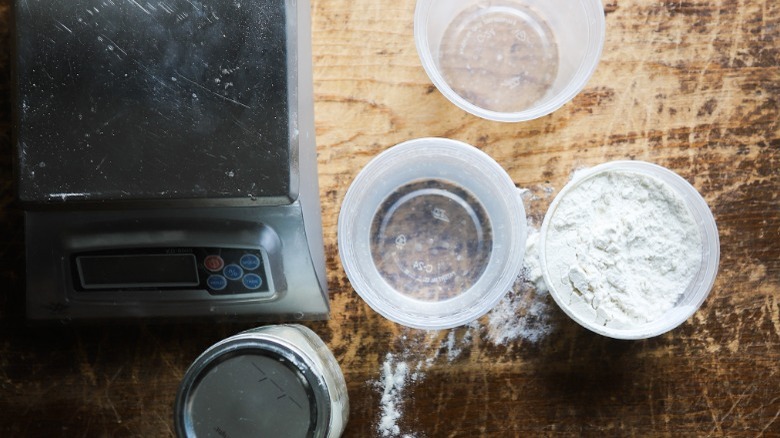
"We've written this recipe using metric measurements, so you'll have to invest in a kitchen scale if you don't already have one," says recipe developer Taylor Murray. While there are recipes for sourdough that use Imperial measurements, mismeasuring the ingredients is one of the most common mistakes made with sourdough. This is because the dough's volume changes greatly during the process, and 1 cup could be a vastly different weight hour by hour.
Gather the ingredients for sourdough bread
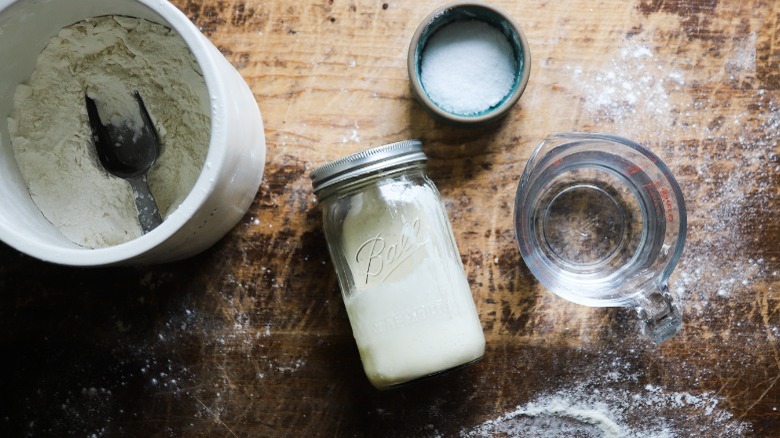
All you need to make sourdough bread is flour, water, salt, and a sourdough starter. While this ingredient list seems incredibly simple, each has caveats. First, the flour has to be bread flour or white flour with at least 11-13% protein. "Standard all-purpose flour at the grocery store doesn't always have this high of a protein content, but it is essential to create the right structure to support the open crumb you want to see in a sourdough," says Murray. "I use King Arthur white flour for my bread baking."
Next is the water. Some bread enthusiasts go on about using mineral water or some other special liquid. For this recipe, you only need tap water, but it's important to have water at the right temperature. For best results, start with the desired dough temperature (78 F). Multiply this by four, then subtract the temperature of the flour, the room, and the starter. For example, if all three are 72 F, the right water temperature will be 96 F.
Use a standard kosher salt, such as Morton's or Diamond Crystal. You need this salt to be easy to incorporate into a stiff dough.
Finally, the sourdough starter. You can buy a freeze-dried starter you rehydrate at home, or you can cultivate a starter with just flour and water (plus a bunch of time). The easiest way is to get a bit from a local bakery or a friend already making sourdough bread.
Refresh your starter
Many have wondered if you can bake sourdough with an unfed sourdough starter. The short answer is yes, but you get a better result if you have a freshly fed starter. If you have your starter kicking around your refrigerator, pull it out the morning before you want to make bread and refresh the starter. If you're already in the practice of feeding your starter every day, you can skip this step as your starter will already be ripe and active. The best practice is to have your starter fed each day for three days before the day you make bread.
Refreshing a starter is simple. Remove all but a small amount of the starter and add an equal amount of flour and water to the container. Mix well and let it sit covered at room temperature for 12 hours. For this recipe, the room temperature should be between 69-72 F.
Note: The flour and water needed to refresh your starter aren't included in the recipe measurements.
Build the leaven

The night before you want to bake bread, build your leaven. Start with 18 grams ripe sourdough starter and add 170 grams each of flour and room temperature water to the starter. Cover and let the mixture sit on the counter for 10 hours.
Start the autolyse
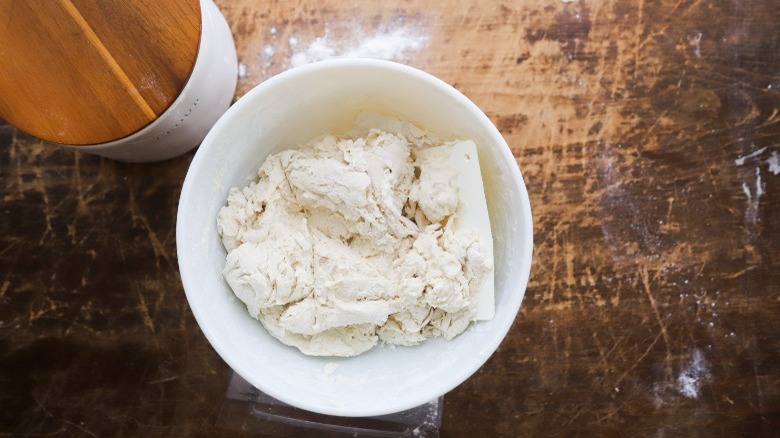
After the leaven has fermented for 10 hours, make the autolyse. This important step combines the flour and water without anything else. The two ingredients are left to rest for a period of time so the flour can fully absorb the water. At this point, the development of gluten begins so the most flavor can develop. For this recipe, mix the remaining flour and water and let them rest for 30 minutes.
Begin bulk fermentation
Fold the leaven into the autolyse and leave them to ferment for 2 ½ hours at room temperature.
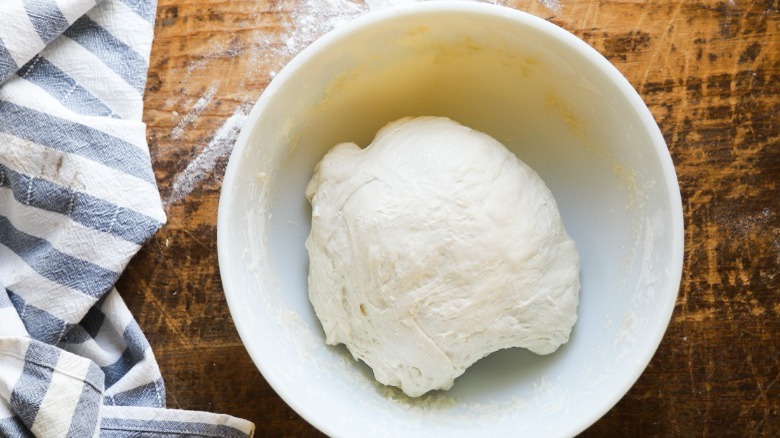
Add salt and do stretch and folds
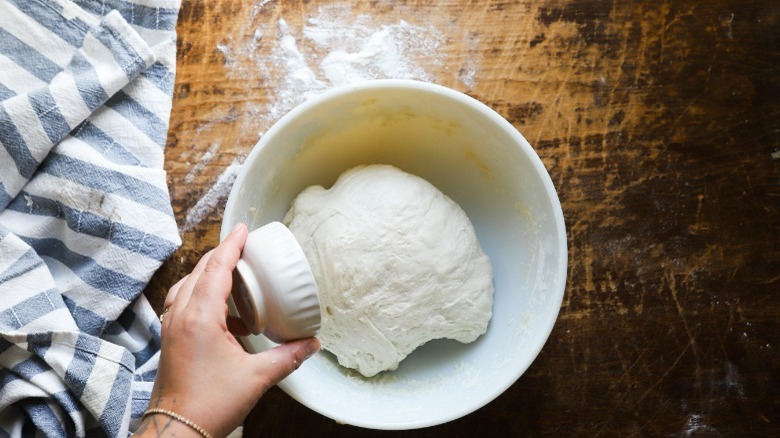
Now it's time to add the salt. It's important to wait until now so that the dough has plenty of time to begin fermenting without the salt hindering its growth. From this point, rest the dough for an additional 3 hours to allow it to ferment with a "stretch and fold" every hour.
"Great sourdough bread has a chewy texture and lots of big holes, which we call open crumb," says Murray. Both of these are achieved by giving the dough strength, which comes from the process of stretching and folding. "There are many different techniques for this part of the recipe, but I like picking up a corner of the dough with two hands and pulling it up, stretching it to the max, before folding it over onto the main portion of dough," Murray says. "I repeat that three more times until I've done it a total of four times in each quadrant of the dough."
Pre-shape and bench rest the dough

Use a bench scraper to turn out the dough onto a lightly floured surface. Split the dough into two portions and pre-shape them by lightly pulling the edges into the center. Cover the dough with a towel and let rest for 30 minutes.
Shape the dough
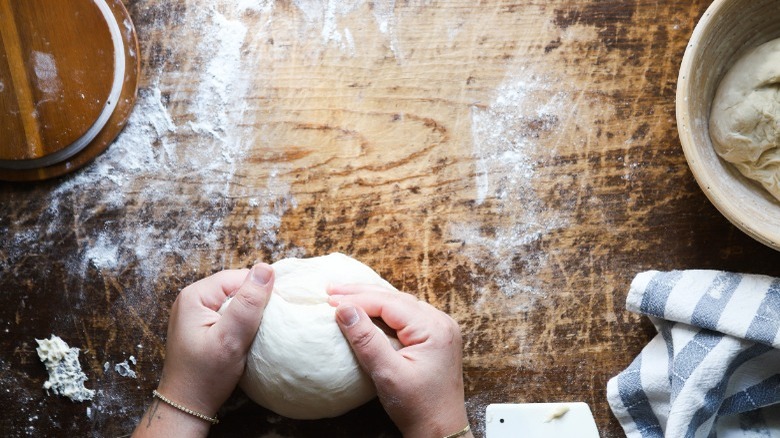
It's now time to build and shape the balls of sourdough dough. This stage is the last time to incorporate strength and structure into the dough. Working with one ball of dough at a time, turn the ball so the seam is down and roll it towards you. "You must find the right balance for the amount of flour on your board for this step. Make sure the dough isn't just rolling towards you but is curling into itself as you pull it forward," says Murray.
Place the balls seam-side up into a lightly floured brotform or a bowl lined with a kitchen towel. Cover and rest for 2 hours at room temperature. Alternatively, you can place one or both of the dough balls into the refrigerator overnight. If you do, pull the dough out of the fridge about an hour before you want to bake it. The dough is ready to bake when it slowly springs back after being touched and feels light and airy. You may even be able to see bubbles on the outside.
Slash the bread and bake it covered
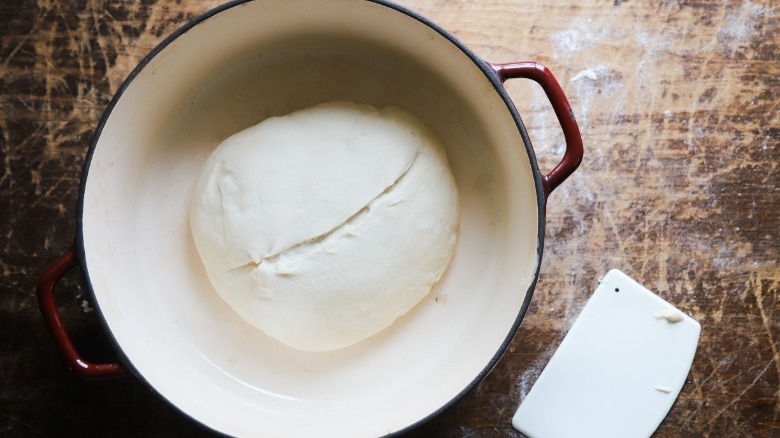
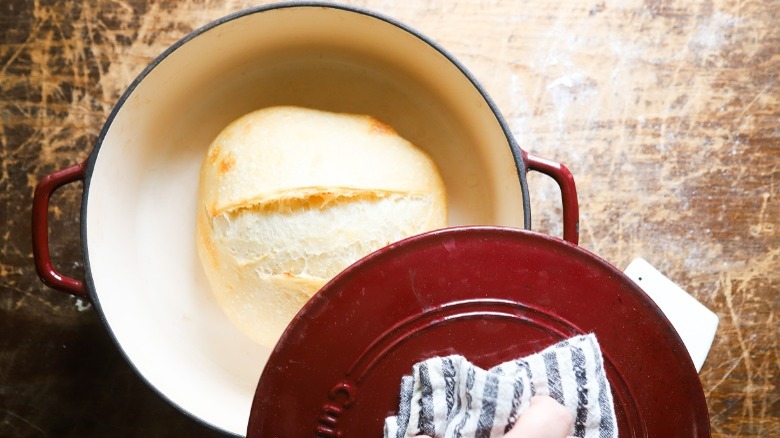
About 30 minutes before you're ready to bake the bread, preheat your oven to 450 F. Place a Dutch oven inside to preheat as well. When the oven is ready, turn one ball of dough out into the Dutch oven. Use a sharp knife or a bread lame to make a slash across the top. Cover the pot and bake for 20 minutes. At this point, the dough will have risen dramatically and should look like a good loaf of bread, but much paler than its finished form.
Finish baking it uncovered
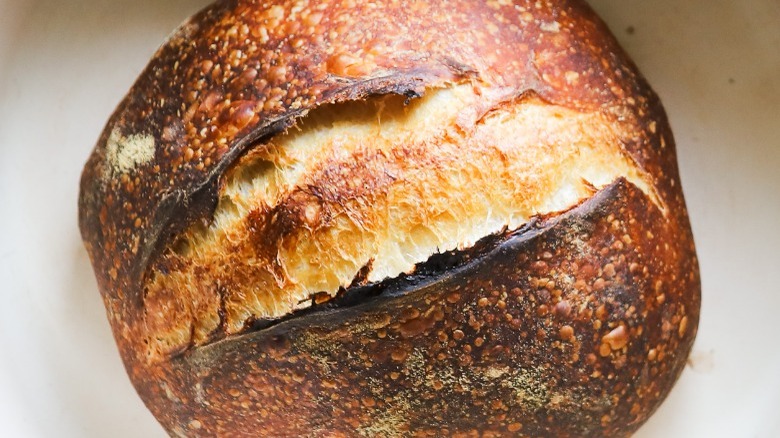
Remove the lid of the Dutch oven and continue baking until the desired color is reached, about 10 more minutes. You can also determine doneness by checking the internal temperature with a thermometer. The inside should reach 205 F when the bread is ready. Remove the loaf from the pot and let it cool on a wire rack or cutting board for at least an hour before slicing.
Fresh-Baked Sourdough Bread Recipe
Making fresh baked sourdough bread is both an art and a science. This recipe walks you through the whole process for the tastiest homemade sourdough bread.
Ingredients
- 850 grams bread flour or white unbleached flour (11-13% protein content), divided
- 578 grams water, divided
- 16 grams kosher salt
- 18 grams ripe sourdough starter
Directions
- Refresh your starter on the morning you wish to begin the recipe. Leave it covered at room temperature for 12 hours.
- Build leaven with ripe starter and 170 grams each of flour and water. Leave it covered at room temperature for 10 hours.
- Mix the remaining flour and water together in a separate bowl. Let it rest, covered, at room temperature for 30 minutes.
- Add the leaven to the flour and water mixture. Let it rest for 2 ½ hours.
- Add the salt and thoroughly mix it into the dough. Let the dough rest for 3 hours, incorporating the stretch and fold technique every hour. The dough should be firm, aerated, and increased in volume by about 60%.
- Turn the dough onto a lightly floured cutting board. Divide it into 2 portions and let them rest, covered for 30 minutes.
- Shape the balls of dough into rounds and transfer them into a brotform proofing basket or a bowl lined with a floured dishcloth. Let them rest, covered, for 2 hours at room temperature, or overnight in the refrigerator. The dough should be light and airy but springs back when touched.
- Set the oven to 450 F 30 minutes prior to baking. Place a large Dutch oven in the oven to preheat.
- Working one at a time, turn out the dough balls into the preheated Dutch oven and make a 2-3 inch slash on top using a sharp knife or bread lame.
- Cover the Dutch oven and bake until the dough is pale, shiny, and visibly risen — about 20 minutes. Remove the lid and continue baking until the loaf reaches a deep, golden brown and the internal temperature reaches 205 F, about 10 more minutes.
- Let cool for 1 hour before slicing and serving.
Nutrition
| Calories per Serving | 312 |
| Total Fat | 1.5 g |
| Saturated Fat | 0.2 g |
| Trans Fat | 0.0 g |
| Cholesterol | 0.0 mg |
| Total Carbohydrates | 62.6 g |
| Dietary Fiber | 2.1 g |
| Total Sugars | 0.3 g |
| Sodium | 336.3 mg |
| Protein | 10.4 g |