The Biggest Mistakes You're Making With Sourdough
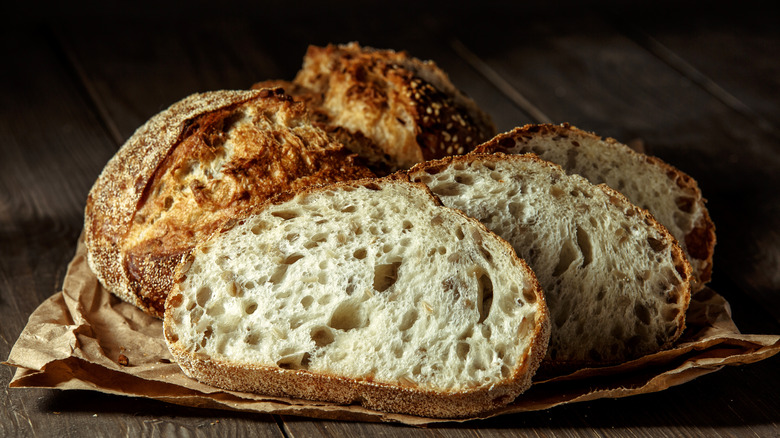
Baking fresh bread is easier than you think. While lower-maintenance bread like focaccia or baguettes are more straightforward bakes, sourdough bread is unique. It requires attention and technique but remains simple. It's made with just three ingredients, but every step must be carefully executed.
There are many health benefits of quality sourdough, such as high amounts of lactobacillus, a lack of phytates, and low glucose, all of which improve your gut health and digestion, notes Don't Waste The Crumbs. These benefits come from both the technique in which sourdough bread is made, as well as its use of wild yeast instead of commercial.
The truth is, baking good sourdough bread takes practice. There is the preparation that needs to be done, a few kitchen tools that make the process easier, and an array of seemingly futile steps that are essential for a quality loaf. However, the result will put any loaf of bread in the supermarket to shame. What may have once been a painstakingly temperamental chore will become a therapeutic venture that turns your home into an artisan bakery. Your friends and family will be sure to thank you for it. Here are some mistakes to avoid along the way.
Using commercial yeast
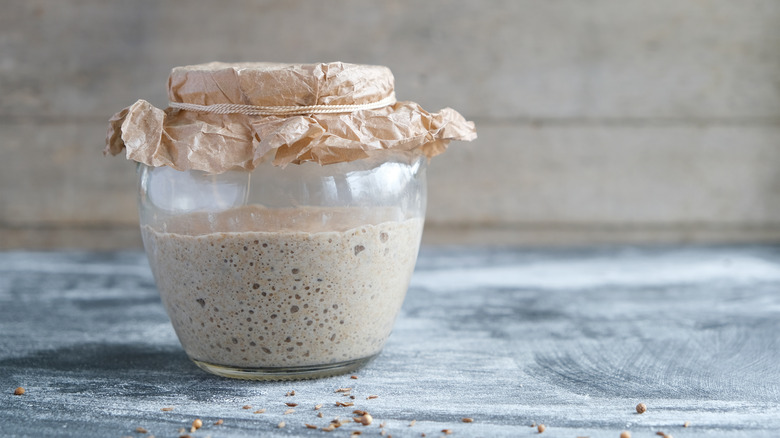
If you've heard of sourdough bread, you have probably heard of a starter, but what is a sourdough starter exactly? A sourdough starter is an even combination of flour and water that is fermented until ready to use in bread dough, according to Bread & Basil. Using a well-made, healthy starter will not only improve your loaf's flavor and texture, but it is also far healthier than using commercial yeast. This is because the yeast developed through a starter is completely natural, generating beneficial bacteria along the way, per BBC Good Food.
Although making your own starter takes time and a brief daily commitment, the starter contributes a large portion of the health benefits of sourdough. While using commercial yeast for bread is more convenient, the results include tougher starch, a higher sugar content, and excess single-strain yeast, all of which make for more difficult digestion and a lower amount of nutrients, notes Bread Srsly.
You may have realized home bakers can be quite protective of their starter or even obsessed with it. Your starter really is a living thing that requires a little care and attention every day. Feeding your starter, which means discarding some and replacing it with an equal amount, should only take a few minutes every day. Your starter is the foundation of your sourdough, so it's important you take good care of it. Plus, using a starter you grew and strengthened yourself is its own reward.
Not using the right water

Because the ingredients of sourdough only consist of water, flour, and salt, making sure each ingredient is quality is essential. As stated earlier, your starter is the base of your bread, so the water you use is very important since it makes up half the starter.
According to Pantry Mama, the wild yeast and bacteria in your starter feed on the water and flour to create fermentation, which produces the carbon dioxide that allows the starter (and the bread) to rise. When choosing a type of water, mineral content is key. Healthy water contains beneficial minerals such as magnesium, calcium, and sodium, all of which help strengthen your starter as well as make for a more nutritious loaf of bread. Therefore, water lacking in these minerals is not a good choice, and water that has too much of them will lead to difficulty accomplishing good fermentation.
Per Pantry Mama, the types of water you should avoid include distilled water, reverse osmosis, chlorinated tap, hard water, and soft water. Instead, you should use clean spring water, filtered tap, bottled, or filtered rainwater. Additionally, a general guideline is to use water with a pH level just below seven. As you get the hang of feeding your starter and baking sourdough, you can even begin experimenting with these different options and discover which one works best for you.
Baking with all-purpose flour

Just as the type of water you use makes a big difference in your sourdough, the type of flour used is equally important. If you're trying your hand at sourdough for the first time, you may have thought to use some of the all-purpose flour you have sitting in your cabinet. However, just because the label says "all-purpose" does not mean it's best used in a starter or a bread dough.
You may have heard flour referred to as strong or weak. This is about its protein content, according to Pantry Mama. While all-purpose flours generally have a protein content between 9% and 10%, bread flours have a protein content of at least 12%. The higher the protein content the stronger the gluten; the property developed in bread-baking that gives dough its elasticity, malleability, and sturdiness, notes Chain Baker.
Furthermore, organic bread flours are even better than non-organic flours, adds Pantry Mama. Organic bread flours are not exposed to chemicals or toxins and have a higher mineral and wild yeast content. Sourdoughs containing organic bread flour will rise more quickly, yield a better oven spring, and have a more complex flavor profile. However, organic bread flour is harder to come by and is expensive. Regardless, any strong bread flour is your best option for your sourdough venture. Until you have had some practice using standard bread flour, whole-wheat and blended flours can wait.
Not using the right tools
Although the items needed for baking bread only require the ingredients and an oven, investing a few extra dollars into some good baking equipment will help you yield a better final product and make the process easier and more enjoyable.
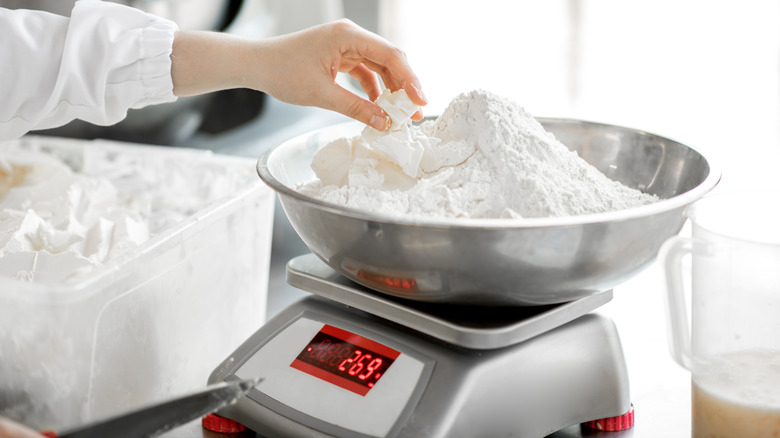
The most important tool on the list is a digital scale, says Alexandra's Kitchen. Because sourdough has only three ingredients, the amount of each must be precise. Regular measurement tools based on cups or tablespoons work well for most bakes, but measuring out a cup of flour three times will inevitably result in three slightly different weights. Digital scales are an easy, inexpensive way to get your measurements down to the exact gram. Plus, exact measurements are better for logging experimental attempts or making well-informed changes to a recipe. The next tool you should pick up is a large container with measurements on the side of it. With this, you will be able to see exactly how much your dough has risen before you shape it, as determining rising in a bowl can be uncertain, notes Alexandra's Kitchen.
The final and most likely the most expensive tool you'll need is a double dutch oven. This is essential for getting the crusty finished sourdough we all want at the end of this experience. Cast iron pieces are best because they retain heat as well as durability.
Baking without an autolyse
According to True Sourdough, autolyze is a method in bread-baking where the flour and water are mixed and then left to sit before the other ingredients are added. This period, which can last anywhere from 10 minutes to over five hours, allows the flour to become fully hydrated, which in turn helps develop gluten. Although implementing an autolyze is not required in baking sourdough, there are a variety of benefits to both workability of the dough and a tasty loaf.
An autolyze will make the dough more workable because the gluten development makes the dough stronger. After an autolyze, you will find the dough stretchier, smoother, and not as easily torn. This is the same reason why sourdoughs made with an autolyze have a better oven spring, a more open structure, and a softer interior, says True Sourdough.
Additionally, baking with an autolyze will make for less kneading time later on since an autolyze essentially preps the dough's gluten development. In turn, this makes your final product tastier. Plus, the fermentation time is slower with an autolyze, so the flavor can develop more than it would with a fast fermentation. An autolyze in baking sourdough is not a requirement, but the many pros to having one certainly make the added time worth it.
Leaving the dough alone during fermentation
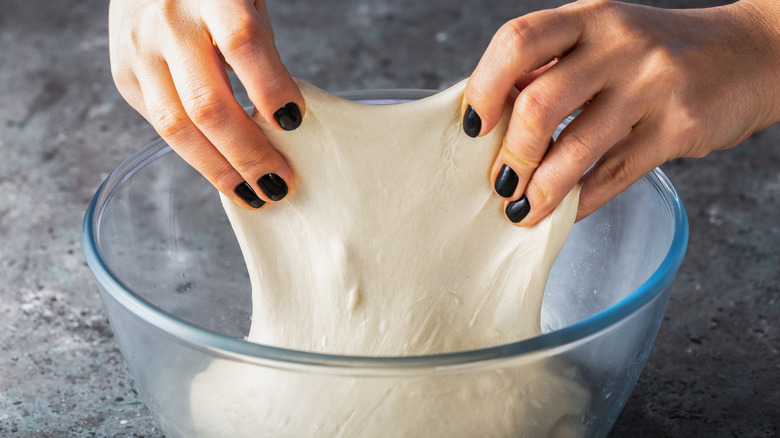
Once you have kneaded, shaped, and left your dough to ferment, turning away and not returning until the fermentation is over can do more harm than good. Per The Perfect Loaf, dough strength is a key factor in baking sourdough, and the most important aspect is finding the balance between too strong and not strong enough. A dough just strong enough will be able to retain the gasses accumulated through fermentation, but not too strong that it loses its expandability. A great way to accomplish this happy medium is to use the stretch-and-fold method. Stretch and folds are done to further develop gluten as well as to equalize the dough's temperature.
Stretch and folds are done simply by gripping the top edge of the dough, stretching it downward, pressing it lightly into the bottom portion of the dough, rotating the container, and repeating. According to The Perfect Loaf, stretch and folds should be done in sets, with four stretch and folds per set. In addition to gluten development and temperature regulation, stretch and folds are a good way to monitor your dough's progress, take notes of any observations, and adjust accordingly in the future. When to stop stretching and folding can be tricky, as too many sets will over strengthen the dough. Like many aspects of baking sourdough, trial and error is a reliable way forward.
Over-proofing
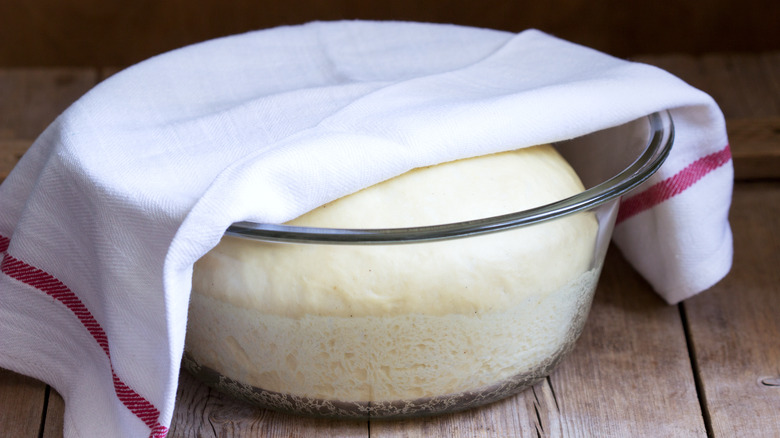
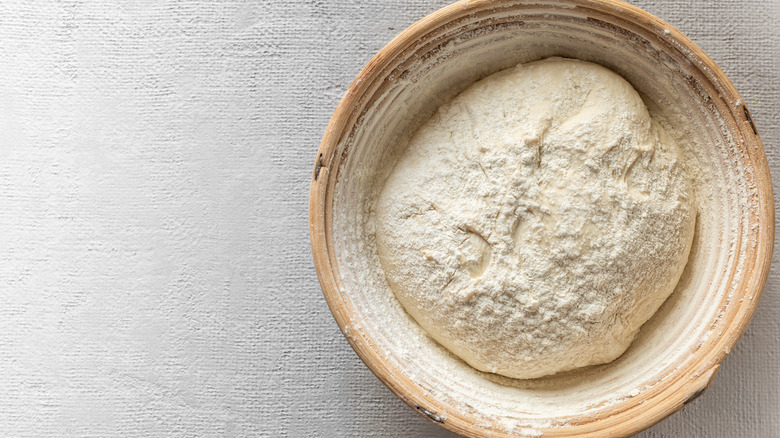
Proofing is another word for fermentation, according to Crusty Labs. Sourdoughs are typically proved twice, the first being the bulk fermentation, where you perform the stretch and folds, and the final fermentation, which takes place after the dough is shaped. This step is crucial to producing a good final product, so letting your dough prove to its fullest extent should be done no matter how eager you are to get it in the oven. On the contrary, over-proofing your dough will make the progression of your dough move backward.
Per Crusty Labs, any amount of proofing more than necessary will weaken the gluten through the pressure built up by the generation of carbon dioxide. Although this may go unnoticed inside the proofing container, an over-proofed loaf will showcase a divided inner crumb after baking, with a large air bubble separating the two sides.
The best way to know when your dough is done proofing is its volume, notes Crusty Labs. The dough should rise by 30% during the bulk fermentation and then rise another 30% during the final fermentation. A more simple way to ensure you reached a satisfactory level is the poke test. After wetting your finger to prevent sticking, gently press the dough about an inch deep and see how it reacts. If it bounces back quickly, it still needs more proofing. If it bounces back slowly and a small indentation is left behind, it is ready for the next step.
Poor scoring
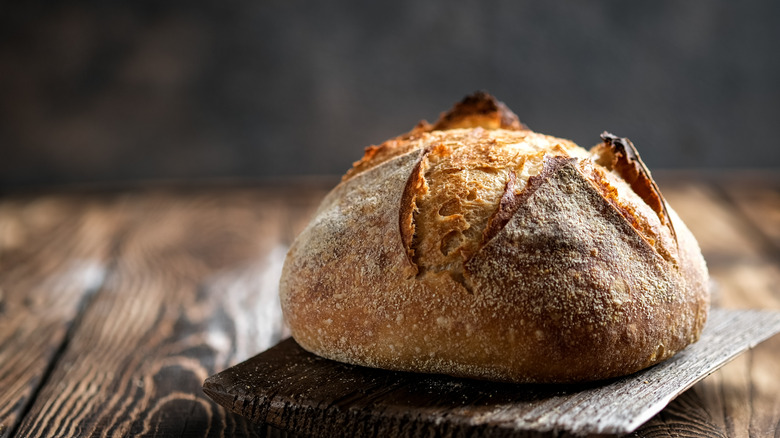
The oven is preheated, your dough is sufficiently proofed, and all that's left is to bake it. One final step remains, however, and although it may seem minuscule, it can make a big difference to the appearance and exterior of your loaf, according to King Arthur Baking Company.
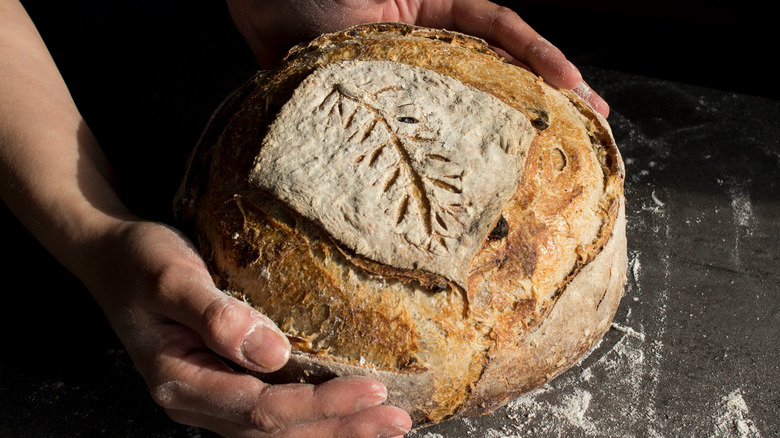
A well-scored loaf of sourdough is not only eye-catching and impressive, but it also protects the exterior of the dough from bursting in weaker areas. Once the dough is exposed to the intense heat of the oven, it springs upward and pushes against its surface. If the dough hasn't been adequately scored, the inside will have nowhere to go, and will chaotically burst outward. Scoring allows the dough to rise evenly without restricting any part of it.
Scoring can be done with a tool called a "lame," which holds a razor blade, a razor blade on its own, or a very sharp knife, per King Arthur Baking Company. The incision should be done steadily and quickly for best results, and it should not be made too deep. However, not scoring deep enough can allow the surface to fuse back together, which basically defeats the purpose.
Regardless, scoring is a pretty forgiving step. Once you've reached that point in the process, it's pretty hard to ruin it. In this mostly strict process of baking sourdough, scoring is your opportunity to put your unique touch on your loaf. The more sourdough you bake, the more elaborate you can make your scoring designs.
Under-baking the loaf
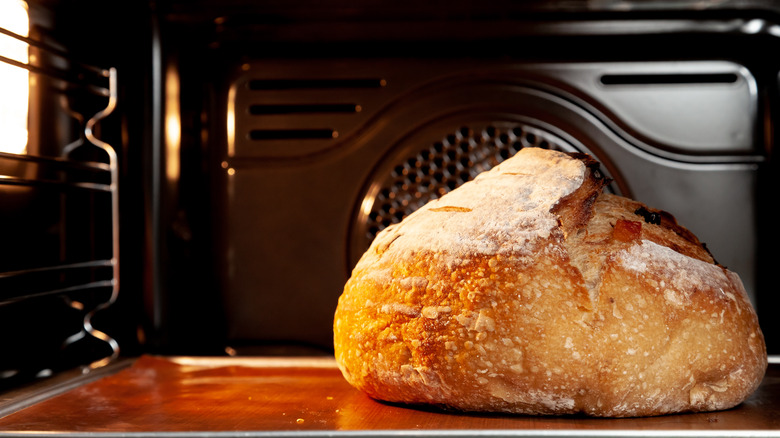
Finally, your sourdough is in the oven and you cannot wait to take it out and enjoy it, but steps remain to make sure this venture ends with well-made bread. According to Crusty Labs, underbaking your loaf can happen for a variety of reasons. First and foremost, the interior of your sourdough is not fully baked until it reaches an internal temperature of 190 degrees Fahrenheit. The best way to ensure this temperature is reached is to use a digital thermometer. However, there are other ways you can go wrong.
For example, not preheating the oven before placing your dough inside it may cause it to bake unevenly. Even if your thermometer says the bake is complete, the loaf will be cooked more in some parts than others. Also, setting the oven temperature too high may cause you to mistake a crusty, deep brown exterior for a finished interior. Then, if you have already sliced into the loaf, returning it to the oven will cause a near-complete loss of moisture and your loaf will be dried out, per Crusty Labs. You have put a lot of time and energy into your sourdough thus far, and it would be quite a shame if it didn't end well because of an oven mishap. Although you may be tired and ready to take your mind off your sourdough, a loss of attentiveness at the end could bring the whole experience down.
Not letting your sourdough rest after baking
Your sourdough is baked. The house smells heavenly. The interior is cooked evenly through, the boule is crusty, and the bread knife is ready to go to work — but wait! Your finished sourdough must rest.
When the bread is baking in the oven, starch molecules become swollen with water, and a cooling period after baking allows the molecules to dissipate. If you cut into your sourdough immediately after pulling it from the oven, the molecules will have not had a chance to be absorbed into the crumb and the bread will feel and taste gummy, per Crusty Labs. According to The Modern Proper, you should ideally let your sourdough rest for two hours after baking before slicing it, but a resting period of thirty minutes is adequate.
Additionally, waiting until your sourdough is cooled before digging in will make slicing it easier. True Sourdough notes that bread continues to bake after it leaves the oven. If you try and slice into a loaf straight out of the oven, the loaf will just flatten downward because its structure has yet to settle. This will leave you with uneven, not-so-good-looking slices in addition to a stodgy interior. It's certainly hard to resist, but the extra wait is worth it to make sure your beautiful sourdough is enjoyed to its maximum potential.
Storing your finished bread improperly
On the rare occasion your sourdough bread is not finished by you and those you share it with, you'll want to store your leftovers properly to enjoy later on. This finished product took mental, physical, and probably emotional effort, so you should take the necessary steps to make it last as long as possible (especially if you followed a delicious recipe like a rosemary-flavored one).
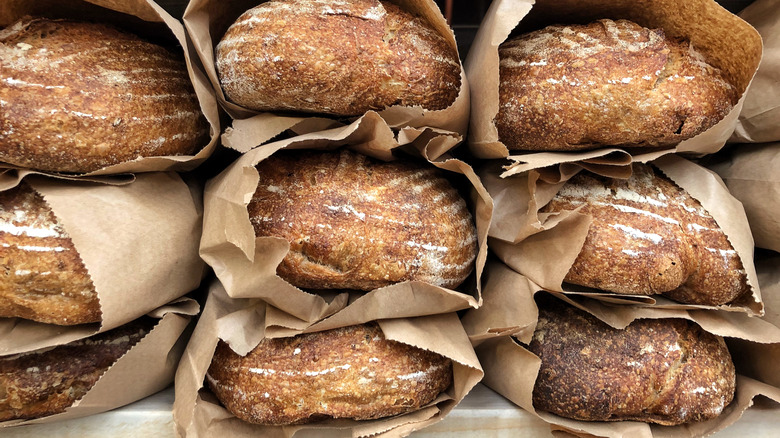
Luckily, because you used your starter and not store-bought yeast, your bread will have a longer shelf life. Never store sourdough in the refrigerator as the cold environment will cause any bread to turn hard and stale much faster than at room temperature, according to The Bread & Butter Project. Instead, place your loaf cut-side down on a cutting board and leave uncovered. This will prohibit moisture from accumulating on the exterior, while also protecting the moisture on the interior.
If you find yourself with leftover bread for longer than two days, storing it in a plastic bag is best, which will last up to five days, per The Bread & Butter Project. For any amount of time longer than five days, the best storage for sourdough is in the freezer. When you're ready to enjoy it once more, pre-heat your oven to 350 degrees Fahrenheit and lightly spritz the loaf with some water before re-baking for 15 to 20 minutes. The loaf's flavor will diminish over time, but this method will still yield a tasty loaf.