

10 Tips For Making The Absolute Best Roasted Pumpkin Seeds
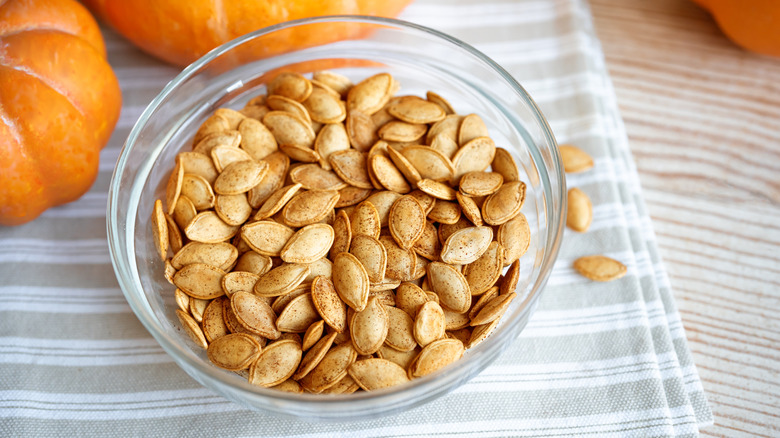
Whether you're getting creative with some Halloween pumpkin carving, whipping up a batch of pumpkin soup, or blitzing the squash into a puree, there's no need to let the seeds go to waste. Removing and cleaning them might seem like a hassle at first, but it's far easier than you'd think to transform these nutritious morsels into a satisfying snack. With the right techniques and a few simple additions, pumpkin seeds become gloriously crunchy, toasty, and full of flavor, and they're perfect for jazzing up with sweet, spicy, or savory seasonings.
Despite their versatility, there's a little more to great pumpkin seeds than dumping them on a baking sheet and turning on the oven. To achieve maximum crispness while avoiding burning, it's important to get the basics right. Follow a few simple pointers, and your seeds will emerge from the oven beautifully golden, crispy, and fragrant, with no sogginess or blackening in sight. Here are 10 top tips to help you make your best batch yet.
Dry the seeds thoroughly
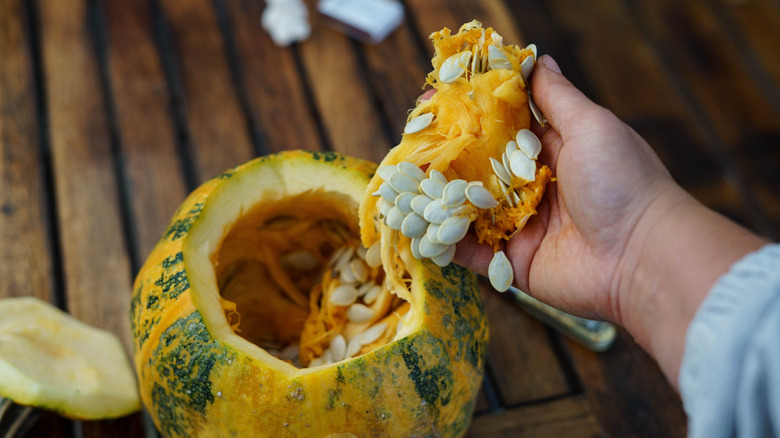
When you first remove the seeds from the pumpkin, they'll inevitably be a little wet and slippery, which doesn't lend itself well to achieving that all-important crunch. It's therefore crucial to clean and dry the seeds before you roast them. Skipping this step makes it much harder for the seeds to crisp up all the way through, and could result in a less-than-appetizing chewy and soggy texture. Or, you'll be forced to increase the cooking time, putting the seeds at greater risk of burning.
To set yourself up for golden, crunchy success, you'll first need to remove any excess pulp from the freshly scooped seeds. Start by adding the seeds to a large bowl of water. The seeds will float, while the pulp will sink to the bottom, making it easy to separate the two. Then, you can give the seeds a final rinse in a colander to remove any stubborn strands.
Once the seeds are clean (and after you've boiled them, if applicable), drying them thoroughly is essential. Layer paper towels on your work surface, then sprinkle the drained seeds on top in a single layer. Use more paper to blot and gently rub the seeds all over until they're completely dry, repeating with fresh, dry paper if necessary. Now, your seeds are ready for seasoning and roasting.
Boil them in salt water first
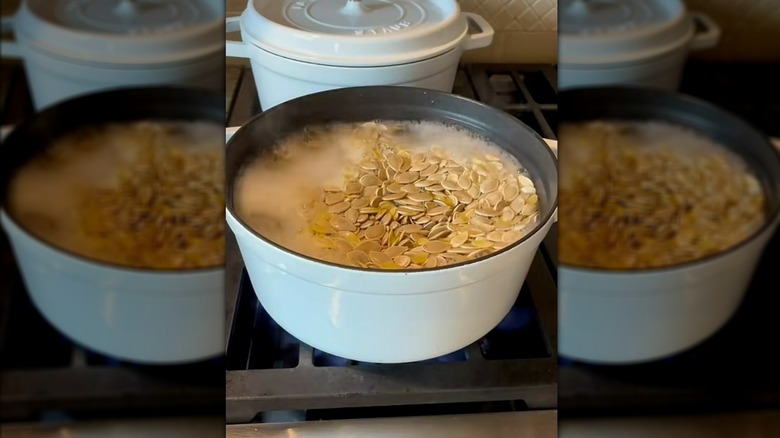
Boiling isn't a cooking technique that's typically associated with maximizing crunchiness, but when it comes to pumpkin seeds, this step can make a world of difference to the final texture. Simmering the seeds in salted water not only seasons them from the inside out, but it also softens them by breaking down the starchy bonds. This primes the seeds for roasting, helping them roast more quickly and evenly.
10 minutes of simmering is all that's required to soften the seeds. For the best results, add enough water to ensure the seeds are fully submerged, and around 1 tablespoon of salt for every 2 cups of water. There's also the option to incorporate additional seasonings into the boiling liquid (think garlic powder, cumin, or soy sauce). Or, you could even inject some satisfying malty notes with a glug of beer, and leave the seeds to marinate overnight for maximum flavor absorption.
Don't overcrowd the baking sheet
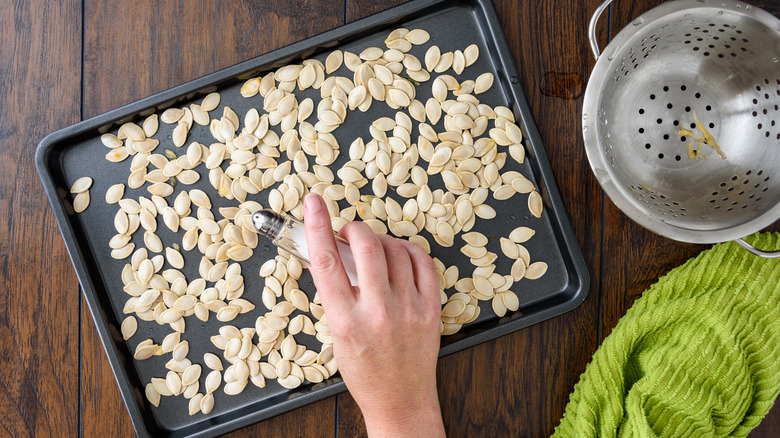
It's one of the most common mistakes made with sheet pan cooking, and it can be just as detrimental when you're roasting pumpkin seeds. Overcrowding the baking sheet is a surefire way to prevent the seeds from crisping up, but one that's easily avoided.
When you cram too many seeds onto a sheet pan, excess moisture gets trapped between the seeds, creating steam. This results in a chewy, rubbery texture — not the light, crispy finish you'd expect from a perfectly roasted batch.
By spreading everything out in a single, even layer, you allow moisture to escape. This way, dry air can circulate around each seed much more readily, helping them roast evenly and develop plenty of crunch. So, if you're working with a large batch of pumpkin seeds, be sure to divide them between multiple baking sheets. It'll be well worth it when you take that first bite of golden, toasty goodness.
Add a splash of oil
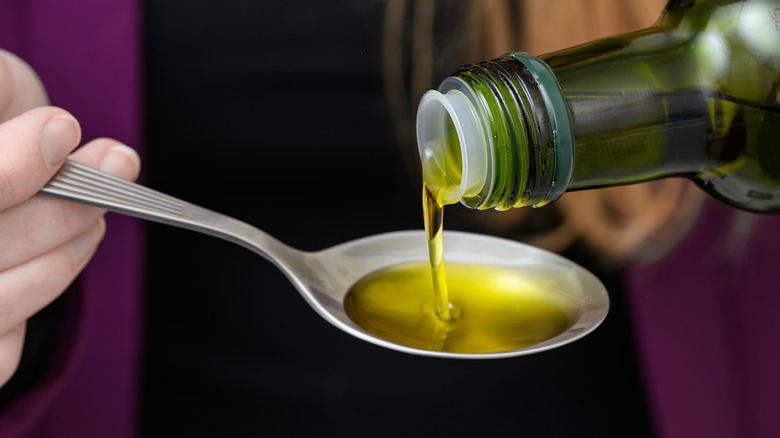
Another great way to enhance both the flavor and texture of your roasted pumpkin seeds is to drizzle them with a little oil before roasting. This prevents the seeds from sticking to the baking sheet, improves browning and crispiness, and helps the seasonings to adhere to the surface of the seeds.
Opting for high-quality extra virgin olive oil will pack in the most flavor here, introducing fresh, vegetal notes and a welcomed dose of healthy fats. However, you can also keep things simple with neutral oil if preferred, such as canola, avocado, or vegetable oil.
The goal is to add just enough oil to coat the seeds lightly. Add too much, and this can actually have a negative impact, with the excess fat causing the exterior to cook too quickly and trap moisture inside the seeds. For the optimum crunch, around 2 teaspoons of oil per cup of seeds is a good aim. Just spread them on a baking sheet, drizzle over the oil, then toss the seeds with your hands to coat them evenly.
Toss them with your favorite seasonings
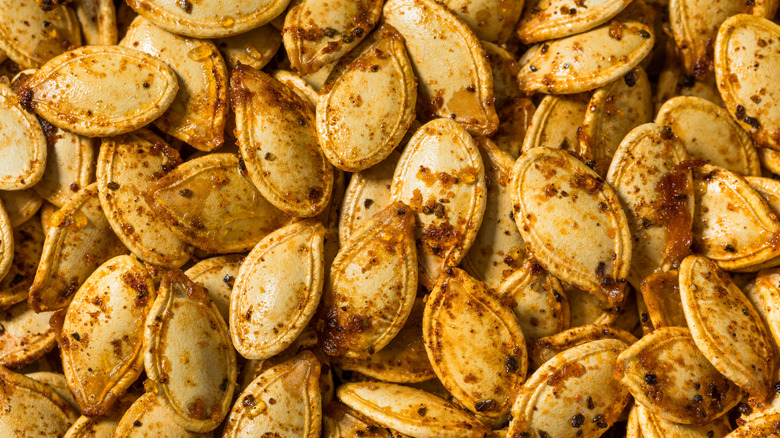
A sprinkle of your favorite seasonings can instantly liven up a batch of pumpkin seeds. There are plenty of sweet, savory, and spicy options to consider, depending on the flavor profile you're aiming for. These mild, nutty seeds serve as a versatile base for all kinds of creative combinations.
For a bold, warming twist, spices like chili powder, cumin, cayenne pepper, and paprika work brilliantly. These can also be paired with more aromatic seasonings, such as garlic powder or onion powder, to build more savory depth. Mediterranean-style seasonings will also fit right in (think sumac or za'atar), and a cheesy, herb-forward combination of Parmesan and dried herbs like basil, oregano, or dill is another excellent approach. If you prefer a sweeter finish, try tossing the seeds with sugar and cinnamon or pumpkin pie spice.
Most seasonings can be added to the seeds alongside the oil, with everything tossed together thoroughly before roasting. Some coatings, however, like sugar and delicate dried herbs, are more prone to burning. These are therefore best added during the last five to 10 minutes of cooking.
Shake the pan during cooking
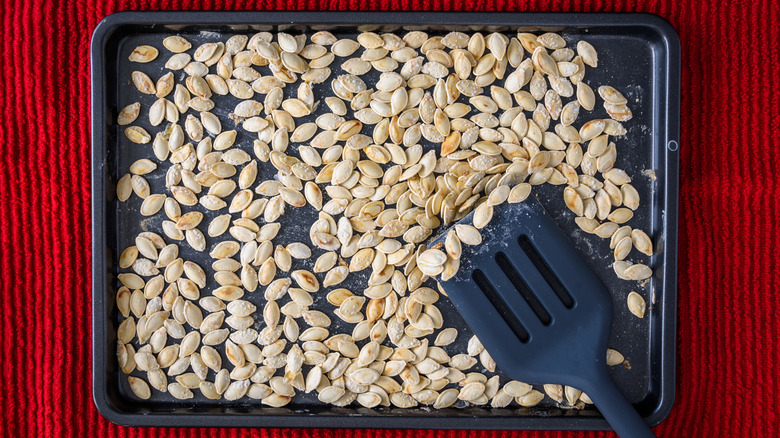
Even cooking is the goal when you're oven-roasting seeds, but leaving everything untouched for the full duration of cooking isn't always the best way to achieve this. Most ovens have hot spots (typically in the areas closest to the metal sides), so when the seeds are spread across the large, flat surface of a sheet pan, you may find that the ones nearer the edges brown more rapidly than those in the center. However, an effective way to combat this is by moving the seeds around.
A quick shake of the pan about halfway through roasting should suffice, but for the very best results, give everything a shake every 10 minutes. You can also stir the seeds with a spoon or spatula if preferred. Now, when the pumpkin seeds have finished roasting, they'll come out evenly browned and crisp all over, with no pesky burned spots or undercooked areas.
Watch the seeds closely during the last few minutes of cooking
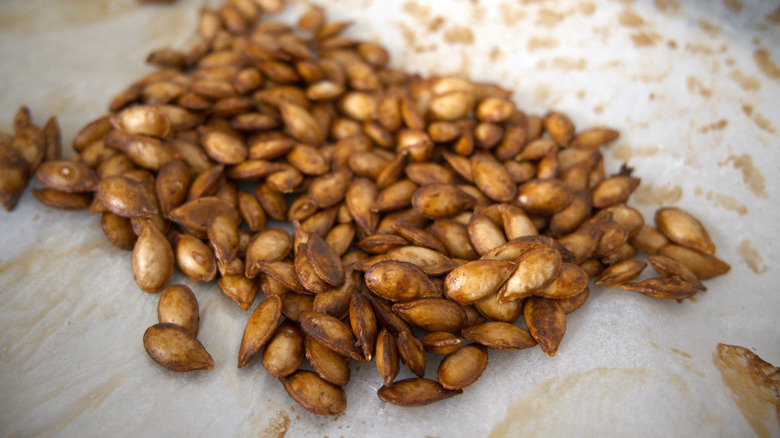
Due to their high oil content, seeds have a tendency to burn quickly. This means it's vital to get your cooking time and temperature just right. When the oven is set too low, the seeds won't crisp up in the middle, but if you crank it too high, the exteriors may blacken before the interior has even had a chance to cook through.
An ideal temperature for oven-roasting pumpkin seeds is 325 degrees Fahrenheit, with the optimal cooking time being around half an hour. At this moderate temperature, the seeds roast gently all the way through, developing the perfect golden brown hue and satisfying crunch.
Because every oven is different, it's important to keep a close eye on the seeds after the 25-minute mark. Things can very quickly go from fragrant and golden, to blackened and bitter. So, watch the seeds if you can, and remove them from the oven once they've reached the perfect level of toastiness.
Let them cool before you tuck in
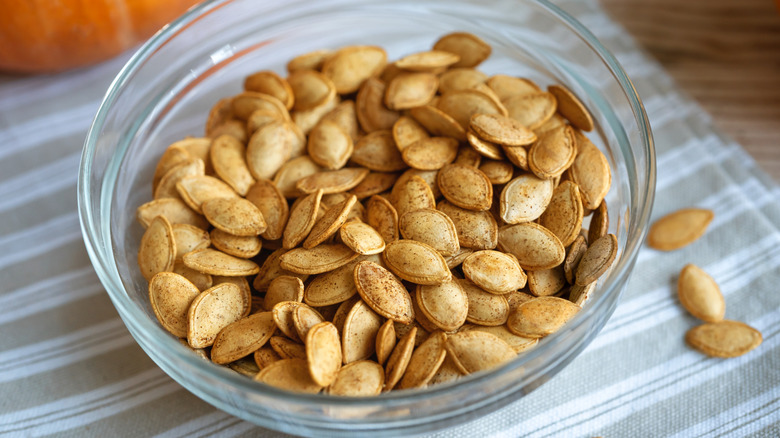
Once you've finished roasting the seeds, it's essential that you let them rest before judging the level of crunch. When they're fresh out of the oven, the seeds will still contain some excess moisture, likely making them chewier than desired. However, the moisture will continue to dissipate as the seeds cool, and with a little patience, you'll be left with a batch of ultra-crunchy, seriously snackable morsels.
To aid that post-roasting moisture loss, let the seeds sit on the baking sheet until they've cooled completely — for at least 15 minutes. Transferring them to a bowl or jar while they're still warm isn't recommended, as the moisture is more likely to become trapped between the tightly packed seeds. But, cooling them in a single layer helps the moisture escape with ease. After they've fully cooled, you can store the seeds in an airtight container of your choice, where they'll keep for approximately seven days.
Use the air fryer for smaller batches
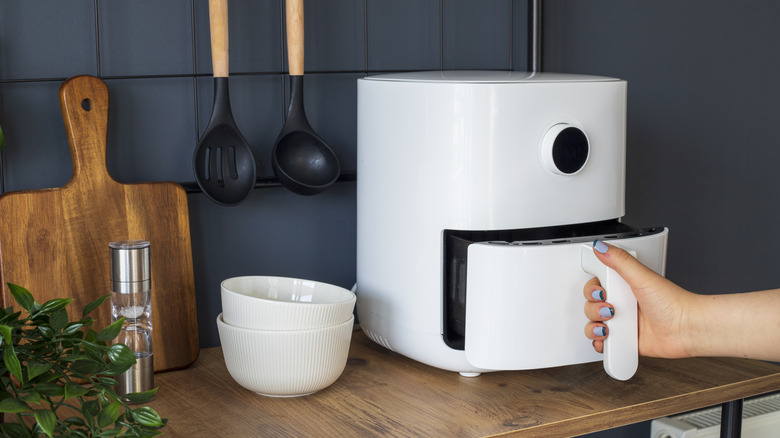
Roasting seeds in the air fryer pretty much guarantees next-level flavor and crunch. Because air fryers combine high heat with rapid air movement, they're great at removing moisture from food while cooking it evenly, which is exactly what you want with pumpkin seeds. Roasted this way, the seeds come out delightfully crispy all over, with a deep, toasty taste.
Air-frying is ideal when you're roasting smaller batches. Much like when using the oven, you'll need to ensure the seeds are arranged in a single layer in the air fryer drawer, to prevent overcrowding and subsequent chewiness. Using a parchment or silicone liner will make clean up a breeze, especially if you're adding oil and seasonings.
This technique will save you time, too. Firstly, there's no waiting around for the oven to preheat. Plus, the overall cooking time is shortened to around 10 to 15 minutes. Cool the seeds as normal, then they'll be ready for snacking, baking into sweet treats, or scattering atop soups and salads.
Try the skillet method for quicker toasting
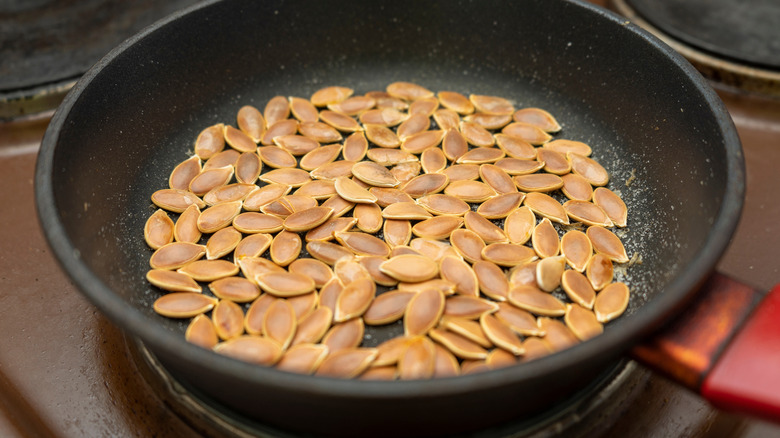
If you want to toast pumpkin seeds but don't fancy firing up the oven or air-fryer, the stovetop method is just as effective, and often much quicker too. With this technique, it's easy to keep a close eye on the seeds as they toast, so you can catch them at their crisp, golden brown best.
Pumpkin seeds toast very effectively in a dry pan, but you can absolutely add a little oil or butter to boost the richness, if desired. Heat the pan (and fat, if using) on a medium setting, then add the seeds along with a good pinch of salt, being careful not to overcrowd the pan. As they cook, the seeds will need constant stirring and shaking to prevent burning. You'll know they're ready when they're golden all over and releasing plenty of that signature nutty aroma.
Sprinkle over any additional seasonings of your choice immediately after cooking (while the seeds are still hot) then stir everything well. Doing this off the heat reduces the risk of burnt spices, while still ensuring the flavorful coatings adhere to the surface of the seeds.