Martha Stewart's 10 Best Tips That'll Make You A Better Baker
Martha Stewart has been one of the most trusted voices in the kitchen for decades. The television host and bestselling author is a seemingly endless source of knowledge, and while she's perhaps best known for her culinary expertise, Stewart's specialisms include everything from gardening and crafting to healthy living and pets. Today, however, we're focusing on her baking know-how, and there's certainly a lot we can learn from this domestic icon.
For many, baking from scratch is a daunting task, but with a few quick tips from a professional, it becomes far more approachable. While precision is key, baking also offers plenty of room for creativity, and once you understand the fundamentals, crafting your own cakes, cookies, and pies can be incredibly rewarding. Thankfully, Stewart is here to help with some game-changing hacks that'll streamline your baking processes and ensure delicious results every time.
Over the years, Martha Stewart has shared countless tips and tricks, and most are simple techniques that home bakers of any level can master. So, if you're looking to up your baking game, here are 10 solid pieces of advice that'll make you feel more confident in the kitchen and help you take your homemade bakes to the next level.
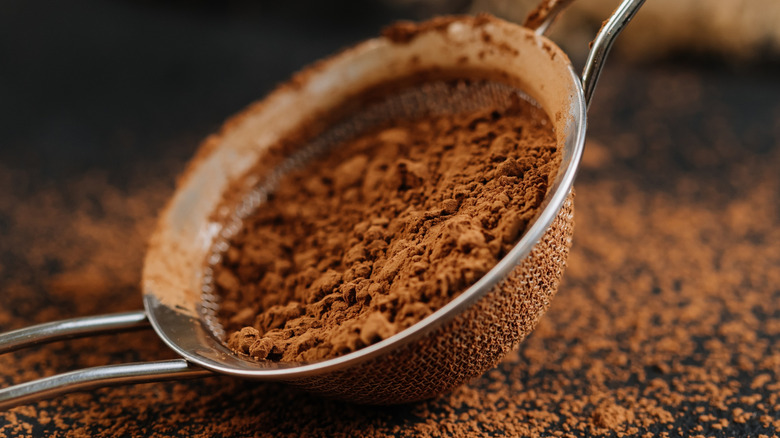
Dust the pan with cocoa powder when baking chocolate cake
Whether you're crafting a simple pound cake or a decadent multi-layered showstopper, the first step in most chocolate cake recipes is greasing the pan. This typically involves grabbing some oil or softened butter and brushing or wiping it around the pan in a thin, even layer to prevent the batter from sticking to the sides. However, greasing in this way can sometimes alter the texture of the cake, yielding a thicker, tougher crust. Hence, Martha Stewart's approach to this all-important step is a little different.
When making her Ultimate Chocolate Cake, Stewart begins by buttering two 8-inch pans and lining them with baking paper. Then, she coats the parchment in another thin layer of butter before lightly dusting cocoa powder all over the top. The butter/cocoa duo still prevents any unwanted sticking, but the powder also acts as a barrier between the grease and the cake batter, reducing browning on the base and sides and resulting in a more consistent texture throughout. And, this approach boosts the flavor of the cake too, creating a rich, chocolatey layer on the outside. While some other recipes suggest a combination of butter and flour to grease pans, this can leave cakes coated in unsightly white patches, so opting for cocoa is really a no-brainer when it comes to already-chocolatey bakes.
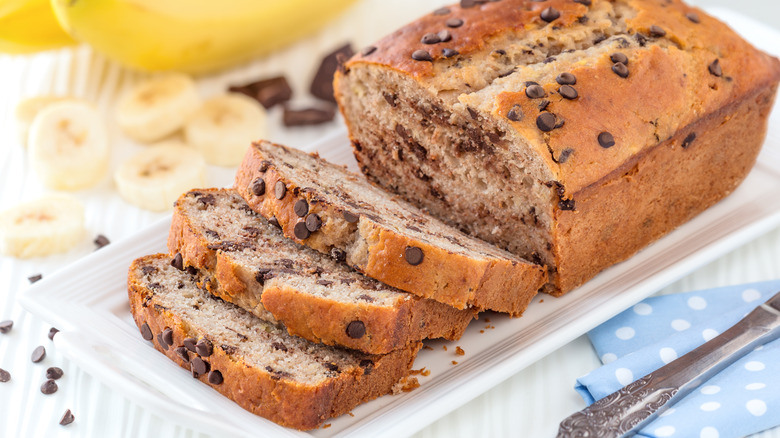
Add sour cream to banana bread batter
Loved for its fluffy texture, natural sweetness, and easy-to-make nature, banana bread is a firm favorite amongst home bakers. There are plenty of variants on this classic, with some recipes incorporating crunchy mix-ins, and others enhancing the batter with warming spices or adding decadent toppings. Martha Stewart's banana bread method focuses on creating a super-moist texture, and she achieves it with one simple add-in.
A basic banana bread batter consists of butter, sugar, eggs, flour, a leavening agent, and, of course, some very ripe, mashed bananas. While Stewart's recipe also makes use of these trusty staples, hers is enriched with an extra ingredient — sour cream. This nifty mix-in adds heaps of richness to the batter, creating a banana bread with an incredibly moist, dense consistency that feels wonderfully indulgent. The sour cream enhances the taste of the bake, too, imparting a subtle tang that beautifully contrasts the sweetness of the bananas and sugar. Chopped nuts are another go-to for Stewart, with walnuts or pecans being her top picks for bringing crunch to the tender loaf.
Use an ice cream scoop to portion cookies
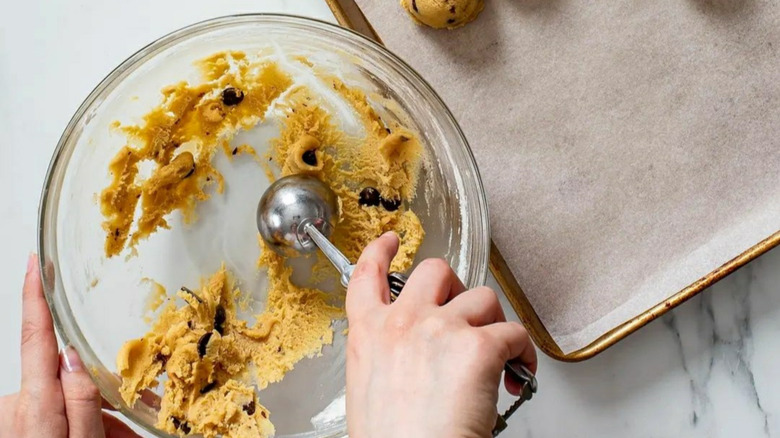
Using your hands to shape cookie dough balls can be messy, time-consuming, and lead to inconsistently sized portions that bake unevenly. To mitigate these issues, Martha Stewart reaches for her trusty ice cream scoop. By using a scoop, you can create perfectly formed, equally sized cookie balls. And, thanks to the tool's handy release mechanism, you won't get sticky dough all over your hands either.
The exact size of ice cream scoop you go for will depend on the type of cookies you're going for. For a batch of fairly standard four-inch cookies, Stewart recommends a 2-ounce (or #20) scoop, while a #70 is ideal for miniature-sized, two-bite cookies. Another top tip is to chill the dough for a few hours before baking, which reduces spreading in the oven. The best approach is to portion the dough into balls with the scoop beforehand, arranging these on a parchment-lined baking sheet and popping everything in the fridge. This way, you're shaping the dough while it's still pliable and easy to work with, as it'll firm up significantly during chilling.
Add fresh fruit to cupcakes

When it comes to cake-making, Martha Stewart has plenty of wisdom to share, and one of her favorite ways to upgrade a batch of fluffy cupcakes is with the addition of fresh fruit. We commonly see fruit used as a garnish for these mini, frosting-swirled cakes, but by adding it into the batter itself, you pack fruity flavor into every bite. The fruit's high water content also yields cakes with a delightfully moist and tender texture.
In an Instagram video, we see Stewart adding 1 cup of finely diced strawberries to a batch of yellow cake batter, which she then portions into cupcake cases ready for baking. Later, she tops each fluffy cupcake with a rich strawberry buttercream and garnishes it with extra fresh fruit. These pleasingly pink cupcakes are certainly a must-try, but there are a whole host of other fruity additions to consider. Sweet-tart berries like raspberries, blueberries, and blackberries are all excellent choices for upgrading a basic cake batter. Or, try chopping up some peaches or oranges for pops of sunny sweetness. Tropical fruits like pineapple and mango will also give your bakes a deliciously tangy twist. Whichever flavor you're going for, just be mindful of your quantities, as adding too much fruit could result in a soggy crumb.
Grease your measuring cups
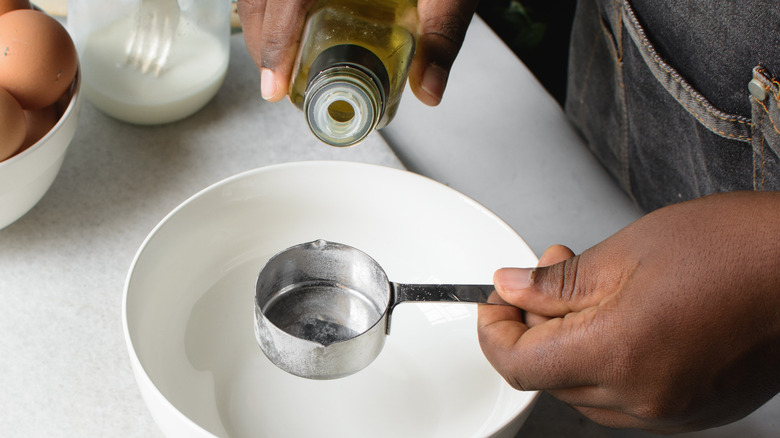
Measuring cups are an essential tool for any keen home baker, ensuring precise ingredient quantities and helping you achieve consistent results. If you're measuring out dry ingredients like flour, cocoa powder, oats, and leavening agents, using these cups and spoons is a breeze. Sticky ingredients, on the other hand, are a little less convenient to work with. Sweeteners like honey, molasses, and syrup will cling to the inside of your measuring tools, making it much trickier to get every last drop into your mixing bowl. What's more, if you then need the same cup for measuring something else, you'll likely need to give it a thorough wash first.
To get around this sticky situation, Martha Stewart likes to grease her measuring cups. This can be done with a quick spritz of cooking spray. Or, if you don't have a spray bottle, just pour a drop of oil into the cup and rub it evenly around the inside with your finger or a piece of kitchen paper. Butter will also work well here. Measure the ingredient as normal, and as you pour it into your bowl, the sticky liquid will slide out with ease, leaving the cup free of unwanted residue.
Make your own buttermilk
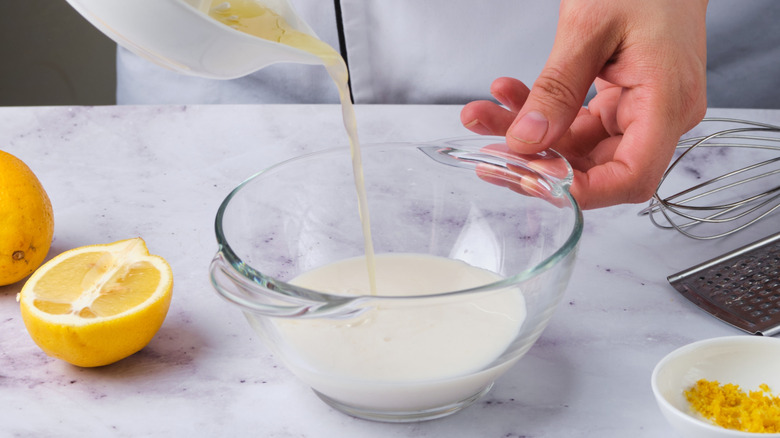
Buttermilk is a popular ingredient in baking, and this tangy dairy product helps to create a tender, fluffy texture and rich flavor in biscuits, cakes, scones, and pancakes. You can buy buttermilk in most large grocery stores, but did you know that you can also make your own version at home with just two basic ingredients? Martha Stewart shares this tip in a video on her YouTube channel, where she's seen adding a generous squeeze of lemon juice to a measuring cup full of whole milk. After being left to sit for around five minutes, the mixture thickens and curdles, taking on a buttermilk-like consistency.
A ratio of 1 scant cup of milk to 1 tablespoon of lemon juice works well here, and you can also use white vinegar in place of the lemon if preferred. Or, for a dairy-free version, just switch out cow's milk for soy or coconut milk. The simple milk-acid mixture can be used in any recipe that calls for buttermilk, where it'll have the same tenderizing and flavor-boosting effect. So, if you've forgotten to pick up buttermilk at the store, this easy substitute has you covered.
Sprinkle pie crust with sugar before baking

We often see freshly baked fruit pies finished with a dusting of powdered sugar, but according to Martha Stewart, granulated sugar is an underrated addition that can dramatically enhance the taste, texture, and appearance of the pie's crust. This isn't added after baking, but is sprinkled evenly over the pastry top before it hits the oven.
As you'd expect, Stewart's pies generally begin with a homemade crust, which she whips up by pulsing the butter, flour, and other ingredients in a food processor. Once she's rolled out the dough and assembled the pie in the pan, it's time to add the extra sugar.
The sugar topping not only adds a touch of extra sweetness to the pie crust, but also makes it look rather pretty. Plus, the sugar will form an irresistibly crunchy layer that perfectly complements the flaky, buttery pastry and tender filling within. Stewart is also an advocate for generous baking times when it comes to homemade pies, with a deep golden-brown crust being the goal for a crisp, flavorful finish.
Whisk, don't sift
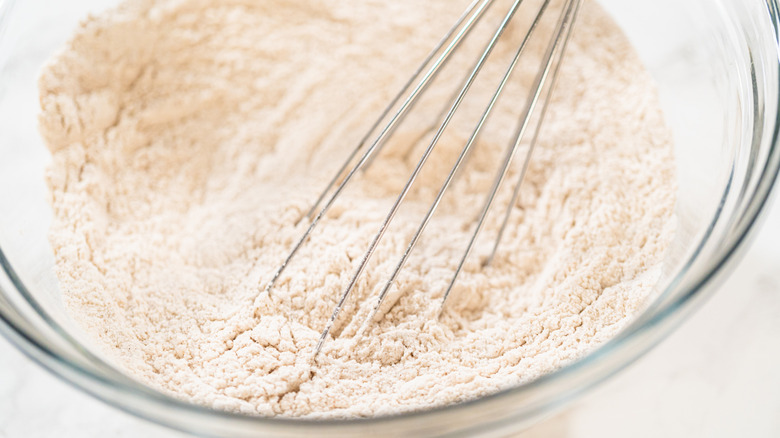
Sifting dry ingredients helps to remove lumps and aerates the mixture, and this step is especially important when making cakes that require a light, fluffy finish (think angel food cake or chiffon cake). If you don't have a sifter, or simply want to save on clean up later, you can actually achieve similar results with another common kitchen utensil — the humble whisk. And, Martha Stewart shows us how in a video on her YouTube channel.
There's no fancy technique to master here. Just measure your dry ingredients into a mixing bowl, grab a balloon whisk, and mix everything together using a circular motion. Stewart notes this method "won't be quite as light as when sifting, but it will break up any clumps and fluff up the flour." Alternatively, you can use a fork to break down the clumps and blend everything together, though this might take a little longer.
Add extra egg to boxed cake mix
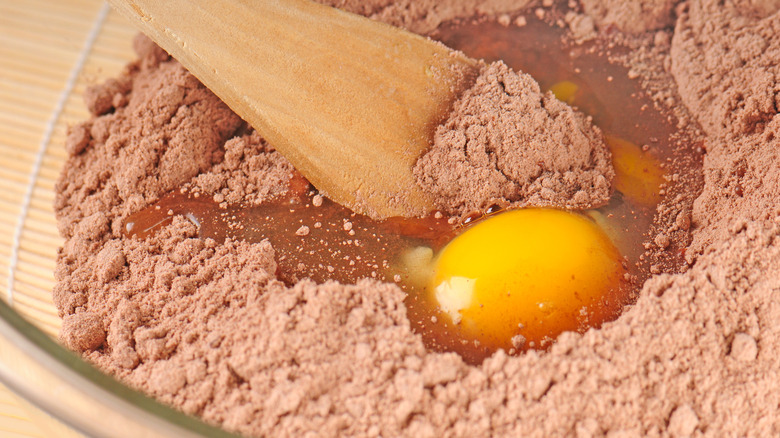
If you're short on time and energy, there's nothing wrong with reaching for a boxed cake mix. Keeping your prep simple and your cleanup swift is a win-win, but remember that you don't always have to follow the instructions on the packaging to the letter. Even the ever-meticulous Martha Stewart has been known to reach for a trusty box mix, but of course, she prefers to put her own spin on things by adding an extra egg to the batter.
A typical box of cake mix consists of a dry ingredient blend that requires the addition of egg, oil, and water to create a smooth batter. According to Stewart, box-mix cakes generally have a light, delicate texture. Sometimes, this is exactly what you need, but an ultra-light crumb isn't as useful in multi-layered cakes, which should be sturdy enough to support their decadent fillings and toppings. So, when a moist, dense crumb is the goal, she'll simply add an extra egg to the batter. As well as yielding sturdier cake layers, this technique will also give your bake a richer taste.
Stewart's box mix tips don't end there, either. She also recommends switching the water for something more rich and flavorful, such as whole milk, buttermilk, or sour cream. You can get creative with other flavor enhancers, too. Think citrus zest or freeze-dried fruits in a vanilla cake, or a splash of freshly brewed coffee in a chocolate cake.
Freeze your butter

In an interview with Good Morning America, Martha Stewart famously shared her golden rule for baking: "Make it cold and bake it hot." But what exactly does this mean? Well, Stewart is referring to pastries and doughs, where a flaky, buttery texture is key. And, this mouth-watering finish is far easier to achieve when you're working with frozen butter.
Rather than rubbing or pulsing chilled, cubed butter into a flour mixture as many other recipes suggest, Stewart grabs a block of frozen butter and a box grater. By grating the butter into the bowl, you create tiny, uniform pieces that distribute more evenly throughout the flour without the need for excessive mixing. The frozen butter is also far less likely to melt during preparation, which can lead to a tough, greasy texture once baked. Stewart recommends using this technique when making biscuits, scones, and pie crusts, and assures bakers that this is one of the easiest ways to guarantee a beautifully flaky result.