The Biggest Mistake You're Making With Your Cheese Grater

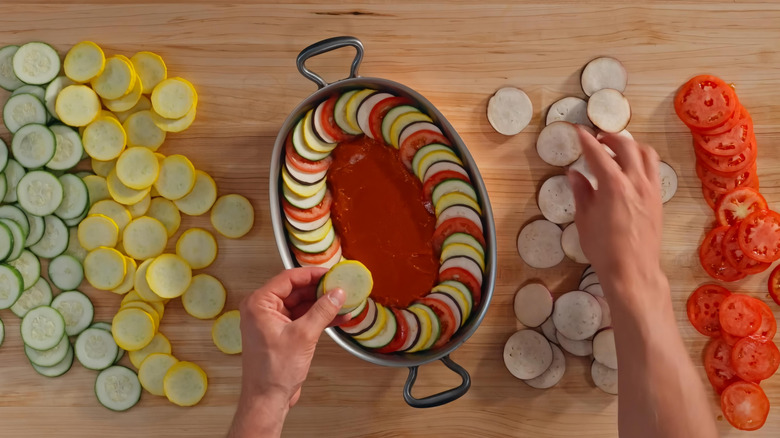
Box graters don't come with an instruction manual, or if they do, no one has ever read it, because they stand so confidently self evident: Just apply cheese in a downward motion, repeat, and collect grated cheese pile. But having said that, the two narrow sides of the device don't generally get a lot of play, and a lot of people don't even know what they're for. The side with the rough, pokey-outy holes is meant for zesting or ultra-fine shreds, although most people use a microplane these days, which works better for the task. The other side of the grater, with its long horizontal slots, is actually designed for slicing. Most people never try it, which is a shame, because it makes quick work of what can be a tedious task, especially for a recipe that calls for many even slices, like ratatouille.
Those wide, sharp-but-not-razor-sharp openings are essentially a built-in mandoline slicer, only steadier and less dangerous. Press a vegetable against the surface and draw it down, and the blade shaves off even slices. Potatoes will fall into neat coins perfect for gratins, zucchinis are quickly reduced to a nub. Cucumbers for quick pickles come out at a consistent thickness, perfect for curing. The control you get is satisfying, because if you apply even pressure, each pass makes a slice identical to the one before it.
The geometry also affects the texture once you start cooking, because evenly sliced means evenly cooked. It even has an application in baking recipes, because cold butter peels into shards that incorporate easily into flour, which makes your pastry dough more cooperative, and you can run chocolate along the blade to create wide, delicate curls for topping a dessert.
Mastering the box grater's slicing side
To get the most from the slicing side, set the grater on its side or at an angle, over a cutting board, instead of standing it fully upright. The horizontal position is ergonomically more strategic, giving your wrist more driving power, a broad, steady runway for your strokes and keeps the vegetable in full contact with the blade. Use the full length of the opening so each slice drops away cleanly, or it will snag halfway cut, halfway down. If the vegetable is long, cut it in half first; shorter-handled pieces will be easier to press against the metal more firmly, which, in turn, creates cleaner passes. Stop when you reach the last knuckle-length of the ingredient to spare your hands, then switch to a knife for the final bit, if there's still meat on the bone.
This definitely isn't a universal life hack for every item in the produce drawer, but it's a fairly straightforward process of elimination to determine which ones work. Very soft produce will collapse into mush under the pressure, and dense, tough vegetables (ahem, celeriac) resist the blade in a potentially unsafe way because it throws off your grip, and box graters don't come with protective devices. Tomatoes will turn soupy and winter squash just requires too much force to be worth the trouble. Hard cheeses can do great on the grater, but semi-soft cheeses act weird, smearing across the surface instead of delineating into neat slices. Basically, the slicing side performs best when the ingredient holds its shape but still yields to a firm, steady motion.