The 10 Biggest Mistakes People Make Painting Kitchen Cabinets
If you have tried your hand at smaller DIY upgrades around the kitchen, such as painting your appliances, you might be thirsty for a greater challenge — like painting your cabinets. This easy, budget-friendly upgrade allows you to breathe fresh life into old cabinets and increase the perceived value of your home.
Many of the common mistakes that occur when painting the kitchen also apply when it comes to cabinets. For starters, there is no skipping the prep work. Without adequate sanding and priming, your paint will fall apart. You'll also need to give the tiny grooves the attention they need — even if it adds a few days to your timeline. The need for quick results is understandable, but bear in mind that kitchen cabinets face a significant amount of wear and tear. The paint you are applying needs to withstand the moisture, grease, and grime resulting from everyday kitchen use.
Progress might be slow, but it will definitely be rewarding — especially if you follow what the experts have to say. Dotan Trabulsi, CEO of Optimal Home Remodeling & Design, and Jared Robinson, custom cabinet maker and owner of Robinson Trim, shared their best advice on how to avoid the common kitchen cabinet repainting pitfalls. Refreshed, durable, and beautiful cabinets await.
Skipping surface cleaning
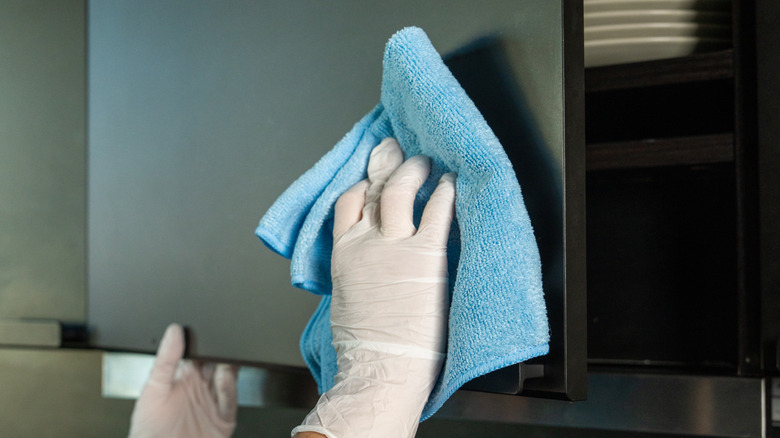
From food splatters and airborne residue to greasy fingerprints and dust, kitchen cabinets often serve as a magnet for all kinds of grime and dirt. Even if your cabinets look clean from a distance, you'll find trapped crumbs and micro-particles caked around the handles. Before you slather on that first coat of paint, it's important to thoroughly clean the surface.
For Dotan Trabulsi, CEO of Optimal Home Remodeling & Design, adequately cleaning the surface of your cabinets has a huge payoff. "The longevity of the new finish simply depends on how well you clean," he says. If the surface is coated with grime, he explains that even the best paints will fail to adhere to the cabinets.
The good news is that creating a clean canvas won't need you to call on the professionals. "Dish soap is the most common product to clean up grease. They use it to wash off animals involved in oil spills, so it will work for your cabinets," Jared Robinson, custom cabinet maker and owner of Robinson Trim, says. For more stubborn buildup along handles and upper cabinets, Trabulsi recommends using a scouring pad.
It also helps to take into consideration the cabinet material you are working with. Unsurprisingly, wooden cabinets do not take well to moisture. Mild cleaners and barely damp sponges are a must here. Laminates, however, take well to a gentle hand with household cleaning agents, such as vinegar or baking soda.
Not removing cabinet doors
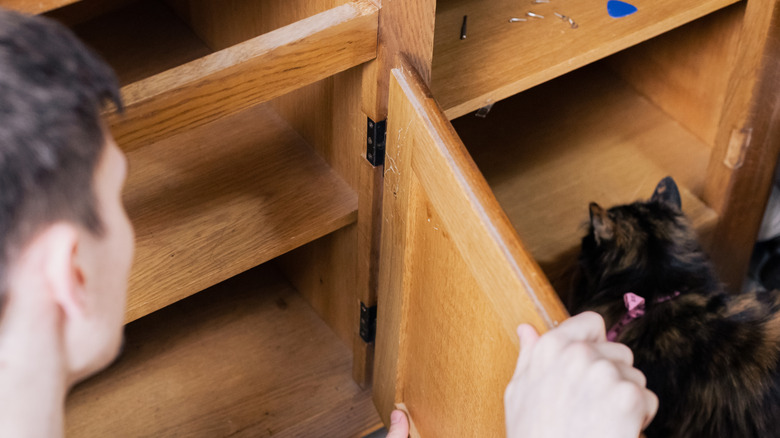
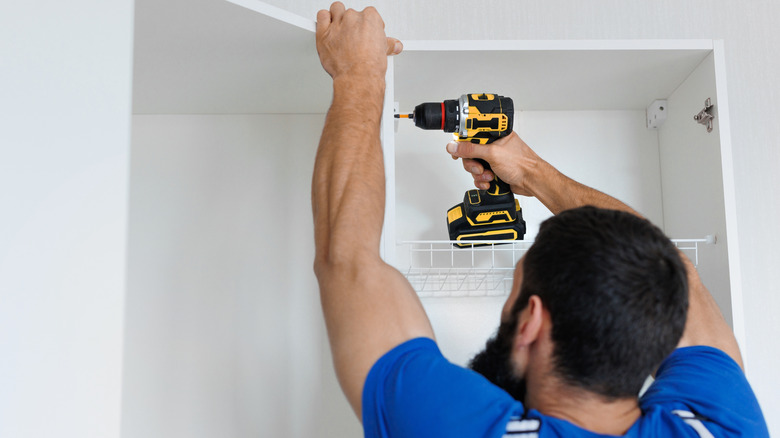
If you're trying to redo your kitchen cabinets over the weekend, painting with the doors still attached may feel faster. After all, removing hinges and hardware is not exactly a recipe for fun. But according to Dotan Trabulsi, not removing cabinet doors can be a one-way ticket to missed spots and uneven coverage. "Hinges impede brush access, and you find yourself awkwardly stretching over corners, which prompts visible streaks as [it] all dries," he says.
There are other benefits to removing the doors. "Instead of painting over your head with the door on, you have a flat workspace, which means that your paint job will look smoother and last longer," Trabulsi says. With the doors detached, the next order of business is to look for a smooth, non-porous surface to lay them on. A fold-up table will do the job well. Then, apply a protective layer with a canvas cloth or rosin paper as a shield. Rosin paper is often used in construction and offers a protective barrier from paint spills and drips.
If you are looking to make the job easier, Jared Robinson recommends investing in a painting stand to hang the door on. Some vertical racks even come with a turntable so you can easily rotate and spray all sides of the door.
Skipping sanding
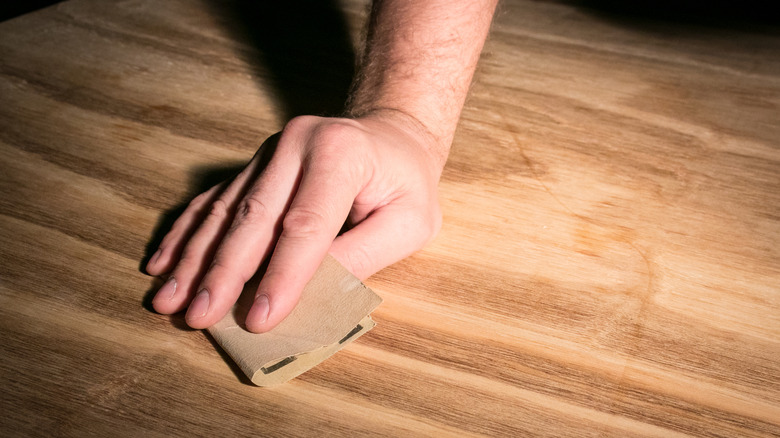
Cleaning and sanding is a non-negotiable rule when painting kitchen tiles, and your cabinets are no exception. "Sanding is what makes the paint stick to the surface, especially if your cabinets have a slick factory finish," Dotan Trabulsi says. If the surface hasn't been scuffed adequately, he cautions that the new coat of paint will simply sit on the old layer and peel off. You know the frustration when you are applying frosting on a warm cake and everything keeps sliding off? That is what you are doing when you paint your cabinet doors without sanding first.
Given all the residue and grease floating around in the kitchen, it is easy for cabinets to develop a slick film. This layer prevents the paint from adhering to the surface. "When you sand a cabinet prior to painting, you are preparing the cabinet to accept your finish. The flatter your surface, the better the paint will attach," Jared Robinson says. Handheld devices, such as random orbit sanders, can help you save time without generating clouds of dust. But if you don't have the confidence for electric tools, Robinson shares that a 150-grit sandpaper can also get the job done. Apply steady pressure, opt for long strokes, and avoid getting overzealous. "I always remind clients that sanding is not about getting rid of the old finish — it's all about establishing an even, compatible mechanical bond," Trabulsi says.
Not using a primer
If you skip priming your cabinets, you could be making your job harder than it needs to be. "Primer helps prevent old stains from bleeding through, seals wood tannins, and provides a consistent surface that enables finish coats to dry the way they're supposed to," Dotan Trabulsi says.
Even if your paint can claims that it has primer, Jared Robinson recommends still applying a layer of your own. While skipping the primer can save money and time, he cautions that you will be able to see the difference in the finished coat — in the form of uneven coverage and textural variations. "The primer improves adhesion because it serves as a barrier that allows it to bond to the material of your cabinets and the finish you use," he says.
Paint adhesion is especially crucial for high-moisture areas, including the kitchen. Temperatures fluctuate frequently in this space, causing unprimed paint to peel off the cabinets easily. The surface of the cabinet doors is also a factor. Porous materials, such as unprimed wood, can soak up paint inconsistently. The end result? Some areas absorb paint better than others, leading to uneven patches.
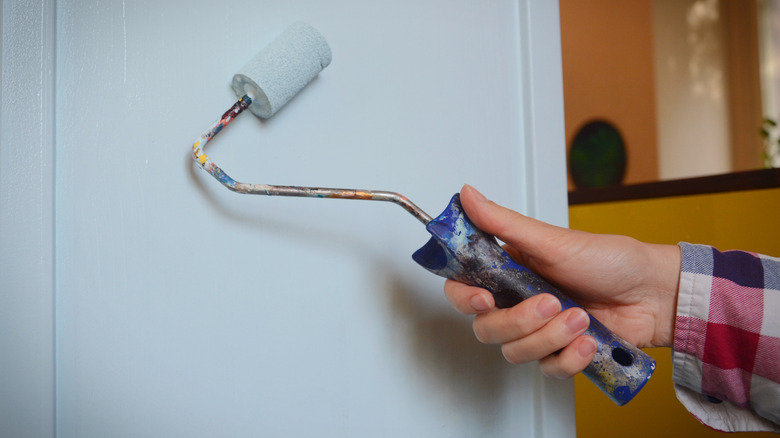
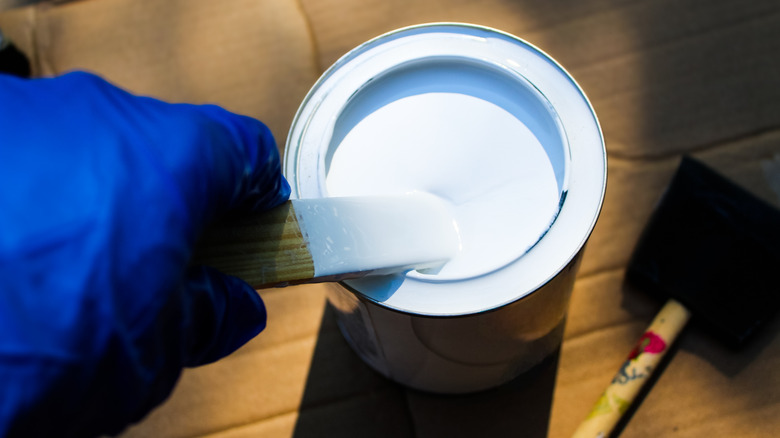
Choosing the wrong type of paint
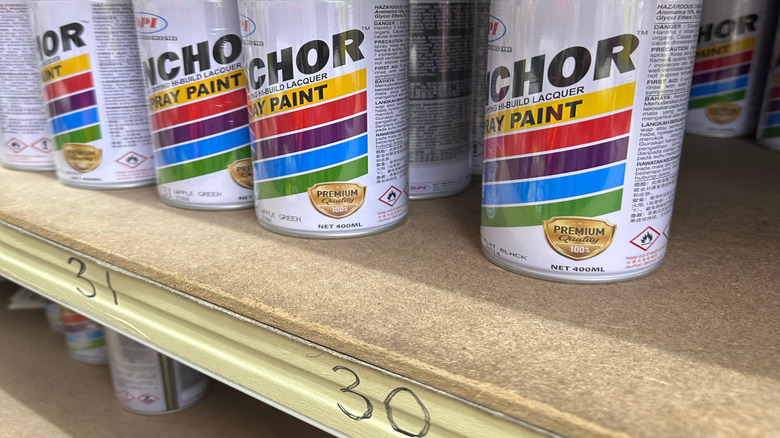
A quick walk down the hardware aisle, and you will be easily overwhelmed by these options (and more). Whether you opt for a glossy or matte finish is a personal choice, but there is one mistake both of our experts caution against: Using wall paint for kitchen cabinets.
"Wall paint is not made to handle the abrasion and cleaning required for older kitchen cabinets. It scratches easily, dents on the edges, and darkens quickly," Dotan Trabulsi says. The reason it fails to get the job done is due to its composition. Jared Robinson explains that most wall paints are made of latex, which contributes to a thicker texture. "It does not dry as hard and is made for longer and larger surfaces," he adds. This can be a boon if you are looking to cover up detailing in your cabinet, but you can't count on a long-lasting finish.
So, what should you be using instead? "I always steer homeowners toward paints designed for cabinetry as they adhere closely, cure to a hard finish, and stay true to color," Trabulsi says. Lacquer and conversion varnishes are best for kitchen cabinets, but Robinson says that they're not good for DIY projects. He recommends Benjamin Moore's cabinet paints, which can be easily applied with a brush or spray gun.
Applying thick coats
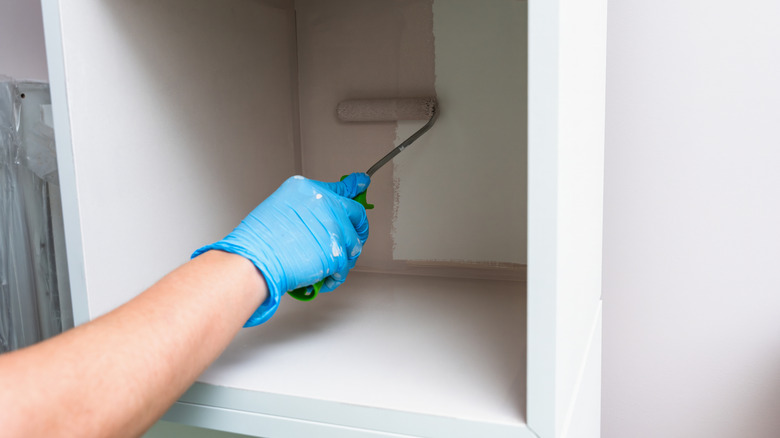
Repainting your cabinets is among the many DIY kitchen upgrades you can finish within one weekend, and it can be tempting to look for shortcuts to get the job done even faster. For a layperson, thicker coats of paint might seem time-saving, as they reduce the number of coats needed overall. However, this couldn't be further from the truth. Thick coats, unfortunately, come with longer drying times. This extended time will also allow dust and fine particles to glue themselves to the wet paint. Rather than saving time, you might end up prolonging the project with the do-overs needed. "It's a waste of time to rush this stage; thin coats create a stronger finished film that lasts for many years," Dotan Trabulsi says.
Instead, he believes that you can get a better finish by applying multiple thin coats. Cabinet doors typically require two to three coats. Allowing each layer to dry completely will give you a smoother surface for the next coat of paint.
Jared Robinson recommends simply applying enough paint to cover the area you are working on. "Thin coats let you observe the finish as it is curing, and you can more easily make corrections or adjustments to [under-applied] paint as opposed to over-applied paint," he says.
Ignoring temperature and humidity
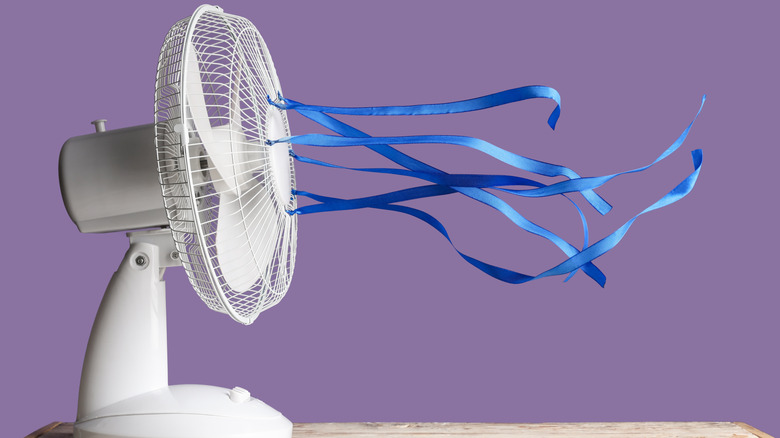
If you have ever tried to get perfect macaron feet, you know that the dough needs a longer resting period during high humidity. The same principle applies to your cabinet painting project. Humidity, as well as temperature fluctuations, can alter the finish on your cabinets.
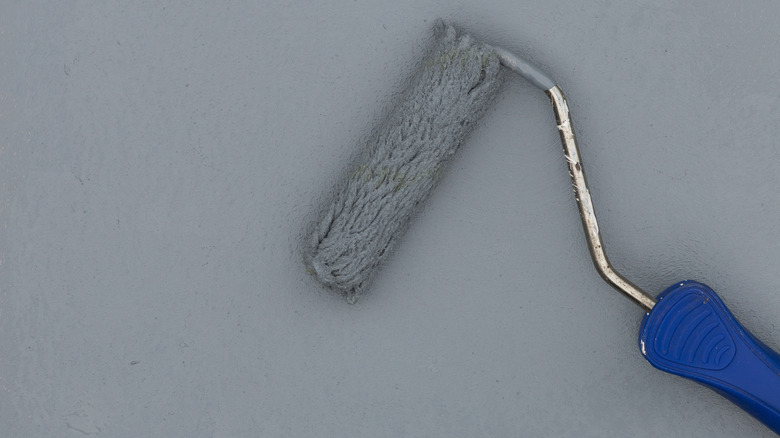
When the temperature is too high, Jared Robinson has found that the paint starts to bubble. This occurs because paint evaporates rapidly in high temperatures. As a consequence, the polymers' bonds are disturbed. High humidity doesn't have such an elemental effect on paint, but you'll need to keep a good book at hand because dampness will prolong the drying time.
On the other hand, cold weather is no friend to paint either. "In cold weather, paint can get viscous and not level out well, resulting in visible brush marks," Dotan Trabulsi says. In colder temperatures, the paint can feel thicker on the roller and hinder the smooth, gliding motions that you are used to. Longer drying times are to be expected, but that is not all you need to be worried about. Different parts of the wall can also dry at different speeds, leading to a patchy finish and uneven coverage. Trabulsi recommends a temperature between 60 and 75 F and a humidity under 50%. If the air is too damp, he recommends getting a dehumidifier.
Not adding a topcoat
After spending a significant amount of time prepping, sanding, and waiting for each coat to dry, most people would be apt to call it a day. Applying a topcoat might feel optional, but given the bumps and bruises that your kitchen cabinets regularly face, Dotan Trabulsi believes that it's worth applying. "A quality topcoat finishes the paint, improves its durability, and helps make cabinets look their best for homeowners seeking that 'factory finish,'" he says.
True to its name, a topcoat is the final protective layer applied on top of your paint. It's available in different sheens and forms a barrier against all the food residue and cleaning agents that your cabinets will be exposed to. "Otherwise, tough cabinet paint can become dull or nicked over time, particularly near the handles and other high-contact spots," he says.
For best results, Trabulsi recommends opting for a clear, water-based polyurethane. It works well for wooden and metal surfaces alike. If you're after a quick drying time, look for acrylic topcoats. The water-based formula won't leave behind strong fumes and also resists the yellowing and fading that occurs over time. A satin or low-luster option will work well, too. "These dry to a harder finish, are more resistant to yellowing, and keep the surface easier to clean," he says.
Underestimating the time commitment
For the budding DIYer, cabinets and walls look similar enough: Both have flat surfaces. So, the process of painting both should be the same, right? Wrong. Dotan Trabulsi finds himself routinely explaining to his clients that painting cabinets is not quite as simple as painting a flat wall. "Cabinets have grooves, profiles, and recessed panels that require much more detailed work than painting a flat wall," he says. Each edge and groove needs patience and care to ensure that you aren't left with lumps of paint pooling in the corners.
According to Jared Robinson, the more time you devote to prepping and painting, the more professional your finish will look. Need a frame of reference for how much time you should set aside? Trabulsi claims that for a kitchen with between 20 and 25 doors, it can take up to two weekends — one for cleaning, sanding, and priming, and the other for painting and topcoating.
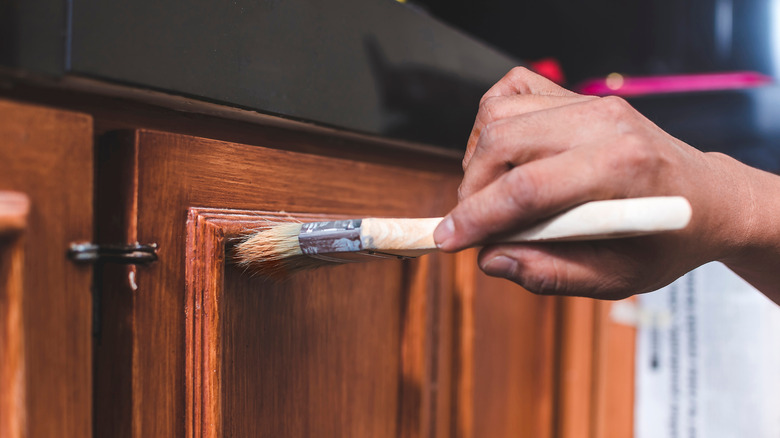
The amount of grooves and design details in your cabinet doors can also dictate your deadlines. Trabulsi recommends opting for smaller brushes and foam wedges for painting tricky crevices. If you don't mind spending a few hours with your nose stuck in a manual, Robinson recommends opting for a paint sprayer. The motorized version of a sprayer can deposits pigment uniformly across your workspace with a spray nozzle — including in those hard-to-reach grooves. As a side bonus, you'll also be able to get the job done much faster.
Reassembling the cabinets too soon
Once you've had a look at how painted cabinets can transform your kitchen, you'll be itching to show off your handiwork to everybody. But simply because the painted doors feel dry to the touch doesn't mean that you are ready to reassemble them. "Reinstalling cabinets too soon leads to fingerprints and smudges, sticking doors, and paint peeling off around contact points with hinges," Dotan Trabulsi says.
This occurs because the upper coats may seemingly dry quickly, but paint can take a longer time to cure. The latter is the term used for paint to completely harden all the way through. Trabulsi says that curing is important because it can prevent dents and ensure the finish bonds correctly. It might be tempting to hit fast-forward on this process, but you stand the risk of undoing all your hard work.
Most paint cans will advise you on the drying time, but the curing time is an entirely different ballgame. Trabulsi says that most cabinet paints must dry for one to two days before they can be handled, though it can take upwards of two weeks for the paint to cure. Environmental factors can also dictate the timeline. High humidity, for instance, can cause the moisture to evaporate from the paint more slowly. A dehumidifier can help you stick to your intended schedule and enjoy your freshly painted cabinets as planned.