10 Mistakes You're Making With Homemade Apple Cider
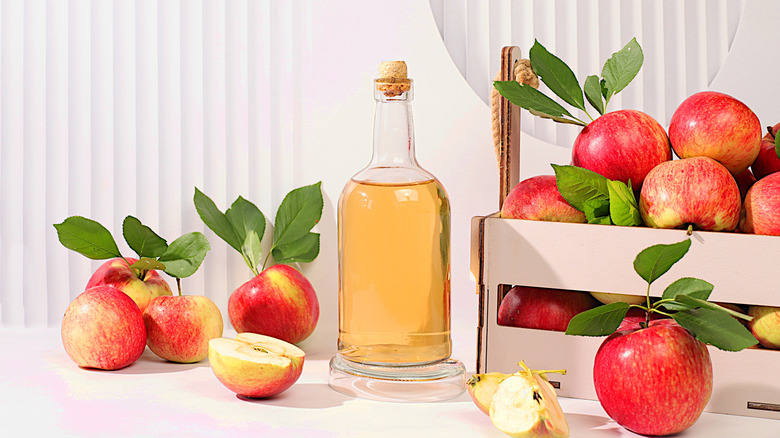
The end of summer is depressing to some — it means shorter days, colder nights, and busier days. But the end of summer isn't all bad, because the beginning of fall is peak apple season. Whether you prefer a rich Red Delicious or a crisp Granny Smith, once the fall months roll around, it's a great time to do some apple-picking for yourself or just snag some particularly fresh, delicious-looking apples from your local grocery store. And although we love to eat apples all on their own, we love transforming them into apple cider for a sweet homemade, drinkable treat.
Making apple cider at home is easier than it seems (especially if you follow our helpful apple cider-making tips), but even if you're doing everything right, you may be making a few mistakes that can leave you with less-than-delicious cider. That's why we've consulted Rena Awada, owner, head chef, food blogger, and content creator at Healthy Fitness Meals, to get a sense of some of the most common mistakes people make with homemade apple cider and how to avoid making them in your own kitchen.
1. Only using a single apple variety
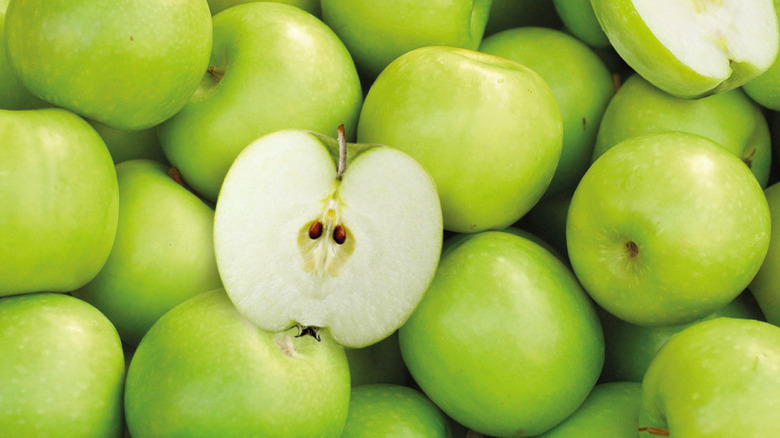
When you're craving homemade apple cider, your first thought might be to head to an apple orchard, a farmers market, or the grocery store to pick out a ton of one kind of apple. After all, you want the flavor of your cider to be consistent through the drink, right? That may seem like the way to go, but according to Rena Awada, it's actually a mistake to use only a single apple variety in your homemade apple cider. By doing so, she says, your "apple cider can either turn flat or overly sweet."
According to Awada, "Good cider is about balance." That means you'll want to try to find a few different apple varieties to give your cider the depth it deserves. "You'll want a combination of sweet (Gala or Fuji), tart (Granny Smith), and fragrant (Pink Lady or Honeycrisp)," explains Awada. "Blend at least three varieties to get the perfect blend." Red Delicious is also an option on the sweet end of the spectrum, and Braeburn is a solid choice for a tarter option if you can't find Granny Smith.
2. Boiling the apples at too high a temperature
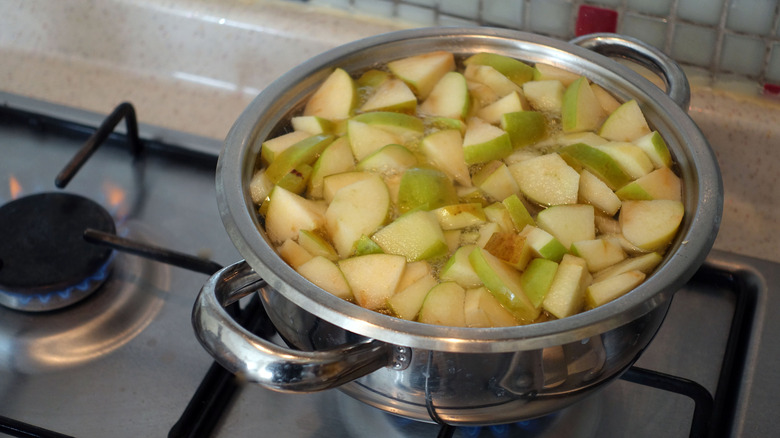
When you're craving apple cider, you don't want to have to wait forever for it to finish cooking. That may lead you to rush the cider-cooking process in an attempt to get some in your glass just a bit faster. But the unfortunate fact is that making apple cider takes time, and you don't want to rush the process if you want the tastiest possible results. That means a faster — and hotter — boil isn't necessarily a good thing, even if it cuts down on your cook time.
"A rolling boil seems tempting when you're running out of time (or are impatient)," says Rena Awada, "but that just cooks out the delicate apple aroma and can even make it taste bitter." Good apple cider is quite sweet, so this bitterness really detracts from its quality. "Keep it at a gentle simmer. There should be small bubbles only and only around the edges," Awada advises. Ideally, you'll boil your apples for about six to seven hours on low heat for the tastiest results.
3. Using unripe apples
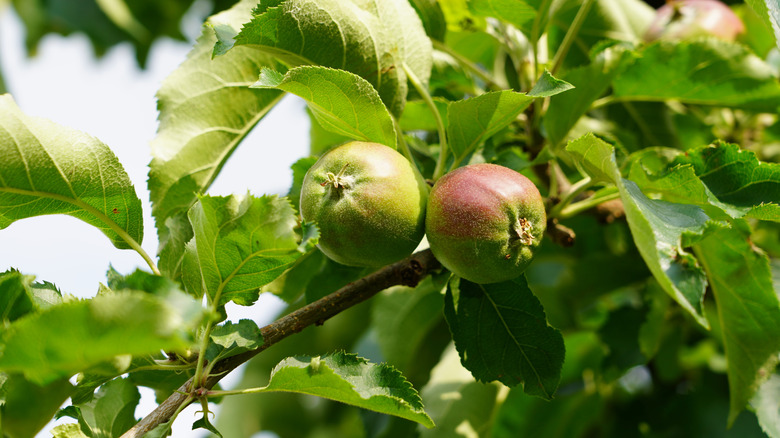
Most people start craving homemade apple cider once autumn arrives and the temps start cooling down. But if you're the kind of person who wants cider all year round, you may be tempted to start making some early in the season or even in the summer. This isn't a big deal if you're using grocery store apples, but it's not ideal if you're in North America and you're getting your apples locally. This is because in the summer, the apples probably aren't fully ripened, giving them a much tarter flavor than they would have later in the season.
If you like a really, really sour cider, then go ahead and whip up your cider as you normally would. But if you're craving that classic, sweet cider taste, then you're going to want to wait until later in the season when the apples have finally ripened and taken on that sweet, complex flavor that apple cider is known for.
4. Not including any citrus peel in the recipe

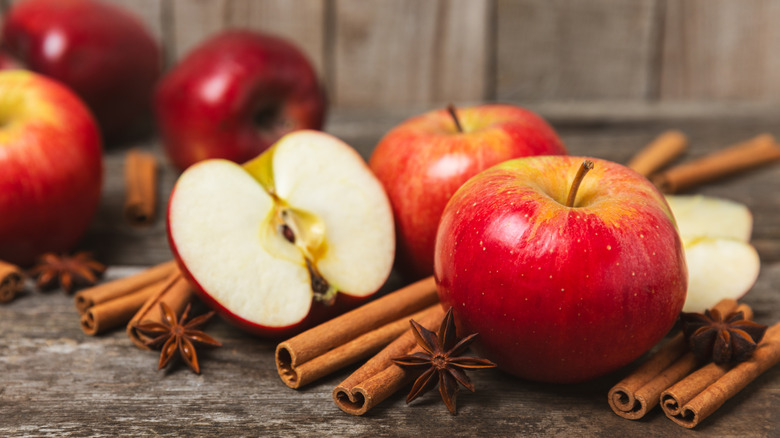
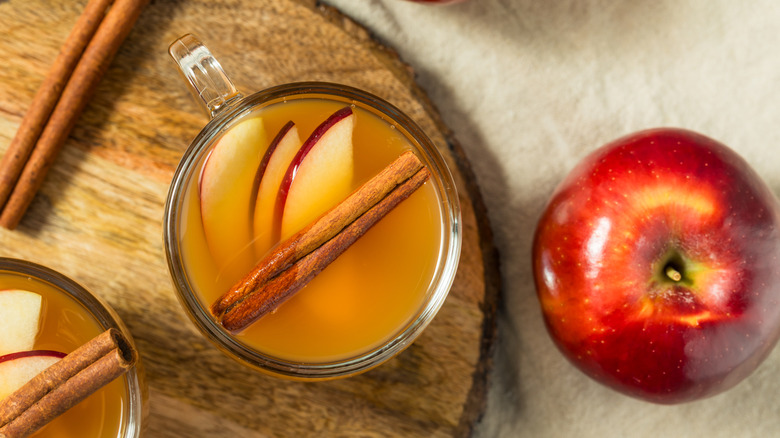
Yes, apple cider is mostly about the apples themselves. Finding good-quality apples that have enough sweetness and flavor complexity is essential to making the best possible homemade apple cider. But this isn't apple juice — many apple cider recipes call for additional ingredients that can add more flavor intensity and richness to every sip. Warming spices, like cinnamon, are a great place to start, since most people associate apples with those bold spices (think of a classic apple pie recipe). The best homemade apple cider, though, depends on more than just cinnamon.
"Most people focus on cinnamon and cloves," says Rena Awada. "But the secret to a brightly layered cider is a bit of citrus peel." It may not be the first ingredient you'd think to add to your homemade apple cider, but it provides some acidity and a nice flavor contrast that really takes the beverage to a whole new level. "Add a strip or two of orange peel (or lemon if you like sharper contrast)," Awada advises. "It cuts through the sweetness and makes the spices pop." Some recipes also call for lemon juice — not just peel — which is perfect if you want an even more pronounced contrast to the otherwise super-sweet apple juice. Just make sure not to add the pith, or the white part of the peel. Awada says that this can make your cider too bitter.
5. Using powdered spices instead of whole
Ensuring that your homemade apple cider has a nice, balanced flavor that's neither too sweet nor too tart is arguably the most important part of the cider-making process. But one mistake that a lot of home cooks don't think about when it comes to making apple cider is the texture of their beverage. You want your cider to be clear and smooth, not clumpy, right? Well, using a lot of powdered spices is likely to render a less-than-ideal texture, according to Rena Awada.
"This one's a texture killer," says Awada. "Powdered spices turn the cider cloudy and gritty. It will taste like you're sipping through mud." That's probably not what you're going for with your apple cider. Instead of using powdered spices, you should instead opt for whole spices. They may be more expensive than the powdered stuff, but they make all the difference in your final product. Whole cloves, allspice, and cinnamon sticks are the way to go, says Awada. "They infuse the flavor slowly and keep the cider clean." For the best-tasting cinnamon, choose cinnamon sticks that break cleanly when they're snapped.
To avoid cloudiness in your homemade apple cider, "what you can do is use a spice bag or mulling bag to put all the spices there and infuse," says Awada. "This step is important because no matter how many times you strain the cider if you use powdered spices, these spices can dissolve, and again, make the whole thing cloudy and muddy."
6. Neglecting to wash the apples thoroughly before preparing your apple cider
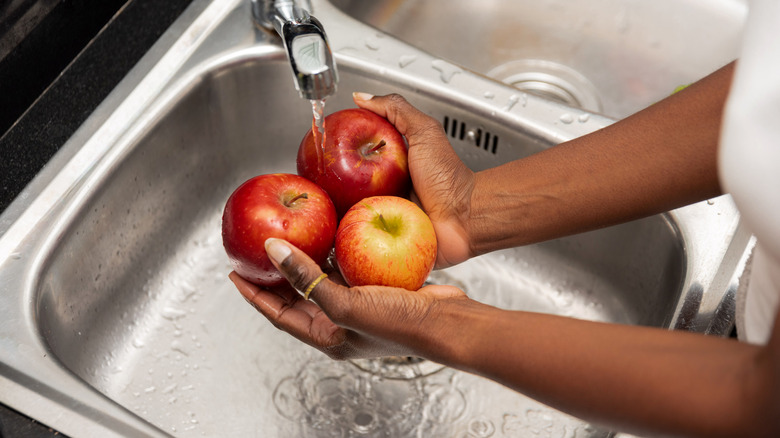
So, you've gone apple picking, selected your apples, and brought them home. Now, it's time to make homemade apple cider. But before you start slicing up those apples, there's one very important step you won't want to miss: washing them. This is essential if you're getting your apples straight from an orchard, of course, since you'll know that they haven't been cleaned. However, even if you're getting your apples from the grocery market and they look shiny and clean, you should still give them a scrub before processing them.
Why is this a step you don't want to forget? Well, washing your apples helps remove dirt, bacteria, and even pesticides, which you probably don't want to be drinking and which can affect the flavor of your cider. And if your apples are covered in a layer of pesky wax, try washing them with a combination of baking soda and lemon juice, which can help cut through that waxy layer.
7. Forgetting to mash the apples halfway through the simmer time
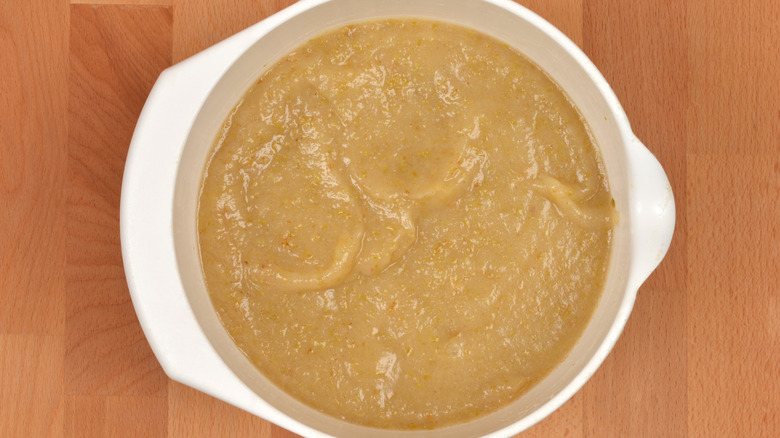
If you've ever made apple cider before and allowed the apples to simmer for a long time but never achieved the intense flavor you were going for, you might have skipped this crucial step. Mashing the apples halfway through the simmer time "makes a huge difference," says Rena Awada. Even though a lot of recipes won't specifically tell you to mash your apples while they're cooking, Awada says it's what sets farm-fresh apple cider apart from the rest.
Although you're going to be left with a flavorful liquid after simmering those apples for such a long time anyway, "mashing the apples halfway through the simmer releases their juices and intensifies the flavor," instructs Awada. Yes, it's an extra step that will take you a bit more time and effort than a standard apple cider recipe would require, but it makes a big difference in the final flavor of your beverage. When you're ready to cool your cider, you can use a strainer or cheesecloth to separate the solids from the liquid.
8. Adding sweetener too early
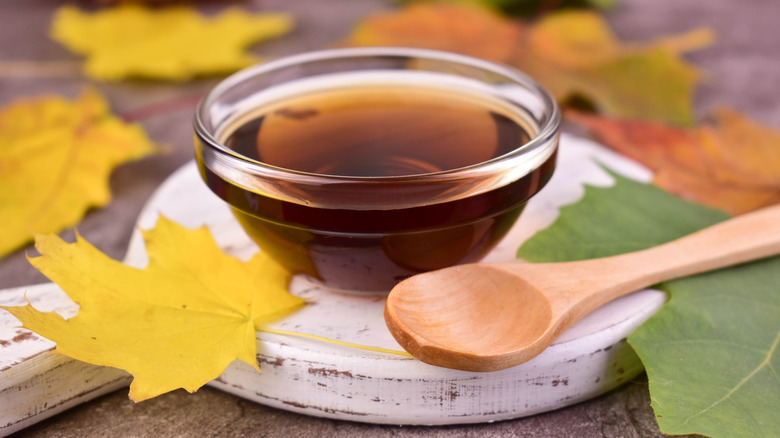
We get it: It's always fun to taste for your apple cider as it's coming along. But it takes a long time to make apple cider, and you don't want to be making any big decisions about sweetness until quite a bit later in the cider-making process. That's why adding sweetener too early is one of the biggest mistakes you can make with homemade apple cider. "Adding sugar or maple syrup before tasting the finished cider is not the best idea," explains Rena Awada. "This is because, as the liquid reduces, it concentrates and can turn syrupy-sweet." If you add a bunch of sugar in the first hour of cook time, you may realize that your apple cider is way, way too sweet — and by that time, it may be too late to fix it.
"So, sweeten after straining and cooling slightly, not before," says Awada. "That's when you can actually taste how much you need to add." If you do decide to add sweetener, do it slowly, and taste as you go. After all, once you add sweetness to the drink, you can't take it out (but you can always add more).
9. Neglecting to rest the apple cider before draining it
After your homemade apple cider finally comes off the heat, you'll probably be exceptionally excited to taste it. It's been simmering away for hours, and it only makes sense to want to taste the fruits (literally) of your labor. But forgetting to rest the apple cider for a bit after you take it off the heat and before you finish the cider-making process is a mistake. "Patience really pays here," says Rena Awada. "If you strain it too soon, you lose body and depth because the flavors haven't settled. You'll be cutting off the flavor infusion too soon."
Therefore, budget some extra time into your recipe, and don't rush the post-cooking process. "After simmering, let it sit (covered) for 20 minutes (even 15 minutes would do) off the heat," suggests Awada. "The apples, spices, and peels are still releasing oils and natural sugars while the liquid is hot." Once all of those pieces of fruit are settled and things have cooled off a bit, you can start to strain the liquid with a fine mesh strainer or cheesecloth (or even a cheesecloth substitute), and before you know it, you'll be sipping on your homemade apple cider.
10. Not refrigerating it after you've let the cider cool
You've finally done it: made a perfect batch of apple cider. You pour yourself glass (or maybe even two) and then you leave the rest of the cider in a bottle on the counter. It'll be fine there, right? After all, you've probably left store-bought bottled apple juice out on the counter for hours at a time, and it stayed fresh. However, homemade apple cider is a bit different from the processed juice you buy at the grocery store, and it's a mistake to forget to refrigerate it.
Non-pasteurized apple cider can spoil in just a few hours if it's left outside of the fridge, so it's important to store it in a cool environment. As soon as you're done pouring yourself a glass, put the cider straight into the fridge. Also, you should make sure you should drink the cider within two or three days for the freshest (and safest) results.