20 Kitchen Scraps You Can Regrow Into New Plants

We throw away and waste a lot food that's either inedible or past its best. Thankfully, there are much better ways to get rid of this waste than sending it off to the landfill. One of the most fun and rewarding methods is to use them to grow your own produce.
The way to regrow a plant can vary hugely from one to the next. It's easy to make mistakes and see all your hard work go to waste, or miss steps that prevent your scrap from growing at all. Thankfully, I'm here to help. As someone who runs their own gardening company, I've built my experience in part by regrowing food from garden scraps. In doing so, I learned what works — and what doesn't. In fact, I use these methods to grow my own food, as well as plants for customers.
I take pride in telling others how to grow and care for their plants. With that in mind, I'm here to guide you through the best way to grow fresh food from various scraps, along with common pitfalls to avoid. By the end, your mind will be full of ideas on how to make the most of your food waste.
Strawberry tops

While the whole of a strawberry is edible, many people just want to enjoy the juicy berry. Yet it's easy to repurpose those tops. In fact, there are still likely to be plenty of seeds here that can be used to grow another plant. Instead of planting directly, you'll want to dry out those seeds, as it's the moist-to-dry-to-moist cycle that indicates it can germinate.
The best method is to place the strawberry top onto a paper towel, and then press down, aiming to squeeze out as much juice as possible. Alternatively, you can pick out the seeds, but this takes time. Once the squeezed tops have dried, the seeds will easily fall away. After collecting, place them in a seed tray and wait for them to grow. It's not the only way to repurpose strawberry tops, but it can be hugely rewarding.
Sprouted potatoes
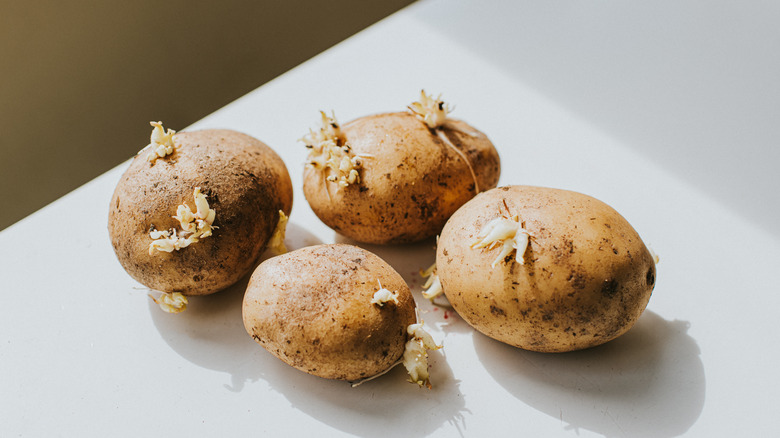
As time goes on, a potato will start to develop so-called eyes or sprouts. While an old potato will still be edible, many don't want to eat it at this stage. Thankfully, these eyes or sprouts can develop into new stems and grow a whole new plant.
Without seeds or extra steps, potatoes are one of the easiest scraps to grow. To do so, place the potato into the ground about 5 inches deep, and it'll start to grow. You can plant a whole potato, or cut it into sprouted chunks. If you're doing the latter, allow the pieces to dry for a day or two so the skin hardens to prevent rot.
One issue with store-bought potatoes is they aren't often certified as disease-free. To reduce the risk, it's best to buy organic potatoes and plant them in a container instead of directly into the ground. As shoots grow, place more soil around the base to encourage more growth. After a few months when the plant flowers, your potatoes will be ready to harvest.
Apple cores
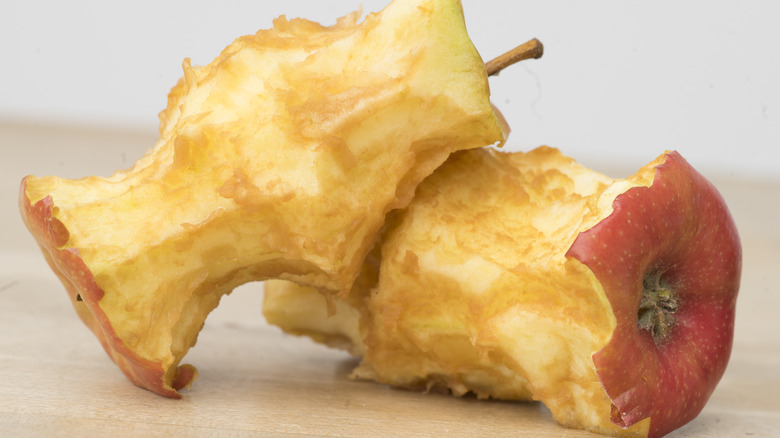
Even though some commonly discarded kitchen scraps, like apple cores, can technically still be eaten, it's usually best to discard them. After all, ingesting apple seeds is a genuine risk — one that's potentially fatal depending on how many you eat. Thankfully, you can use these seeds to potentially feed yourself by growing a new plant, though you'll need a huge amount of patience.
To start, apple seeds need a period of cold stratification, meaning you need to mimic winter by keeping them refrigerated for two months. Germination will only take a few weeks, but then the seedling will need plenty of nurturing. The tree will grow fairly quickly, but it can take a few years until it produces fruit. Furthermore, any apples are unlikely to grow true to the parent plant, and they may not taste the same as a product from commercial growers. Still, it can be a deeply satisfying long-term project.
Tomato seeds
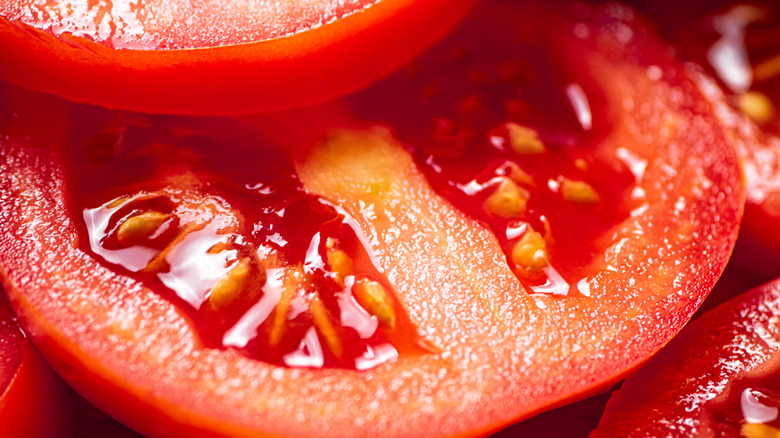
Tomatoes are probably my favorite plant to grow. They look fantastic, are rewarding to grow, and produce a lot of fruit. The seeds of a tomato are often eaten, but next time you're cutting one up, save any that fall out or pick out a few.
Next, wash the seeds to remove any residue, then let them fully dry; this usually takes a couple of days, and a windowsill offers an easy place to do it. As with most seeds, you'll want to keep them in a warm environment when sown, and the soil should stay moist. Additionally, similar to apple seeds, the tomato may not grow to be the same size and shape as the one you bought from the store. Tomato plants also need plenty of sunlight and water to give a plentiful harvest.
Onion bottoms
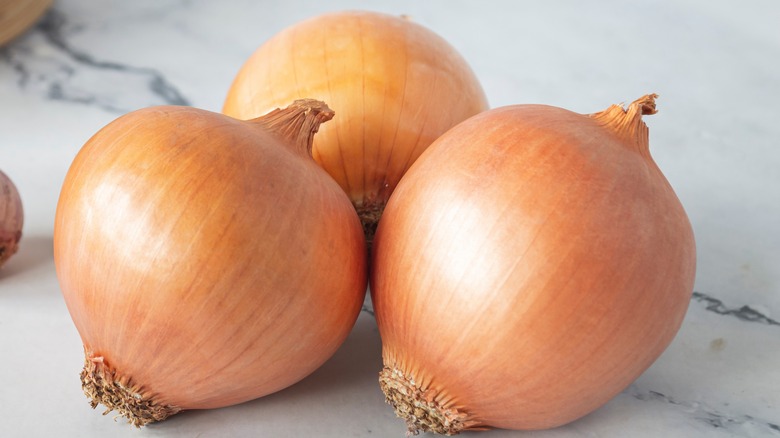
To be clear (and avoid any doubt from the start): Onion bottoms refer to the root end, rather than the pointed tip. For this, you'll want the section to be about 1 inch thick. And while there are a few important tips when it comes to cutting an onion, for this to work, the root section needs to stay intact.
After chopping it, leave the onion bottom to dry for a few hours to prevent rotting. From here, place the cut onion root-side down in moist soil. It will develop roots after a week or so. A new bulb will start to develop and can even split to form multiple bulbs. You're unlikely to get the perfectly spherical bulbs you buy from the store, but they'll taste the same. As with all root vegetables, you want to grow them in well-drained soil to avoid rot.
Sweet potato ends
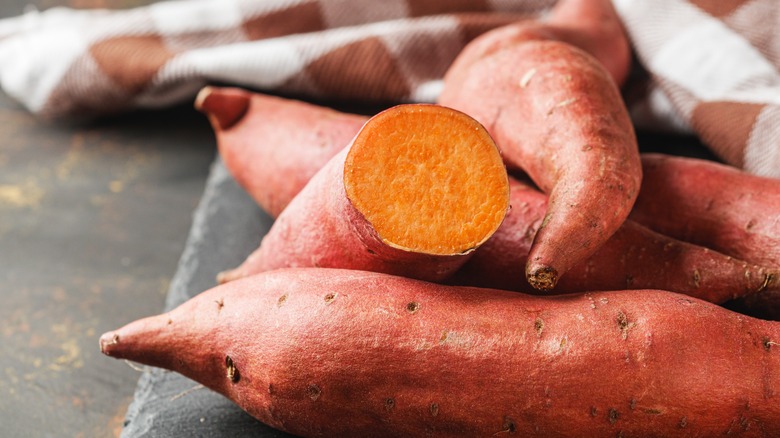
Unlike onions, the pointy end of a sweet potato is the root end. They can grow into lovely trailing plants that'll eventually grow into full crops, and the best way to do this is by suspending the rooted end in water.
This can be done by pushing a toothpick through the sweet potato, then balancing it over a glass. In a warm and sunny spot, roots will grow from the bottom and slips will grow from the top in a week or two. These slips (AKA leafy growth from the sweet potato) can then be placed in water again, where they'll grow their own roots; wait until they are at least 4 inches long before you do this, though. After roots develop, they can then be planted in soil. This undoubtedly requires patience with all the steps, but you'll eventually get lush vines and new sweet potatoes.
Bell pepper cores
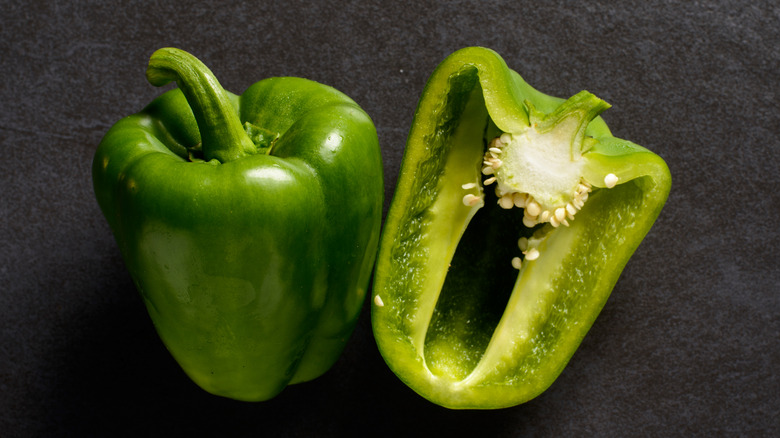
There are a few different methods available to chop a bell pepper, but they all involve cutting out the core and seeds — which can be used to grow more peppers. Start by removing the seeds and letting them dry on a paper towel. Once dried, plant the seeds shallowly into compost, keeping them in a sunny and warm spot.
Germination can take a few weeks and they shouldn't be planted outside until the last frost has passed. As with tomatoes, bell peppers need plenty of light and water to grow to their full potential. Eventually, you'll get to see these large peppers grown and you can pick them whenever they get to your desired color.
Garlic cloves
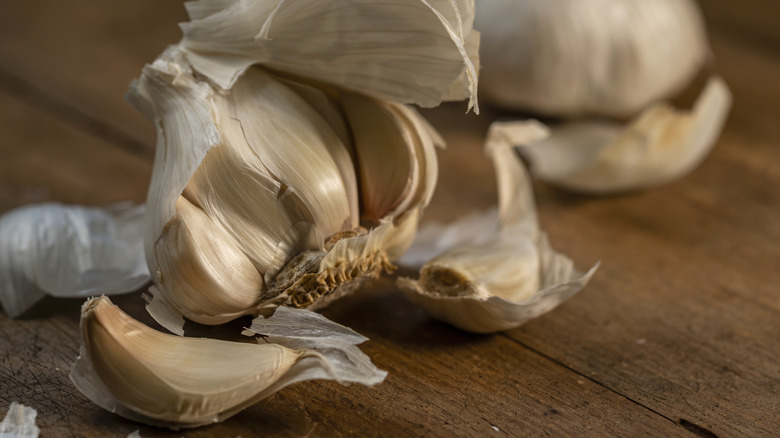
As you may have noticed, some kitchen scraps are easier to regrow into plants than others. Thankfully, garlic cloves are one of the easiest to repurpose. Garlic can be grown indoors, for instance, which is great for smaller areas (or if you've missed the outdoor growing season).
You'll need a full and healthy clove for this, so consider taking one off a whole bulb if you don't think you'll use all of your fresh garlic. Plant the clove with the point end up about 2 inches deep. Shoots will appear within weeks, and the clove will eventually develop into a full bulb. You can even use the green shoots, which will give your meals a milder garlic flavor. Plus, as with many other scraps, it's best to use organic garlic to grow a new plant whenever possible.
Green onion roots
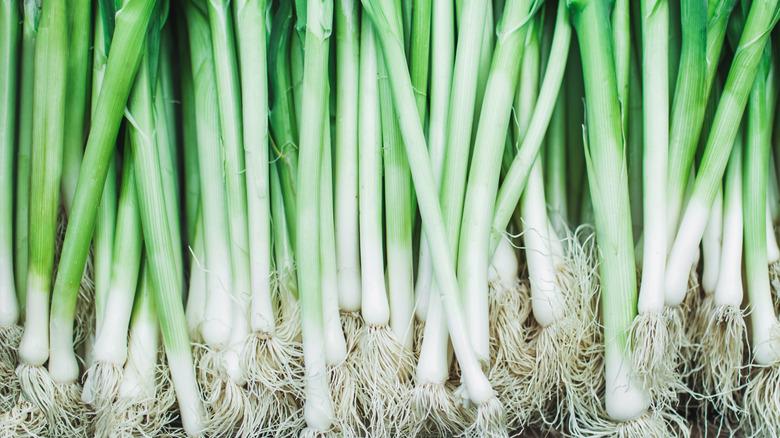
It's not just regular onions that can be grown from the roots. In fact, green onions can be regrown in much the same way. After using the green stalks, save the white bulb, which has the roots attached to it. These can then be placed in a glass of water with the roots submerged, but the top slightly above the water.
When placed on a sunny windowsill, the green shoots will start to grow back in only a few days. It's best to keep the water fresh by changing it every other day. Furthermore, once the shoots are a couple of inches tall, you have two options. You can either use those shoots right away, or plant them in soil so they reach full growth.
Carrot tops
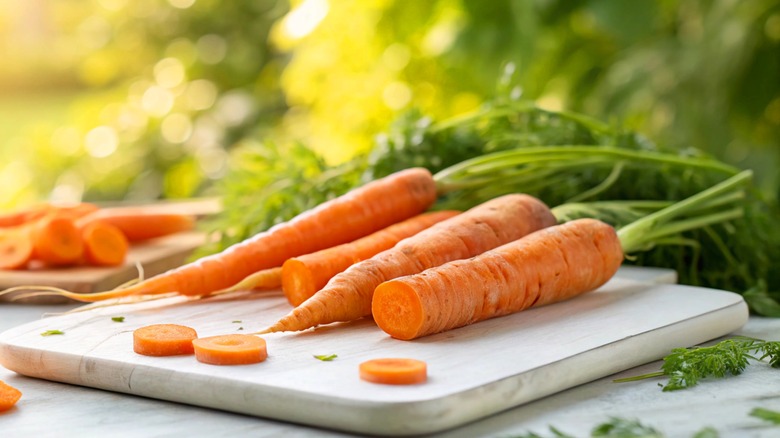
Sadly, you can't grow new carrots directly from a carrot top, at least not at first. However, you can grow leafy greens, which are edible and delicious. All you need to do is cut about 1 inch off the top of a carrot, place it upside down in a water dish, and you'll soon get new roots. These can then be planted in the ground for some fresh greens.
Now, if you don't harvest these green tops, you can eventually grow actual carrots. That's because the carrot tops will eventually go to seed, but only in their second growing season. So while you can't grow carrots directly from the tops, you can use them to eventually get seeds to do so. Of course, there are some other great ways to repurpose this common kitchen scrap if that sounds like too much effort.
Leek bottoms
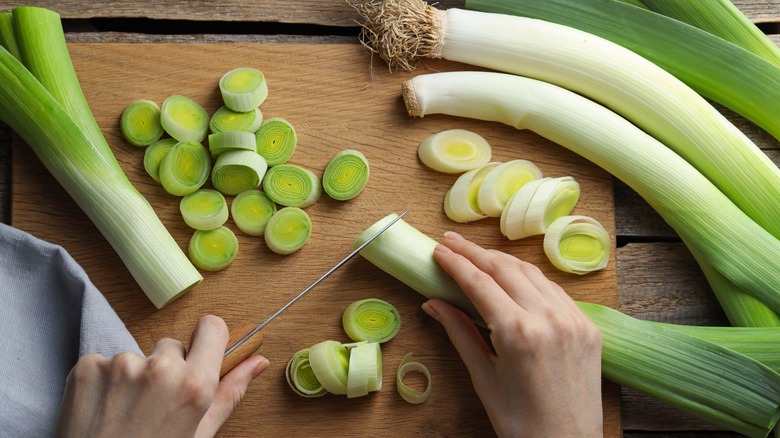
For those looking for minimal effort with kitchen scraps, leek bottoms are a great idea. After using the leek, save around 2 inches of the bottom. Similar to what I've mentioned with other plants, place the leek bottom root side down in some water, with the top sticking out.
New shoots will start to grow out from the center in around a week. Once they get around 3 inches in height, you can then move them into soil for stronger growth. Soon enough, the plant will be ready to harvest again. There's very little that can go wrong here, either, as leeks are one of the most reliable kitchen scraps to regrow into a plant.
Celery base
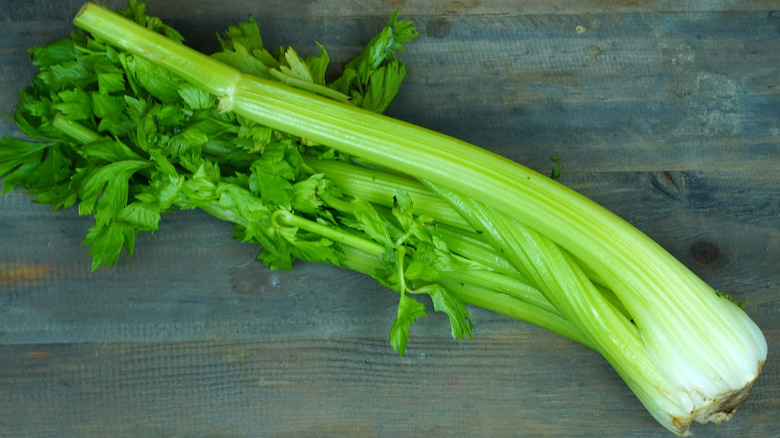
Another kitchen scrap that'll easily regrow is celery, which can be done in an identical way to growing leeks. One thing I want to mention, though, it that this won't work if you buy celery sticks; you'll need to buy celery hearts instead as they'll have the base attached to them.
To regrow celery, cut off this bottom base (leaving around 2-3 inches), then follow the same steps you'd use for leeks. Place it in a shallow bowl with its roots down, keeping the water fresh for around a week. As with leeks, new shoots will grow from the center, which can be planted when you have healthy growth. Make sure your plant has plenty of light, as well, otherwise growth will be slower.
Lettuce cores
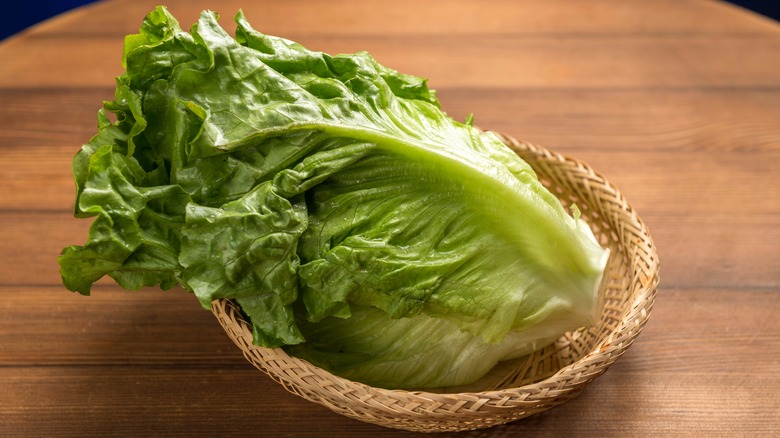
As with celery, there are a few different types of lettuce you can buy in the store. Regrowing lettuce works best with a variety that has a large core, such as Romaine or iceberg, and you'll want to save this dense core once you've used the outer leaves. Alternatively, if your leaves have started browning, cut them off while leaving a couple of inches at the base.
Once you've done this, follow the same water method that's used for celery and leeks: Cut off the bottom, keep it in shallow water, and wait for shoots to grow. As with those, leaves will start to grow out from the center. These can be harvested as and when they develop. Alternatively, you can place it in soil for larger and more mature leaves. It's unlikely to grow a full head again, but you'll still get plenty of leaves.
Beet tops
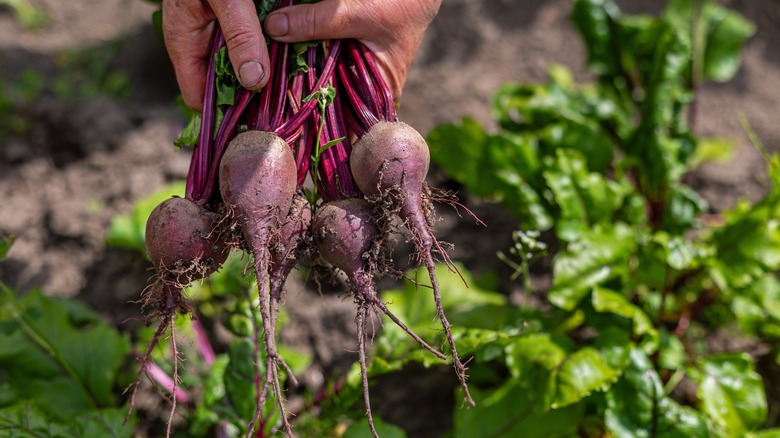
Beet tops will regrow in much the same way as carrots. You won't be able to get a new vegetable from the new growth straight away, but you can get some lovely fresh greens. The part you want to have is the top (where the leaves grow out), and you'll need to save around 2 inches for this to work.
Place the beet into a dish of water with the cut side submerged and the leaf side sticking out of the top. Wait for the leaves to sprout, then either harvest or plant in soil. As with carrots, beets are biennial, meaning you'll be able to collect seeds in their second season. While they are a biennial when it comes to producing seeds, the vegetable will still grow in its first season.
Excess herbs

It's great to have a little herb plant in your kitchen. You can place it on a windowsill and pick leaves whenever you need them. However, they can grow too quickly, and need to be picked often to promote luscious, bushy growth. Rather than throw away fresh herbs from time to time as a result of this, you can use those cuttings to make more plants instead.
For herbs such as parsley, basil, and cilantro, you want to cut a stem just before a leaf node. Place the bottom 2 to 3 inches in water, and roots will grow in a week or two. It's best to change the water every other day to prevent mold and give the roots some air. Then, you can simply pop them into the soil and enjoy a new plant.
Cilantro stems
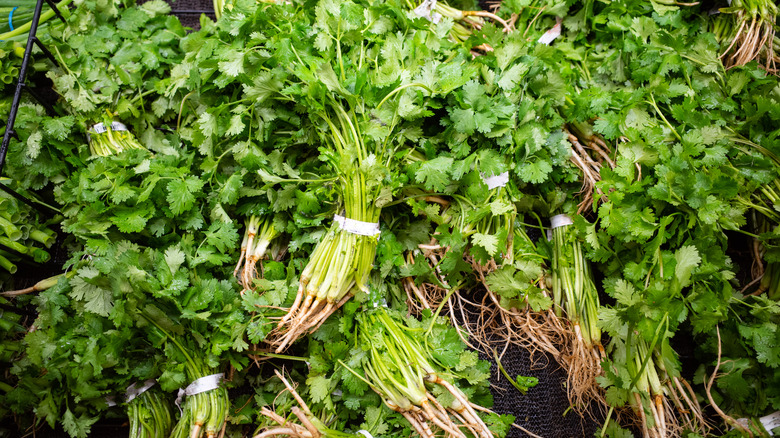
I mentioned cilantro in the previous section, but that advice only applies if you have a potted plant. But if you have a fresh bunch with the roots still attached, there's another way to regrow it. After using the leaves in your favorite dish, you can save the bottom 3 inches of the stems with the roots on the bottom. For this method, it's again best to submerge them in water because it'll keep the roots constantly moist; with soil, this can be harder to control.
Within a week, you'll start to notice both new leaves and roots. You'll want those roots to be well-developed before you transplant them into the soil. Whether in water or in soil, you'll want to give cilantro plenty of light. As long as you avoid water stagnation, this would be a fairly easy process.
Citrus seeds
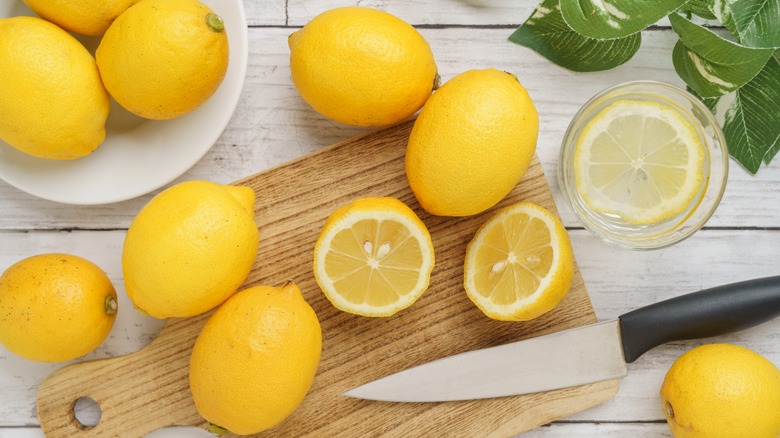
Growing a citrus plant from seeds requires a lot of patience. However, with enough time, seeds from the likes of oranges, lemons, and limes can be sprouted into new plants. Now, germination can be hit or miss here, and takes a long time. To improve your chances, it's best to soak the seeds in water for 24 hours to soften the outer shell. Once placed in compost, you'll want to keep the soil moist.
Of course, growth will be slow with this plant, and it can take years for a tree to start fruiting. But when it does, you'll get a plentiful harvest each year. It's a rewarding experience and citrus trees can also be beautiful additions to gardens or even indoor spaces.
Pineapple top
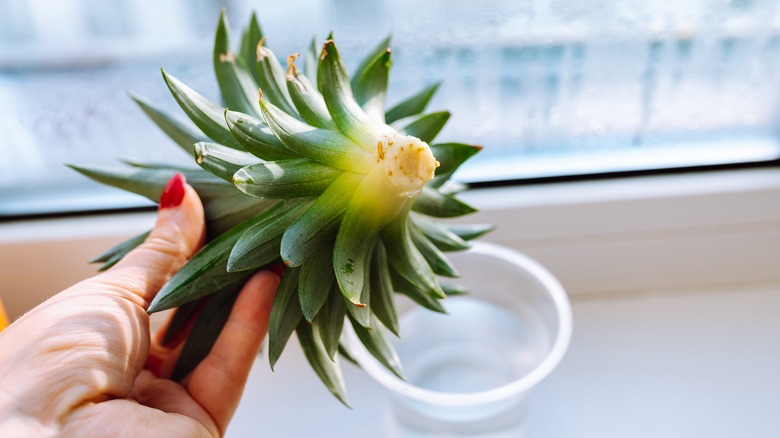
Getting rid of the pineapple top (called the crown) always seems like such a waste. Thankfully, you don't need to throw this away. Once you've cut up your pineapple and isolated the top, remove any remaining fruit flesh to prevent rotting.
Next, let the crown dry for a few days, as this will allow the cut end to callus over. Once this is done, you can place the base into water or plant it directly into well-draining soil. Either way, be sure to keep it moist and in a warm, sunny spot. It can take 2 or 3 years to produce fruit, but you'll have a luscious plant that looks great in the meantime.
Avocado pit
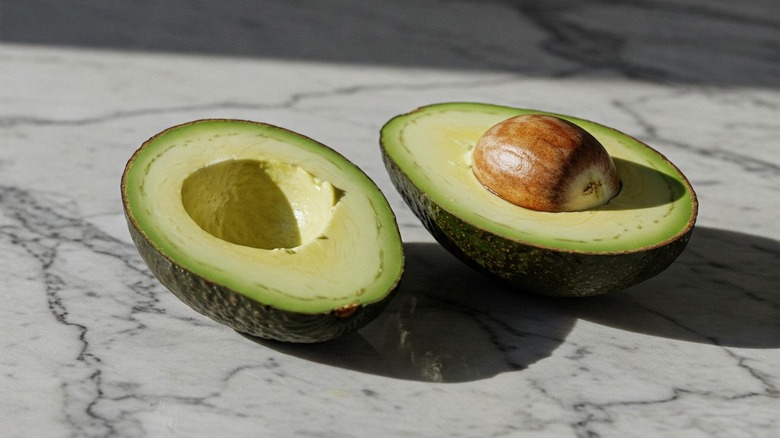
Do you have an extreme amount of patience? If so, take on the project of growing an avocado tree. Not only does it take a while for an avocado pit to germinate, but it can take 5 to 13 years to fruit.
Start by safely removing the avocado pit. Rather than discarding it, clean it and insert 3 or 4 toothpicks around its center. Suspend this over a glass of water with the pointy end towards the sky. You'll need to change the water frequently and trust the process, as well, since germination can take up to 6 weeks.
Once the roots thicken, you can plant them in the soil. While it may never fruit at all, at the minimum, it will develop into a lovely tree or houseplant. Plus, it can be a whole lot of fun to watch it grow.
Parsnip tops
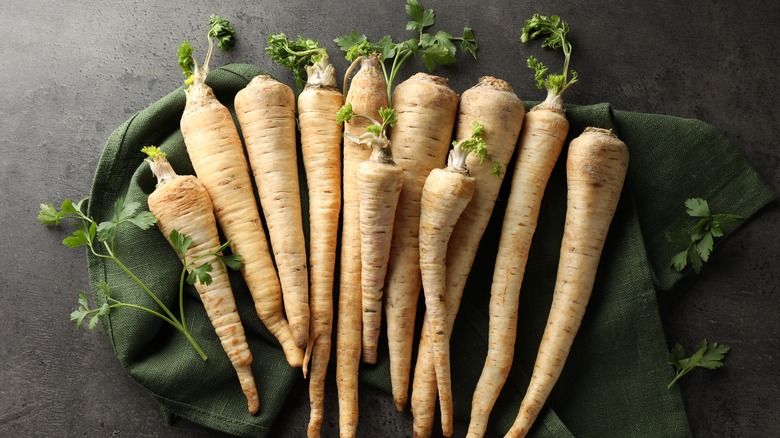
When it comes to the humble parsnip, you can refer back to what we discussed with beets and carrots. And while you won't be able to regrow the parsnip root from a top, you'll get some lovely fresh greens. This root vegetable offers a constant supply of salad greens for anyone who enjoys them.
The method here involves placing around 2 inches of the cut side into a dish of water. Be sure to place it in a sunny spot with a frequent supply of fresh water. Additionally, you have the choice of either using the tender leaves, or putting the roots in soil to develop more mature leaves. If you like the idea of waiting for the seeds, parsnips are also biennial, and thus need two growing seasons.