20 Festive Cake Decorating Hacks For The 2024 Holiday Season
It isn't the winter holiday season without a little baking and cake decorating to show for it. Whether you want to host the most impressive holiday party of all time or just show off your decorating skills to your family this year, we've rounded up 20 hacks you need to know to make your cake look professionally decorated.
Maybe you want to spend an hour or two perfecting your design, or maybe you want to be finished decorating your cake within just a few minutes — either way, these hacks will make sure you walk away from the kitchen with the most beautiful cake in town. Making a complicated Yule log? A simple glaze? Looking for holiday cake ideas even the best baker in your family hasn't seen before? No problem — we've got it all.
Best of all, these themes can be applied to any winter holiday you want — and it doesn't matter whether you're an expert baker or have never even touched a cake pan before. Don't be a Grinch; just read on to be celebrated as this year's holiday dessert hero.
Use a hot knife to spread your frosting evenly
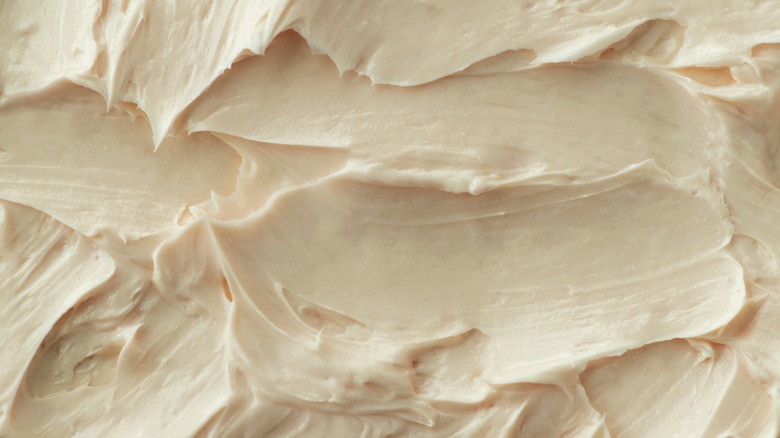
Have you ever finished frosting a cake and noticed it still looks a little lumpy? To create perfectly smooth cakes this holiday season, all you need is a little hot water. After you're done frosting your cake and are ready to smooth it out, grab your spreading tool and turn your sink to its hottest setting.
Heat up your knife, spatula, or spreading tool by running it under the hot water, then use it on your frosted cake. It will do a much better job of smoothing out the frosting once heated. Hot water is always best to heat up your knife — not only is it easy to reheat your knife between each spread, but it will also help prevent frosting from sticking to your knife while you smooth out your cake. Be gentle with your hot knife, and don't press too hard; the goal is to carefully smooth out the cake, not move around the entire layer of frosting.
Lightly microwave butter if you forgot to leave it out for frosting
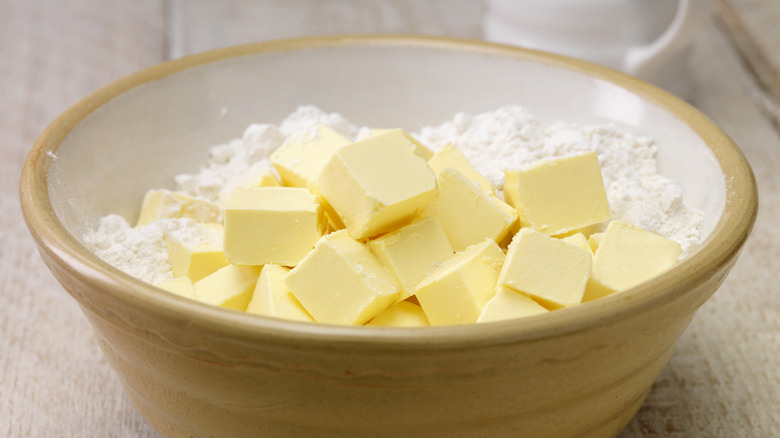
The holidays are the busiest time of year, so we wouldn't blame you if you totally forgot to leave out your butter before baking or frosting. You should never try to make cake frosting with cold butter, however, or else you'll wind up with a lumpy, un-spreadable mess. If you're in a hurry, just toss the butter in the microwave instead. Just 10-15 seconds is all you need. Don't leave it in long enough to melt it — just enough for the butter to be soft enough to push a finger into. This is the state your butter would normally be in after leaving it out for an hour or two to acclimate to room temperature. Once you've microwaved it, you can use it for holiday baking and decorating without any problems.
Use powdered sugar to create designs
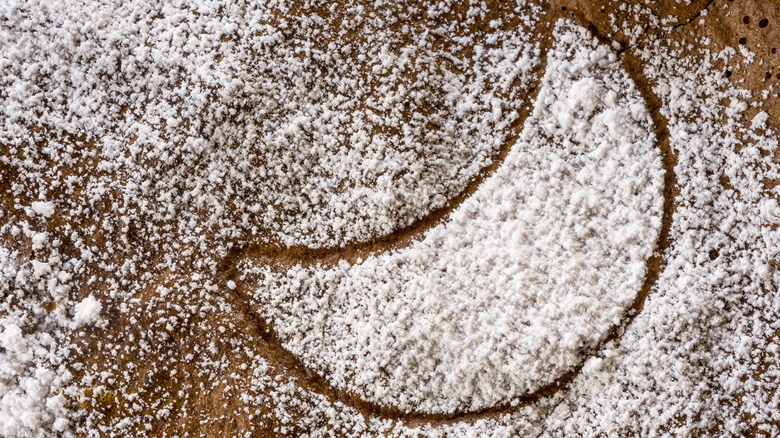
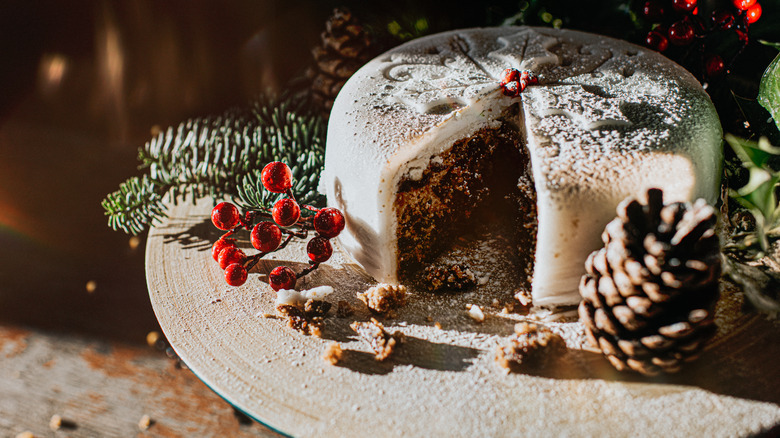
If you want the fastest-decorated cake around, just drop a cookie mold on top of your cake and then sprinkle powdered sugar into it. This will create a "snowy" design on your cake! If you've already amassed a collection of winter-themed cookie molds, this is a great way to put them to use for decorating cakes this season, too.
No cookie mold? No problem. You can also cut the shape you want out of parchment paper, place it onto your cake, sprinkle powdered sugar all around it, and then lift the parchment paper up to reveal a negative space design. This trick is absolutely adorable and will save you a ton of time when decorating your cake, too — no frosting or cake-decorating experience required.
Substitute a cake tray or lazy susan for a turntable
Not a cake-decorating professional? You might not have a handy turntable that makes cake frosting easy, but that's not an issue. A flat lazy Susan or even a pedestal cake tray will allow you to smoothly turn the tray around while frosting your cake. Just hold your frosting knife or spatula close to the cake and turn the tray as you frost to create a smooth, even finish. As a bonus, you can also serve the cake on the same tray (just be careful not to spin the tray when cutting it).
Use bundt pans to make shaped cakes
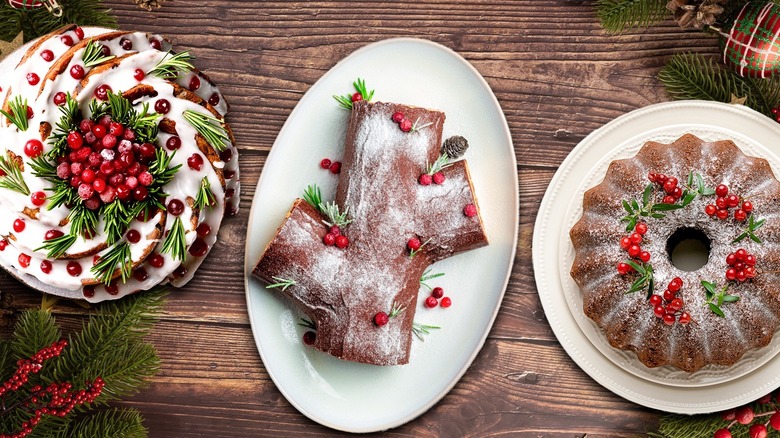
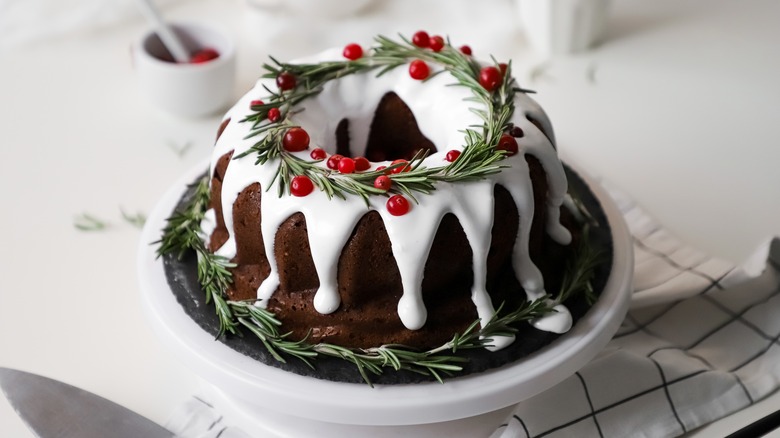
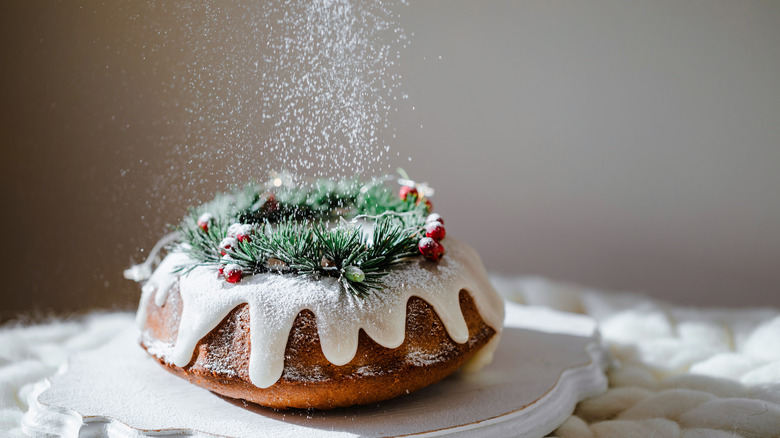
If you've not experimented with bundt cake pans before, this holiday season is the time. Double or triple layering differently sized bundt cakes on top of one another (largest on the base, smallest on top) makes them look like a Christmas tree. You don't even have to frost them to achieve the effect — just drip a little glaze on the cakes if you so choose and serve them right up.
Those who don't have any time at all to decorate can also find tree-shaped bundt pans and glaze or dust them with powdered sugar for a wintery effect. This will make it look like the tops of your cake trees have been snowed on — adorable.
Melted, cracked chocolate looks like bark
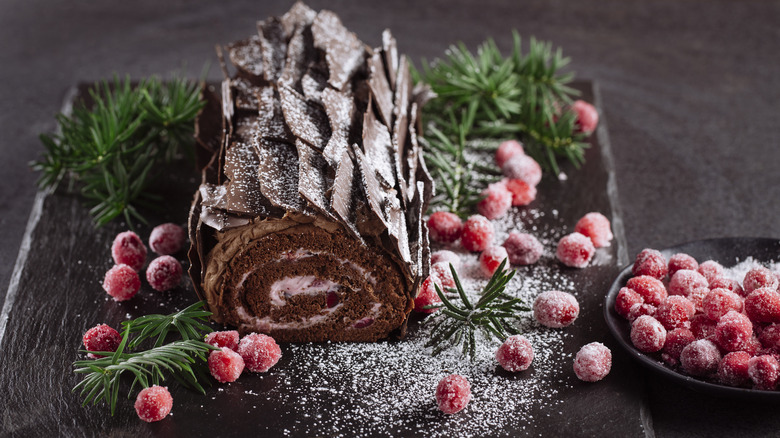
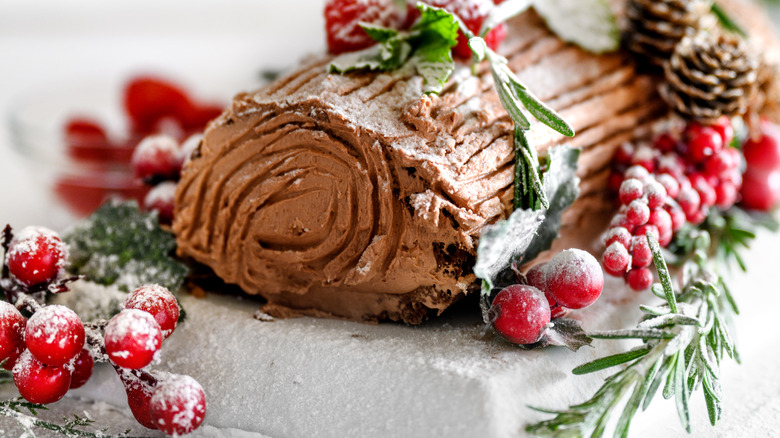
If you're trying to figure out the best way to realistically decorate your Yule log this year, you don't even need to worry about frosting a bark texture onto it. All you need to do is melt some chocolate and spread it over a piece of parchment paper. Let it dry, then roll the chocolate sheet from the paper onto the Yule log. As you do so, the chocolate will crack, creating a bark-like texture.
You can also melt chocolate, allow it to harden, and then break it into small, thin pieces, giving you more control over where the chocolate cracks and how you place it onto your Yule log. Either way, you choose, it's 10 times easier than attempting to make the frosting look like bark.
If you're in a rush, you can also freeze your chocolate instead of waiting for it to dry on its own. The thinner the layer of chocolate you're trying to harden, the faster it will go. Just keep in mind that this will also make your chocolate more likely to splinter into smaller pieces.
Make meringue mushrooms to decorate your yule log cakes
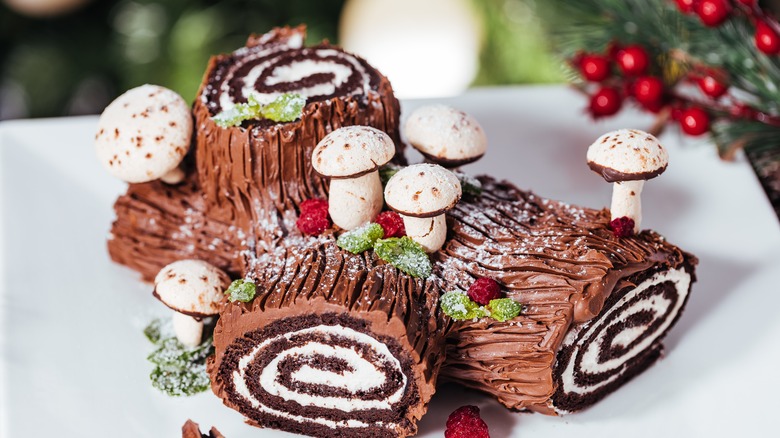
Still on the hunt for the best way to make your Yule log look even more realistic? Try making mushroom meringues. They're easy to make and highly realistic — and they can also cover any errors you might have made while decorating.
All you need to do to make your mushrooms is pipe some white or beige meringue onto a sheet of parchment — make it a half-sphere. Once it's hardened, remove it from the parchment paper and pipe the "stem" of your mushroom onto the base of the half-circle. You can also pipe your stems beforehand onto the parchment paper so they dry neatly ahead of time — just use extra meringue to hold them together.
This will get you a light, airy, delicious mushroom to decorate your Yule log with. You should also dust the top of your mushroom with cocoa powder or powdered sugar to give it a more realistic, speckled look.
Print your lettering onto a piece of paper, then trace it
It's quite the challenge to write out letters in frosting, especially if you've never tried it before. Fortunately, even if you have no experience, there's an easy way to hack it. Before piping, print the message you want to write onto a piece of paper and cover it in parchment paper. Then, pipe your frosting directly over the letters, tracing them. Allow the frosting to dry, and then you can transfer it directly from the paper to the cake. This will work best with large, thick letters since those are easier to pipe (and can be traced).
Use a condiment bottle for the perfect drip effect
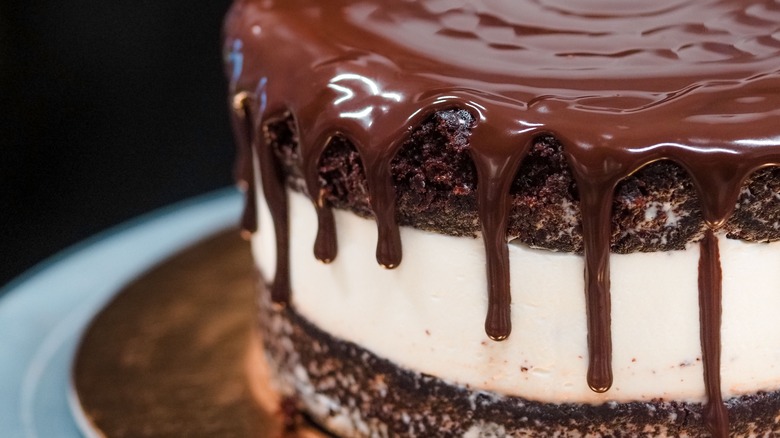
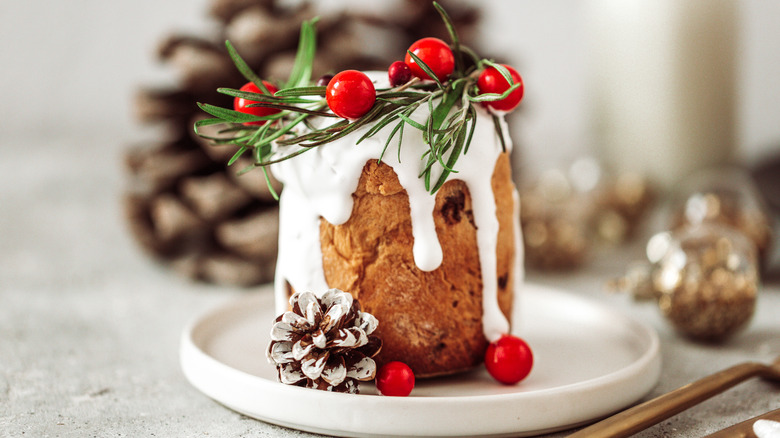
If you're trying to cover up sloppy edges on a frosted cake, there's no better way to do it than by dripping a little glaze, ganache, or melted chocolate over the edges. You might be wondering: How do professionals get their drippy cakes to look so perfect? Don't risk dripping glaze in the wrong spot; instead, use a large condiment bottle to dispense your glaze of choice over the edges of your cake. Position the tip of the condiment bottle directly over the edge of the cake (hold the tip very close to the frosting, not directly on it) and then push a small amount of glaze out of the bottle — more for long drips, less for very short drips.
Upside down ice cream cones make great winter trees
Want to decorate a cake in a way that makes it look like a winter wonderland? This theme is a fantastic choice for winter decorating because it can apply to any winter holiday. It's also one of the easiest ways to decorate your cake — all you need is a few ice cream cones. Simply stand them upside down to create triangular trees. You can get cones of different sizes to create your own mini forest — and, of course, sprinkling a little powdered sugar on top will make them look snowy. They also double as a great way to enjoy a winter ice cream cake or serve up cake you can hold at a party.
Roll cranberries in sugar for a frosted effect
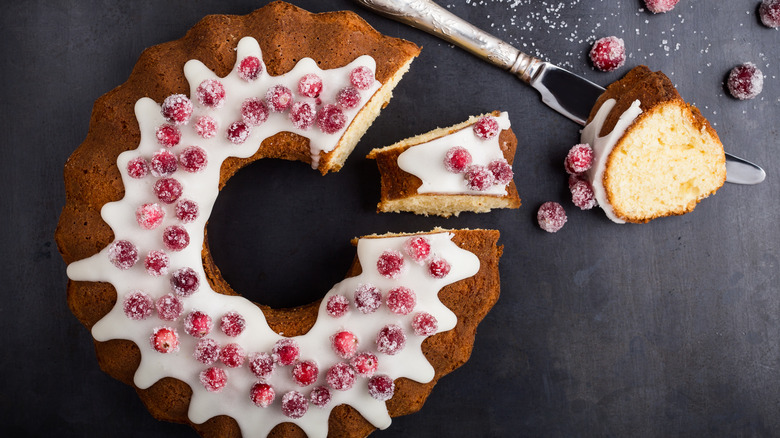
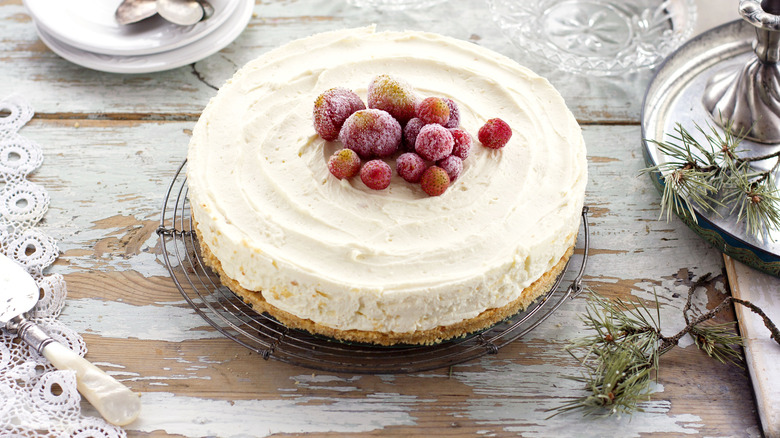
If you're not yet set on using powdered sugar to make your cake decorations look like a winter wonderland, granulated sugar can also help you add a wintery effect to your cake. Rolling small winter fruits like cranberries in granulated sugar will make them look as though they've been hit by a winter frost. It's a great way to make them shine and sparkle a little extra (and take away some of the bitterness).
You can roll any berry in granulated sugar to make it look frosted or snowy. It's the perfect way to transform a cake recipe that would otherwise look a little too summery for the holiday season.
A simple colored glaze is best for those with no experience
If you have no prior cake decorating experience and want to decorate your cake in a way that's super simple yet pretty, a little water (or milk) and powdered sugar will net you a gorgeous glaze you can drip from the top of your cake. Just pour the glaze starting from the center of your cake and gently spread it outwards with a knife or spatula. You can dye your glaze with colored food dye for a winter theme or even opt to spread multiple colors across the top of your cake for a holiday lights effect.
Frost decorations directly across from one another to create an even cake-cutting guide
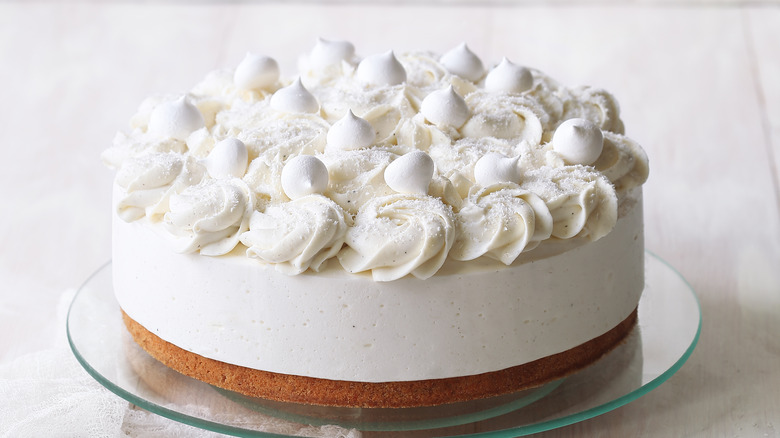
Trying to make a perfectly symmetrical design to make your holiday cake look extra impressive? You don't need to break out the ruler. Just start by placing two frosting decorations directly across from one another on both sides of the cake. Then, place another two across from each other — effectively "quartering" your cake into segments that each have their own decoration.
Continue placing two decorations across from each other at a time, splitting your cake into eighths next. This will give you a perfectly even, symmetrical design that looks as though you measured out every decoration exactly. This hack will also help ensure you don't run out of decorating room. As a bonus, you'll even have a decorated cake that shows you exactly where to cut.
Use parchment paper or a plastic bag if you don't have piping bags
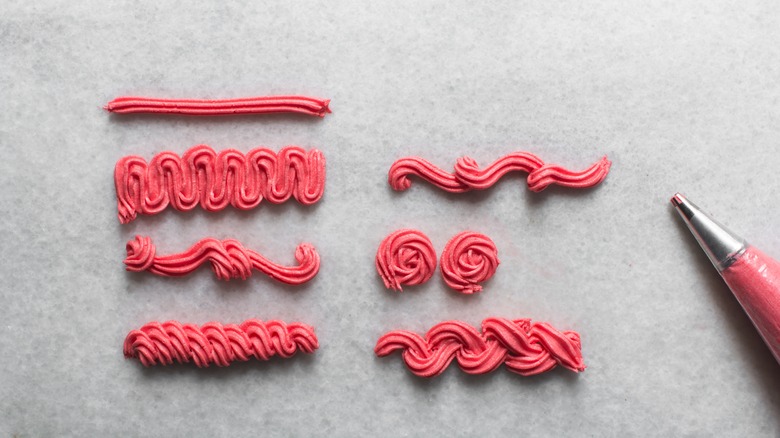
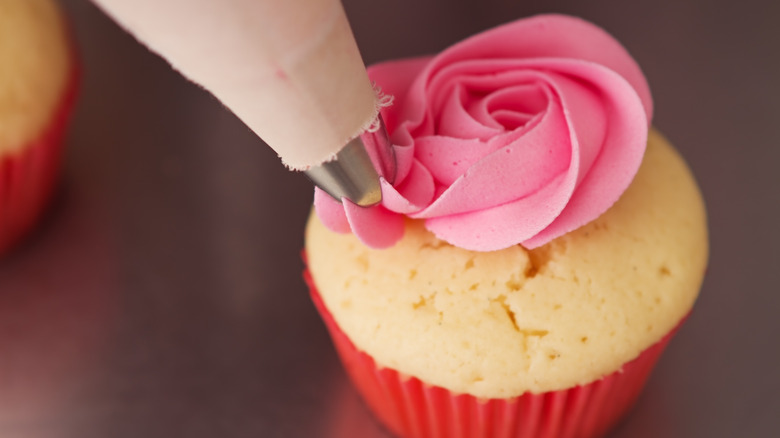
In a pinch, a plastic snack-sized bag with a hole cut out of one of the corners can double as a piping bag. It won't be quite as easy to wield as a regular piping bag, but it will give you enough leverage to make some cute decorations for your cake (the simpler, the better). Just drop a piping tip into the bag and allow the end of it to poke out of the hole.
Don't have a piping tip, either? You're in luck. You can cut a smaller hole in the corner of your piping bag and pipe decorations directly out of the hole in the bag. You might not be able to make a star tip out of just the bag itself, but this hack is still highly effective.
You can also make your own piping bags out of parchment paper rather than using premade piping bags or piping paper. Just cut a square out of the parchment paper, cut it again diagonally to make two triangles, and fold one triangle at a time to make a piping bag as you would out of pre-cut piping paper. This hack works best when you still have a piping tip ready to use.
Use a chocolate hard shell topping on your cake
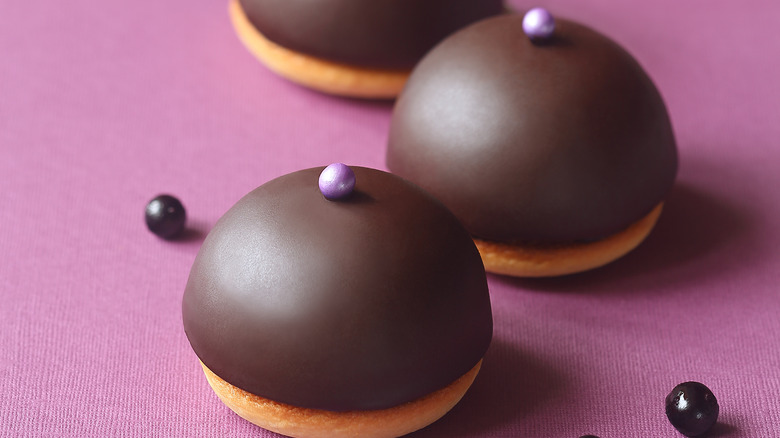
Want to decorate your cake without frosting it? You can add a lot of show to the look and serving of your cake by decorating it with a chocolate shell. You can make a hard shell by pouring melted chocolate over your cake and letting it harden.
This means you don't have to worry about frosting your cake (or you can still frost it underneath the hard shell, so you don't have to worry about making it look perfectly neat). As another bonus, you can also add other holiday themes to the shell, like peppermint shards or toffee, to create a holiday bark texture.
Want to create a design with your hard shell or dye it holiday colors? White chocolate is extremely easy to dye, which means you can enjoy a professional-looking cake without much time spent decorating.
Use wax paper to create 3D objects
Are you still practicing your frosting technique? Worried that you might mess up when piping a design onto your cake? You can pipe each of your decorations — like winter frosting flowers, leaves, holly, berries, small trees, etc. — onto parchment paper instead of directly onto your cake. Let them set until each of the decorations has hardened. You can even place the parchment paper in the fridge if you want them to dry faster.
Then, just carefully use a knife or spatula to slide them off of the parchment paper and onto your cake. This will allow you to place them exactly where you want them — and you can just discard any decorations you don't like the look of.
Use straws instead of skewers
Do you not have a skewer large enough to hold multiple layers of a cake together? Maybe you're concerned about decorations toppling over before you can even serve your cake. Fortunately, you probably don't even need to use a skewer at all. Just use regular drinking straws (plastic holds up best) or even boba straws to hold the layers of your cake together.
This will also allow you to place additional objects inside of the straw's hole that can be stabilized by the straw itself — think candles or peppermint sticks. As another bonus, using plastic supports will make the cake slightly less tricky to cut into. Just keep in mind that removing the straw will take a small hole out of the cake with it!
Refrigerate your frosting before decorating
There's nothing worse than getting to the decorating stage and realizing that your frosting is just too thin to hold up on a cake. If you've already started frosting your cake and are starting to notice your decorations are sliding off — or maybe you've just run out of powdered sugar to help thicken your frosting up — don't lose hope!
If you're encountering this problem before you start frosting your cake, the solution is simple: Just pop the entire bowl of frosting in the fridge for an hour or two. This can be done before you frost the cake so that the cake remains moist and stays at room temperature while the frosting adheres neatly to the cake and doesn't slide around.
However, if you've already started frosting your cake and are noticing that the frosting is starting to fall off, put the whole thing in the fridge right away. You can take it out after a couple of hours to allow the cake to warm up a little bit, and by that point, your frosting will likely have hardened enough to be stable. Just don't forget to touch up your frosting as needed before serving.
Use cornstarch to prevent powdered sugar from melting
If you're planning on making your cake look delightfully snowy with some powdered sugar, you might be surprised to know that your cake will absorb the powdered sugar within a few hours of frosting. This is annoying for anyone who is trying to prep a cake ahead of time (or planning on having leftovers). To avoid this issue, mix a little bit of cornstarch (or another starch, like potato starch) with the powdered sugar before dusting. This way, the powdered sugar won't be absorbed. Don't worry — doing this doesn't affect the taste of the powdered sugar.
Use a crumb coat before elaborate decorations
Never heard of a crumb coat before? You'll definitely want to learn about it before the holidays roll around. Before you start decorating, simply spread a very thin layer of frosting over your entire cake to prevent any crumbs from escaping and sticking to the rest of the frosting you're using to decorate. This is especially helpful if you're trying to create swirling patterns or designs in your frosting (or just find that you have trouble spreading frosting without getting crumbs everywhere). Leave the first layer of frosting to set — either in the fridge or on the counter — and then use the rest of the frosting to actually decorate without worrying about crumbs.
