

9 Mistakes Everyone Makes When Cooking Chicken Cutlets
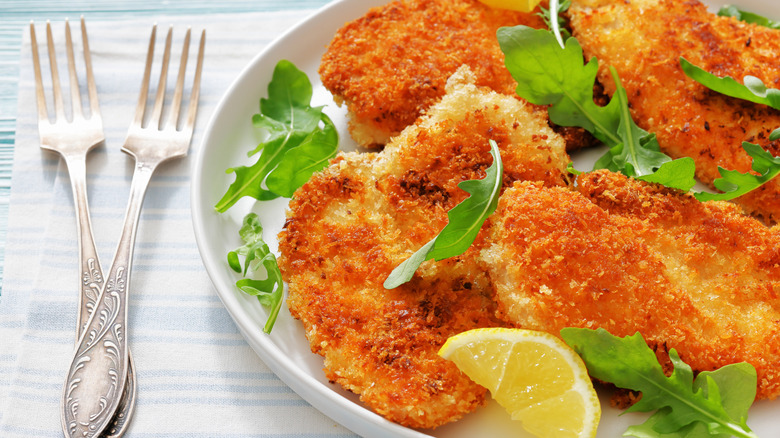
Confession: I have a culinary crush on chicken cutlets. And what's not to love? Juicy chicken, thinly sliced, cooked to golden-brown perfection with an irresistible, mouthwatering crunch. They're versatile crowd-pleasers, whether they're tucked into a sandwich, served with a peppery salad for a classic chicken Milanese, or placed center plate with sauce and veggies.
During my years as a personal chef and cooking instructor, I've made countless chicken cutlets and shepherded plenty of home cooks through the process. I know just how easy it is to inadvertently turn a deliciously crisp cutlet into a dry, unevenly cooked mess with half the breading left stuck to the bottom of the pan. While cutlets may appear simple to prepare, they're actually pretty tricky to perfect, with numerous opportunities for disaster during every step. Fortunately, you can sidestep calamity by knowing how to avoid the mistakes people often make when cooking chicken cutlets.
Starting with wet chicken
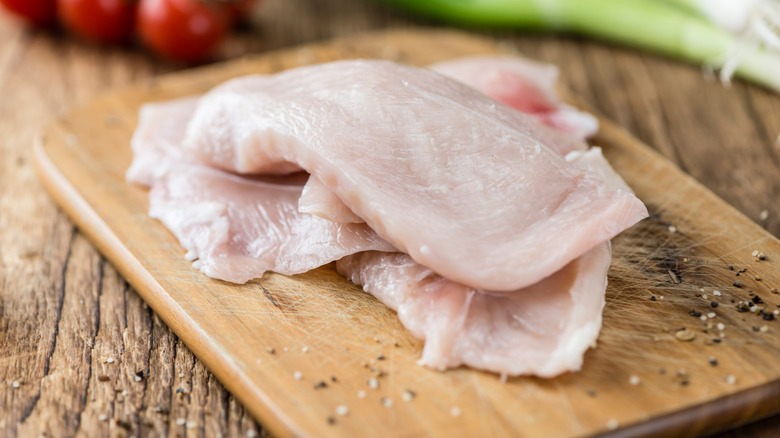
When making cutlets, you want your chicken to turn out nice and juicy, but external moisture is your enemy. Moisture belongs inside the finished cutlets, not on the surface of the meat when you begin breading. Chicken straight from the package is usually a little wet, which is normal, but you need to pat it dry to remove that excess moisture before you start breading.
The standard way to bread chicken is to use the FEB technique. That's a chef acronym for the three steps of breading fried foods: flour, eggs, and breadcrumbs. The first layer of flour needs to adhere directly to the chicken, but excess moisture can cause it to clump into a gummy paste rather than forming a thin, even coating. It can also prevent the flour from sticking properly.
So, before you start breading, grab a paper towel and pat each cutlet dry on both sides. You want the surface to be dry to the touch, giving the flour a clean surface to cling to and setting you up for a crisp, even coating.
Not flattening your chicken
A big part of the appeal of chicken cutlets is that they're thin and crispy. If you're using boneless, skinless chicken breasts, you'll have to address the fact that they're naturally thicker at one end than the other. If you cook them like this, there's a good chance you'll end up with chicken that's dry and tough at the thinner end, and potentially undercooked at the thicker end.
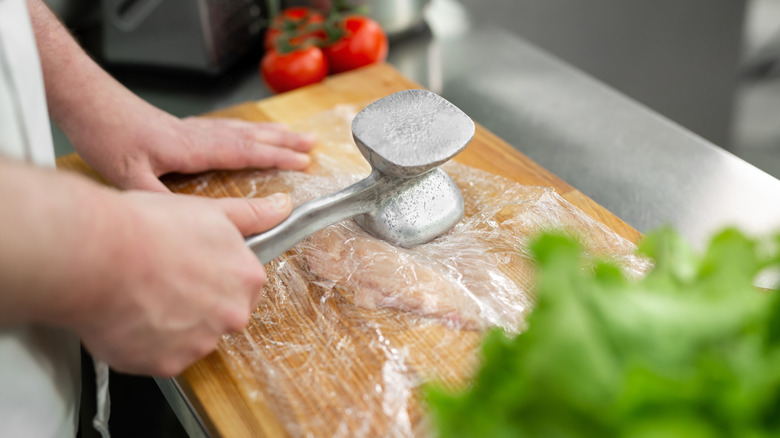
Making sure each cutlet is uniform in thickness helps them cook quickly and evenly, and the easiest way to do this is with a meat mallet. Simply place each cutlet between two sheets of parchment paper or plastic wrap. Using the flat side of a meat mallet (the spiky side is for tenderizing meat), gently pound the chicken until the breast is flat and even.
If you don't have a meat mallet, a rolling pin or heavy-bottomed pan will also do the job. Alternatively, you can use a sharp kitchen knife to butterfly each breast into two thin, even pieces.
Skipping the seasoning
A beautifully browned and crispy chicken cutlet can still be a huge letdown if the flavor is bland. The easiest way to avoid this is to make sure your cutlets are well-seasoned.
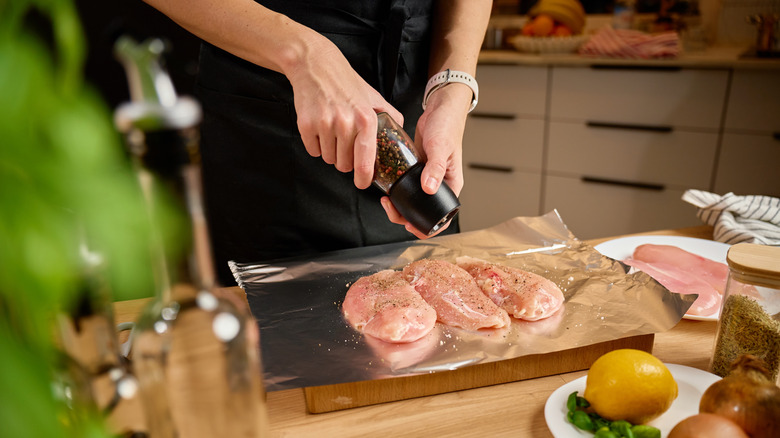
If you think a light sprinkling of salt on the cooked cutlets will suffice, think again. You need to season the chicken before it hits the pan, otherwise you'll have a slightly salty kick on the outside, but the meat itself will taste flat and flavorless. Once you've pounded your chicken breasts flat and patted them dry, liberally season both sides with salt and pepper. If you have time, let them rest for about 30 minutes before cooking — this allows the salt time to penetrate deeper into the meat.
For the best results, you should season your flour, too. Start with salt and pepper, but don't stop there. Consider adding various herbs and spices into the mix for even more layers of flavor. You can also get creative and mix your own spice blends.
Not adding cornstarch to the flour
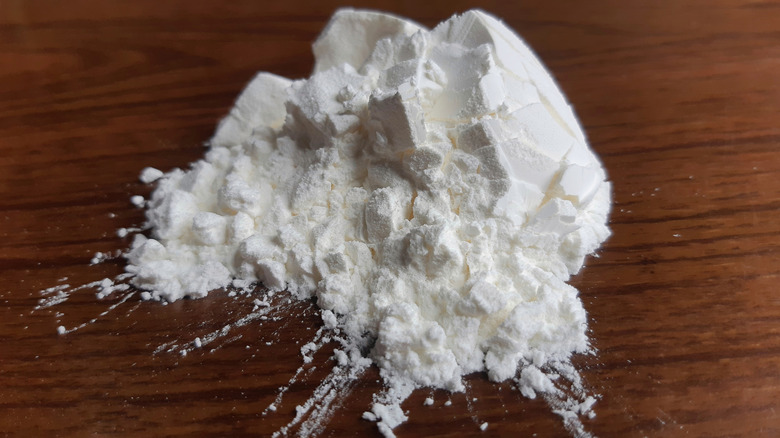
While the "F" in the FEB technique may stand for flour, that doesn't mean there aren't other ingredients worth including at this stage. In fact, there's one pantry staple that will transform your cutlets from pleasantly crisp to seriously crunchy: cornstarch.
Combining all-purpose flour with cornstarch leads to crispier cutlets for two reasons. First, the starch limits the flour's ability to develop gluten. Gluten makes the breading chewier, so reducing the amount that forms can help keep the coating light and crispy. Second, cornstarch helps absorb excess moisture and oil, so it reduces the chance of your breading turning out too heavy or greasy.
However, you don't want to use too much cornstarch. Start with one tablespoon of cornstarch for every 1½ cups of flour in your recipe, whisking the two ingredients together before you start dredging the chicken. If the results still aren't crunchy enough, try adding more next time — you can replace up to one quarter of the total flour with cornstarch.
Leaving too much flour on the chicken
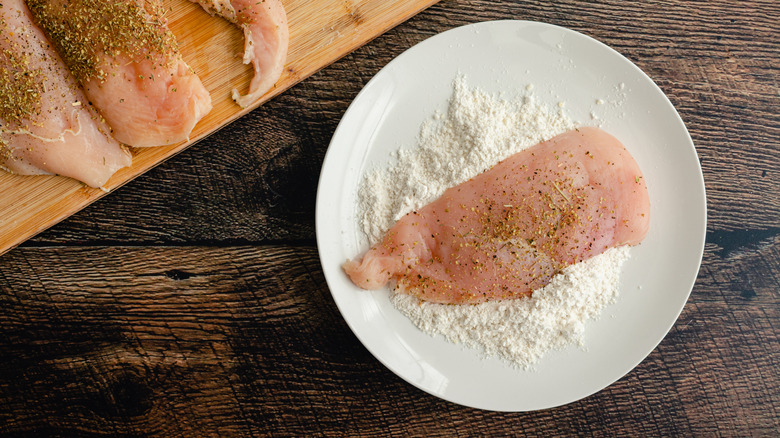
Dredging means to lightly coat food in a dry ingredient, usually flour. And while it may seem like a fairly simple step in preparing chicken cutlets, it can have a massive impact on how well they turn out. The key word here is "lightly," because too much flour can ruin fried chicken.
When combined with egg, flour becomes the "glue" required to coat your cutlets in breadcrumbs and have them fully adhere to the chicken, but a thin layer will do the job. If you use too much flour, the excess will act as a barrier that prevents the egg from sticking to the cutlet. It can also turn your breading into a sticky, paste-like mess that may fall off during cooking. The trick is to give each cutlet a shake to get rid of any extra flour before you coat it in egg. You want a light, consistent layer of flour across the surface of the chicken, not a thick, uneven crust.
Only using plain breadcrumbs
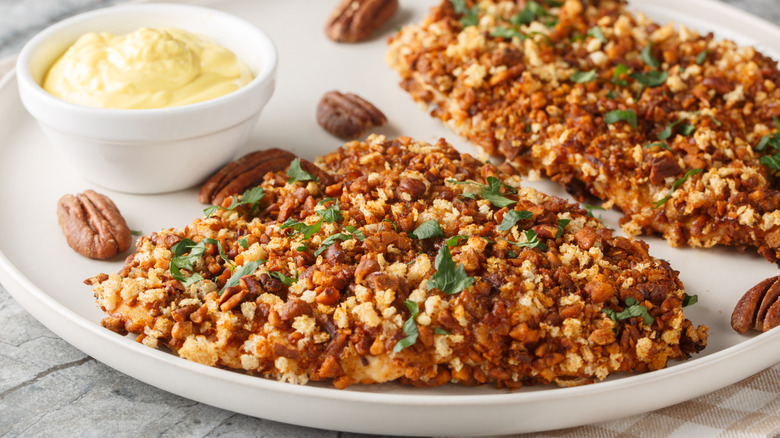
Breadcrumbs aren't just the final step in the breading process — they're also an opportunity to boost the texture and flavor of your chicken cutlets. Sure, plain breadcrumbs are a reliable choice, but if you're feeling creative, they're far from the only option.
Panko breadcrumbs are an easy place to start. While traditional breadcrumbs tend to be finely ground, panko crumbs are made from larger flakes which create an uber-crunchy coating that gets less soggy when cooked.
For even more crunch, just raid your pantry for anything with texture-boosting potential. Some of your favorite snacks can easily be used as breadcrumb substitutes. Think crushed potato chips, tortilla chips, or pretzels. Don't rule out nuts, seeds, or even breakfast cereals, like cornflakes. Plain breadcrumbs will always get the job done, but it's worth thinking outside the breadbox to truly elevate your chicken cutlets.
Crowding the frying pan
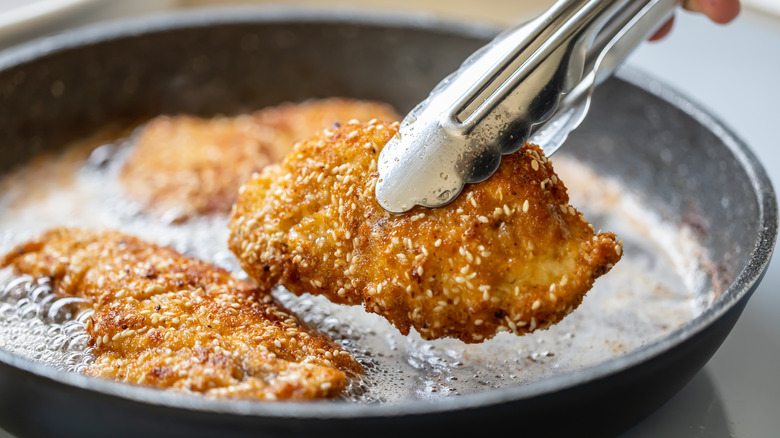
Chicken cutlets may be perfect for feeding a crowd, but you don't want them to crowd your frying pan. Although completely filling your skillet with cutlets may seem like the quickest way to get them cooked and onto dinner plates, you won't end up with the crisp, evenly browned results you're looking for.
Cutlets need space around them while they're cooking so the oil can maintain its temperature and moisture can escape freely. If they're touching or overlapping, they'll release moisture into the pan, which can lower the oil temperature and cause the breading to steam rather than crisp. Parts of the breading also won't have full contact with the oil, leaving you with a mix of golden, crispy areas and soft, pale patches.
For most skillets, start by frying a maximum of two cutlets at a time. Arrange them in a single layer with about an inch of free space around each one. Once they're in the pan, handle them as little as possible. The more you touch, flip, or jostle the chicken, the more likely your coating will cook unevenly or fall off.
Using the wrong oil temperature
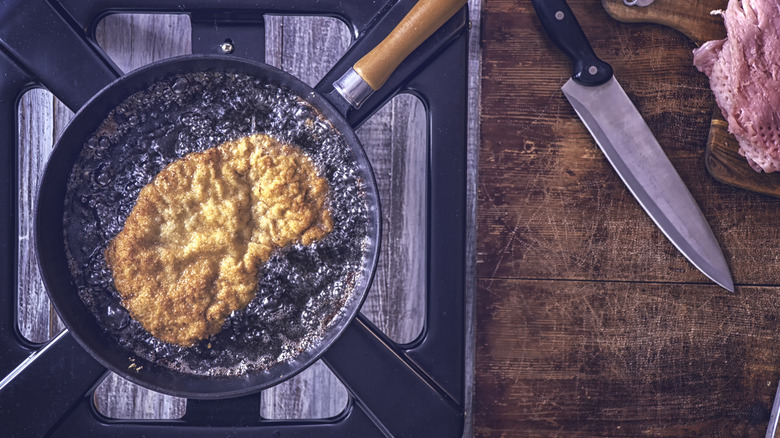
Frying chicken cutlets requires cooks to channel their inner Goldilocks — the oil can't be too hot or too cool — it has to be just right. Remember, our goal is chicken that is cooked through with a beautifully browned and crisp coating.
We achieve this by giving the pan and oil plenty of time to reach the proper temperature. If you add the chicken cutlets before the oil is hot enough, the breading will become soggy. The breading will begin to absorb the oil before a solid crust has formed, so it will likely fall apart. On the other hand, oil that's too hot can also be problematic. The breading will likely brown — or even burn — before the chicken has cooked fully. Keep in mind that the oil temperature will drop when you add the chicken to the pan.
Fortunately, there's a quick and easy way to check whether your oil is at the correct temperature to start frying – just drop a pinch of your breading into the pan. If it sinks to the bottom without sizzling, the oil is not hot enough; if it bubbles and browns instantly, or the oil is smoking, that's a sign to lower the heat before adding your cutlets. When the breading floats, sizzles, and browns slowly, you know that you're ready to go.
Serving cutlets straight from the skillet
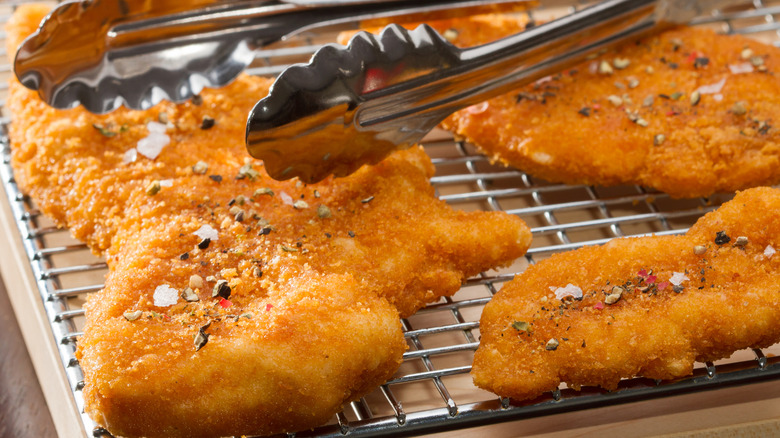
Brace yourself, because this may be the hardest mistake to avoid when making chicken cutlets. Picture it: Your finished cutlets are golden, crispy, and smelling incredible. Naturally, you want to tear into one as soon as possible. Resist the temptation. The final, unskippable step for making the perfect chicken cutlets is to let them rest.
Besides being piping hot and having the potential to burn your mouth, tucking into a cutlet straight from the pan can cause more of its juices to escape. By allowing the chicken to cool slightly, the juices have more time to redistribute, reducing the amount of liquid that escapes when you cut into it. Once your cutlets are done, place them in a single layer, not touching, on a cooling rack set over a paper towel to catch excess oil. This will also allow time for steam to escape rather than soften the crispy crust you worked so hard on. Wait a few minutes, then dig in.