

7 Expert-Approved Tips For Shucking Oysters
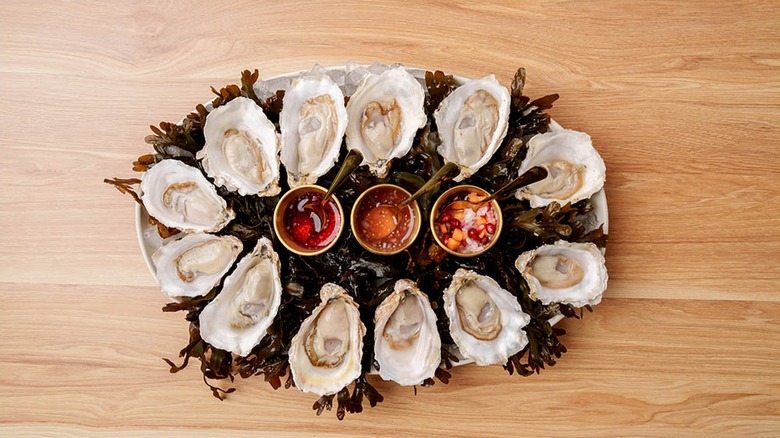
If you've never shucked an oyster before, don't worry — you're far from alone. More than that, many people who consider themselves well-versed in oyster shucking have actually been doing it wrong. Whether you're new to the practice of shucking and slurping or you've been fondly indulging for years, you're in the right place.
Consider this your refresher, beginner's guide, and comprehensive overview of the concept of shucking, straight from the masters themselves. We spent a few days in Alaska with Alaska Mariculture to learn about everything about oysters, so of course, learning how to shuck one like a pro was a must. Don't worry — it's really not as hard as some make it out to be, and the most commonly committed shucking crimes are easy to avoid. If you follow these tips, you'll be shucking like the best of them, and eating a day's worth of oysters without skipping a beat!
1. Use a glove or dish towel for protection
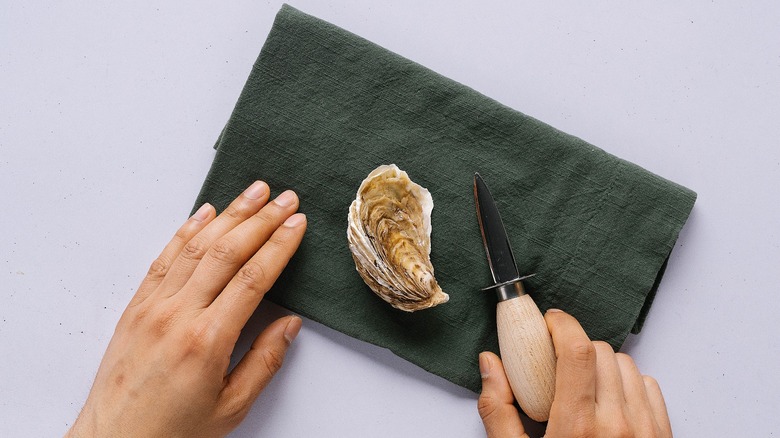
This first tip is perhaps the most crucial, unless a shucking mishap like Andrew Zimmern had is on your bucket list. Shucking isn't the most difficult task in the world, but it can be pretty dangerous, so protection is a must. You don't need any fancy equipment; just grab a dish towel and you'll be good to go.
Use the dish towel to protect whichever hand is holding the oyster. The edges of the oyster can also get quite sharp, so it's an especially good idea for beginners to use a dish towel for protection throughout the whole shucking process. If you happen to have some clean, thick gloves on hand, one of those would work just as well. As long as the protective layer allows you to hold the oyster without risking it slipping from your grip, you should be good to go.
2. Start at the hinge, not on the side
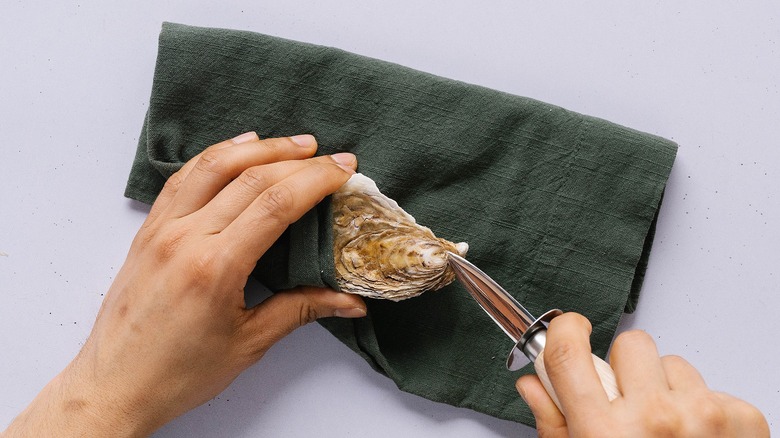
Here's where lots of consumers mess up in the whole shucking process: They tend to start from the side of the oyster, rather than the hinge. The hinge is found on the shortest end of the oyster, and it's where everyone should begin when they're about to start shucking.
Why shouldn't you start from the side? As you move around the oyster, its shell gets thinner, creating a prime opportunity for a whole slew of mishaps. Perhaps the most dangerous is injury — when you start on the side, it's far easier for the knife to slip off the oyster, cutting your hand in the process. Starting at the hinge will also reduce the chance of shell pieces breaking off and getting caught in the oyster, and it'll help you hold the oyster flat to keep any liquor from spilling out (speaking of, if you're served pre-shucked oysters with no liquor, send them back!).
3. Twist your knife rather than pushing it
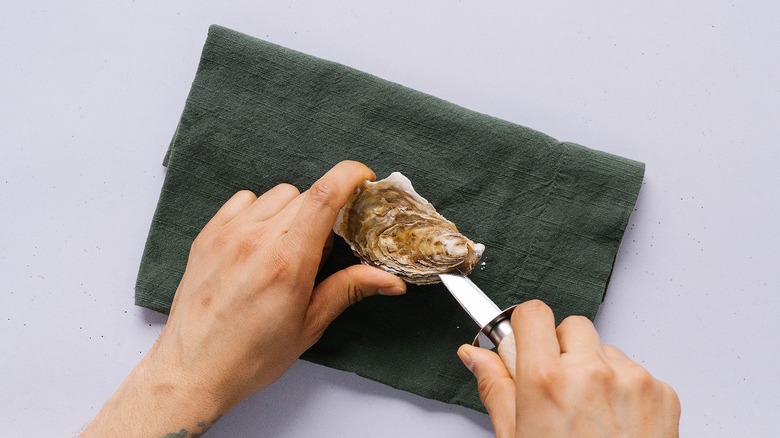
Once the tip of your knife has found the opening of the hinge, the last thing you want to do is push it further in. Again, oyster shells are delicate — pushing the knife in increases your chance of injuring yourself or breaking the oyster's shell.
The solution is to get your knife fully into the oyster, twist it until you feel the lid start to release. When done right, twisting the knife doesn't pose nearly as many risks as trying to force it into the shell. Be careful not to twist the knife too quickly, and you don't want to force the shell open. If your oyster is particularly resistant, you may need to twist the knife back and forth before it gives way. Be patient and be careful.
4. Run your knife around the oyster until you feel the muscle sever
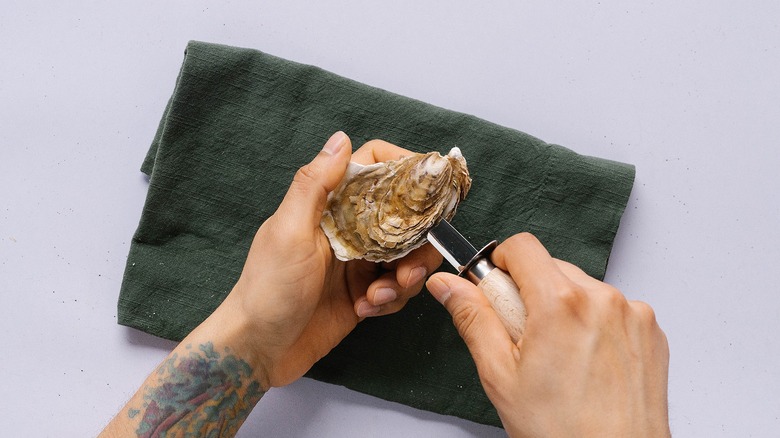
Is your knife firmly planted inside the oyster? Excellent — now, it's time to run it around the side of the oyster until you feel the adductor muscle sever from the lid of the shell. Again, there's no need to rush this, especially if you're trying to avoid a hospital visit.
Don't pull or push your knife to get it around the edge of the shell. Rather, wiggle it to progressively wedge it further between the lid and the shell, and you should feel the muscle sever along the way. You won't need to run your knife around the entire oyster — halfway or a little more should be enough to sever the muscle and pop the lid off. And because of our next tip, you definitely don't want to be too hasty.
5. Don't tilt the oyster when lifting the lid off
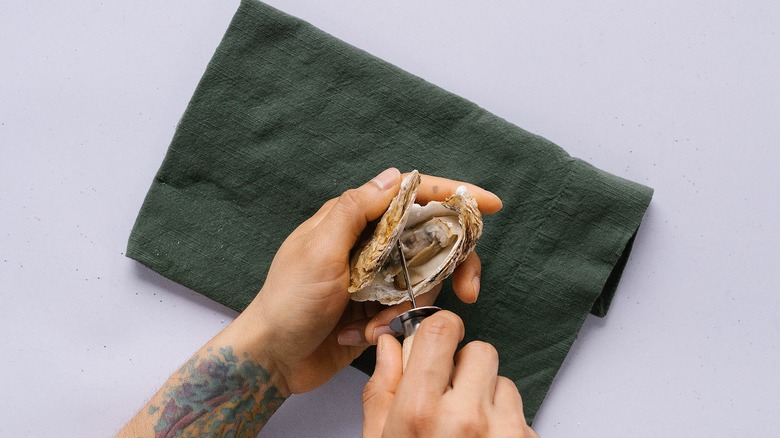
As you're opening your oyster, the worst thing you could do is tilt it. Instead, hold it flat for a proper shuck. This tip actually has less to do with safety and more to do with preserving the integrity of the product inside.
If you've ever had oysters that are up to snuff, you've probably noticed that the shell is full of liquid (or, at least, it should be). That liquid is called the liquor, and it's a briny, super flavorful part of the oyster that you don't want to waste. Tilting the shell while lifting the lid off will just cause all of the liquor to pour out, which is the last thing any oyster lover wants. Hold it flat and don't jostle it around too much to keep most of the liquor inside.
6. Loosen the oyster from the bottom of the shell
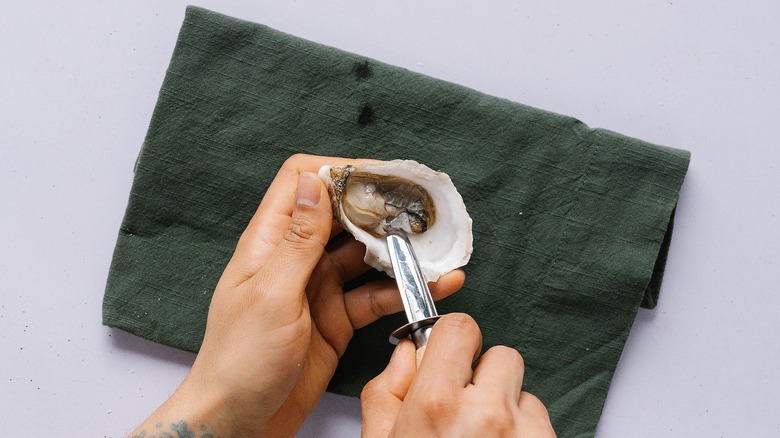
Part of the great joy of eating oysters is tilting the shell back to tip the oyster into your mouth; it's nature's own utensil. But it won't work as intended unless you do some prep work. After all, oysters are pretty attached to their shells (literally), and that doesn't stop just because you've lifted the lid off.
This pro tip is especially important for the oyster-shucking entertainers among us. If you want your guests to have a seamless oyster-eating experience, go ahead and loosen the meat from the bottom of the shell. This will prevent any awkwardly unfulfilling shell-tipping. After all, nothing's worse than trying to shake an oyster into your mouth when it doesn't want to budge.
7. Clean off any shell residue before eating
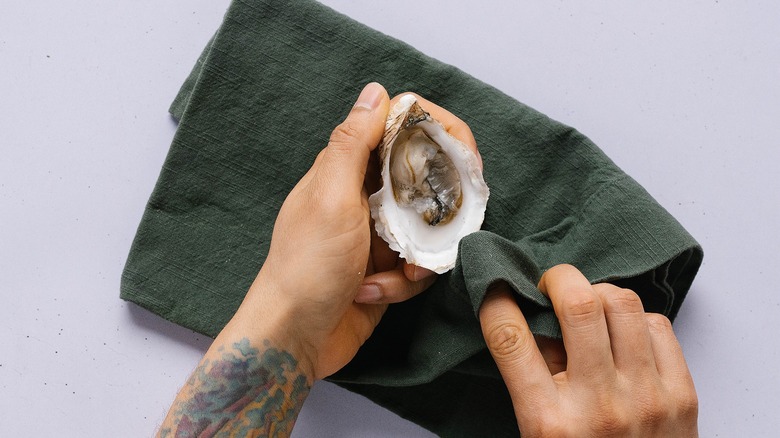
Serve the oysters however you'd like. A simple squeeze of lemon juice can satisfy pretty much any oyster fan, or you could also get fancy and go for a wasabi-yuzu oyster shooter situation. But before serving, there's one last thing to double-check your oysters for: debris.
An ideal shuck will leave you with a clean, ready-to-eat oyster, but we live in an imperfect world where mistakes are bound to happen. It's not at all uncommon for small shell pieces to become dislodged and make their way into the oyster shell during the shucking process. So, before you serve your oysters, make sure to check the edge and interior for any small shards of shell. After all, nobody wants to come across an unexpected crunchy texture during happy hour.