Dirty Kitchen Walls? Look For These Types Of Sponges To Get The Job Done Right
Cleaning kitchen walls is one of those tasks you know you should do more often, but probably keep putting off because it's time-consuming and, well, not very fun. Unfortunately, cleaning pros say that this is a kitchen cleaning task you should do every one to three months to prevent a buildup of food splatters, grease, oil, and dust – all of which could damage the walls, cause foul odors, and attract pests like flies and roaches. If you're struggling to tackle this cleaning chore, one of the reasons it might be so frustrating is that you're using the wrong tools.
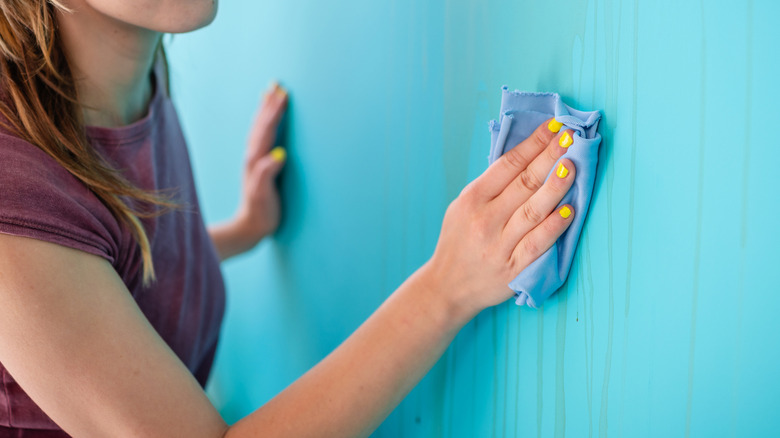
The best sponges to use to clean your kitchen walls without damaging the paint or wallpaper are ones that are non-abrasive, lint-free, and slightly rigid. Lint-free microfiber cloths and soft foam sponges, like Scrub Daddy's scratch-free multipurpose kitchen sponges, can quickly and easily remove dirt, dust, and grease. For tough jobs like major buildup, dried food splatters, or stuck-on grease, you should use a soft-bristled brush. Soft-bristled brushes can get into the crevices and scrape away tough debris without damaging the wall's finish, and are safe to use on textured and high-gloss kitchen walls.
For stubborn stains, use a melamine foam sponge, aka a Mr. Clean Magic Eraser, to gently lift stains without also removing paint. If you have burn marks or soot stains from cooking smoke residue, use a dry-chemical sponge. These are made out of vulcanized natural rubber and are used dry, without any cleaning products, to gently and safely lift away dirt, dust, smoke and soot residue, pet hair, and more. After you get rid of stains and remove grease from your kitchen walls, use a long-handled dust mop to gently clean away remaining dirt and grime without also removing paint or degrading wallpaper.
How to clean kitchen walls quickly, step-by-step
Sometimes, the best way to trick yourself into tackling an unpleasant kitchen cleaning chore is to tell yourself you're only going to do the first part of the job and handle the rest later. By the time you've finished step one, you'll likely realize it wasn't as bad as you thought it was going to be, and you'll feel inspired to just keep going and get the job done completely. Luckily, the first step in cleaning your kitchen walls is pretty fast and easy. Start by using a dry, soft cloth or long-handled dust mop, like the CHOMP long-handled wall cleaner, to gently wipe away any dust and loose debris from the top of the walls downward.
After that, use a gentle wall cleaning solution that is safe for the type of wall you have. Spray a small amount in an out-of-the-way area to spot-test it and make sure it won't damage the wall. Then identify the biggest messes or stains and, starting at the top of the wall, work your way down. Apply the cleaning solution to a sponge or cloth and dab at the stain or residue gently. If that doesn't loosen it, use a soft-bristled brush to remove it.
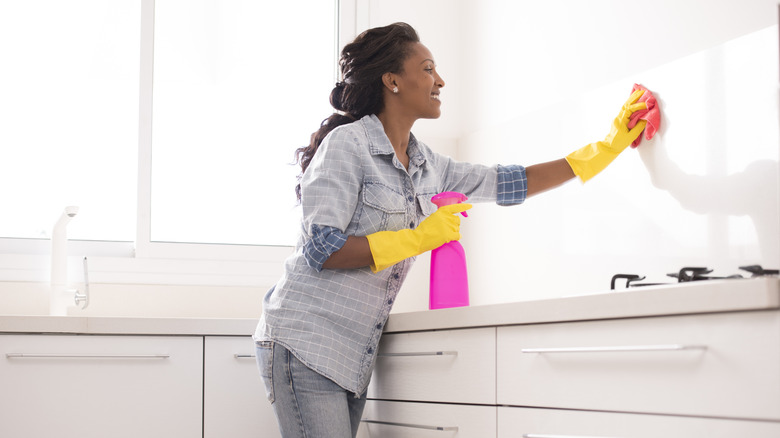
Once you have addressed grease marks, food splatters, and stains, you can move on to general wall cleaning. Spray your cleaning solution directly on the wall and use your long-handled mop or a microfiber cloth to wipe in large, sweeping circles from the top to the bottom of each wall. Only use enough cleaning solution to slightly dampen the wall, and if it's still wet when you finish, use a clean, dry cloth to dry all surfaces to prevent streaks or mold.