How To Grow Nutrient-Packed Microgreens Using Items You'd Normally Toss
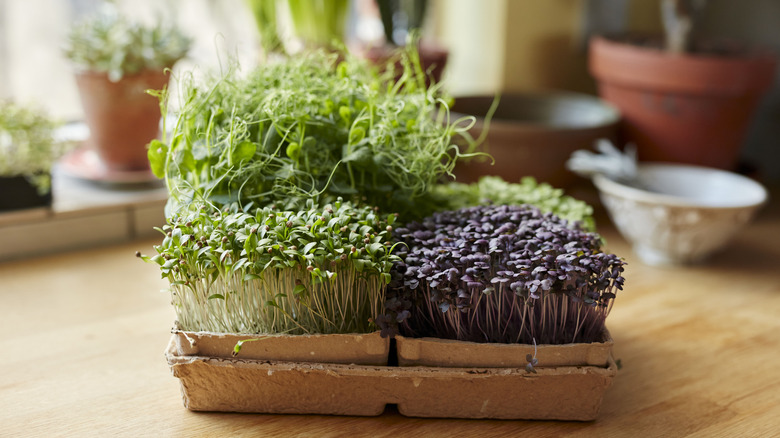
Microgreens are one of the easiest things to grow in your kitchen window. This powerhouse of nutrients can be added to salads, sandwiches, and as garnishes that will elevate the look of your dishes with very little effort. If you follow this hack from TikTok, you don't even need any special equipment to grow them. Simply take an empty tetrapak drink carton, a handful of potting soil, and a few seeds, and you'll have a planter full of healthy microgreens in only a couple days. We love ideas for repurposing kitchen waste, especially when it involves such a simple hack.
Start by cleaning the container (any size works) to remove any trace of milk or juice, then cut open the face of the container to create the planter. Fill the space with multi-purpose compost, preferably peat-free, pressing the soil down to compact it and create a flat surface. Sow your chosen seeds densely on the surface and spray with water, gently but thoroughly enough to soak the soil completely without washing the seeds away. Place the container on a sunny windowsill, making sure there is good light and airflow. Within seven to 14 days, you'll have happy little greens ready to harvest.
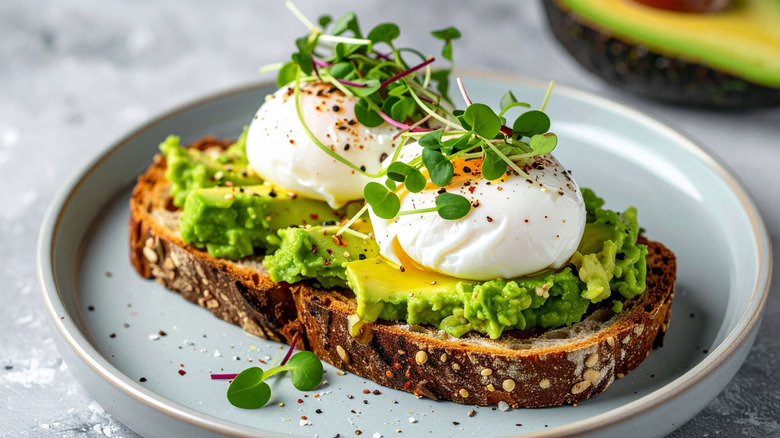
The cool thing about growing your own microgreens is that you can try a variety of seeds in different flavor profiles and colors to maximize eye appeal, nutritional content, and flavor boost. For instance, add a sprinkle of micro shizo on top of your homemade sushi rolls for a restaurant-worthy upgrade.
Tips to grow and use your fresh microgreens
There are many herbs and veggie seeds you can grow in your kitchen to harvest microgreens, from spicy radishes, arugula, and mustard to nutrituous kale and broccoli, nutty sunflowers, and sweet pea shoots. Bear in mind that some seeds will take longer to sprout, and the time from seed to microgreen will vary.
For beginners, radish and broccoli are a great start, as they germinate in a couple of days and grow quickly. If you are using peas, soak your seeds for 12 to 24 hours to help them sprout quicker. For best results, look for good-quality seeds, preferably GMO-free and organic. Keep the soil moist but not soggy, and be sure the container gets plenty of sunlight and proper ventilation.
When it's time to harvest, use a clean, sharp pair of kitchen scissors or a paring knife, and cut the stems just above the soil line. It's best to cut only what you will be using immediately, but if you cut too much, you can store them in an airtight container in the refrigerator — keep in mind that different microgreens have different shelf lives. What you do with your fresh little greens is up to you. Tuck them in a sandwich instead of sprouts, add them to a springy salad, or garnish your latest dinner creation with adorable micro cilantro or micro basil. Once you get the hang, you'll be hooked on growing your own microgreens.