8 Popular Blender Settings (And What They Do)

We may receive a commission on purchases made from links.
When you turn on your blender, chances are you just hit the same button every time, or turn it to the same speed, and watch as it whizzes to life to create a liquid masterpiece. But if your blender has lots of different settings, you might be missing out by sticking with only one. Understanding what each button can do is one way to avoid making simple mistakes with your blender. It's also a way to get more out of your blender.
While entry-level blenders may only have the option of "fast" or "slow," most high-end models have dedicated buttons designed to do specific tasks at the click of a button. From "chop" to "grind," you could be doing certain tasks by hand that your blender is capable of taking care of instead. Whether you are creating a fancy dessert or making a batch of soup, knowing the different functions of your blender can make the process even easier. Let's take a look at eight popular blender settings and the difference they can make to your cooking.
Pulse
If you want to have total control over what you are blending, the "pulse" function will come in handy. It allows you to use the full speed of the blades for as much time as you want, as they will come to a stop when you release the button. This means you can pulse the food for a few seconds at a time, check it, then continue if required, which reduces the chances of you overdoing it.
In most models the pulse function will be full power, so you can confidently put most foods in to give them a quick blast. It's the ideal function to use if you want to have some texture left in your sauces or dips, or to finely chop veggies. Making a mirepoix is an ideal way to put the pulse button to use, to ensure you end up with finely diced vegetables without it turning to liquid. For the best results, pulse your food in small batches, rather than throwing everything in at once. The pulse function can also be a great way to introduce responsible children to the workings of the blender, since it will cut off as soon as they let go. They should, of course, be under constant supervision as they whizz up their first ever batch of pancake batter or pizza sauce.
Stir
If you want to incorporate your ingredients together without pulverizing them, "stir" is the blender function you should look for. Usually the slowest setting, it will mix the ingredients together. Think of it like an amped-up version of manually stirring with a large spoon. This is not the function you need if you want to chop your ingredients into tiny pieces, but is excellent for introducing elements into a liquid, such as batter for pancakes or marinades for meat.
You may not find the stir setting on every blender, or it may have another name, such as "mix." If your blender only has speed settings, the lowest number will be the closest to this setting. To get the most out of this setting, use it for combining liquids, or for folding soft ingredients into liquids to create a more uniform mixture. The stir function gives your ingredients a gentle nudge together, rather than a full-on tornado.
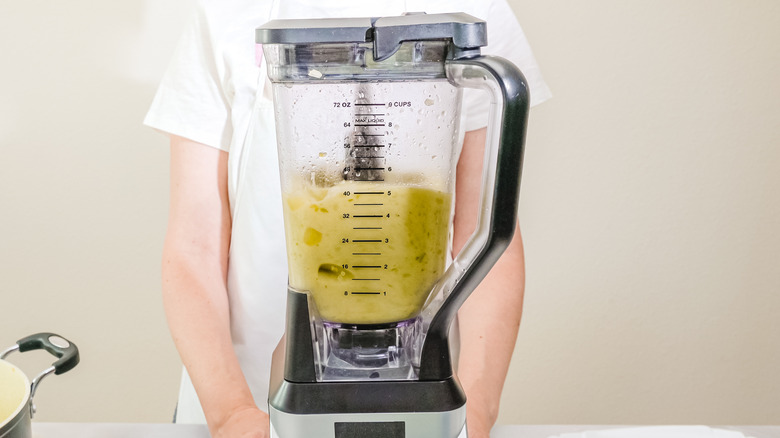
Liquefy
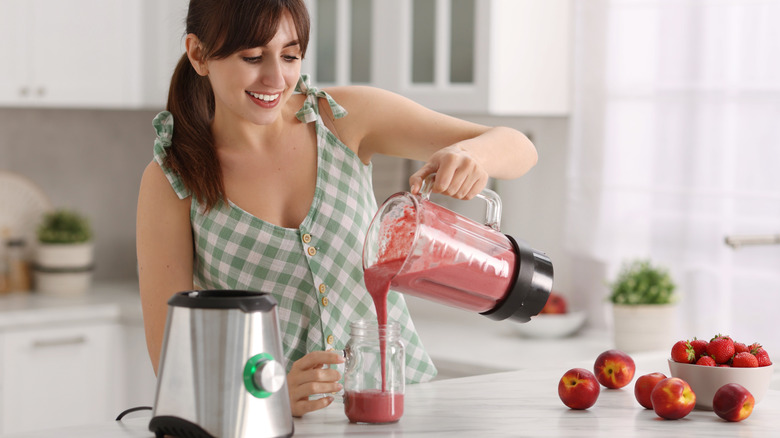
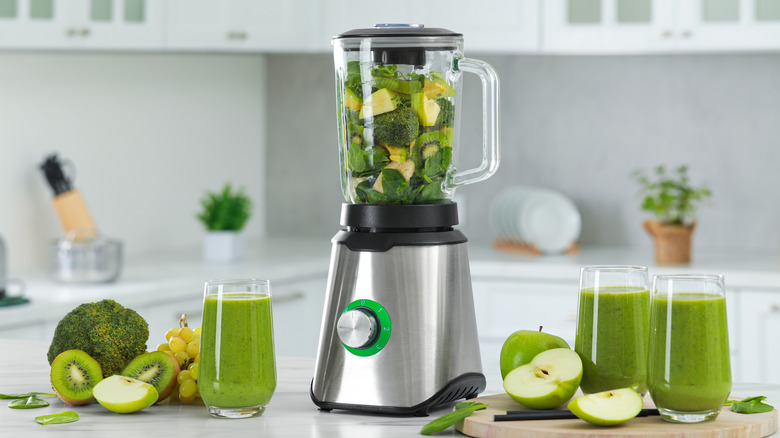
"Liquefy" is the blender setting to use if you really mean business. At the opposite end of the ferocity scale from "stir," its aim is to take solid ingredients, and pulverize them so much that they turn into a liquid. If you want to make a super smooth drink using fruits with their skins on or even their seeds still intact, liquefy will make short work of turning it into a palatable beverage.
This is a setting that tends to be seen on higher end blender models, so you may find that standard blenders don't have this function. If your blender has a speed dial, turn it to max for similar results. On some models, you may find a setting specifically for smoothies, and this will have a similar effect, making it easy to break down even tough greens to create a silky, healthy drink first thing in the morning.
Whip
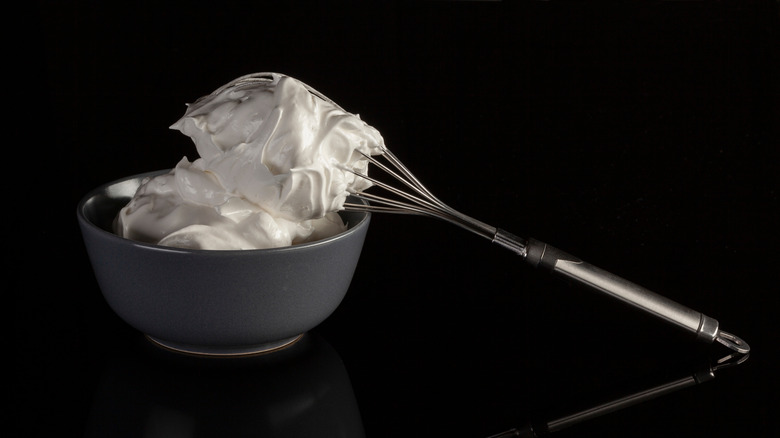
Blenders can be used for more than just chopping ingredients into smaller pieces, and if you are fed up with whipping cream or egg whites by hand, your blender may have good news for you. While most models won't have a dedicated whip setting, using the variable speed button can incorporate air into your liquids and create the fluffy semi-solids that your desserts often need.
Starting at a low speed and increasing gradually allows the blades to rotate in a constant motion, but gives you the control to make sure the cream or egg whites don't over whip. As the liquid continually moves without settling, air is added, which turns the liquids into stiff peaks that you can pipe onto your cakes or spoon onto a steaming mug of hot chocolate. Whether you just want to froth milk slightly for a foamy cappuccino or you are making a huge batch of bakery-worthy meringues and need perfectly whipped egg whites, you should give your arms a rest and try doing it in your blender instead.
Ice crush
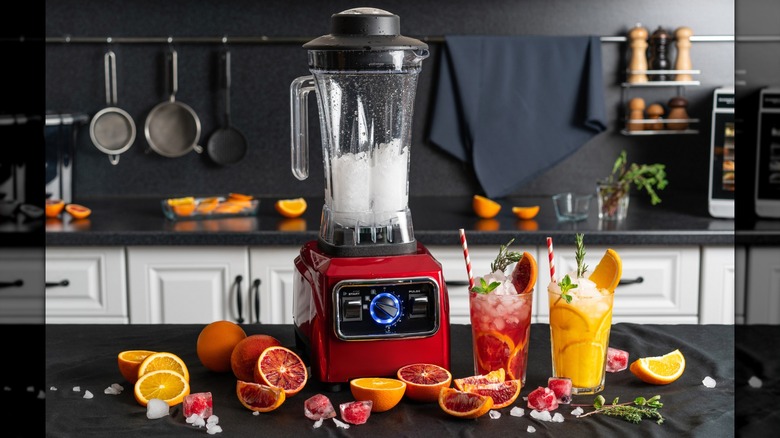
If you ever find yourself trying to figure out how to make crushed ice in a hurry, it is possible that your blender will be able to step in and make the task a lot simpler. The high-quality stainless steel blades that are found on top-end blenders are capable of crushing even the most solid of ingredients, including large chunks of frozen water.
Ice is not the only frozen ingredient you may want to blend, and creating perfect smoothies is so much more efficient if your blender can handle fruit straight from the freezer. The Ice Crush function will likely only be found on high-end models, but many mid-range blenders advertise their blades as being able to crush ice. If you are doing it manually, gradually increase the speed to give the blades the best chance of breaking the ice down uniformly, and be aware that on entry-level blenders, regularly crushing ice could dull the blades quite quickly.
If you are really serious about crushing ice and making smoothies, you can even buy a dedicated blender that is designed for exactly that. The K150 3 Speed Ice Crushing Blender from KitchenAid has an asymmetric blade that can crush ice within 10 seconds, meaning your smoothies will be ready in no time.
Chop

If one of your least favorite parts of preparing meals is chopping vegetables, it's time to get your blender to do some of the hard work for you. There is a caveat though — with most blenders you will need to add a little water to the jug before you begin to chop, so this method works most effectively if your chopped veggies would usually be added to liquid, such as for a soup or a sauce.
If your blender has a dedicated "chop" button, it will likely be a medium speed setting, and you will need to check often to prevent your veggies from becoming liquefied. If you don't have a chop function, you can use the speed settings, starting slowly then working your way up to medium. This will create vegetables that still have enough texture to make a chunky soup, rather than a smooth puree. Using your pulse button is another good option that will give you total control over the size and texture of the vegetables.
Grind
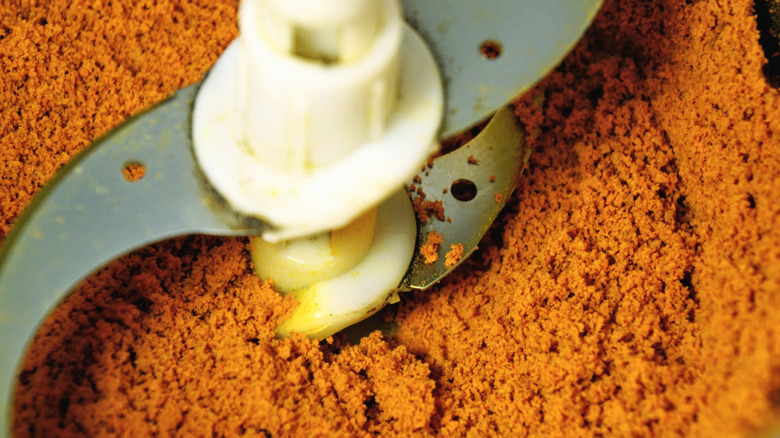
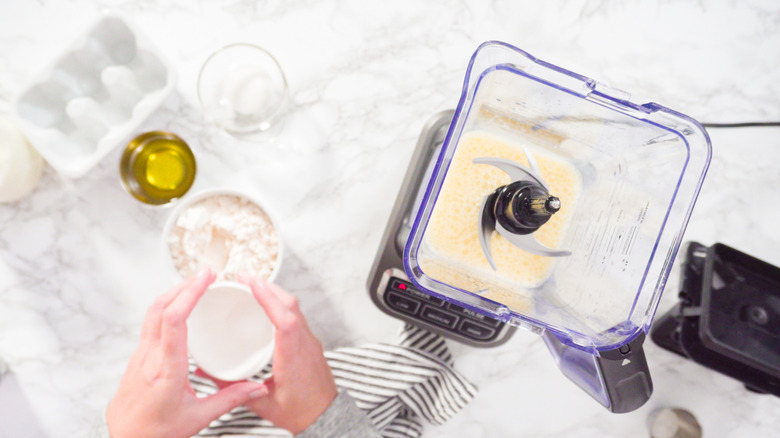
The "grind" function is not one you will find on most blenders, but if you have an appliance with this button, it can come in handy and save you plenty of time and effort. The Vitamix Dry Grains Container is an example of a blender jug that is designed to grind dry ingredients into fine powders, and can be used for a variety of day-to-day foods.
From grinding spices to release their oils directly before cooking, to creating your own flour from whole grains, the special blades create a reverse vortex which prevents the dry ingredients from getting jammed under the blade as they would in a regular blender. This particular jug even has measuring lines that mark up the length of the container, meaning you can measure your ingredients straight into the blender.
If your blender doesn't have a dedicated grinding jug, you can try grinding dry ingredients using the pulse function, but you will likely find they get trapped under the blades, and using a mini food processor may be a better option instead.
Soup
If you love to make homemade soup on a regular basis, it may be worth investing in a blender that has the ultimate convenience button: a "soup" setting. With high-end models such as the Ninja Foodi Heat-iQ Blender, you can add chopped vegetables and liquid to your blender, and after a short while, you will have a piping hot jug of super smooth blended soup. This particular model even has a self-clean button, meaning that washing up of soup pots is a distant memory.
In many soup blenders, the ingredients are heated up at the same time as blending, and often there is a keep warm function once the cooking has completed. These high-end models often have multiple settings, meaning you can create a super smooth cream of tomato or a chunky vegetable soup at the touch of a button. They also function as regular blenders too, meaning you only need to purchase one appliance to cover both hot and cold food.