No-Churn Coffee Ice Cream Recipe

We may receive a commission on purchases made from links.
With just the right bittersweet coffee flavor, a hint of aromatic warmth from vanilla, and the perfect creamy texture, no one will believe that this no-churn coffee ice cream recipe involves only four ingredients and no heavy machinery. It's become our go-to ice cream this summer, and we're not going to gatekeep this secret.
Ice cream making can seem like a daunting task. First, you need to separate eggs. Then, you make a custard over heat and try not to curdle said eggs or to overheat the cream mixture itself. If you add any acid to your ice cream, you should be careful not to curdle that mixture, either. You need to chill the custard, and then, you also need a cumbersome ice cream machine that usually requires that you freeze the bowl for 8-12 hours. The whole thing is enough to send anyone for the nearest pint of Ben and Jerry's.
Luckily, this ice cream has none of that hassle. As someone who makes plenty of ice cream for her blog, At the Immigrant's Table, and for her family, Ksenia Prints knows firsthand how amazing freshly made ice cream can be, so she was skeptical when setting out to make this no-churn, 4-ingredient ice cream. "When my family tasted it, they couldn't stop eating. My husband kept saying how much he loved the texture," she said. So if you've been afraid of trying your hand at homemade ice cream, this recipe might just break you out of that rut.
Gather the ingredients for this coffee ice cream
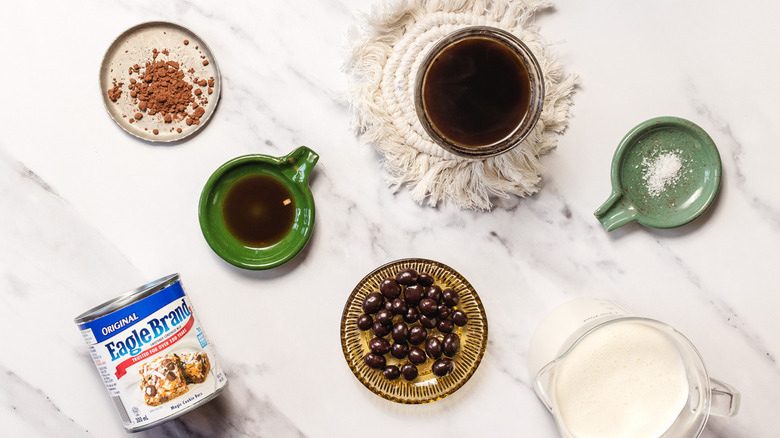
The ingredients' list for this ice cream is sweet, short, and simple. You'll need heavy whipping cream, sweetened condensed milk, strong brewed espresso coffee, some vanilla extract, and a pinch of salt.
Step 1: Whip the cream
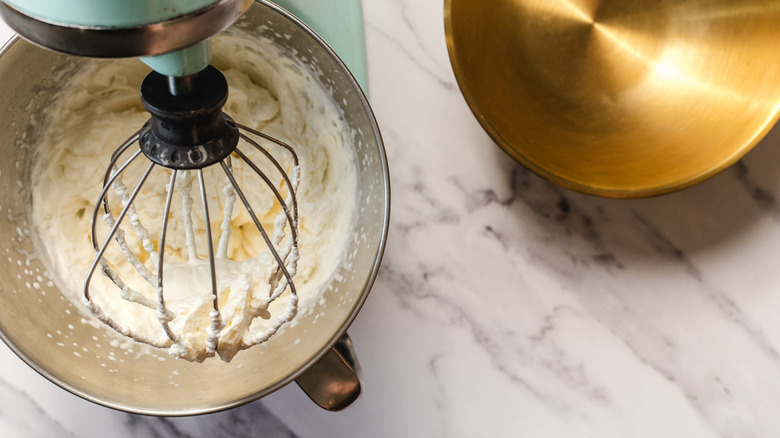
Whip the heavy cream to stiff peaks.
Step 2: Mix the condensed milk and espresso
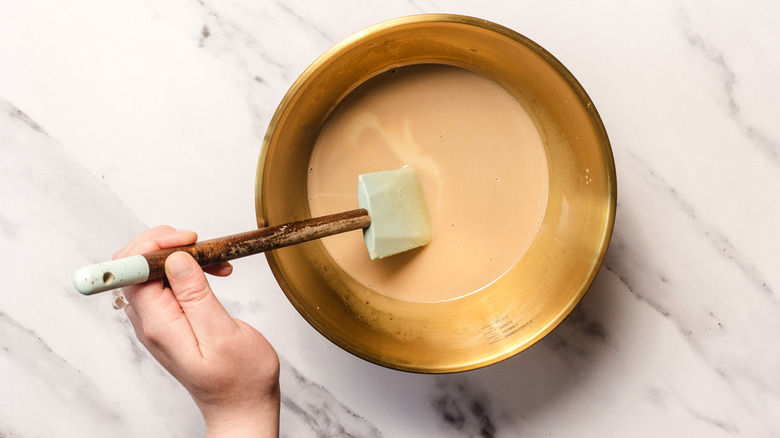
In a separate bowl, combine the sweetened condensed milk, espresso, vanilla, and salt.
Step 3: Add the cream to the condensed milk mixture
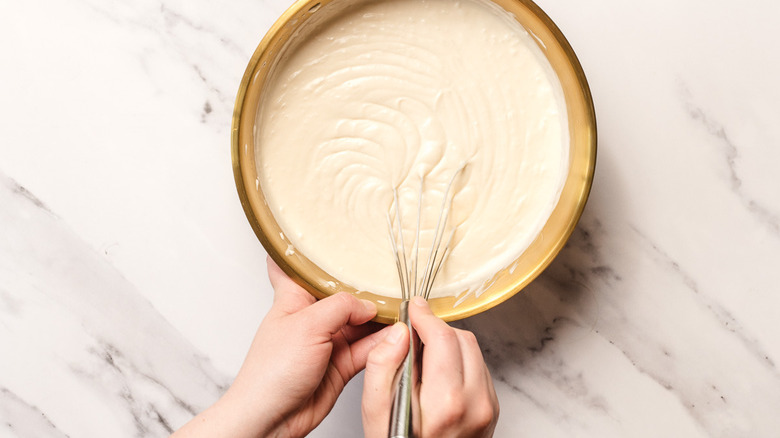
Gently fold the whipped cream into the espresso mixture until fully incorporated.
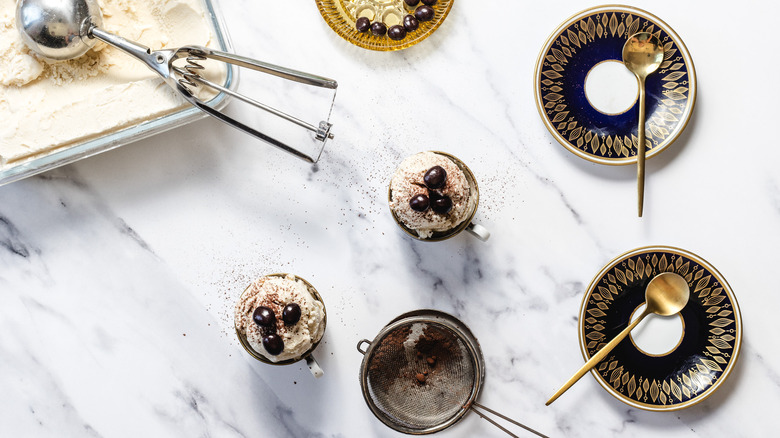
Step 4: Freeze the ice cream
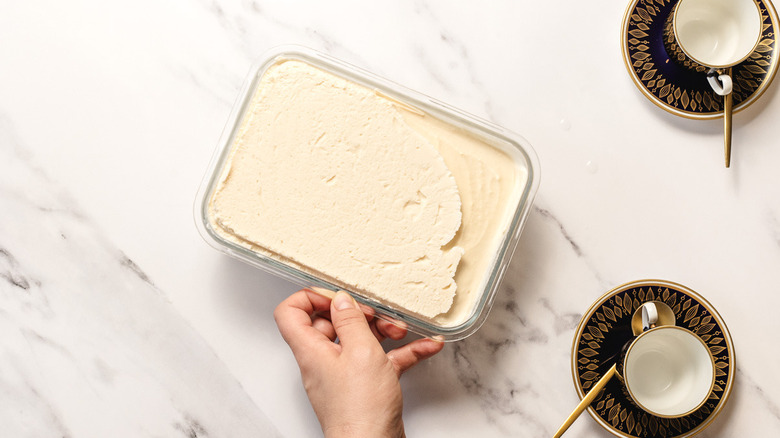
Transfer the ice cream to a freezer-safe container, cover, and freeze at least 6 hours or overnight.
Step 5: Serve the ice cream
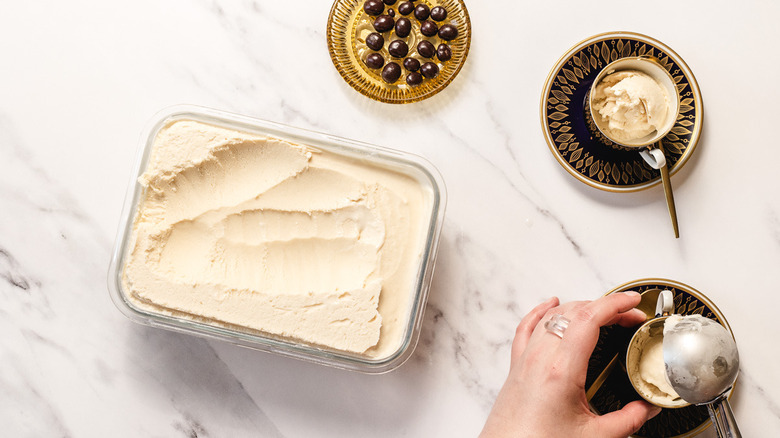
Serve the ice cream straight from the freezer.
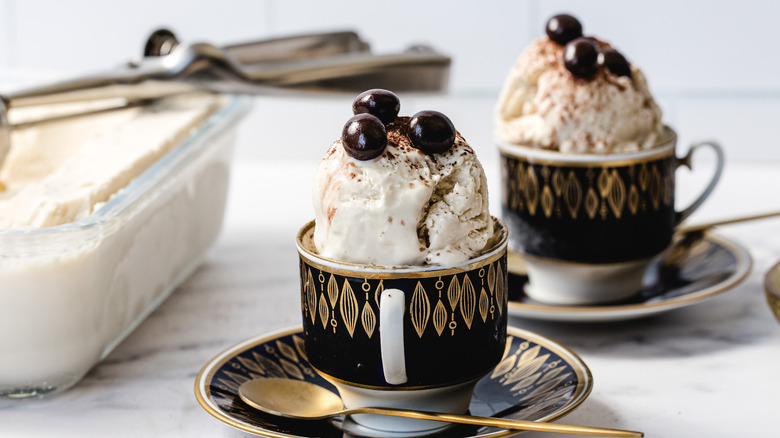
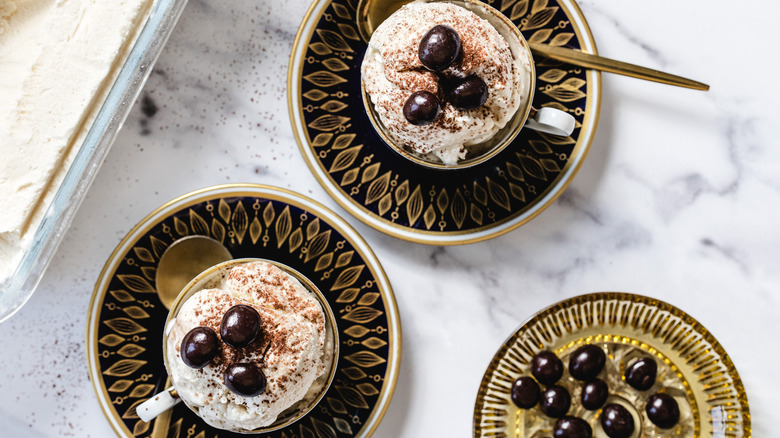
Step 6: Garnish with optional toppings
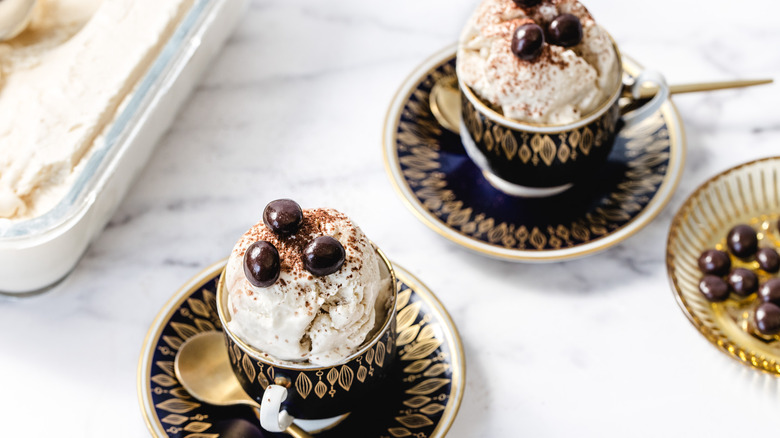
Optionally, garnish with a light dusting of cocoa powder and add a few chocolate-covered coffee beans.
What pairs well with coffee ice cream?
No-Churn Coffee Ice Cream Recipe
With bittersweet coffee flavor, warmth from vanilla, and a creamy texture, this no-churn coffee ice cream needs only 4 ingredients and no heavy machinery.
Ingredients
- 2 cups heavy cream
- 1 (14-ounce) can sweetened condensed milk
- ½ cup strong brewed espresso, cooled
- 1 teaspoon vanilla extract
- Pinch of salt
Optional Ingredients
- 2 tablespoons cocoa powder, for garnish
- 12 chocolate-covered coffee beans, for garnish
- 2 tablespoons dark chocolate sauce, for garnish
Directions
- Whip the heavy cream to stiff peaks.
- In a separate bowl, combine the sweetened condensed milk, espresso, vanilla, and salt.
- Gently fold the whipped cream into the espresso mixture until fully incorporated.
- Transfer the ice cream to a freezer-safe container, cover, and freeze at least 6 hours or overnight.
- Serve the ice cream straight from the freezer.
- Optionally, garnish with a light dusting of cocoa powder and add a few chocolate-covered coffee beans.
Nutrition
| Calories per Serving | 486 |
| Total Fat | 34.4 g |
| Saturated Fat | 21.9 g |
| Trans Fat | 1.0 g |
| Cholesterol | 112.1 mg |
| Total Carbohydrates | 38.7 g |
| Dietary Fiber | 0.0 g |
| Total Sugars | 38.4 g |
| Sodium | 132.8 mg |
| Protein | 7.5 g |
Can I use a different coffee instead of brewed espresso in this no-churn ice cream recipe?
You may be tempted to use another type of coffee for this no-churn ice cream, but we'd recommend against experimenting with this component. In a recipe with only four base ingredients, it makes sense that every single one counts, and coffee is the heart and soul of this ice cream. Using a strong-brewed, high-quality espresso will give you the strongest flavor, color, and aroma for your concoction. It's really the brew with the most bang for your buck, so to speak. If you don't feel like brewing your own, even buying premade espresso in a can is perfectly acceptable.
However, if you simply don't have espresso at home, you absolutely can use strongly made instant coffee as the base of this ice cream — try using four teaspoons of a strong instant coffee like the Nescafe Gold Espresso Intense, or the Standard Espresso. Otherwise, use strongly-brewed cold brew, like this Double Espresso Cold Brew from High Brew. In a pinch, even a standard strong black coffee will do. A good strong canned coffee is also a good compromise. The only coffee we really don't recommend is one made in a French Press, as it mostly comes out just a bit weak for this recipe.
How can I store and serve this no-churn coffee ice cream for the best texture?
The first important part of storing and freezing your coffee well is to place it in the right container. While pints and tub containers are good for commercially frozen ice cream, for homemade ice cream, we recommend using a shallow, freezer-safe container with a tight-fitting lid. The reason for this is that a shallow container helps the ice cream freeze more evenly and quickly, so you avoid creating valleys and peaks, and it reduces the chances that you'll end up with large ice crystals that ruin its smooth texture.
Second, once it's been packed, you'll want to put the ice cream in the coldest part of your freezer, which is usually the bottom and back, and refrain from opening the freezer too much to avoid one of the most common frozen food mistakes. We promise you, your freezer is doing the work, and your ice cream will be ready within 6 to 8 hours.
When ready to serve, remove the ice cream from the freezer for about 5 minutes to allow it to soften slightly. This makes it easier to scoop and improves the creamy mouthfeel. And that's all there is to serving the best ice cream in the most optimal state.