How To Fix Crooked Kitchen Cabinet Handles For A More Professional Finish
As one of the many design flaws that should be fixed before you sell your home, crooked handles can really throw off the look of your kitchen. Holes drilled at bad angles, warped wood, incorrect screw lengths, or hardware from previous cabinetry can all contribute to your current handles not lining up precisely. Fixing crooked handles can be harder than it seems at first. But as long as you have a ruler for straight lines, a spirit level, and a reliable drill with a steady hand, you should be able to fix those crooked handles in no time.
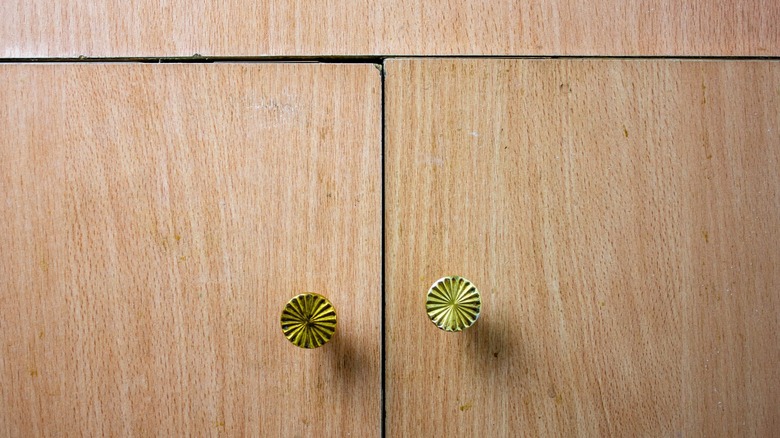
Drilling straight holes is one of the most important factors in ensuring straight cabinet handles. It's easy to drill at a slight angle or drill unevenly, causing the hole to be off-center. It may look straight in the end, and line up with the other holes, but the screw may end up slightly askew. Even a slight misalignment can cause the handle to appear noticeably crooked.
You can fix the problem of offset screws with a laser level. Once you have measured exactly where you need the holes to be, a laser level can guide you to the right spot every time. Then drill straight and firmly to ensure the screws and handles are perfectly aligned.
Straightening other issues
With straight holes as a starting point, other issues can be easier to fix. Screw length is easy enough to adjust. If a screw is even a few centimeters off can it prevent your handles from sitting flush against the cabinet. Make sure you use the same type of screw for each handle for consistency and be sure they are the correct length.
With T-Bar handles, you need to drill two holes, so precision measurement is essential. Otherwise, misalignment will be obvious when the handle is installed. Measure with a ruler or set square and a pencil to mark where the holes need to be drilled. Use a spirit level to ensure your placement is precise. You can also use masking tape by taping across the distance between screw holes on the handle and marking the center of each with a pencil. Then apply the tape to the cabinet itself. Use the laser or spirit level again to ensure consistent placement across all cabinets.
If you opt to replace your hardware with shinier options (while avoiding these outdated design trends, of course) instead of buying all new cabinets, the previous holes may not be right for the new ones. If the new handles don't align with the old holes, fill the existing holes and drill new ones. You can also use backplates to correct some smaller issues and cover up older holes.
If your cabinet itself is uneven, you can check it with your spirit level to find the source of the problem. It may be as simple as adjusting the hinges. If the wood is warped, you may be able to plane it smooth and even, or you may have to replace that particular cabinet door. But most problems can be fixed with correct drilling and proper measuring.