Homemade Dutch Oven Vanilla Yogurt Recipe
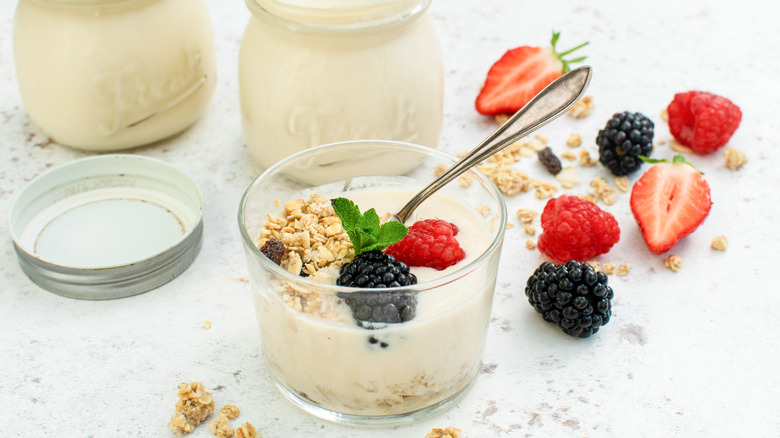
Flavored with vanilla and sugar, this homemade Dutch oven vanilla yogurt — courtesy of recipe developer Annabelle Randles — has a smooth and creamy texture. For a delicious breakfast or snack, serve it topped with fresh fruits, granola, and cocoa nibs, or simply enjoy it on its own.
Making yogurt at home is very easy and gives you complete control over the quality and type of ingredients used. You can choose to use organic milk, non-dairy milk alternatives, and sweeteners or flavorings to suit your dietary preferences. You can buy yogurt starters from a variety of places including online stores, grocery stores, or health food stores. Different starter cultures can produce yogurt with varying textures and flavors, so you may want to experiment to find the one that suits you best.
The method below does not require any specialized equipment like a yogurt maker or an instant pot. Instead, we are using a Dutch oven which is ideal to provide a controlled and even heat distribution, which is crucial for the yogurt-making process. The yogurt is left to incubate for 10 to 12 hours at a low temperature, which is ideal for the yogurt cultures to thrive and ferment the milk properly without killing them.
Gather the ingredients for this homemade Dutch oven vanilla yogurt
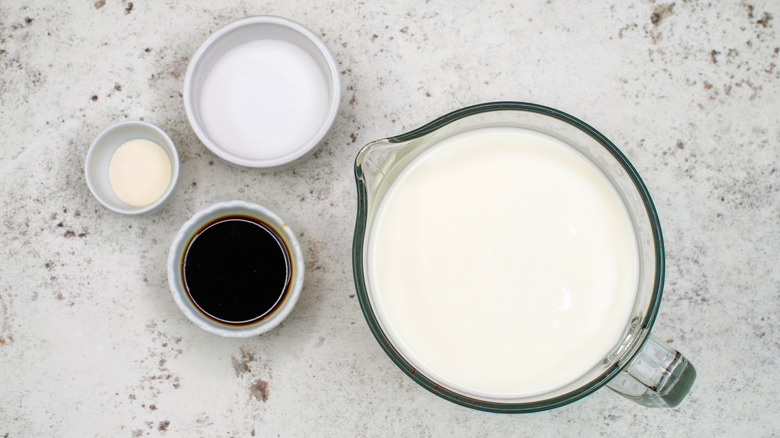
You will only need a few basic ingredients to make this homemade vanilla yogurt: milk, a packet of yogurt starter, vanilla extract and some sugar. Whole milk or 2% milk are best because they produce a creamier and richer yogurt.
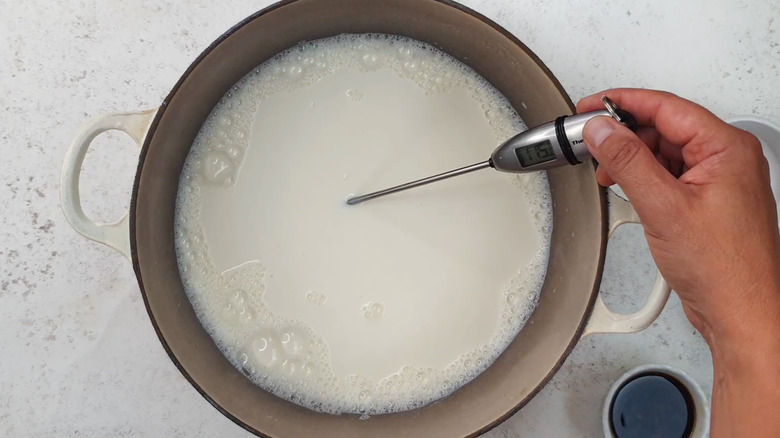
Step 1: Heat the milk

Heat the milk in a Dutch oven over medium-high heat, stirring from time to time, until it reaches just below boiling point, about 180-190 F.
Step 2: Let the milk cool down
Remove from the heat and let the milk cool down for about 10 to 15 minutes, or until it is between 112-115 F.
Step 3: Preheat the oven
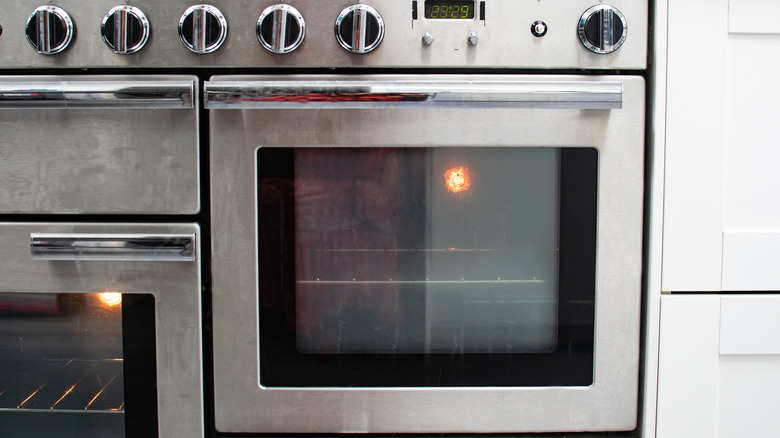
In the meantime, preheat your oven for 5 minutes to the lowest temperature possible (around 110 F) and switch the oven light on. Then switch off the oven heat but leave the oven light on.
Step 4: Dissolve the yogurt starter
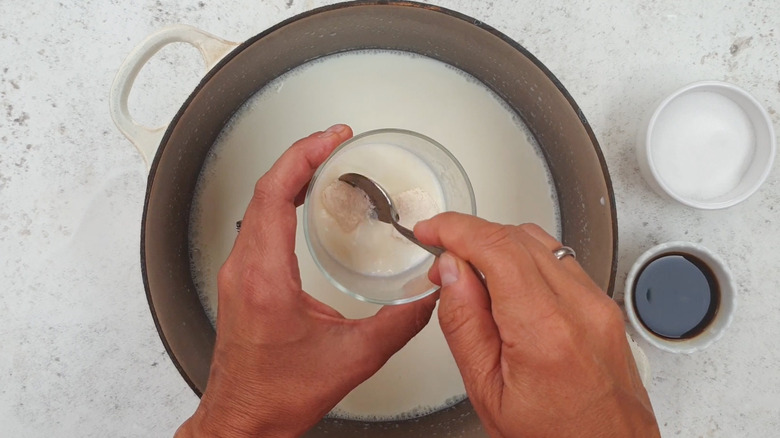
Dissolve the yogurt starter in a small amount of the cooled down milk.
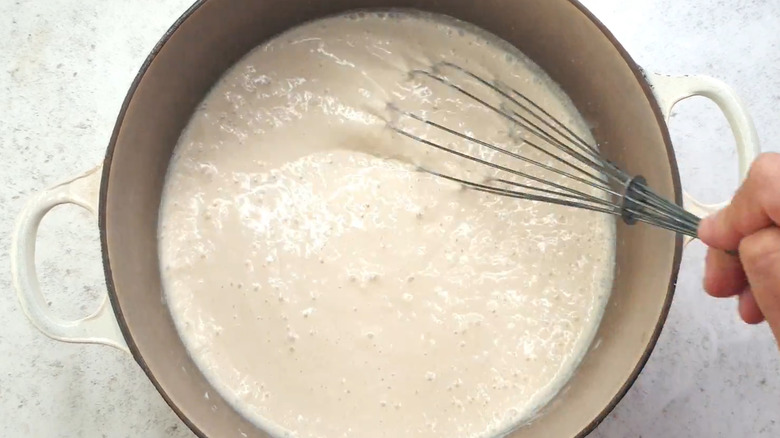
Step 5: Whisk the ingredients together
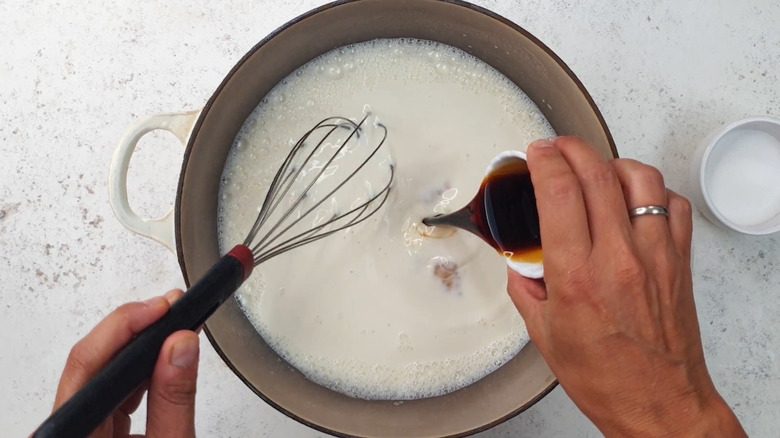
Pour the yogurt starter into the Dutch oven and whisk in the vanilla extract and sugar until well combined.
Step 6: Incubate the yogurt in the oven
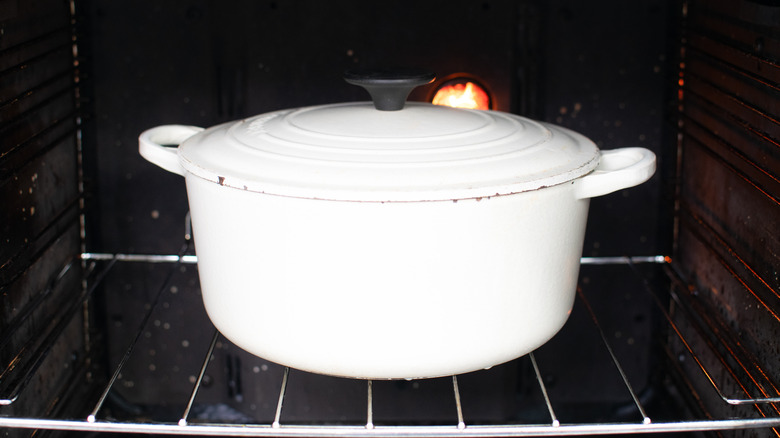
Cover the pan with a lid and place it at the back of the oven with the oven light on for 10 to 12 hours without opening the oven. The longer you leave the yogurt in the oven, the thicker it will be.
Step 7: Check that the yogurt is set
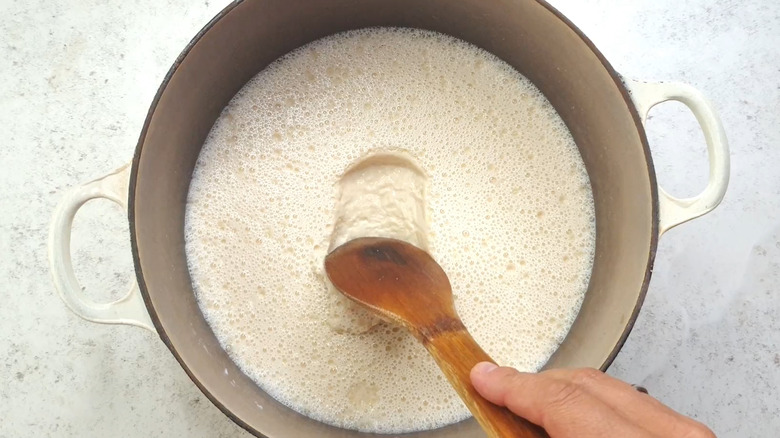
Once you are satisfied with the texture and taste of the yogurt, give it a gentle whisk to smooth the texture.
Step 8: Chill the yogurt
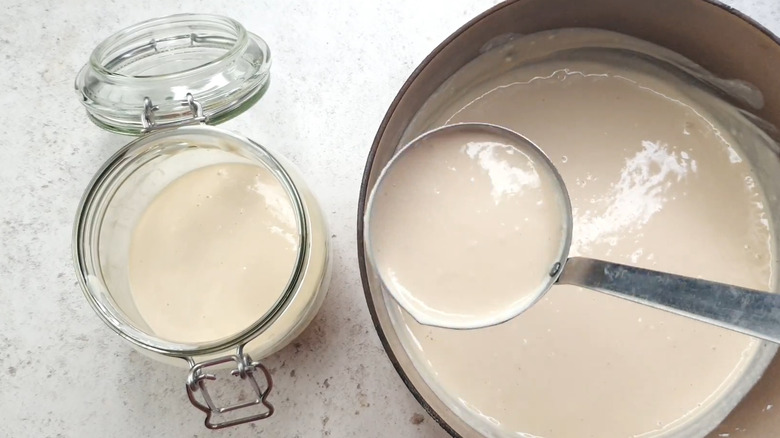
Transfer to an airtight glass jar and refrigerate for at least 4 hours.
Step 9: Serve and enjoy

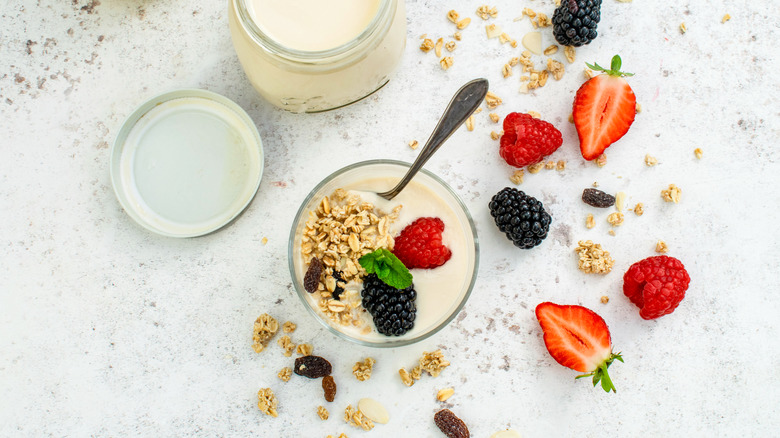
Serve the yogurt with toppings of your choice.
What are some good toppings for this homemade vanilla yogurt?
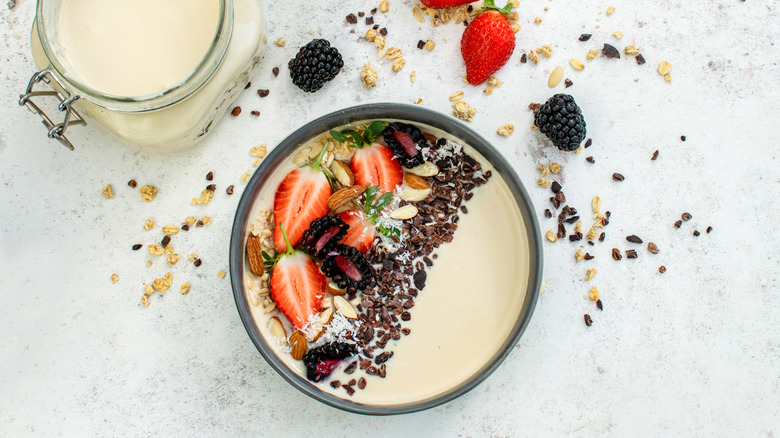
This homemade vanilla yogurt is delicious on its own but feel free to get creative with your toppings and combinations. Add a handful of fresh berries, banana slices, diced peaches, or mangoes for natural sweetness and flavor. For a crunchy texture, sprinkle some chopped nuts (like almonds, pecans, or walnuts), hemp hearts, puffed rice or quinoa, muesli, or homemade granola. You can also dust your yogurt with a pinch of cinnamon or a sprinkle of shredded coconut for a flavor boost.
For a special treat, indulge in some chocolate chips, cocoa nibs, crushed graham crackers, or swirl in some fruit preserves. Don't hesitate to dollop a spoonful of nut butter over your yogurt. Whether you are using almond butter, cashew butter, or peanut butter, it is absolutely delicious. Randles also recommends adding this vanilla yogurt to smoothies, milkshakes, or overnight oats.
Why is it necessary to refrigerate the yogurt once it is made?
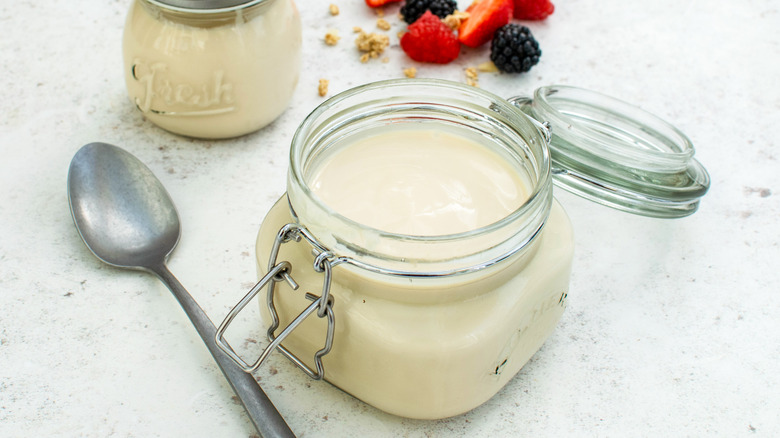
Once you are happy with the texture, it is important to chill the yogurt in the fridge for at least 4 hours to halt the fermentation process and develop the overall flavor. As the yogurt cools, the tangy notes from the fermentation become more balanced, resulting in a smoother and more enjoyable taste. Chilling the yogurt also helps it to set and firm up. To get a smooth texture make sure to give it a gentle whisk before transferring it to the fridge.
The longer you allow the yogurt to chill in the refrigerator, the thicker and creamier it will become. Don't hesitate to leave it overnight. It's also a good practice to reserve a small amount of your homemade yogurt as a starter culture for your next batch. This way, you can continue making yogurt without having to purchase additional starter cultures.
Why do I need to scald the milk first?
Scalding the milk is a step that you can't skip when making yogurt. Heat kills any harmful bacteria and pathogens present in the milk. This step is necessary for food safety, as it eliminates the risk of harmful microorganisms contaminating the yogurt during fermentation. This is particularly important if you are using fresh, unpasteurized milk or milk that hasn't been previously treated for safety.
In addition, Randles notes that the heat alters the structure of the milk's proteins. This alteration aids in the thickening of yogurt and helps create a smoother texture in the final product. Scalding also helps to stabilize the milk, preventing it from separating or curdling during the fermentation process. Essentially, scalding is a fairly simple and quick step that will ensure that your yogurt is both safe to eat and that it ends up with a perfectly creamy, smooth consistency.
Homemade Dutch Oven Vanilla Yogurt Recipe
Skip the storebought stuff and make this homemade Dutch oven vanilla yogurt instead.
Ingredients
- 1 quart whole milk or 2% milk
- 1 (3-gram) packet yogurt starter
- 2 tablespoons vanilla extract
- 3 tablespoons sugar
Directions
- Heat the milk in a Dutch oven over medium-high heat, stirring from time to time, until it reaches just below boiling point, about 180-190 F.
- Remove from the heat and let the milk cool down for about 10 to 15 minutes, or until it is between 112-115 F.
- In the meantime, preheat your oven for 5 minutes to the lowest temperature possible (around 110 F) and switch the oven light on. Then switch off the oven heat but leave the oven light on.
- Dissolve the yogurt starter in a small amount of the cooled down milk.
- Pour the yogurt starter into the Dutch oven and whisk in the vanilla extract and sugar until well combined.
- Cover the pan with a lid and place in at the back of the oven with the oven light on for 10 to 12 hours without opening the oven. The longer you leave the yogurt in the oven, the thicker it will be.
- Using a wooden spoon, check to see if the yogurt has reached the desired thickness and consistency. Once you are satisfied with the texture and taste of the yogurt, give it a gentle whisk to smooth the texture.
- Transfer to an airtight glass jar and refrigerate for at least 4 hours.
- Serve the yogurt with toppings of your choice.
Nutrition
| Calories per Serving | 163 |
| Total Fat | 6.4 g |
| Saturated Fat | 3.6 g |
| Trans Fat | 0.0 g |
| Cholesterol | 19.6 mg |
| Total Carbohydrates | 17.6 g |
| Dietary Fiber | 0.0 g |
| Total Sugars | 18.0 g |
| Sodium | 84.8 mg |
| Protein | 6.2 g |