

10 Fancy Baking Techniques That Are Easier Than You Might Think
We may receive a commission on purchases made from links.
Fancy baking techniques can look intimidating, but many of them are far more approachable than they may seem. In my many years as a restaurant pastry chef and bakery owner, I've learned that a little know-how can make even the most impressive techniques manageable for home bakers. Of course, practice makes perfect — but you don't need years of culinary training to achieve professional-looking results. There are often techniques and tips that can help you reach pro-baker skill levels that once seemed out of reach. Paying attention to a few essential steps, knowing which tools to use, or learning how to recognize when something needs an adjustment are sometimes all that's needed.
I've rounded up the most popular baking techniques that aren't as hard as one may think. From laminating doughs and tempering chocolate to creating a lattice crust and making choux pastry, these skills are all masterable. Give them a try and approach them with confidence — you might just go from beginner to pro faster than you think.
1. Laminating dough
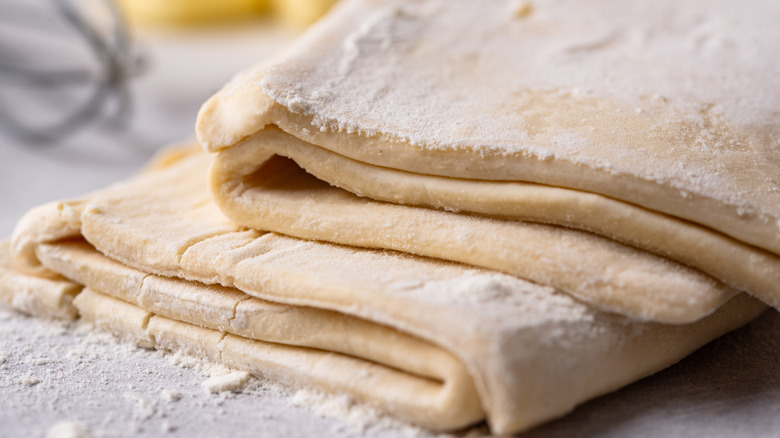
Of all the techniques on this list, laminating dough may be the most daunting for home bakers. The process involves incorporating a block of butter into a dough envelope by folding and rolling it multiple times to create hundreds of thin layers. When baked, it produces pastries with distinct, delicate layers and a glass-shattering crispness that's a feat to behold.
So, what's the secret to success? Temperature control. Both the dough and the butter need to stay cold — not rock hard, not melty, just cold enough to be pliable. If you don't keep your laminated dough cool enough, the butter will soften, and the layers will blend together. So, if you think your dough is even a touch warm, err on the side of caution and pop it back in the fridge to chill. Keeping your kitchen cool helps, too. Even if it's a cold day, I often run the air conditioner when I'm laminating dough, just to be safe.
If you're just starting out with laminated dough, consider making rough puff pastry, also known as blitz puff pastry. It involves mixing shredded or small pieces of cold butter into flour, similar to making pie dough. It's much less time-consuming and requires only a couple of rolls and folds. While the resulting layers won't be as uniform, it still makes a wonderfully flaky pastry, and it can build your confidence as you work your way towards laminated dough.
2. Caramelizing sugar
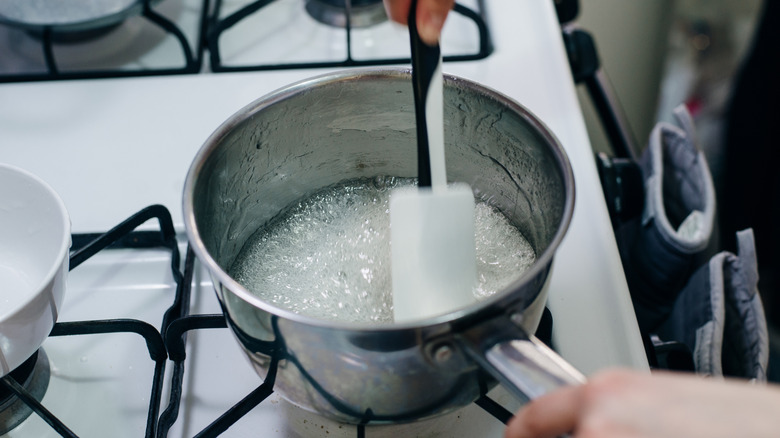
Caramelizing sugar is an important skill to learn, as it forms the base for many desserts and confections, including caramel sauce, creme caramel, and candied nuts. It involves melting sugar and allowing it to boil until it turns a rich, amber color. The longer it cooks, the darker the caramel gets and the more complex flavor it develops. The process is pretty straightforward, but watching a pot of sugar boil vigorously can be intimidating. If not handled correctly, hot sugar can scorch your pot or, even worse, burn you.
Two common pitfalls are sugar crystallization and burning. Thankfully, there are steps you can take to help prevent them from happening. First, add a small amount of acid to the sugar to prevent crystals from forming as it cooks — I like to add a splash of lemon juice, but vinegar works, too. Next, don't use too high a heat. Instead, cook your sugar over medium heat, allowing it to melt gradually, rather than rushing the process and increasing the chance of burning the caramel. As it cooks, don't agitate the sugar mixture, as that can increase the chance of crystallization. When you see some browning occurring, swirl the pot instead.
When the caramel reaches your desired color, dip the bottom of the pot into an ice bath to stop the cooking process. Once you get more comfortable with caramelizing sugar, you can skip the ice bath and simply remove the pan from the heat just before it reaches your desired color, keeping in mind that residual heat will continue to darken the sugar slightly.
3. Tempering chocolate
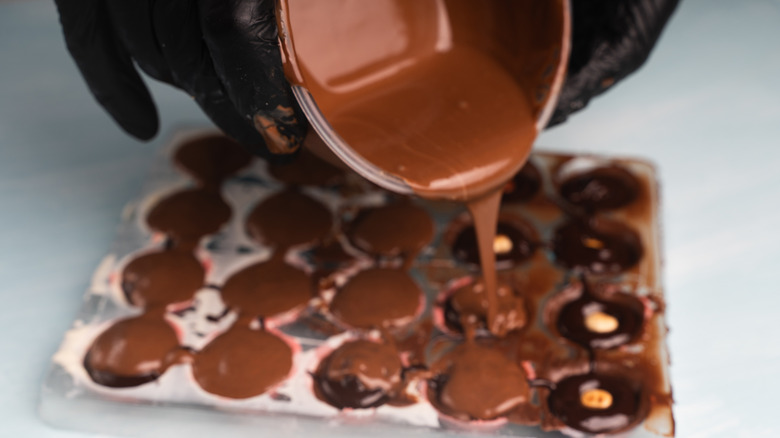
Not gonna lie, chocolate was my least favorite subject in culinary school. It didn't help that the chocolate classroom was always a tad too cold for my liking. Nevertheless, the chocolates that my fellow classmates and I made in that class were some of the most exquisite I had ever tasted. The most important skill we learned was how to temper chocolate.
When used for dipping, coating, or decorations, chocolate should always be tempered. Why? Tempered chocolate sets with a smooth, shiny finish and breaks with a firm, clean snap. To achieve this, you melt, cool, and stir chocolate within a specific temperature range to disrupt and then stabilize the cocoa butter crystals. Tempering goes wrong when the temperature of the chocolate extends beyond those boundaries. An accurate thermometer, like this highly rated ThermoWorks Thermapen ONE or the brand's more budget-friendly ThermoPop 2, is essential.
There are multiple ways to temper chocolate, but I recommend the seeding method. I know it sounds complicated, but it involves only a few steps and paying attention to temperature. Start by melting chopped chocolate, then stirring in unmelted chocolate to cool it down to about 81 degrees Fahrenheit. The chocolate is then warmed to the ideal working temperature of about 90 degrees Fahrenheit, during which a stable crystal structure is able to form, resulting in tempered chocolate.
4. Piping flowers
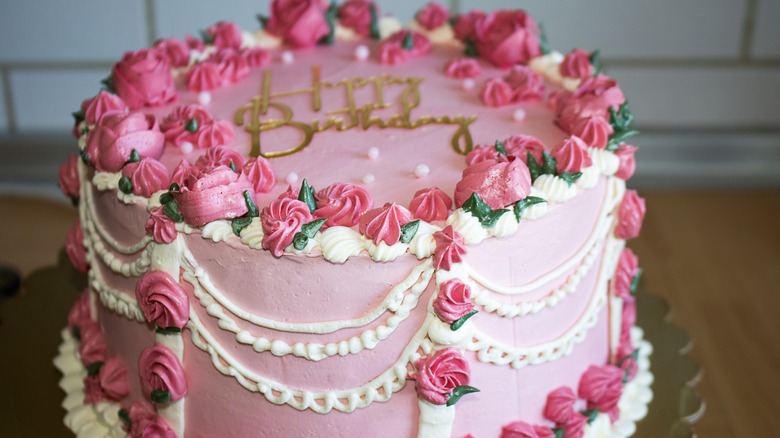
Cake decorations add extra charm, and few are more beautiful than a cluster of piped buttercream flowers. From delicate blossoms and bright daisies to blooming roses, piped flowers can turn a plain frosted cake into a work of art. With the right piping technique, you can create edible decorations that look almost too pretty to eat.
Mastering the art of piped flowers comes down to practice, of course, but there are a few other things to make note of. First, your buttercream needs to be the right consistency. It should be firm enough to hold its shape yet soft enough to pipe. You'll need piping tips and a flower nail, which provides a rotating surface to create a three-dimensional flower. Filling your bag halfway also gives you greater control when piping. Once you've piped your flowers onto parchment squares, chill them in the refrigerator or freezer. Once firm, you can easily remove them from the parchment and transfer them onto your cake. If you're new to buttercream flowers, Russian piping tips are a great shortcut. These specialty tips create an entire flower with just one squeeze.
5. Making chocolate curls
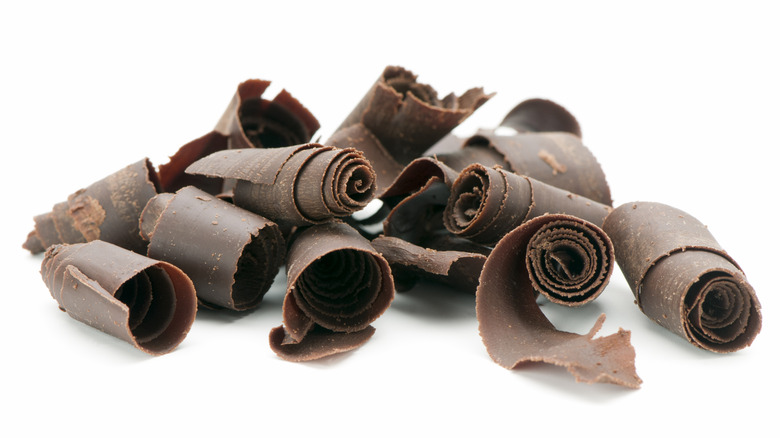
Chocolate curls are an easy way to add a decorative touch to desserts. They add visual appeal, texture, and flavor without the need for special equipment. You can use a vegetable peeler to make small chocolate curls by running it along the edge of a chocolate bar. For larger, more dramatic curls, spread a thin layer of melted chocolate on an upside-down sheet tray and let it set. Then, use an upside-down metal spatula to "shovel" the chocolate, pushing forward in one steady motion until a curl forms.
Temperature is key when working with the chocolate. It needs to be slightly warm and pliable to ensure it curls as you run a blade or spatula across it. A steady hand and continuous motion matter, as well. Once you've made the curls, transfer them to a chilled plate or tray to hold them until you're ready to use them. If your hands tend to run warm, use a spatula to handle them.
6. Making choux pastry
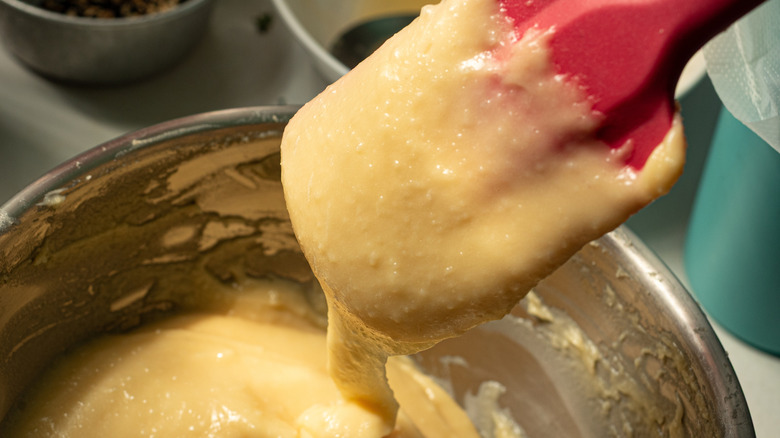
Walk into any French pastry shop, and you'll no doubt be greeted with rows of delightful sweets made with choux pastry. This classic French dough is unique because it doesn't rely on leaveners. Instead, it uses steam to bake up with a hollow center — perfect for filling with whipped cream or a smooth custard. Choux pastry forms the foundation for popular French pastries like cream puffs, éclairs, Paris-Brest, and more.
When making choux at home, two steps require particular attention. First, when cooking the flour-butter-water mixture, stop once the dough pulls away from the sides of the pot. This is a clear sign that enough excess moisture has been removed and that the flour's starches have been gelatinized. Second, after incorporating eggs into the cooked flour mixture (known as panade), lift your mixer's paddle attachment straight up and look for the dough to slowly form a "V" before eventually breaking off.
Here's a little tip: You may not need to add all the eggs a choux recipe calls for. For example, if the recipe calls for four eggs, add three, then test the dough. If it needs a little more moisture, whisk the final egg in a separate bowl and add only what you need. If you add too many eggs, the choux will bake up soft and won't hold its shape.
7. Getting smooth cake surfaces and sharp edges
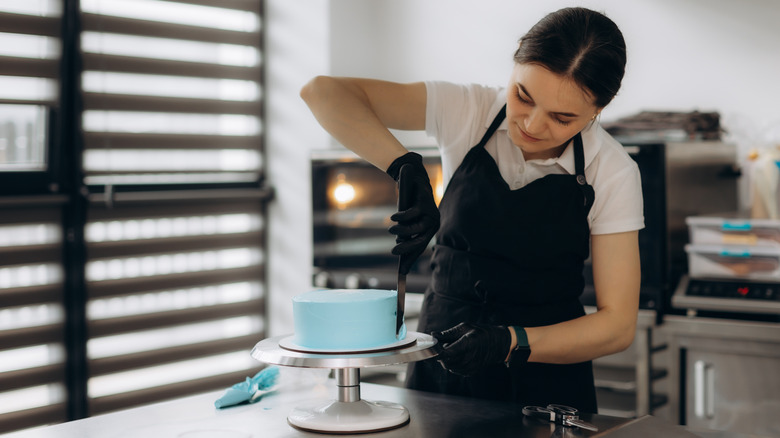
Before I attended culinary school, I worked as a cake decorator at a New York City bakery, and some days, I drove myself mad trying to frost a cake perfectly smooth (square cakes were the worst!). But now — hundreds of cakes later — I can confidently say that getting smooth surfaces and sharp edges on a cake is easier than it seems. Aside from practice, all it takes is an important first step and the right equipment and tools.
First, always cover your cakes with an initial, thin layer of frosting known as a crumb coat. This coating helps adhere any cake crumbs and smooths the cake's surface, so your top layer of frosting is smooth and crumb-free. It also helps to hold stacked cake layers in place while you add the final layer of frosting for an even finish.
You'll need to use the right tools. I prefer using a flat spatula to apply frosting to a cake's sides and an offset spatula for the top, although many cake decorators swear by a bench scraper. A turntable is an absolute must, as it lets you apply frosting in one continuous motion. If you're just starting, you may benefit from warming your spatula or bench scraper with either a torch or warm water.
8. Flooding with royal icing
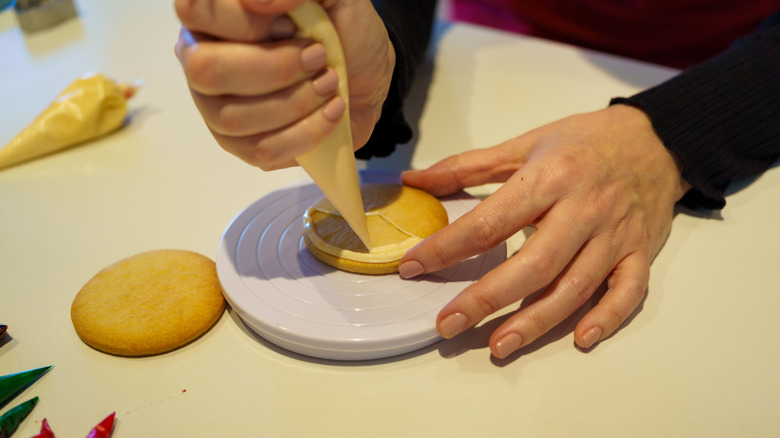
It's a great feeling when you finally find the perfect sugar cookie recipe. Now you just need a beautiful application of royal icing to make those cookies look as good as they taste. Getting the icing consistency right is what it comes down to. Start by making a batch of royal icing for outlining your cookies. It should be smooth and easy to pipe yet stiff enough to hold its shape. After outlining your cookies, thin the remaining royal icing with water, a little at a time, until it passes the "10-second flood" test. Drag the flat edge of a butter knife through the icing. If the line disappears and the surface smooths within 10 seconds, it has reached the right consistency for flooding.
Now you can go ahead and fill in the outlined areas. Using a slightly larger piping tip or snipping off a larger opening in your icing bag can help speed up the process. Don't worry if you can't reach all the tight corners — use a toothpick to push the icing into those spaces.
9. Creating a lattice crust
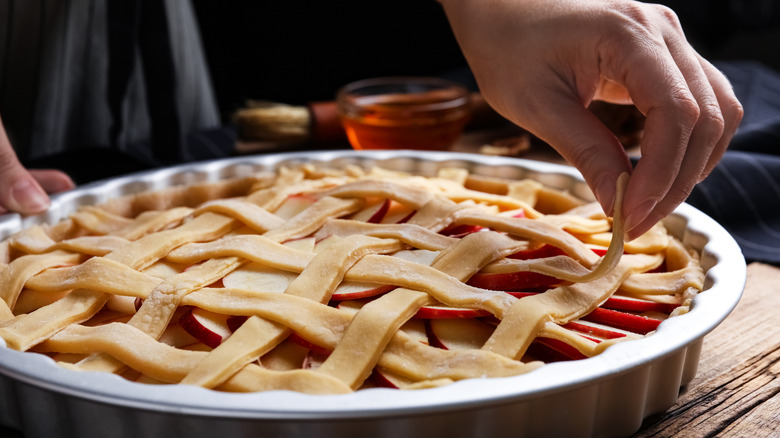
There are many things you can use to top a pie: buttery streusel, whipped topping, or fluffy meringue, to name a few. One of my favorites, though, is a lattice crust made with pie dough. Its woven pattern looks intricate, but it's easier to create than you might think. And once you get the hang of it, you'll agree.
For the cleanest results, make sure your dough is well chilled but still pliable. After cutting your lattice strips, place them back in the refrigerator for 10 minutes to firm up. In the meantime, you can practice the weaving technique with paper strips cut to the same size. That way, when you pull your chilled dough strips out of the fridge, you'll be warmed up and ready to go. Once your lattice crust is complete, add some extra flair with a thin layer of egg wash and a sprinkle of sugar. This will give your pie a beautiful golden color and a shimmery finish.
10. Glazing a fruit tart
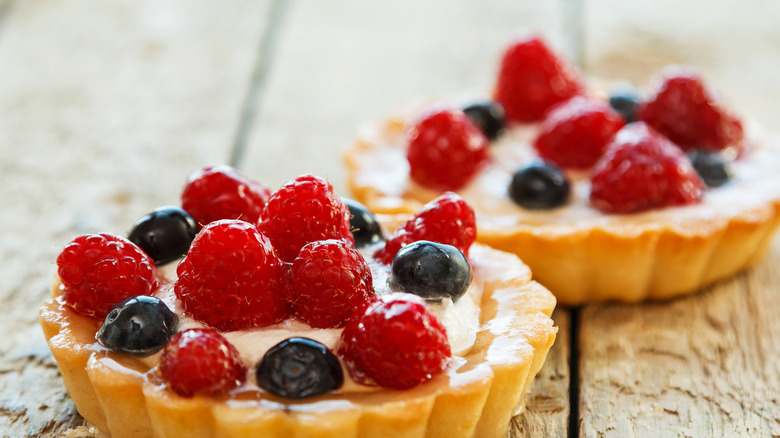
Fruit tarts are one of the most visually appealing and attractive desserts. You can use all types of berries and fruits in different colors and shapes to create an eye-catching sweet treat. But even so, sometimes the fruit can end up looking a little dull, especially after it's been sitting for a while in the fridge. Many bakers choose to use a simple glaze to keep the fruit hydrated while adding a glossy, professional finish. You can use a clear gel, but I like to use apricot jam. Its mild flavor adds a touch of sweetness without overpowering the fruit, and its slightly translucent color lets the fruit's natural color shine through.
Gently warm apricot jam with some water until it's fluid enough to apply evenly on the fruit. A pastry brush works best, although a spoon works just fine if that's all you have. Use a light touch to apply the glaze so you don't disturb the fruit.