

Forget Paint: Why You Should Consider Wrapping Dated Kitchen Cabinets Instead
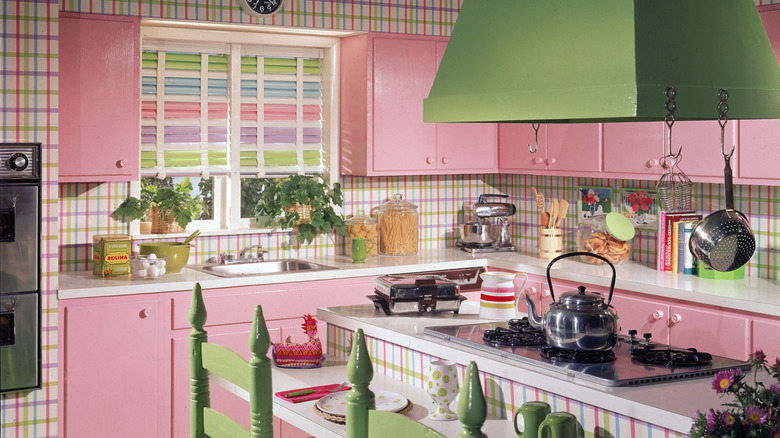
Sometimes all you want is a fresh coat of paint. If you're tired of looking at your sturdy and functional cabinets trapped in an ugly color or a dated finish, vinyl wrap can give them an entirely new exterior without committing to structural replacement or a full paint job. Vinyl adhesive film comes in solid colors and wood grains, along with matte, gloss, and metallic or textured finishes, so you'll have options that would be difficult or impossible to create with a paintbrush.
Wrapping also skips much of the mess involved in painting kitchen cabinets — that means no primer, multiple coats, fumes, or days spent waiting for everything to dry and cure. It can be an appealing option for older cabinetry if it has good bones but just needs a superficial update. Be aware, though, that although wraps are often sold as "removable", the adhesive can bond over time, so you shouldn't assume that means they'll peel away without a trace. Adhesive can leave residue, or potentially affect some finishes, so test the product somewhere inconspicuous first. And even though it's technically lower impact than paint, it's probably best to get your landlord's blessing first.
For a DIY job, remove the hardware and take down the doors and drawer fronts if possible. Use a good household cleaner to degrease every surface thoroughly, then measure carefully and cut the vinyl with enough excess to finish the edges. Peel away the backing gradually as you apply it, smoothing the film as you go to avoid bubbles and wrinkles. Corners and contours can require different techniques, so check the instructions before making cuts or reaching for the heat gun.
Cover inside the lines
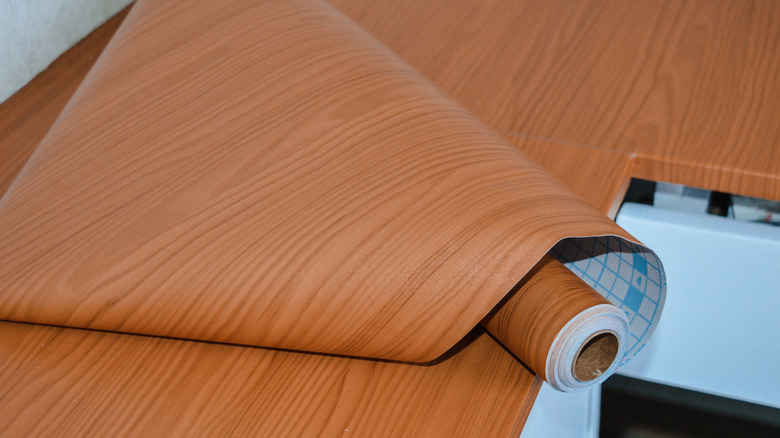
Using the right tools is essential to achieve a clean, professional-looking outcome. A felt covered squeegee smooths vinyl into place without scratching the surface and choosing a wrap with a grid printed on the backing makes measuring and cutting straight lines easier. For final trimming, an adjustable cutting guide tool will help maintain a consistent distance from the edges on the backs of cabinet doors, especially around corners, where excess material needs to be cut and folded neatly to prevent bulky seams or uneven edges.
Vinyl wrapping is only a cosmetic renovation, so the conditions of the cabinets underneath will still be there. A fresh layer of film won't fix swollen particleboard, peeling laminate, janky fixtures, or warped doors. The textural imperfections of the cabinet surface will show through the material. The textural plane is also a factor — flat and smooth cabinets are the most forgiving, whereas raised panels, grooves and decorative molding introduce more opportunities for crooked cuts and awkward folds. Even on simple doors, getting the corners neat can require some patience. Practicing on scrap material first could spare your cabinet door from becoming the don't-do-this tutorial.
Before committing to the project, consider how the finished surface will hold up. Heat, steam, grease, and repeated cleaning can put materials to the test, so choose a product intended for kitchen cabinetry specifically and check the care instructions. Vinyl can also be harder to repair invisibly than paint; where a small paint chip could be touched up, torn or lifted sections of vinyl adhesive might require rewrapping the entire door. Before assuming vinyl is the cheaper option, calculate the amount of material you'll need and factor in a little extra for mistakes.