

Not Paint Or Stain: A Better Way To Update Kitchen Cabinets That Looks Just As Good
We may receive a commission on purchases made from links.
There are several ways you can refresh your kitchen without a full remodel, and giving tired kitchen cabinets a fresh look is one of them. The process typically involves one of three options: coating them in paint, covering them with wallpaper, or tinting them with a stain. But for genuine wood cabinets, there's another finish worth considering: hardwax oil. This product can spruce up the tone and appearance of wood while protecting its surface. It's ideal for your kitchen, too; not only is hardwax oil durable, but it's also water-resistant. Not to mention it brings out natural wood grains and textures that add beauty and warmth to your space.
Hardwax oil is a blend of oils and waxes designed to penetrate wood instead of merely coating its surface. While the oil component bonds with the outermost wood fibers, the wax component adds protection against moisture and everyday wear and tear. Many hardwax oil products come in both clear and colored versions, including multiple varieties of tint. You could give your cabinets subtle warm tones, darken them so they contrast with the rest of your kitchen, or simply refresh them with a single clear-coat finish to highlight their unique wood grain.
Unlike paints or tints, hardwax oil offers grain visibility and wood protection at once, but that's not the only practical benefit. When scratches and time-worn patches appear, this type of finish can also be simpler to repair than others. Rather than strip and refinish an entire hardwax-treated cabinet door, you can typically sand and re-coat targeted blemishes as they appear. With hardwax oils, you're also less likely to encounter troublesome runs, drips, and brush marks following application.
Applying hardwax oil to kitchen cabinets
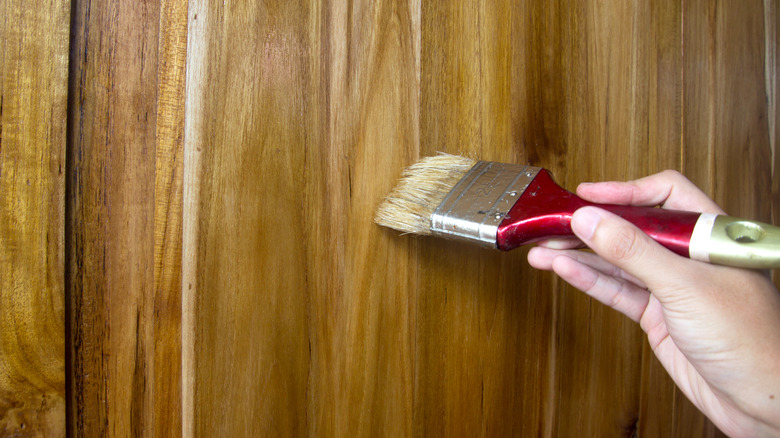
Hardwax oil isn't the best choice for every wooden furnishing, and there are a few things you should know before grabbing a can to spruce up your kitchen cabinets. This type of oil only works on absorbent surfaces — practically speaking, that means unfinished wood. Before you apply hardwax oil to your cabinets, you'll need to strip them of any existing paint, varnish, or lacquer. In the end, the wood should be clean, dry, and properly sanded. It's also a good idea to note specific directions from the manufacturer before you begin the refinishing process, since application instructions may vary depending on the tool you use in the process, whether it's a roller, a cloth, or a brush.
Once you've stripped your kitchen cabinets of their prior coatings, sand the wood evenly, then vacuum the dust (or wipe it off with a cloth) to keep it from setting into the finish after you apply hardwax. After confirming your kitchen cabinets are dust-free, spread a thin layer of hardwax oil over the surface to work it into the wood. Many brands specifically recommend wiping the hardwax on, letting the wood absorb it, then taking care to wipe away all the excess product.
The number of coats required may also vary by brand, so there's no one-size-fits-all method to applying hardwax oil. However, the product typically dries between 24 and 72 hours, and it can take up to a month to cure. Don't disregard the cleanup stage, either; in a worst-case scenario, oil-saturated cloths can spontaneously combust. Tom Silva, a contractor with This Old House, suggests laying oily rags flat to dry — away from other items and flammable materials — and then soaking them in water prior to disposing of them. If you'd prefer a slightly cleaner and quicker DIY process, though, there are also limitless styles of contact paper you could use to update your cabinets.