I Made Brussels Sprouts 8 Ways And One Result Was Easily The Best
While I can't remember any of the words I practiced in my middle school Latin class, one distinctly visceral memory is burned into my mind: Our teacher would pack boiled Brussels sprouts in her lunchbox every day and eat them during class. My stomach would turn the moment she opened her Tupperware container, and I staunchly believed I would never try — let alone like — the cruciferous vegetable. Of course, as was the case with many foods I avoided during adolescence and swore to never eat in my life, time proved me very, very wrong.
I have since learned to adore roasted Brussels sprouts, especially when they're drenched in olive oil and balsamic vinegar, and crispy. Now, 13-year-old me wasn't exactly wrong about the pungency of boiled Brussels sprouts, but she didn't know just how many ways this vegetable can be prepared. Steaming, braising, roasting, air frying — they all turn out unique results in terms of flavor, texture, and aroma.
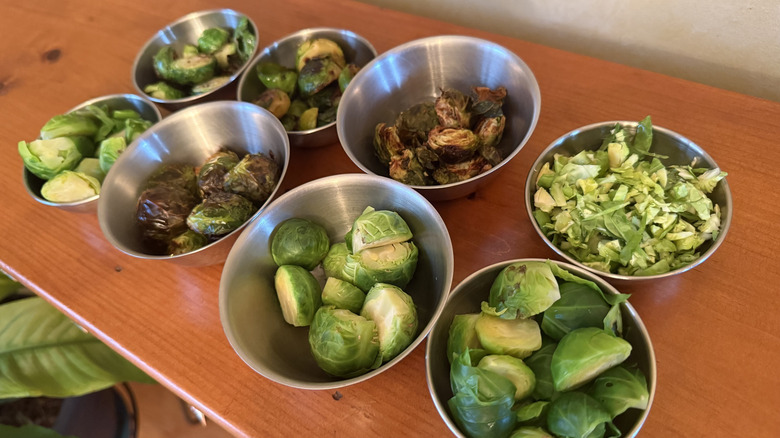
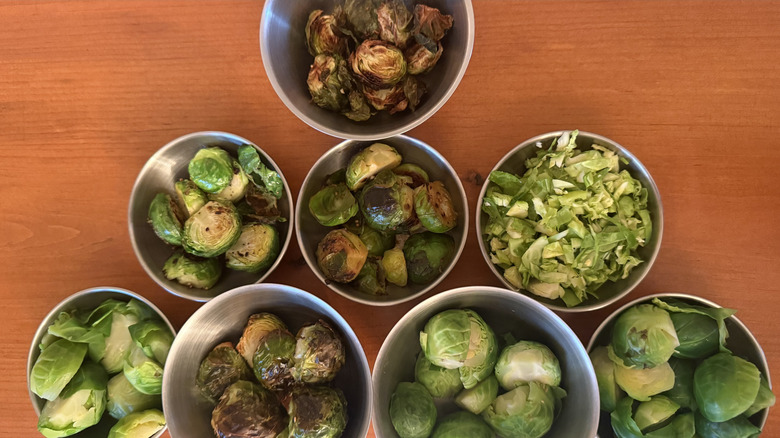
In this article, I'll walk you through my observations of a handful of preparation styles, giving notes on flavor and texture, as well as potential uses for each method. As is customary, I added a touch of olive oil, salt, and pepper to each batch of sprouts to enhance their flavors. My findings underlined one key point: Plug your nose if you must, but don't write off Brussels sprouts quite yet until you try a few of these techniques.
Steamed

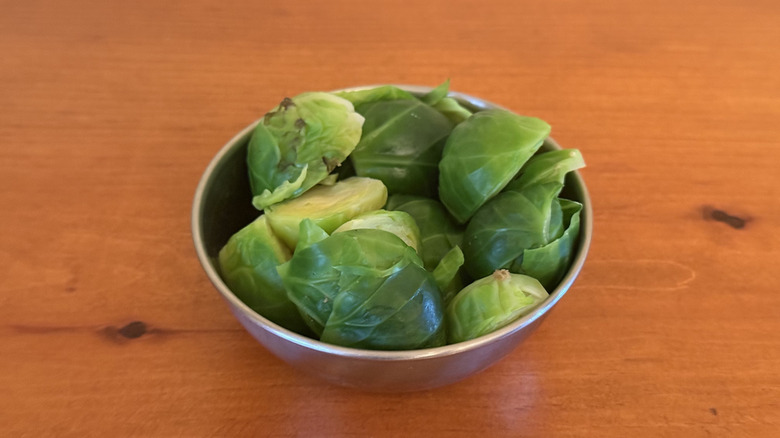
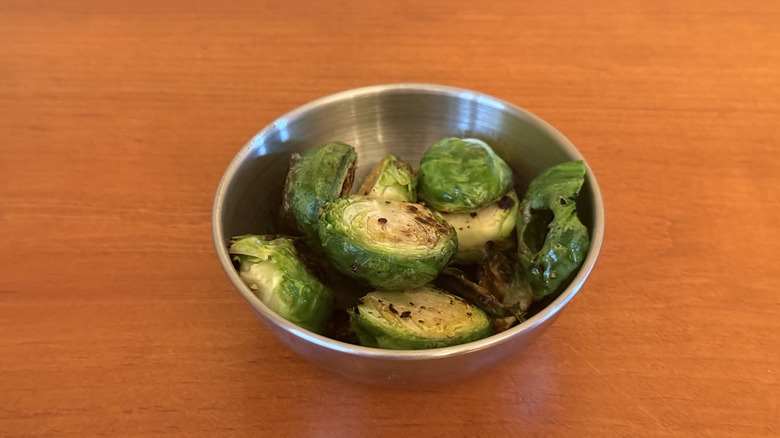
Steaming vegetables is quick and easy once you figure out how to use the right equipment. As a bonus, it's not as water-intensive as boiling vegetables; in fact, you might be surprised at how little water you really need for steaming food. To prepare these Brussels sprouts, I added them to a steaming basket in a pot with boiling water, covered them, and came back eight minutes later. I found that the sprouts remained relatively intact and compact, and they also retained a bright green hue. They offered a slight chewiness, a factor that can be adjusted by increasing or decreasing steaming time. They were slightly bitter, which I didn't love, but nevertheless, you might want that in certain recipes or if you are serving your Brussels sprouts with a sweet sauce.
To cut down on cooking time, make sure to chop your Brussels sprouts in half before adding them to the steaming device. Leaving vegetables too chunky is one of the most common mistakes folks make when steaming food, and the center of your sprouts might feel raw if you do so.
Boiled on stovetop
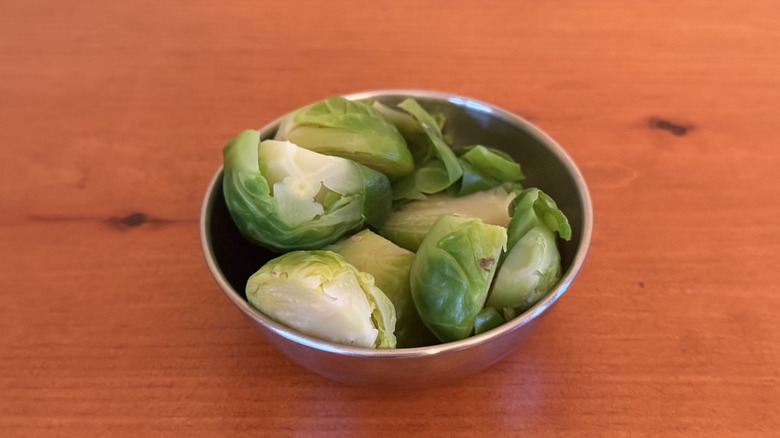
One of the easiest ways to cook Brussels sprouts is to boil them. However, this is also one of the most notorious methods because if you leave them in the pot for too long, they can break down into a mushy mess. I boiled mine in a pot of lightly salted water for eight minutes. Even with this conservative amount of time, the sprouts lost some of their outer leaves. I found them bland, even with salt, pepper, and olive oil.
I missed the caramelization that occurred with other methods, and the lack thereof meant that these sprouts had an unappealing texture and flavor. Instead, they tasted very vegetal and cruciferous, and while Brussels sprouts are indeed cruciferous vegetables, I like them better when slightly disguised.
Finally, the sprouts remained large and chunky, whereas some of the cooking methods I will soon describe shrunk them considerably. This wasn't necessarily the downfall of these boiled sprouts, but I would have enjoyed smaller bites so that my palate would not have been as overwhelmed with their off-putting flavors and mouthfeel. Perhaps boiling Brussels sprouts isn't a bad idea if you are going to incorporate them into a recipe like this Brussels sprouts gratin with walnut crumble, but I wouldn't suggest eating them plain.
Microwaved
The Brussels sprouts I boiled in the microwave turned out much the same as the Brussels sprouts that I boiled on the stove. If anything, they were a tad easier to cook because they didn't take up space on the stove and dirtied a smaller dish. In fact, the hardest part about boiling these Brussels sprouts in the microwave was rummaging up a microwave-safe dish.
It turns out that microwaving glass is doable, but can be complicated depending on the model and starting temperature of your container. Furthermore, while the instructions I found on the internet advised me to cover the container, the flimsy plastic top to my glass dish was certainly not microwave-safe. We stopped using paper towels and plastic wrap long ago, so those weren't options, either, and I ended up not covering the sprouts.
We just installed a brand spanking new microwave, so these sprouts helped inaugurate the machine with the three minutes they required on high heat. In the end, being uncovered didn't matter, as they turned out soft enough. Like the stovetop boiling method, though, I wouldn't recommend cooking Brussels sprouts in the microwave due to their unappealing texture and flavor.
Raw
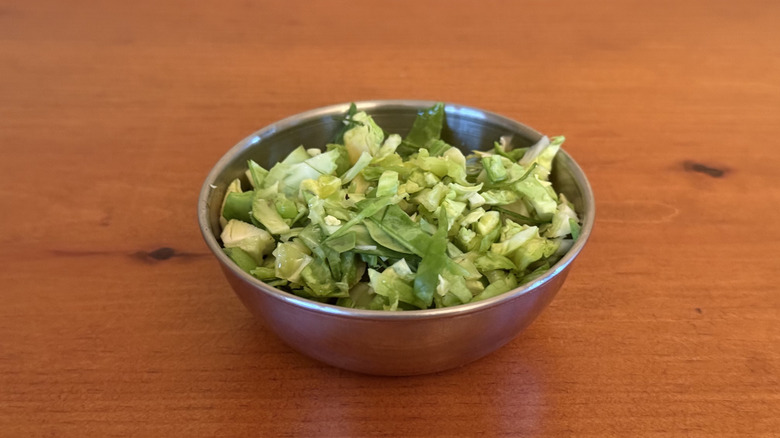
In my experience, Brussels sprouts in salad tend to be a hit or miss. Of all the preparation methods I tested, raw Brussels sprouts retained the most bitter flavor. Not only do they need to be complemented by sweet flavors in salad, but they also need to be accompanied by soft ingredients that balance their crunchy texture. Dried cranberries are a common co-star, as is shredded cheese.
You don't need to go overboard, though; I found that raw sprouts allowed the flavors of salt, pepper, and olive oil to truly shine, providing an excellent excuse to break out those high-quality seasonings. As long as you pick the right dressing and mix-ins, raw Brussels sprouts can be versatile and pleasing.
They are especially convenient when purchased in pre-washed packages or salad kits. Sometimes you will find raw Brussels sprouts alongside other salad greens, such as in Trader Joe's sweet chili mango salad kit, which also features kale, radicchio, and green cabbage. This takes some of the guess work out of serving the bitter greens, but if you want to try making a dish from scratch, follow this recipe for a shaved Brussels sprouts salad.
Sautéed
If you have a stove, a pan, and a bottle of olive oil, then you're already on your way to a tasty bowl of Brussels sprouts. Now that we've reached the phase where we are browning our sprouts, dinner starts to get really delicious, with a noticeable boost in both flavor and texture. Sautéing my Brussels sprouts required only a few minutes of stirring at regular intervals, and while other methods often hid the sprouts from my view, it was very easy to monitor the progress of these.
The texture of sautéed Brussels sprouts was not quite as diverse as that of air fried, roasted, or braised sprouts — methods that I will touch on momentarily — but the slight crispiness was nevertheless pleasing. Meanwhile, their flavor was a tad raw, but definitely sweeter than the methods I have previously described. If I were to follow this method again, I would caramelize the Brussels sprouts with a splash of bourbon for a an even sweeter flavor profile.
Air fried
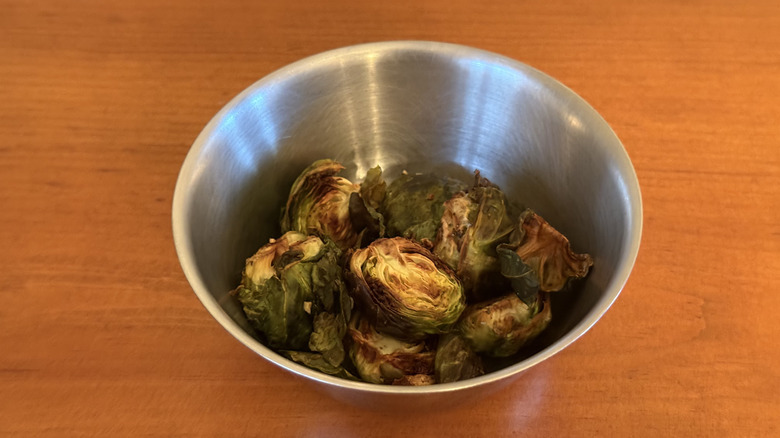
If nothing else, my air fryer was a worthwhile investment for all the tofu and potato wedges I have cooked in it over the past few years. Now I have a new use for it: Air frying Brussels sprouts. This method turned out some of the tastiest sprouts — ones I actually enjoyed rather than having to choke them down. I tested these with salt, pepper, and olive oil, but this recipe for honey-balsamic air fryer Brussels sprouts also sounds divine.
For this experiment, I cooked the sprouts at 375 degrees Fahrenheit for 12 minutes, shaking the basket halfway through the cooking time. This set of directives can be adjusted to achieve Brussels sprouts with more or less crispiness. I found that these sprouts were crispy and chewy on the outside, yet soft and pliable inside. They were roughly equivalent in taste to roasted sprouts, but were not quite as juicy. They drastically reduced in size, too, so don't hesitate to fill the floor of your air fryer's basket to its maximum capacity.
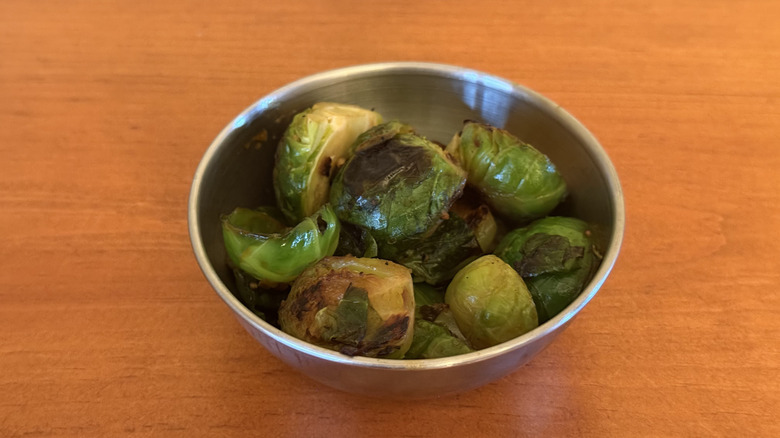
Roasted in oven
I'll admit: I gravitate towards using the oven during the winter because it helps warm up the kitchen. Even during the summer, though, roasting Brussels sprouts in the oven is one of my most preferred methods.
For this test, I preheated my oven to 400 degrees Fahrenheit before letting my sprouts bask in the heat for 25 minutes. However, if you have, say, a casserole baking at 350 degrees Fahrenheit, you could get away with letting your Brussels sprouts roast at that temperature for slightly longer. They won't caramelize as well, but they will still turn out nicely. I love this flexibility and efficiency that roasting offers because let's face it: Brussels sprouts are usually a side item, and you have other foods to prepare.
These sprouts were similar to those that I cooked in the air fryer, but juicier and somewhat more flavorful. The crispy outer leaves melded seamlessly into the juicy innards of each sprout. They shrunk in size, but not quite as much as the air fried Brussels sprouts. Roasted Brussels sprouts can be enjoyable with just salt, pepper, and olive oil. That said, adding balsamic vinegar takes them up a notch, and you can even incorporate parmesan into roasted Brussels sprouts.
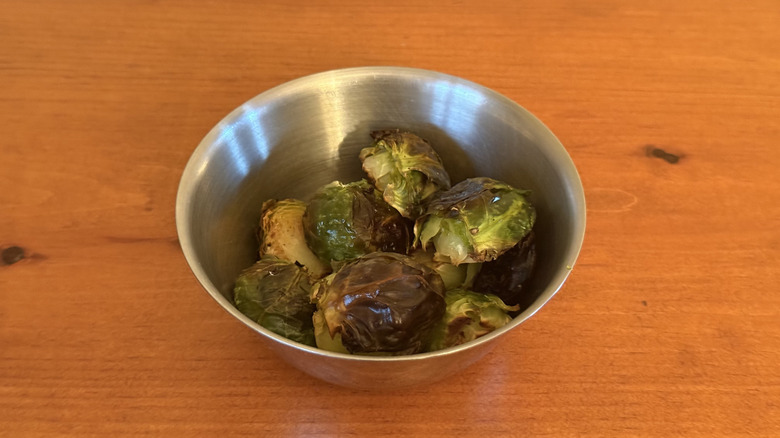
Braised
"Braised" is a term I usually hear reserved for meats, but rest assured that you can braise Brussels sprouts, too. In fact, you can achieve perfect Brussels sprouts in the skillet by using chicken stock or vegetable stock (for vegetarians like me). Essentially, braising implies that a food has first been sautéed over high heat, then simmered partially submerged in some kind of liquid. That liquid can be water, wine, beer, stock, or something else entirely. This opens up a world of possibilities for Brussels sprouts.
Braising helps ensure that food is juicy while still retaining the flavors released by browning and caramelization. This was indeed my experience with braised Brussels sprouts. I found these sprouts to be soft on the inside with more flavorful exterior leaves. They weren't as crispy as the roasted or air fried sprouts, but I didn't need them to be. They weren't on the soggy end of the spectrum like boiled Brussels sprouts, either, so I was pleased.
The verdict
When I began this review, I made it a point to keep an open mind. Nevertheless, my past experiences cooking Brussels sprouts suggested that roasted or air fried sprouts would put in the winning bid — yet I was wrong. The braised Brussels sprouts were by far the best ones I tried.
Unlike many of the other sprouts, braised Brussels sprouts were sweet (but not bitter) and juicy (but not mushy). Furthermore, they browned beautifully, but weren't excessively crispy to the point of being chewy.
Braising Brussels sprouts might pose a bit of a learning curve to some folks, but this method is actually simple and involves a fair amount of hands-off time after the initial searing. Plus, I appreciated how flexible the braising process can be, allowing one to incorporate various liquids to lend distinct flavors. As long as I have space on my stove, this will be my new go-to method for cooking Brussels sprouts moving forward.