10 Mistakes Everyone Makes With Frozen Pizza
Sometimes, there simply isn't the time or energy for whipping up a dinner from scratch, and that's where frozen pizza can save the day. It's a quick and satisfying option that's much more affordable than takeout, and there's very little effort required to take it from frozen and boxed to hot, cheesy slices on your plate. Most store-bought frozen pizzas come with simple instructions. Generally, you'll preheat the oven, remove the pizza from its packaging, and pop it directly on the oven rack to bake. After 15 minutes or so, the cheese should be gloriously melty, and the crust crisp and golden. But, this isn't always the case.
If your frozen pizza has ever turned out a little lackluster, there are number of possible culprits, and figuring out what went wrong can be tricky. Perhaps the base has cooked unevenly, the edges haven't crisped up, or things are looking somewhat soggy post-slicing. Thankfully, there are multiple ways to ensure you don't fall victim to pizza disappointment. We've done the research and identified some all-too-common mistakes, plus what to do prevent them. So, if frozen pizza is a staple in your household, it's time to perfect your prep method, and make sure this comforting savory treat is a triumph every time.
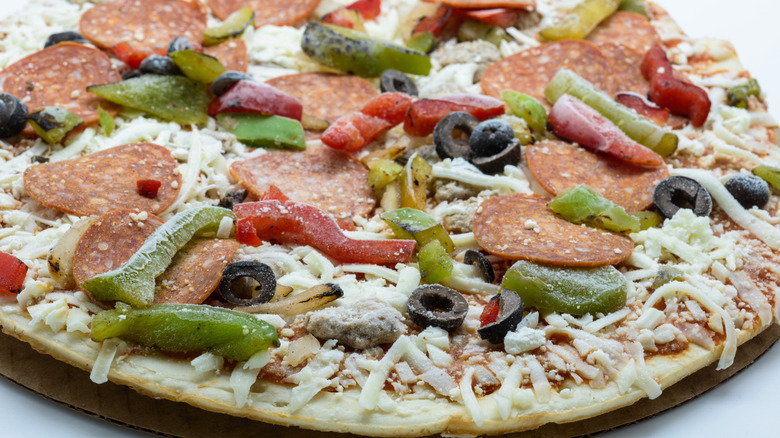
Selecting a poor-quality pizza

Your journey to pizza perfection begins long before you've even thought about switching on the oven. In fact, perhaps the most important step of all takes place at the grocery store, when you're perusing the boxes in the freezer aisle. Selecting a good-quality pizza is a surefire way to set yourself up for success. Not only will this yield a superior taste and texture, it'll likely be a healthier choice, too.
A key thing to look for when choosing a frozen pizza is a short, simple ingredient list. All too often, you'll see products packed with unnecessary additives like emulsifiers, preservatives, and food dyes. Anti-caking agents are also common. They keep shreds of cheese from sticking together, but these can actually prevent the cheese from melting effectively. A good cheese to sauce ratio is also crucial, and some brands can certainly be a little stingy when it comes to toppings, though these factors can be hard to assess without opening the box (that's where our frozen pizza ranking guide comes in handy!). On the other hand, you might prefer to opt for a classic, topping-free Margherita, since having a base of just cheese and sauce allows for endless customization opportunities.
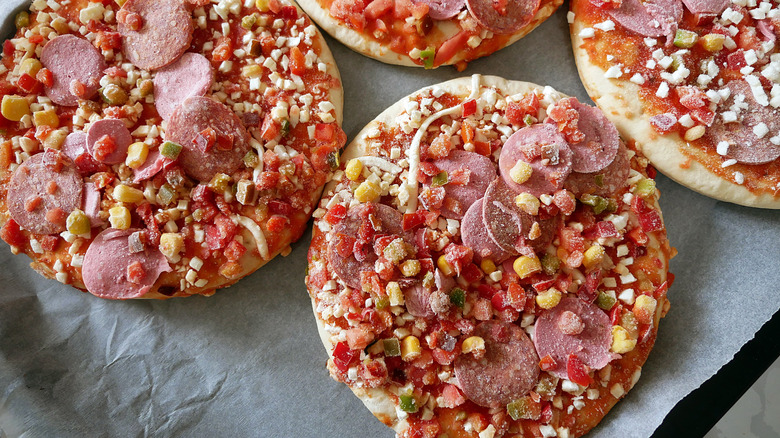
Not redistributing the toppings

We've all been there. You've opened your pizza box only to find the toppings looking a little askew. Don't worry, this isn't surprising. After all, it makes sense that there'd be some movement of the meat and veggies during the packaging and transporting process. While this isn't a sign of a poor-quality pizza, it's still important to rectify. Leaving the toppings clumped together could lead to uneven cooking. Plus, if you're sharing your pizza with friends and family, this probably means somebody is going to be left with a rather sad-looking, topping-less slice.
Once you've unwrapped your pizza, take a moment to move around the cheese and other toppings until you have an even distribution. If for some reason it's still looking a bit sparse, you can always throw on some extras, such as sliced bell peppers, shredded chicken, or an extra scattering of shredded mozzarella. Now, everything should melt and brown nicely, and everyone will get a generously-topped slice.
Not preheating the oven
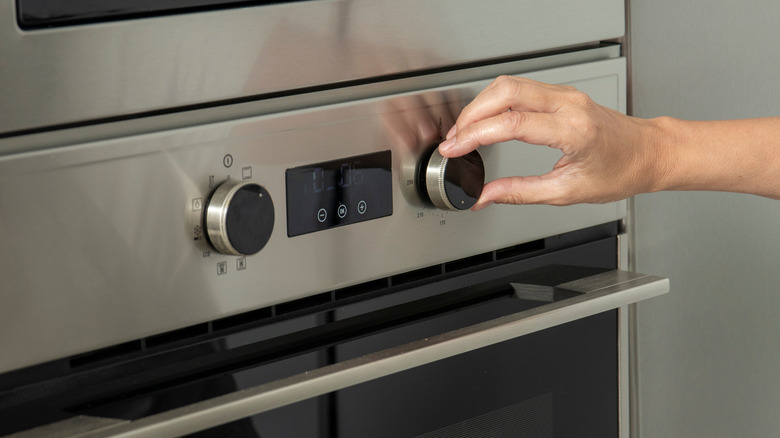
If you're someone who prefers to skip the oven-preheating step, beware that you might be doing so to the detriment of your pizza. While preheating isn't essential for some recipes like lasagna or mac and cheese, when it comes to frozen pizza, it's crucial for ensuring an even bake. A good pizza will have a nicely browned base, crispy crust, and layer of golden, melty cheese. Your best chance of achieving these results is immediately starting off the cooking process at a high temperature. Another top tip is to preheat a baking tray or pizza stone that you'll be placing the pizza onto. This further aids the crisping process and prevents unwanted soggy middles.
While you could technically cook a frozen pizza starting with a cold oven, this generally means you'll need to cook it for longer than directed on the packaging. You'll probably have to extend the cooking time anywhere from one to 10 minutes if you haven't heated up the oven beforehand. The exact amount of time will depend on the specific pizza you've selected. So, this can make the cooking process significantly more confusing, and you'll have to keep a close eye on things to prevent under- or over-baking. Hence, preheating is always recommended. Just set the dial to your desired temperature and wait around 10 to 15 minutes. Most modern ovens will have a light that signals when the preheating time is up.
Not baking it for long enough
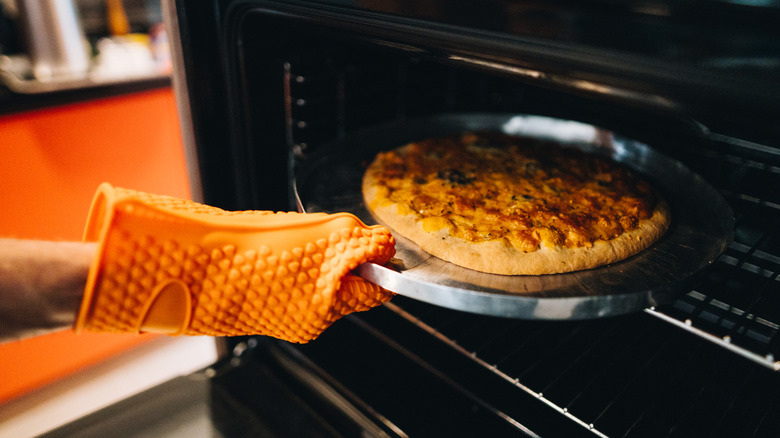
As much as you're craving that first cheesy bite, don't be tempted to pull your pizza from the oven before the cooking time is up. You might think that skipping the last few minutes of baking won't make much difference, but fully cooking your pizza is crucial if you want to achieve the optimum texture and flavor.
The instructions on your pizza packaging are a good guideline to follow. This will typically state a baking time of between 15 to 25 minutes. However, bear in mind that all ovens behave differently, so you may find that you need to adjust this slightly. Check your pizza after the suggested baking time is up to see how it's doing. You'll know it's ready when the cheese has completely melted and the crust is nicely browned. If it's not quite there, let it cook for another few minutes. For deep dish pizzas, you should even be able to check the internal temperature, which should have hit at least 165 degrees Fahrenheit before you remove it from the oven.
Baking at the directed temperature

Another important factor in the frozen pizza prep process is the temperature you choose to bake it at. And annoyingly, the recommendation on the packaging isn't always guaranteed to produce the best results. Often, the listed temperature is simply too low, and you end up with a pizza that has underbaked dough and cheese that isn't fully melted.
The typical 400 to 425 degrees Fahrenheit temperature guideline can be cranked up pretty dramatically, even to the maximum setting on your oven, which is generally somewhere between 500 and 550 degrees Fahrenheit. With this method, you're more likely to build that all-important crunch while keeping the middle nice and chewy, with no sogginess in sight. Essentially, you're mimicking the effects of a professional pizza oven (some of those get as hot at 900 degrees Fahrenheit). Note that amping up the heat will also call for a reduction in cooking time, so expect to cut the time suggested on the box.
This technique is highly effective for most frozen pizzas, with the exception of deep-dish and plant-based varieties. The former are more prone to uneven cooking at high heat, while the latter usually require their own specific cooking method due to ingredients like vegan cheese and alternative crusts.
Not thawing it prior to cooking
Most pizza manufacturers instruct consumers to bake pizzas directly from frozen, but we're encouraging some deviation from the guidelines. The reasoning behind this recommended baking approach has nothing to do with taste and texture of your pizza. Instead, it relates to food safety. Leaving a frozen pizza to thaw at room temperature for lengthy periods could result in the growth of potentially harmful bacteria, so for protection, pizza brands are simply providing you with the option that presents the lowest risk of food poisoning. However, leaving pizza out for around 30 minutes before cooking, or letting it sit in the fridge overnight, are two perfectly safe ways to defrost it.
So, what are the benefits of thawing a frozen pizza? Well, The Takeout put the defrosted pizza to the test only to discover that the pre-thawed pizza yielded a puffier, crisper crust, and boasted a better cheese pull than its baked-from-frozen counterpart. There were also some notable differences in the pepperoni topping. On the frozen pizza, the meat leeched far more oil into the cheese during cooking, giving each slice a more overpowering pepperoni taste. However, when thawed, the pepperoni retained its texture better and released less oil, allowing the flavors of the cheese and sauce to shine. Thawing your pizza has energy-saving benefits too, since it tends to reduce the baking time by about 50%.
Skipping the extra add-ons
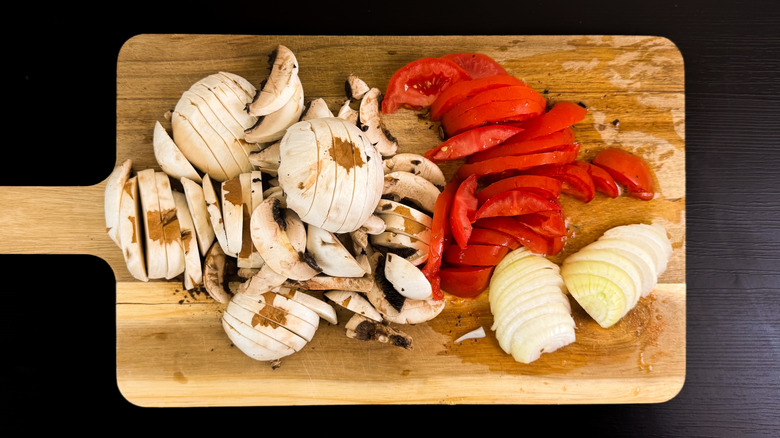
Who says you have to limit your toppings to what's inside the pizza box? Whether you're opting for a plain base and building your selection entirely from scratch, or you're just looking to spruce up what's already there, throwing on some extras is the perfect way to give your frozen pizza an upgrade. There are endless options to choose from here. To add some extra color and nutrients, go for a handful of fresh veggies. Thinly sliced bell peppers, mushrooms, zucchinis, or onions will all work brilliantly. Try tossing these with a splash of olive oil and some seasoning before arranging them atop the pizza or go all out and pre-roast them for the ultimate caramelized finish. Adding extra meat is also a great way to boost the pizza's savory flavor. Think cooked crumbled sausage, shredded chicken, or cured meats like chorizo or Parma ham. For a gourmet pizza twist, go with delicate folds of smoked salmon.
Leafy green toppings like spinach and arugula are fantastic pizza enhancers too. Just gently wilt or saute the leaves before adding them to the frozen base to prevent burning. Fresh herbs like basil, parsley, or oregano can also be scattered over post-baking. And, don't forget the sauces. A drizzle of pesto, sriracha mayo, or barbecue sauce is sure to take your freshly baked pizza to the next level.
Not enhancing the crust
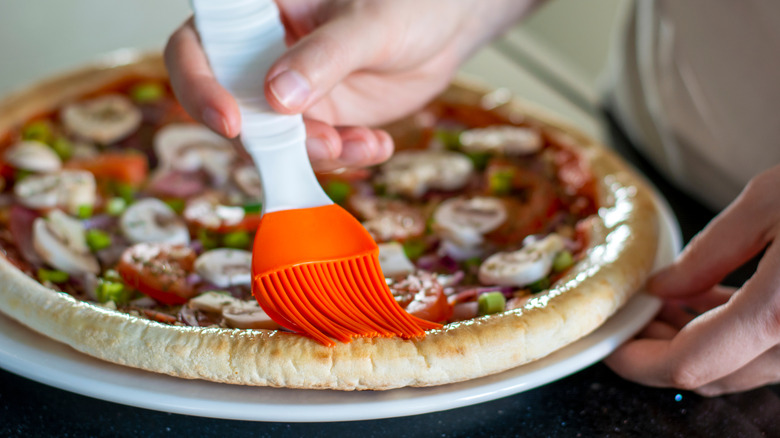
One of the simplest ways to turn a basic frozen pizza into something truly special is enhancing the crust. With a few basic additions, you can take the crust from bland and cardboard-like to golden, crispy, and bursting with flavor. Step one is brushing the crust with melted butter or olive oil. During cooking, these fats will interact with sugars in the dough, promoting browning and creating that desirable crisp-chewy texture. You could even go with garlic- or chili-infused oil or butter, to give the crust an aromatic twist.
While you can absolutely stick to the simple brushing step, there's always the option to follow this with some extra seasonings. A sprinkling of finely minced fresh herbs like basil, parsley, and chives will make your pizza look and taste incredible, while grated Parmesan cheese brings a delightful salty depth that pairs beautifully with the tangy tomato sauce base. To elevate the crust-eating experience even further, serve your pizza with a selection of dips, such as creamy garlic and herb sauce, fiery hot honey, or vibrant pesto.
Not using a pizza stone

If you tend to throw your pizza straight onto the oven rack, you're not alone. But, investing in a pizza stone will be a game-changer for your dinner routine. Ever noticed that your pizzas tend to brown much more quickly in one area? This is likely due to hot spots in your oven — a common problem that can lead to uneven baking. To solve this, grab yourself a pizza stone. This heavy slab, typically made of durable materials like ceramic or stone, sits between the oven rack and your pizza. Its job is to absorb and distribute heat more evenly, helping you achieve perfectly browned, crisp results all over, much like you'd get from a traditional brick pizza oven.
To maximize its effectiveness, it's best to preheat your pizza stone for at least 30 minutes, placing it on the lower rack of your oven. Always make sure to add the stone to a cold oven and let it heat up gradually, to prevent cracking due to thermal shock. For the same reason, it's also important to thaw your frozen pizza before placing it onto the hot stone. Then, simply bake it as you normally would. As the pizza cooks, the stone helps moisture to evaporate from the dough, while heating the pizza evenly from below. So, there'll be no soggy bottoms in sight.
Cutting it too early
When your pizza is fresh out of the oven looking gloriously golden, melty, and crisp thanks to our aforementioned tips, you probably think there's nothing else that could go wrong. Well, there's one more thing that requires careful attention, and that's the slicing step. It can be tempting to dig in right away, but it's better to exercise some patience. Cut your pizza too soon, and things will probably get a little messy, with cheese sticking to the knife, and toppings sliding around everywhere. The base is also more likely to tear during slicing.
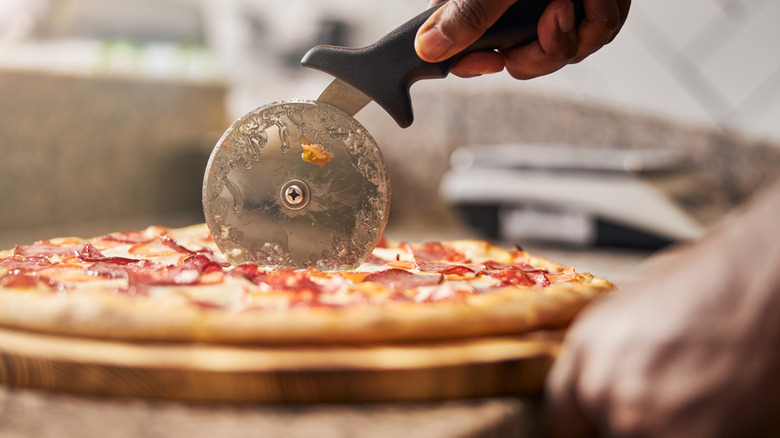
Wait two to three minutes before cutting your pizza, and you'll have much better results. This allows the cheese to firm up, and sets the toppings in place, which makes it much easier to achieve clean slices. This approach also gives the flavors some extra time to blend. A pizza wheel or a sharp knife are both ideal tools for slicing. You could even reach for scissors instead of your pizza cutter if preferred.
Static Media owns and operates Tasting Table and The Takeout.