15 Mistakes To Avoid When Painting Your Kitchen
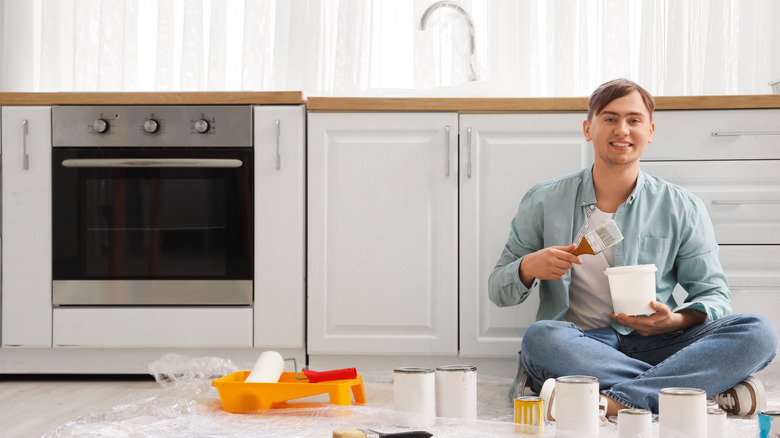
When you can no longer ignore the telltale signs that it's time to remodel your kitchen, you can take heart in the fact that refreshing this space needn't turn into a costly, protracted renovation. Painting your kitchen walls, cabinets, and tiles is an easy way to breathe fresh life into a dated space.
As eager as you might be to dive right in and see the results, it helps to proceed with caution. Matt Boden, owner of Fresh Coat Painters of Tampa, has found that it helps to slow down and understand the ins and outs of painting your kitchen. Surface cleaning and applying a primer is a must, and you won't score any brownie points for painting in poor lighting. From rushing the wait time between applying two coats to reinstalling hardware too soon, there are endless missteps that can ruin the professional finish you're aiming for. Fortunately, you won't be making any of them, because you'll have brushed up on the painting mistakes to avoid in your kitchen beforehand with this expert-recommended list.
Skipping surface cleaning
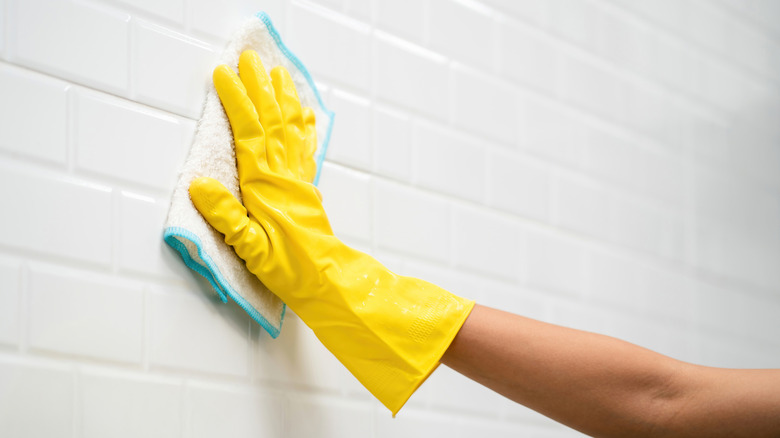
Even the glossiest paint won't be able to flaunt its lacquer if it is slathered onto stained, greasy walls. The latter is a bigger concern in the kitchen out of all the rooms in the house — picture the amount of steam, grease, and oily residue that clings onto the walls in this space. "If not cleaned before painting, these residues prevent paint from adhering properly, leading to peeling, bubbling, or uneven finishes. Paint also traps dirt beneath, causing discoloration over time," Matt Boden cautions.
Your best option for ensuring that you are working with a clean canvas is to wash every inch of the walls with a degreasing solution — this can be something as simple as a mixture of warm water and mild dish soap, but the latter can also be swapped for trisodium phosphate (TSP). Once cleaned, you'll want to wait until the walls have dried completely before moving on to the next step of the painting process.
For buildup that is particularly clingy, you'll need to put in some elbow grease with a scrub brush or sponge — Boden recommends paying special attention to corners and the areas around cabinets, where grime can often accumulate. "Skipping this crucial step not only shortens the lifespan of the paint job, but also diminishes the professional quality of the finish," he says.
Not sanding glossy surfaces
From high-shine cabinet doors to backsplash tiles, there are several areas in the kitchen that can be revived with a quick hand of paint. But you cannot whip out a paint brush and directly start applying multiple coats on a glossy surface for one crucial reason: "Paint doesn't adhere well to glossy surfaces, because the slick finish prevents the paint from 'gripping' onto the material," Matt Boden explains.
If you don't properly prep the surface beforehand, your freshly applied paint is more vulnerable to sliding off the surface or chipping away prematurely. However, all hope is not lost — a quick hand with sandpaper can create texture on a glossy surface. "Sanding creates small abrasions, giving the paint something to latch onto," Boden affirms. When looking to take the sheen off a glossy base, he recommends opting for sandpaper between the range of 180 to 220 grit. After you have sufficiently scuffed the area, you'll want to reach for a stiff-bristled brush to dust away any residual particles that can play spoilsport with the adhesion of the paint. Boden adds, "Properly dulled surfaces ensure the paint bonds firmly, resulting in a longer-lasting and smoother finish."
Skipping primer
The fastest way of letting the entire hardware store know that you are a painting newbie? Walking out with several cans of paint — without a single primer in sight. You wouldn't pipe frosting on a cake without applying a crumb coat first, and the same principle holds true here. "Primer is critical because it creates a uniform base for paint, improves adhesion, and enhances durability," Matt Boden explains. "Without primer, paint may soak unevenly into porous surfaces or fail to stick on glossy or previously painted areas." The fallout for skipping this step lies in a patchy, uneven finish that dials down the longevity of your paint job.
But remembering to apply a primer isn't the only responsibility resting on your shoulders — you'll also need to ensure that you are choosing the right one to get the job done. Given all the steam and splatters that the kitchen is privy to, Boden recommends asking for a stain- and grease-resistant option when shopping for one. "Proper priming not only improves the final look, but also ensures paint performs as expected for years, saving time and money in the long run," he adds.
Ignoring repairs
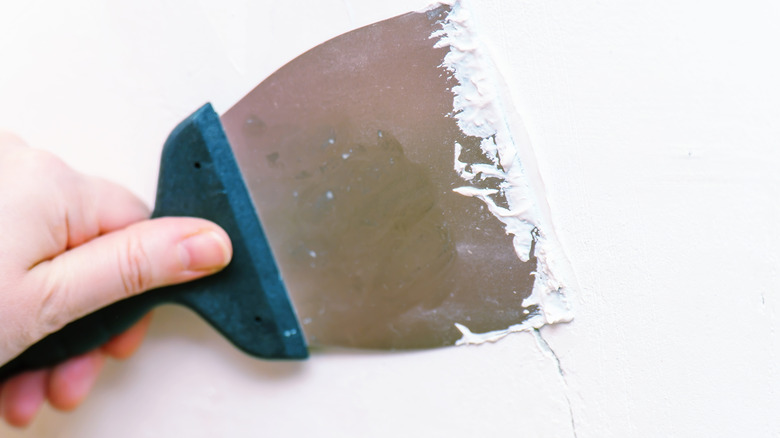
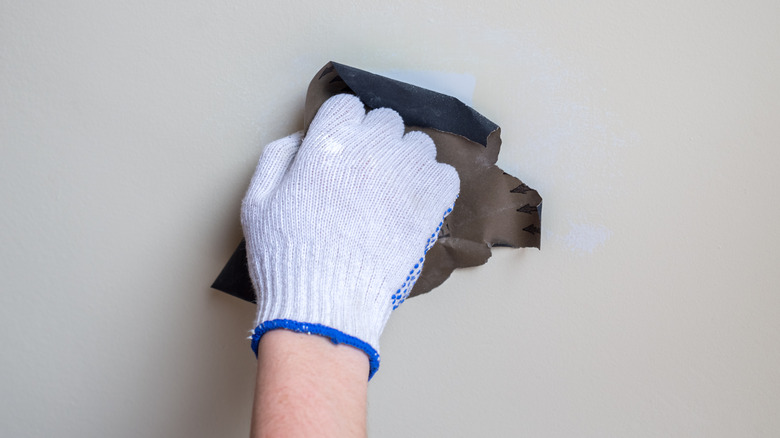
In between all the degreasing, sanding, and priming, you probably aren't looking forward to adding more tasks to your to-do list. But any cracks or dents in the wall will need special attention, and no, they won't be covered up anyway with a fresh coat of paint. Matt Boden believes that this quick fix might temporarily hide any flaws, but you will end up paying the price further down the road. "Uneven surfaces cause paint to look bumpy, while cracks often reappear through the finish, undermining the effort," he says.
When faced with the steady onslaught of humidity and temperature changes of the kitchen, building materials can often expand or contract, causing cracks to develop in your existing paint. If left unattended, no amount of fresh paint will be able to stop your walls from looking neglected and uncared for. Start by scraping away any peeling remnants of paint to ensure that your paint has a strong, stable base to adhere to. In this process, you'll also be able to uncover any cracks or indentations in the walls — Boden recommends filling these with spackle or joint compound, and then running sandpaper over the surface to create a smooth base. Finally, a quick hand of primer will create a uniform finish.
Choosing a paint color under artificial lighting
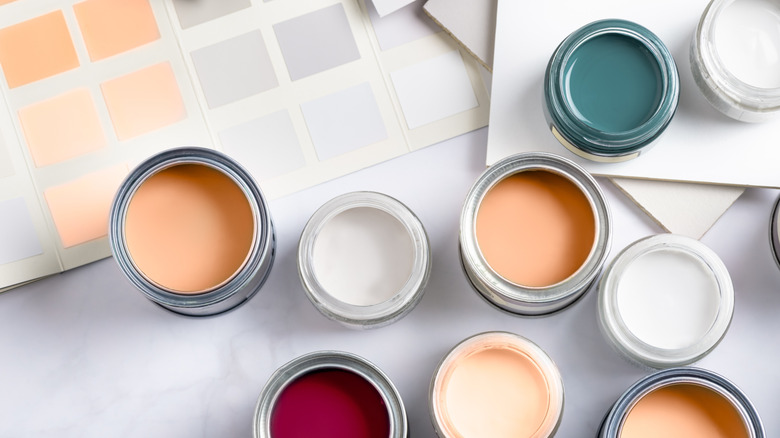
Layer lighting is the easiest way to give your kitchen an elegant look with almost no effort. But while strategically placed recessed lighting can douse your dinner in a warm glow, it won't do much for improving the accuracy of your paint color choices. Matt Boden especially cautions against making any final color decisions under artificial lighting as it can alter how the color appears to the eye. "Warm-toned lights can make colors look yellower or redder, while cool fluorescent lights may give them a bluish tint," he says. "As a result, a shade chosen under indoor lighting may look completely different in natural daylight."
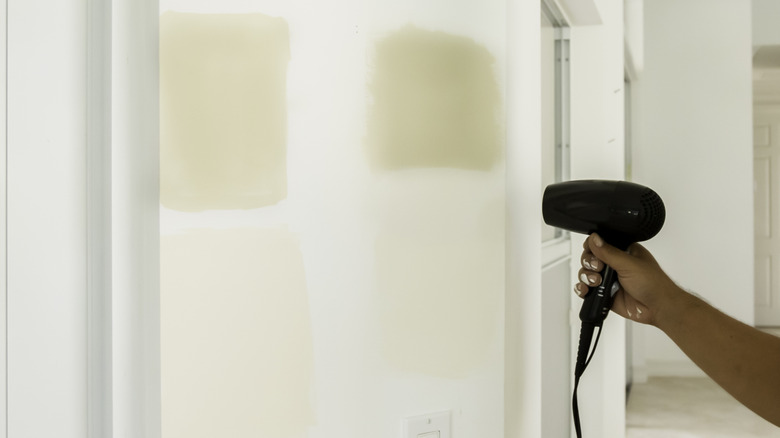
As a rule of thumb, Boden wants you to test your shortlisted colors in different light conditions throughout the day. "Before finalizing, paint small patches and compare them in morning sunlight, afternoon brightness, and evening artificial lighting," he advises. To get a fair understanding of how the color will look on the walls, it helps to apply two coats of paint on a minimum area of 1 square foot.
Given that shadows and sunlight can hit different walls of the kitchen differently, it also helps to paint a test patch on multiple walls until you are thoroughly satisfied with your decision. "Choosing without testing may lead to disappointment, requiring costly repaints," Boden agrees.
Not removing hardware and fixtures
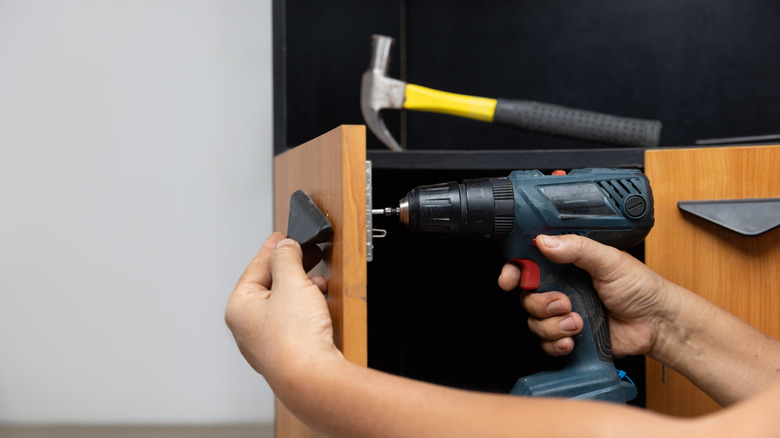
When you are racing against the clock to get your kitchen makeover done in time, it can seem tempting to take a few shortcuts — surely, you don't need to haul out a screwdriver and unscrew every last doorknob when you can just paint around it carefully, right? Unfortunately, the answer is no in Matt Boden's rulebook. For starters, you won't have a smooth, uninterrupted surface to run your brush over. This gamble can also result in drips, splatters, and uneven streaks. "Paint can seep under edges, leaving messy borders and requiring tedious touch-ups later," he says. "Worse, paint may permanently adhere to hardware, making it difficult to clean or remove."
There is one crucial organizational step you won't want to miss when painting kitchen cabinets: numbering or labeling the removed pieces as you go along. This will ensure that you know which doorknob goes back where once the paint is dry. But what about those pieces that can't be unfastened? Boden advises applying a secure stretch of painter's tape to prevent them from any splatters.
Failing to tape properly
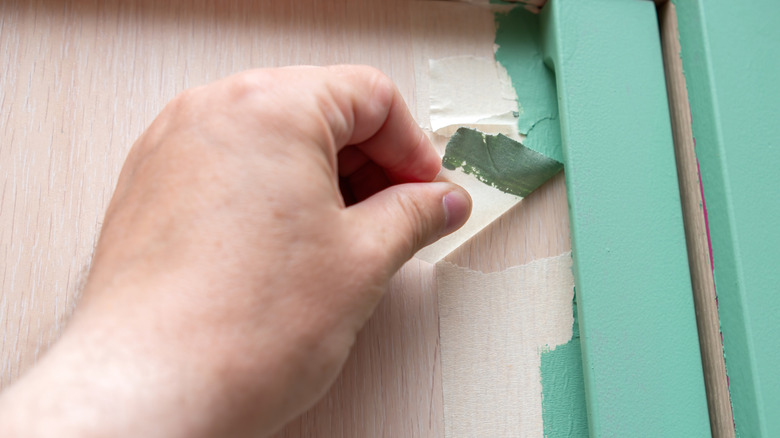
Messy edges. Uneven lines. Unwanted splatters. If these don't sound like terms you want associated with your paint job, you'll want to befriend painter's tape, stat. The ultimate savior for DIY paint projects, painter's tape is a kind of tape that peels off cleanly without leaving any adhesive residue on the walls. By applying a protective boundary around the area you plan to paint with this tape, you can sleep easy without having to worry about accidental drips and stray brushstrokes veering onto your countertops, tiles, and trim. "Without tape, paint can bleed into unwanted areas, leaving jagged, unprofessional lines," Matt Boden says.
When used properly, painter's tape makes for an inexpensive form of insurance against any painting disasters. "The best method is to apply tape carefully, press down edges tightly, and remove it at a 45-degree angle while the paint is slightly tacky," he elaborates. You'll want to pay special attention to the latter, as removing the tape too early or late can hamper the finish of the paint. Once the paint has started to harden — but before it is completely dry — you can run a razor blade lightly along the edge of the tape to loosen it from the wall and peel it away safely.
Using cheap brushes and rollers
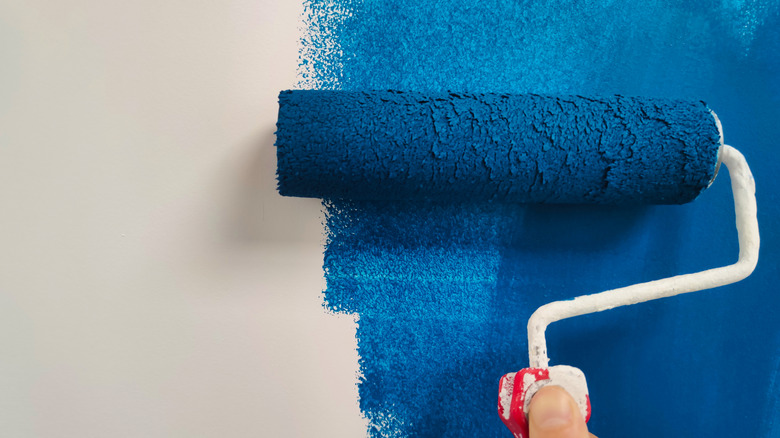
The age-old adage might state that, "A bad workman blames his tools." But when you are looking to create a professional finish on your kitchen walls, this adage needs to be changed to, "An artist is only as good as his tools." Matt Boden agrees, having found that low-quality brushes and rollers can significantly compromise the end result. "Cheap brushes tend to shed bristles, leaving unsightly marks embedded in the paint. They also fail to hold paint evenly, causing streaks or an uneven application," he says. Inexpensive rollers also haven't won him over with their tendency to shed lint and cause a patchy application.
So, what should you be looking for when shopping for paint brushes and rollers? Brushes should have bristles that are tightly packed and split to better hold the paint; meanwhile, Boden recommends opting for the right nap thickness for rollers — the length and thickness which determines the amount of paint the roller can hold. Textured walls, particularly, require longer naps so that the thicker material can burrow into all the grooves and crevices. Smoother surfaces won't say no to shorter naps. "Spending slightly more on durable brushes and rollers not only improves results but also saves time and effort, producing a professional-looking finish that lasts longer," he observes.
Not using paint rated for kitchens
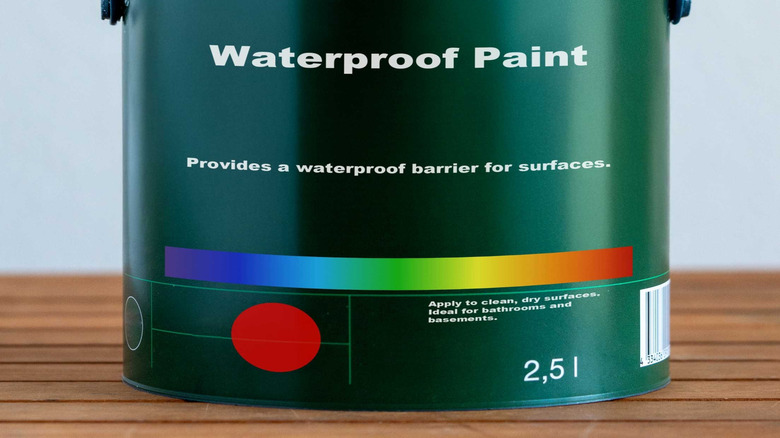
You may have fallen in love with the absolute best white paint colors for your kitchen, but choosing the right shade is only half the battle won. Picking a tub of regular paint from the hardware store simply won't do — not unless you are open to retouching your walls every so often. "Regular wall paints are not designed to withstand the unique conditions of a kitchen, where grease, moisture, and frequent cleaning are unavoidable. Standard paints may absorb stains, peel when exposed to steam, or discolor from grease splatters," Matt Boden says.
What's a smarter option, instead? Keep an eye out for kitchen-rated paints when shopping, as they are designed to repel moisture and resist mold as well as stains. Satin finishes are a popular candidate as an easy-to-clean, moisture-resistant choice. A semi-gloss finish can also be cleaned easily and will nestle into your nightly wipe-down routine without a murmur. But you'll want to give matte finishes a wide berth, as they cannot stand up to the moisture in the kitchen.
Painting in poor lighting
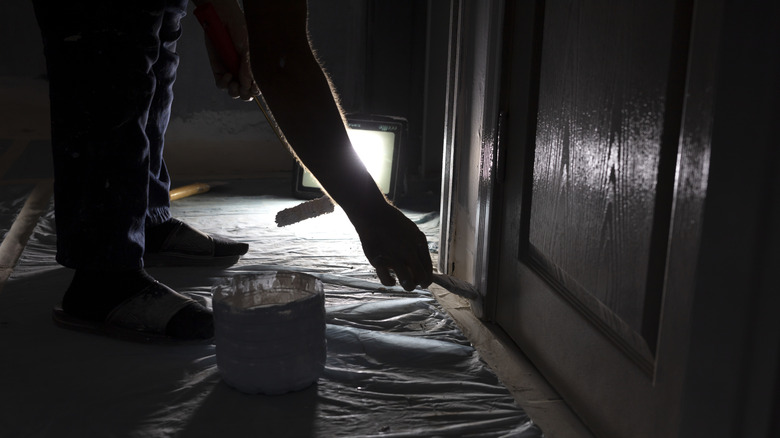
You have discovered the perils of choosing your paint color in the wrong lighting, and now it is time to extend the same courtesy to the actual painting process, as well. Insufficient illumination cannot only affect how you perceive colors — does the wall really need that extra coat of paint? — but may also lead to an inconsistent finish. Matt Boden agrees: "Poor lighting can cause missed spots, streaks, and uneven coverage that only become obvious later under better illumination."
According to Boden, daylight hours when sunlight is flooding the room is ideal for painting. "If that's not feasible, using bright, neutral-colored artificial lighting such as LED work lights is a good alternative. Portable lamps positioned at different angles can also highlight imperfections like drips or thin patches," he says. If you are planning this makeover ahead of time, it helps to choose seasons with longer hours of sunlight, so that work can get done with fewer interruptions.
Skipping ventilation
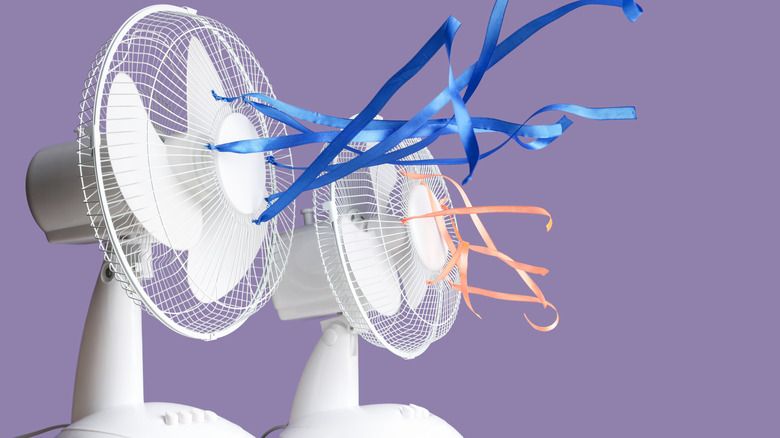
Adequate ventilation is one kitchen remodel aspect that you simply can't overlook. While range hoods can keep pollutants and smoke as you cook food, you'll want to pay the same discerning attention to ventilation while repainting the kitchen. "Adequate ventilation is essential during painting, because fumes from paints, primers, and cleaning products can be harmful if inhaled in high concentrations," Matt Boden states. Your respiratory system won't thank you for skipping adequate ventilation, and you'll also watch your project timelines balloon as the lack of airflow delays the drying process.
The first order of business to ventilate the kitchen as you work is to open all doors and windows. When coupled with fans, this cross-ventilation will get the airflow circulating through the room. Again, it helps to opt for dryer seasons, such as fall, so that windows can be kept open for longer durations. Windows and doors should ideally be left open for two to three days after painting has finished to reinstate the indoor air quality to normal levels.
Applying thick coats of paint
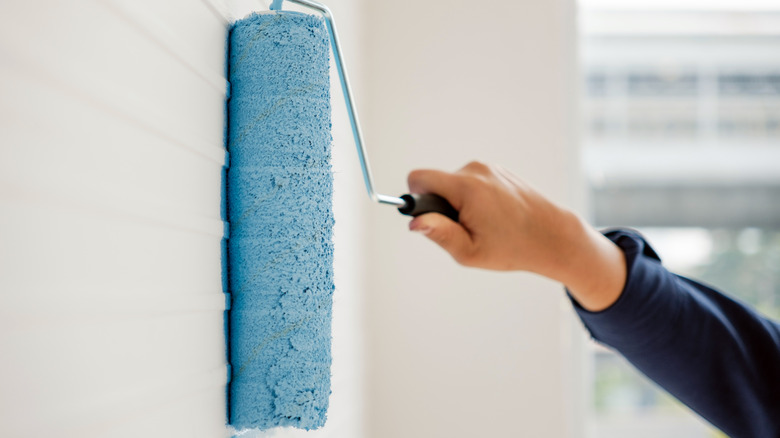
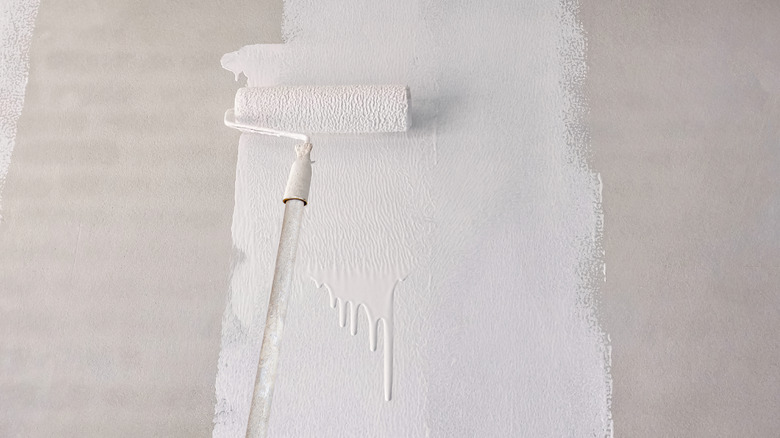
Two thin coats or one thick coat? This question serves as the metaphorical "to be or not to be" of the painting world. When you are looking to speed up the job, applying thicker coats of paint can seem tempting. But more isn't always merrier, and Matt Boden always prefers thin, controlled layers over a hasty, heavy-handed job. "Thick layers can take much longer to dry, trapping moisture underneath and causing bubbling or peeling later," he says.
Boden instead wants you to apply multiple thin coats, as this will help the wall dry in an even, uniform manner. Thin coats also come with lesser chances of unsightly drips and allow you to build up to the level of coverage you desire gradually. "To nail the right thickness, load the brush or roller moderately and avoid over-saturating it with paint," he advises. "Apply with consistent, overlapping strokes, ensuring even coverage without excessive buildup."
Not allowing proper drying time between coats
Deciding how much time to wait between applying two coats of paint is the ultimate catch-22. Apply the second coat of paint too soon, and the base coat won't have had time to adhere to the wall properly — this can cause peeling and streaks. On the other hand, if you wait too long, you might compromise the adhesion between the consecutive layers. "Adequate drying time ensures each coat bonds smoothly, creating a uniform finish that resists damage," Matt Boden says. "Rushing or delaying this step compromises both appearance and durability."
To take the guesswork out of the equation, he suggests following the recommended drying times specified on the paint can by the manufacturer. Generally, the amount of time you need to leave between two consecutive coats depends on the type of paint you are using. Latex or water-based paints dry quickly and will be ready for a fresh coat within 2-4 hours. Oil-based paints, meanwhile, will require 24 hours to dry adequately before they can be revisited by the paint roller.
Reinstalling hardware too soon

The walls have been painted, and you can't wait to tick the last few tasks off your to-do list. If reinstalling hardware on the cabinets is topping this list, you need to pause. "Paint may feel dry to the touch within hours, but curing — the process of hardening completely — can take several days to weeks depending on the paint type," Matt Boden warns. If hardware such as knobs, handles, and outlet covers are reattached hastily, the smooth finish of the painted surface might get dented and smudged.
Your best course of action is to read up on the instructions provided by the manufacturer on the right curing time — Boden has found that this generally runs into 7-14 days for latex paints while oil-based options can take longer. "Exercising patience ensures a flawless, durable finish without unnecessary touch-ups, keeping both the paint and hardware in excellent condition," he says.
Forgetting to label the paint cans
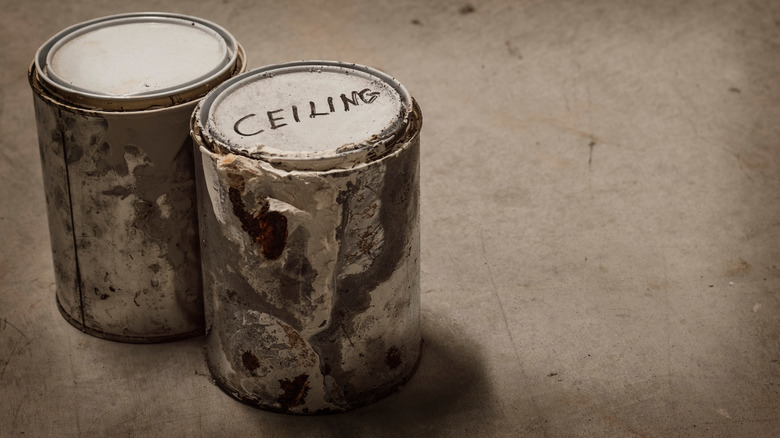
With your walls dried and cured, you are likely eager to get the mess out of your kitchen. But before you place those half-used paint cans into hibernation, Matt Boden recommends taking the time for one essential step: labeling individual paint cans to make future touch-ups easier. "Without labels, it becomes difficult to identify which color, brand, or finish was used on a particular wall, leading to mismatches when repairs are needed," he says.
Among the crucial details you need to jot down on the label are the paint color, type, finish, the date it was mixed, and the room that it was used in. When done, Boden wants you to clean any drips around the rims and store the cans in a cool, dry place, where they won't be affected by temperature changes or direct sunlight. He concludes, "Proper labeling and storage ensure that the exact color is always accessible, extending the lifespan of the paint and simplifying future projects."