10 Tips For Making The Best Ice Cream Cake
Whether you're looking to spoil yourself at the end of a long day or need a sweet centerpiece for a summery fiesta, ice cream cake is the ultimate indulgence. However, while the best store-bought ice cream cakes will have you sorted for parties, there's an undeniable joy in serving a handmade creation and having someone beg for your recipe.
On paper, putting together an ice cream cake might sound easy, as you're essentially just layering cake and ice cream. However, if you use inferior ice cream, pick the wrong pan, or use improper cooling techniques, your creation might devolve into a velvety mess even before it's ready to serve. To learn how to prevent such culinary disasters, we turned to the experts for help: Alpa Pereira, founder and head chef of Toujours, and Suva Samanta, pastry chef at Marriott's Himalayan hotel, The Westin Resort & Spa.
Below, we've compiled their advice on the best ingredients to look for, their recommended frosting techniques, and insider tips for making the best ice cream cake. The only problem they can't solve for you? Swatting away all the eager hands vying for a spoonful of cake before you've finished serving.
1. Choose high-quality ice cream
The process of crafting the perfect ice cream cake starts with finding the right ice cream. Store-bought versions are an easy way to reduce your prep time, so you can concentrate all your creative energies on the crucial tasks of assembling and frosting your masterpiece.
However, not all off-the-shelf ice creams are created equal. Alpa Pereira personally prefers premium ice creams, and with good reason. "Choosing a rich, creamy base ensures balance, structure, and indulgence in every slice," she explains, noting how the presence of fewer stabilizers will ensure your ice cream melts and refreezes uniformly during the decorating process.
Suva Samanta stands united against low-quality ice creams because they can lose their structure and form crystals — the last thing you'll want is icy splinters gatecrashing that luscious, creamy mouthfeel. On the other hand, traditional dairy-based ice creams made with cream, milk, eggs, and natural flavors will always stand you in good stead. Samanta also recommends being wary of vegetable oils, artificial stabilizers, and ice creams with less than 10% milk fat. He cautions, "Such substitutes tend to be icy, less creamy, and can melt unevenly, impacting both taste and texture."
2. Use a springform pan
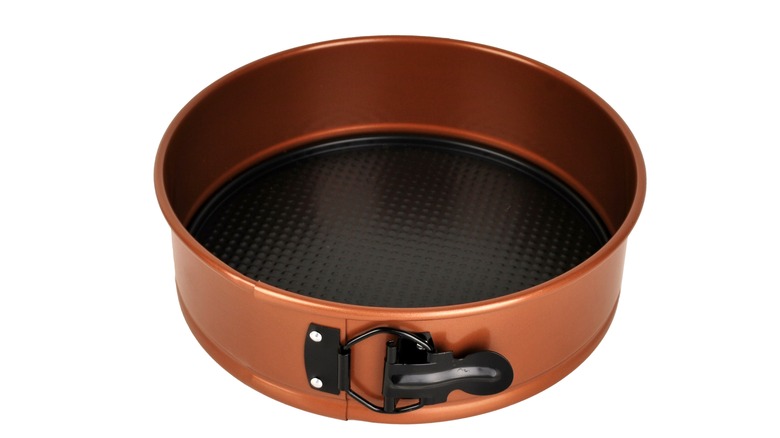
Once you've zeroed in on the right ice cream, it is time to consider your cake base. Chefs Alpa Pereira and Suva Samanta both caution against using a pan without removable sides. These can require excessive tugging to free your creation, which may deform those carefully constructed layers of cake and ice cream. So, what should you be using instead? Pereira believes that a springform pan is perfect.
Designed as a two-piece set, a springform pan generally consists of a base with detachable sides. The side section has a latch that allows you to release it when needed. Layered desserts, such as cheesecakes, are well-suited to this type of mold, and some bakers have even started using a springform pan for making tarts. The flighty temperament of ice cream cakes also takes kindly to this type of pan. "Its removable sides allow you to release the cake without tugging or prying, which helps maintain neat, intact layers. This design makes it much easier to achieve clean edges and preserve the cake's shape," says Samanta.
If you attempt to use a glass or ceramic pan without removable sides, you'll discover the hard way that ice cream likes to cling to these surfaces. Flimsy pans, on the other hand, are in danger of warping from the frozen component. "The right pan must withstand freezing while allowing smooth release, ensuring the cake looks sharp and professional when unmolded," explains Pereira.
3. Line your pan with parchment paper
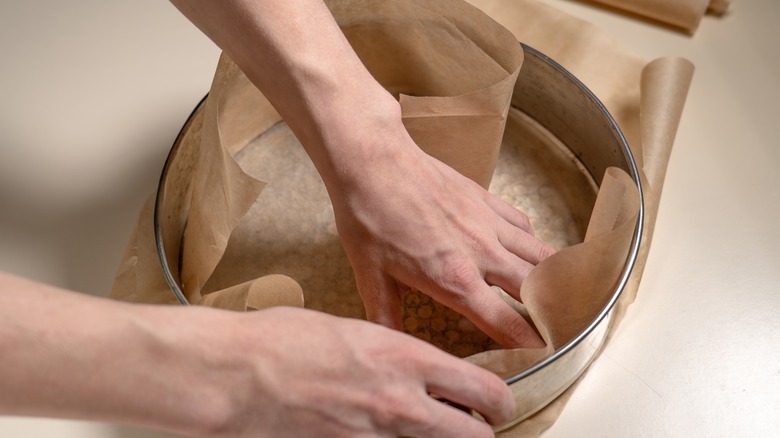
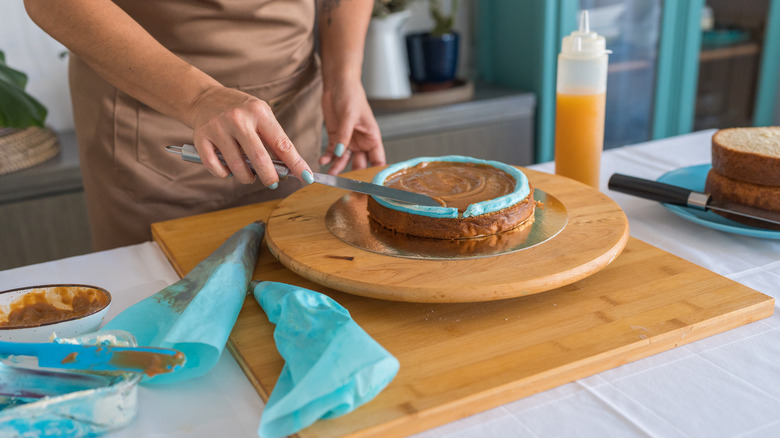
Picture this: You've just piped the last swirl of frosting onto your ice cream cake and attempt to remove it from the pan, only to discover a hostage situation. The sides of the pan are refusing to release your frozen creation. The smooth, bakery-quality edges you'd hoped for? Ancient history. While springform pans can minimize the messiness of the removal process, you should also line them with parchment paper.
Alpa Pereira recommends lining the base and sides of the pan with non-stick parchment paper, explaining, "Parchment is durable and freezer-safe. Proper lining protects layers and gives a crisp, bakery-quality finish when the cake is removed from the pan." You should remember to leave at least two inches of paper overhanging the pan edge to make it easier to lift out your cake. Crumpling the sheet beforehand is also an effective parchment paper hack, as it makes the paper easier to manipulate.
If you're looking to give your handiwork an additional level of protection, Suva Samanta recommends adding a layer of plastic wrap to your parchment paper. "This combination prevents leakage and protects the edges during freezing," he says. However, you'll want to steer clear of wax paper, as it can adhere to the surface of the cake, leaving behind a greasy residue. "Foil is also not recommended," he adds, "since it wrinkles and may affect the smooth finish of the cake layers."
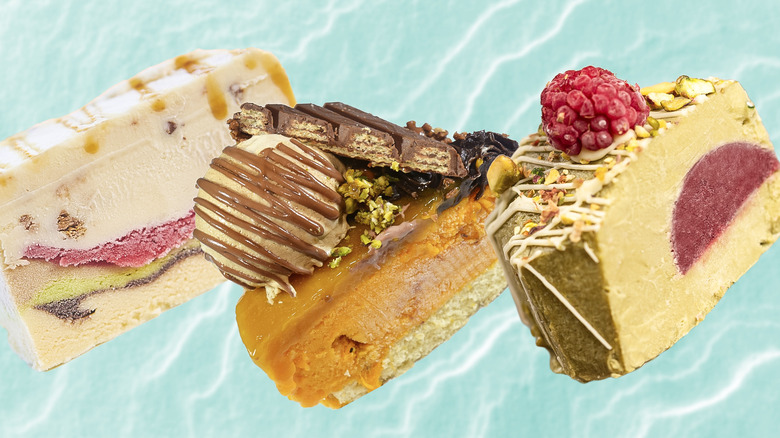
4. Choose creative yet balanced flavor combinations
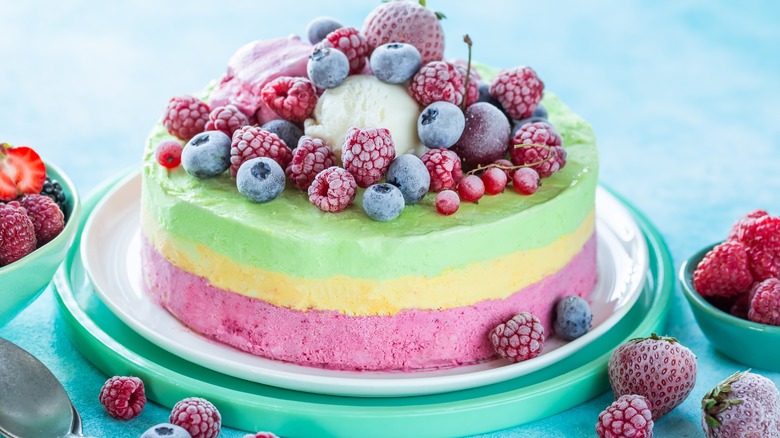
If you've glanced through Tasting Table's round-up of the best cake and ice cream pairings, you are probably itching to try out some creative combinations of your own. Alpa Pereira and Suva Samanta agree that the wild and wondrous world of ice cream cakes calls for extraordinary combinations; however, they also believe that maintaining a balanced approach is essential when spinning the flavor wheel.
Chef Samanta has found that some classic combos never fail to impress. For example, picture the decadent depth of a chocolate cake softened by the creamy sweetness of vanilla ice cream. "Similarly, coffee ice cream layered with almond or chocolate sponge creates a sophisticated balance," he says. Meanwhile, Chef Pereira believes there's merit in exploring fruity sorbets to lift richer recipes as well.
However, if you become too zealous with your flavor pairings, you risk throwing together intense tasting notes that will ultimately overwhelm the palate. "The key is harmony: Pair bold flavors with mild ones to create contrast without clashing," notes Samanta. He also points out that well-balanced flavors will make your cake appeal to a wider range of tastes.
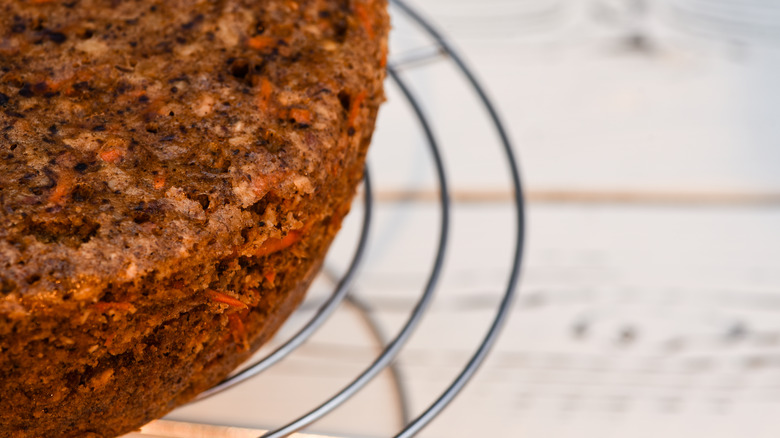
5. Make sure your cake cools down properly
With your unique flavor pairings locked in, you might feel like diving right into the process of building your ice cream cake. However, both experts caution against applying the ice cream layer until the cake has cooled down completely.
Even if you're short on time, Suva Samantra warns against rushing. "A warm cake will melt the ice cream instantly, leading to soggy, unstable layers. A chilled base ensures stability, sharp edges, and neat assembly," he notes. Shortcuts aren't recommended either, as Alpa Pereira cautions against freezing a hot cake in an attempt to cool it faster — this will only open the door for unwanted condensation, which can create a soggy crumb.
If you are pressed for time, Pereira advises slicing your cake into thinner layers so they cool more quickly. She also recommends using a wire cooling rack. A versatile baking tool, these elevated metal racks promote better airflow and circulation, allowing heat to dissipate faster while preventing the buildup of condensation.
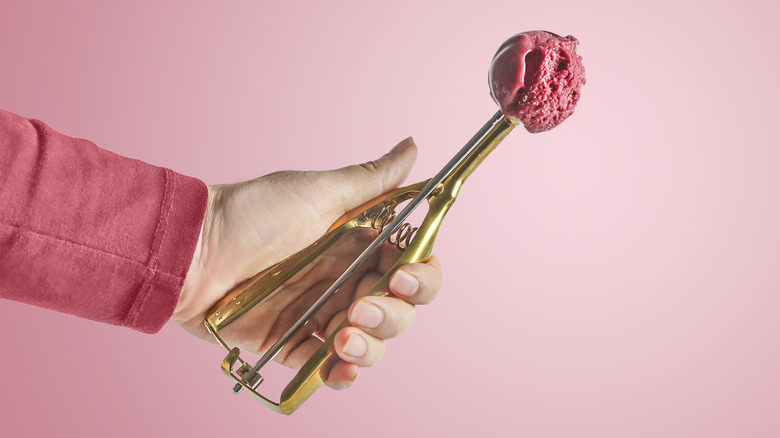
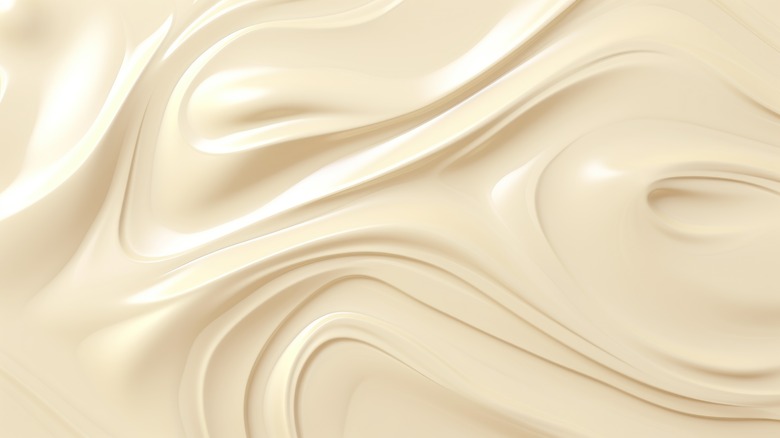
6. Soften your ice cream before layering
When assembling the layers of your ice cream cake, it may seem intuitive to use ice cream straight out of the freezer to ensure it doesn't melt before you've finished. In fact, solid ice cream can actually be a hindrance, as it's much harder to spread evenly.
"Rock-hard ice cream is too stiff, causing uneven layers and potential cracks in the cake," explains Suva Samanta. Softened ice cream, on the other hand, can be spread like frosting and used to seal any gaps in your cake's texture, creating a smooth, polished finish. However, you shouldn't let your ice cream become too soft, either. "Avoid over-softening," warns Samanta, "as soupy ice cream makes assembly messy and can seep into the cake, ruining both structure and flavor."
There is a golden window of time that you need to capitalize on — when the ice cream is no longer a rocky slab, but it's not about to flow into a sticky river. According to Samanta, leaving the ice cream tub out at room temperature for 20-30 minutes is usually the sweet spot. You'll know the ice cream is ready when it takes on the texture of soft-serve or thick buttercream: Velvety smooth, supple, and easy to spread across the surface of the cake without becoming runny.
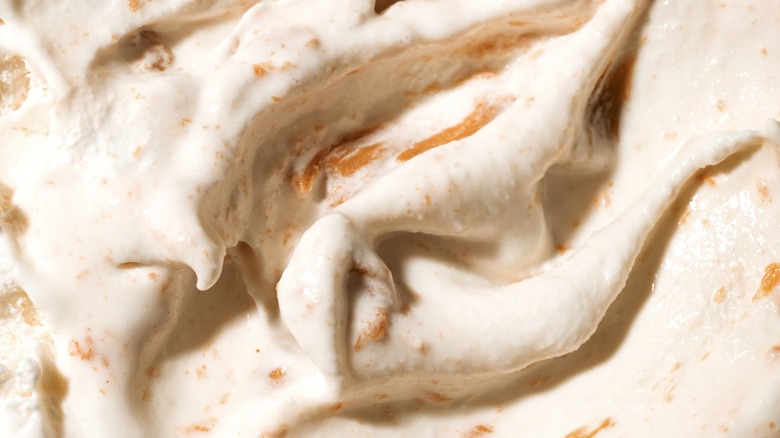
7. Don't forget the element of surprise
One of the most important things to consider when making the perfect ice cream cake is that you may need to think outside the box. For example, brownie or cookie crumbs can provide a tasty yet stable base for your dessert. After experimenting with the base, you can try including some surprising additions to delight your guests. Alpa Pereira recommends everything from sesame brittle and passionfruit curd to popping candy.
"Adding unexpected textures or flavors elevates an ice cream cake beyond the ordinary," Suva Samanta explains. When you need a satisfying crunch to offset the creamy components, he recommends tossing in caramelized nuts, such as spiced pecans or candied almonds. To include an unexpected textural contrast, you can crumble in some cookies or crispy graham crackers. However, bear in mind that your crunchy additions should be tender enough to bite through without chipping a tooth. Toasted coconut flakes can make for a memorable, yet easily chewable, addition. "For creative swirls, fold in honey-pistachio ribbons for Mediterranean charm, or mix in tart berry compotes for bursts of flavor," advises Samanta. He notes that surprise elements make each mouthful more complex, balancing the overall texture and making your cake more fun and memorable.
8. Decorate your ice cream cake when it's fully frozen
They say we take the first bite of food with our eyes. With the right swirls, sprinkles, and drips of ganache, your ice cream cake will be transformed from a hobbyist's baking project into a gourmet creation that wouldn't look out of place in a patisserie's display case. If that sounds like a worthy goal, it's imperative that you only start decorating your cake once it's sufficiently frozen.
Why? Because this ensures that the ice cream layers don't start melting before you've piped your first rosette. Suva Samanta also recommends chilling your frosting tools before you get started. Spatulas, offset knives, and piping bags that have been in the freezer can more effectively prevent the transfer of heat from your hands, making the frosting process less of a hassle. "Start with a crumb coat, freeze for 20-30 minutes, then add the final layer of frosting for a smooth finish," he advises. You'll also benefit from applying your frosting in a consistently cool environment. Warm rooms or temperature spikes can send your ice cream cake into meltdown mode. To keep your ornate touches tidy and stable, Alpa Pereira suggests that you should "decorate in short bursts, returning the cake to the freezer as needed."
9. Allow your ice cream cake to rest before serving
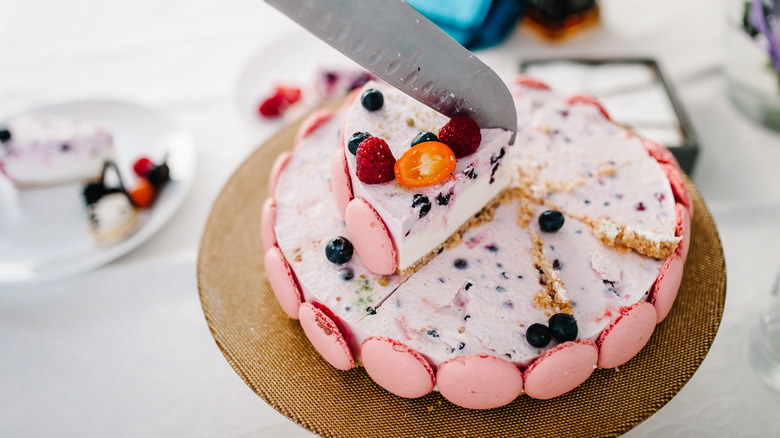
As you've probably figured out by now, ice cream cake can be a bit of a drama llama when it comes to sudden temperature changes. It probably seems like common sense to start slicing your cake as soon as it's sufficiently frozen; however, your guests might find themselves chiseling at an icy slab if you attempt to serve your cake straight from the freezer.
According to Alpa Pereira and Suva Samanta, it's essential to remove your ice cream cake from the freezer 10-20 minutes before you plan to start serving. "This resting time allows it to soften slightly, making slicing smooth while keeping the layers intact," says Samanta. Once you've allowed your ice cream cake to rest, it's time to consider what you're going to slice it with. According to Samanta, a long serrated knife should be your weapon of choice. He recommends giving the knife a quick dip in hot water and drying it off before each incision to cut smooth, even portions without any unsightly crumbs. "The warmth helps glide cleanly through frozen layers," he explains. "Working quickly and away from direct heat ensures the cake stays in perfect condition while serving."
10. Store your ice cream cake in airtight containers
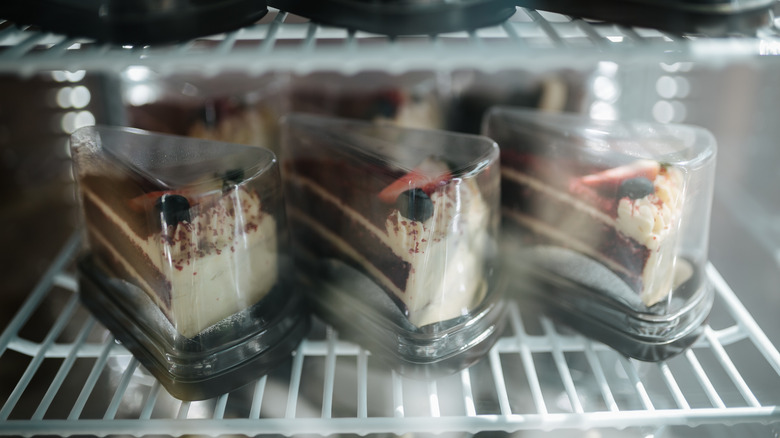
Given the amount of effort that goes into putting together an ice cream cake, you'll likely want to save any leftovers. The good news is that ice cream cake can remain fresh for up to two months, but only if it's stored correctly.
"The best way to store ice cream cake is in an airtight, freezer-safe container, such as sturdy plastic with a tight lid. This prevents freezer burn and keeps odors from seeping in," Suva Samanta says. Fortunately, if you don't have a suitable vessel to hand, there are alternative ways to store your ice cream cake to avoid freezer burn, like using plastic wrap. Adding a layer of foil on top will help prevent your cake from coming into direct contact with cold air, reducing the possibility of ice crystals forming and sabotaging its texture. Samanta avoids using flimsy or damaged tubs that allow air to seep inside; meanwhile, Alpa Pereira dislikes cardboard containers or loose coverings that leave room for freezer burn. "Always store in the coldest section of the freezer, not the door, where temperature fluctuates," Samanta concludes.