The Secret To Getting Caramel To Actually Stick To Apples
Autumn is so much more than just beautiful foliage. It's haunted hayrides, pumpkin picking, and so many trips to the state fair. If your fall schedule is anything like mine, there is a solid through line for each of these activities: the nostalgic decadence of a sticky caramel apple. While they might look picture-perfect at your local country store, making them at home can prove difficult and messy, with the caramel topping sliding right off the apple. Believe it or not, the issue does not lie in how you melt your caramel, it actually comes from the apple itself.
Supermarket apples are typically pre-treated with a waxy coating, which not only gives them their signature shine, but it also protects them from losing moisture. The wax is food grade, and in most cases, you don't necessarily need to wash the wax off apples. But for caramel apples, this waxy coating causes caramel not to stick. To alleviate this problem, you can quickly boil the apples for about a minute, or place them in hot water for a few minutes. You can also add a little bit of vinegar to the water, as this helps to break down the wax, or simply spray the apples with vinegar, and allow it to sit for a few minutes. Just be sure to rinse the apples afterward to prevent any unpleasant flavors. It is important to note that hand-picked apples straight from the orchard also have a wax coating, but this is naturally created by the plant.
For a photo-worthy caramel apples, temperature is everything
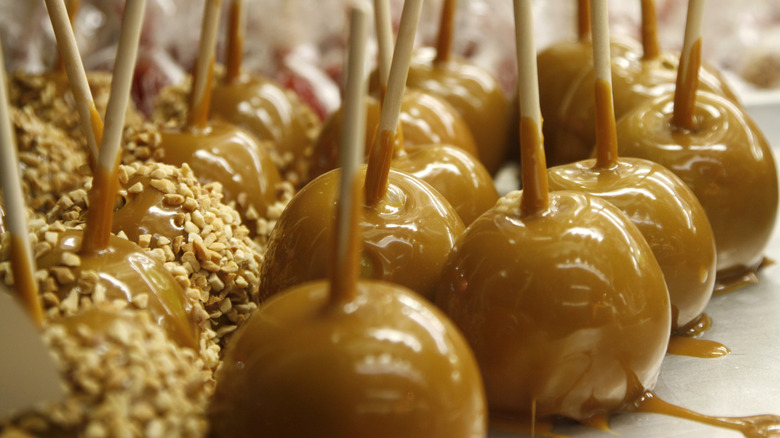
Your apples might now be free of their waxy coating, but there is another factor that is hindering your progress: temperature. When apples are cold, they create a better environment for the caramel to set on first impact, which helps create that perfect, even coating. As such, you should always place your apples in the refrigerator to chill before dipping in caramel. This is especially important if you placed the apples in boiling or hot water to remove their waxy coating. The difference is immediate and noticeable. Once the apples are properly coated in caramel, rest them on parchment paper until set.
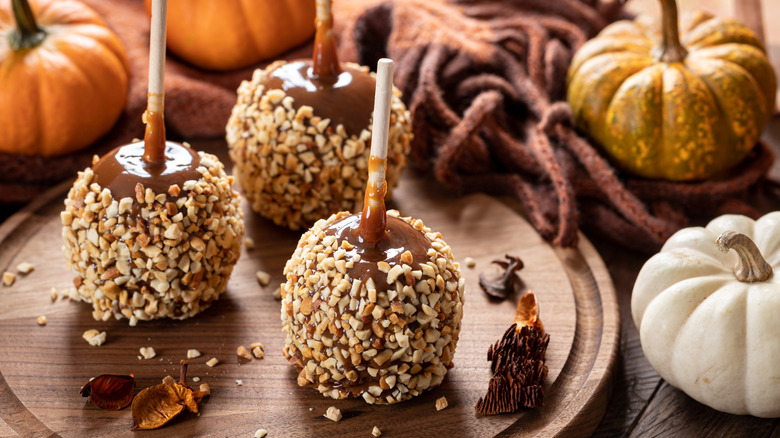
Now, the fun part begins. Caramel apples are a wonderful blank slate for customization, and there is no shortage of toppings that pair well with the sweet treat. There's always the classics, like chopped nuts (which ranked supreme in our exclusive survey for favorite toppings), M&Ms, chocolate chips, and rainbow sprinkles. But if you are looking to make your caramel apples a little more sophisticated, try adding on some toasted coconut flakes for a complex, nutty flavor, or sprinkle on some flaky sea salt to cut the sweetness and elevate the whole dessert. Our miso salted caramel apple recipe is also a favorite, providing a flavor bomb of umami goodness in each bite. Regardless of how you customize them, the best way to store your caramel apples is in the fridge, where they will remain chilled and ready to eat for a few days.