Painting Your Kitchen? Avoid This Common Mistake That Causes Bubbling Walls
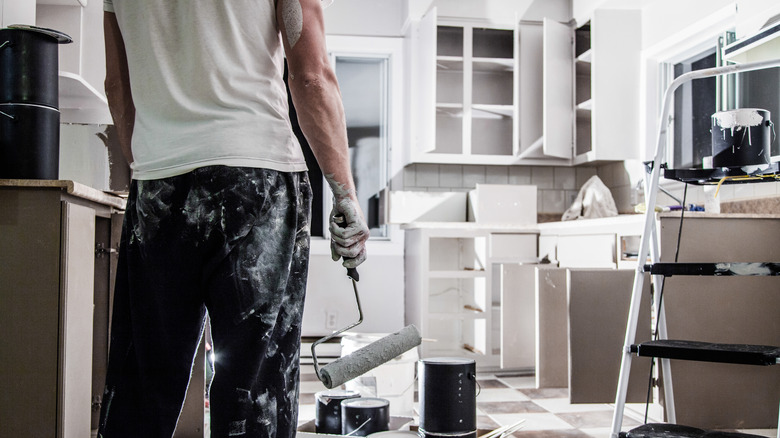
Taking on home improvement projects can be equal parts stressful and exciting, especially when it comes to essential spaces like your kitchen. That's why doing things correctly is crucial to getting your space refreshed and back in business as quickly as possible.
Have you ever repainted your kitchen only to notice the paint bubbling and blistering shortly after? There are many things to avoid when renovating your kitchen, and a poor paint job is high on the list. Bubbling paint is not only ugly, it's also a headache to fix. The key is prevention, preparation, and prevention again. To avoid bubbling paint, you're going to want to focus on moisture and heat control.
Kitchens are especially susceptible to blistering paint because they tend to have more moisture then, say, a bedroom. When moisture gets trapped under the paint, it prevents proper adhesion. Then, moisture molecules are prone to expanding and contracting, which ultimately lifts the paint from the wall in areas where they are trapped. Moisture that's in the air after painting can also seep in and cause the same problems as moisture underneath the paint. Heat is another weakness for paint, causing the thinners to expand just like the moisture molecules, effectively lifting the paint from the wall. If you live where it's especially hot or humid, try painting during the coolest part of the day. It's also crucial to make sure your walls have been properly primed, prepped, and dried before grabbing your brush.
How to fix paint bubbles on your kitchen walls
If you are past the point of prevention and the paint in your kitchen is already bubbling and peeling, then don't worry too much. While it certainly can be a pain, it's not impossible to fix. The first thing you need to do is determine the problem. Make sure there aren't any leaks that could be causing the extra moisture. If there are, fix those before repainting to avoid a cycle of bubbling paint and repairs. Another cause of bubbling is cheap paint. One paint to avoid in your kitchen at all costs is flat paint, which is not moisture resistant and won't hold up against the steam, spills, and splatters that happen in kitchens all of the time.
Once that is all sorted, gently scrape the bubbling paint off before sanding away the remaining flakes and washing the area to get rid of dust and particles that could stop the new layer of paint from adhering properly. Then, add a layer of primer to the area where you are repainting and allow it to fully dry. Finally, paint over the spot and allow the first layer to fully dry before adding the next coat. Once your kitchen walls are successfully painted, you can focus on the fun stuff, like painting your cabinets a fun and trendy color.