How A Regular Kitchen Fork Can Save Your Seedlings During Transplanting
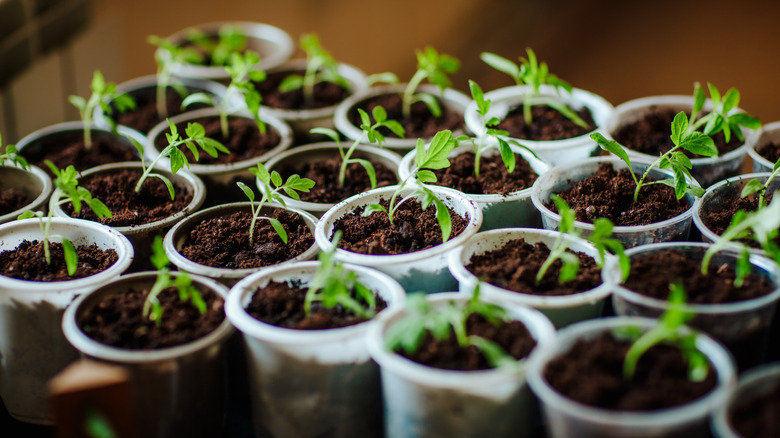
With gardening becoming a popular hobby, we're all in our green thumb era (or at least, we're trying to be). Whether you're a seasoned grower or a gardening beginner, one thing that all home cultivators must eventually face is repotting our oh-so precious seedlings. It may sound simple enough, but moving those delicate little sprouts from tray to pot is a make-or-break moment, and there's nothing worse than (literally) uprooting your gardening progress by ripping stems apart. Thankfully, there's a simple, budget-friendly tool that can make this daunting task so much easier. That's right, before you start repotting your seedlings, run to the kitchen and grab a fork from your silverware drawer.
Just like we've detailed how to use a plastic fork to protect your garden from critters, a metal fork works wonders for saving your tiny plants — no fancy gardening tools required. To do this, simply insert your fork into the soil vertically, just beside each seedling. Make sure the fork isn't piercing directly under the sprout, but rather off to the side. If you're using individually-separated starter trays, you can align the fork with the outer edge of each compartment for some low-effort accuracy. From there, gently wiggle the fork side-to-side to loosen the soil and roots. In one scoop, carefully lift out the entire plant — roots, soil, and all. If done correctly, it should easily pop out, like an ice cube from a tray.
Tips for repotting your seedlings
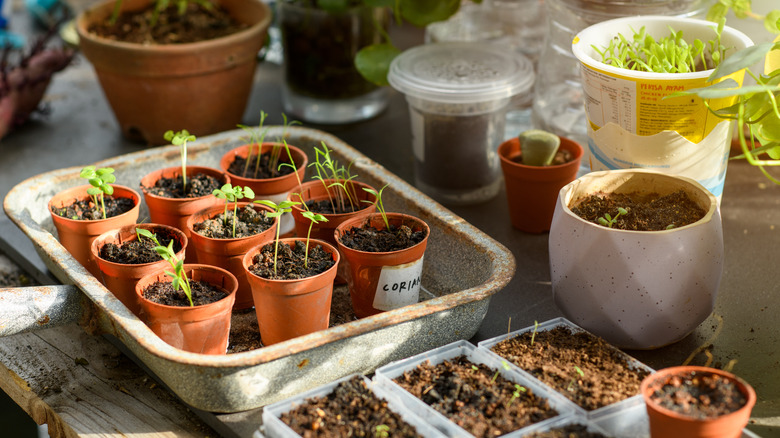
Of course, using a fork to remove your seedlings from their starter containers is just half of the repotting battle. To truly give your baby plants a proper head start, there are a few tips worth keeping in mind. First, make sure that your sprouts are strong enough to survive the journey. Wait until they've grown about ¾ to 1 inch tall, or about twice as tall as their germination tray. Not only that, but you should also ensure your plants have developed two "true" leaves, or the first couple of leaves that didn't originate from the seed embryo. Once they've appeared, it's a good sign that the seedling is happy, healthy, and ready to keep growing. If you're transferring your seedlings to another pot, make sure it's not too big.
It may seem counterintuitive, but an oversized pot might stunt its growth, since it will get an improper amount of water, and it won't get the chance to sprout hefty horizontal roots. Instead, look for pots that are only a little bit larger than your starting container. Once your plants have grown up a bit in a second pot, feel free to transfer them to a raised bed or directly into the earth. To make the process easier, you can create a simple, organized grid of indented soil divots using an old muffin tin repurposed as a gardening tool. That way, your plants will be clearly arranged, evenly spaced, and visually appealing. Here are 10 of the absolute best gardening tips for beginners to help you continue on your journey.