How To Make Butter The Old-School Way
We may receive a commission on purchases made from links.
Butter makes everything better, right? Whether it's being swirled into a big bowl of creamy mashed potatoes, dolloped on a stack of buttermilk berry pancakes, or slathered on a warm piece of toast, it really is the ultimate comfort food. But you haven't tasted the best butter until you've tried true homemade butter, and there's no better way to make it than channeling the old school techniques.
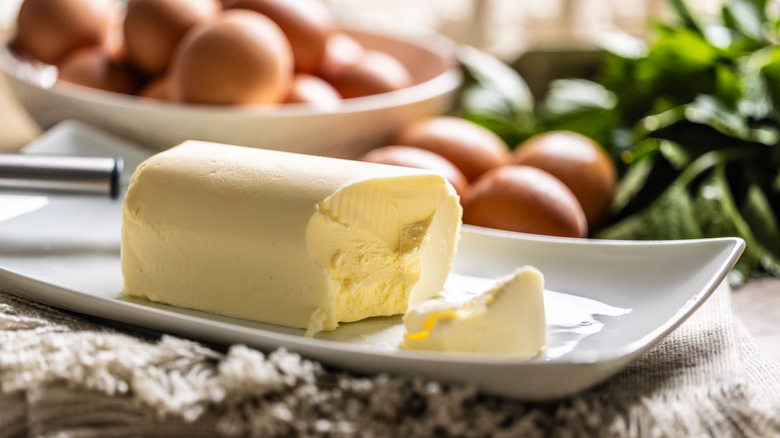
Butter contains one of the most minuscule ingredient lists you can imagine: cream and salt, and it's even possible to omit the salt. In fact, according to law, any butter sold in the U.S. can't contain more than cream, milk, salt, and some coloring. It's incredibly simple to make too — the cream just needs to be agitated enough so that the fat starts to separate, leaving behind butter and buttermilk, which is done by churning.
You can buy a churner from a brand like Kilner if you really want to make authentic, old-fashioned butter. Most of the ones available nowadays have cranks that make life easier, and they should easily fit in the cupboard. Once you get your hands on one, just pour in a few cups of heavy whipping cream and churn it until the butter starts to clump together. It should, hopefully, only take about 10 minutes. Strain it with cheesecloth, rinse with cold water, and mix in some salt if you'd like.
Use a stand mixer to make butter if you don't have a churn

Back in the old days, cream was poured into a wooden barrel that had a dasher fitted in the lid. The dasher was usually shaped in an "X" at the bottom to agitate the cream, and the person making the butter would plunge it up and down until the butter formed. The process could take anywhere from minutes to hours, depending on the weather. But the result — which was rich, creamy and completely natural — was worth it.
You can, however, also easily make butter with a stand mixer, food processor, or blender. It's the same method used to whip cream — just keep going way past the point of stiff peaks. Once the clumps of butter start forming, strain them and press down with a spoon to get as much of the buttermilk out as possible (this will help the butter last longer). Pour cold water over the butter and repeat the process until the liquid runs clear.
That's it! The most important aspect really is the cream. It needs to be high quality to ensure that the butter tastes good, so don't skimp at the store. Cream from grass-fed cows will also impart the best color. Once your butter is ready, just store it in the fridge in wax paper or a sealed container. They didn't have those in the old days, but we'll just forget that part.