Start Fermenting Your Own Food Right Now With These Chef-Approved Tips
The hallmark taste of fermented food and drink is unmistakable. For all the funky, sour flavors and textures that fermentation imparts, what's equally definitive are the holistic benefits associated with it. Cultures across the globe have long used fermentation as a method to preserve and flavor food, although Western science has only recently begun to contribute empirical evidence that supports the nutritional perks many have accepted for centuries. In many ways, we're only just beginning to understand why eating fermented foods is so beneficial.
Although research into microbes and gut biomes is relatively new, fermentation as a food trend has saturated the culinary world so thoroughly — and so quickly — that it can make one think we've been talking about it forever. As such, interested newcomers can feel late to the game. How — and what — do you start fermenting? Fortunately, the inverse is also true: With so much information, learning about fermentation has never been more accessible.
To prove the latter point, and help you begin working up your own fermented foods, we reached out to some preeminent experts in the subject. Aside from being a James Beard Award winner and "Chef's Table" alum, chef Ann Kim believes plain and simple that "Some of the best things in life are fermented." Similarly, as an instructor at NYC's Institute of Culinary Education (and head of the school's Fermentation Lab), chef Olivia Roszkowski has dedicated parts of her career to helping cooks understand the value of fermentation. Both chefs agree that this is a culinary technique you'll want to take the time to learn, from understanding the equipment to knowing which foods make great first projects.
Understand the primary types of fermentation
Before you can arrive at the point where your tongue is tingling from the taste of a fine ferment, you have to know how to get there. That starts with understanding the type of fermentation you're going for, and why.
Fermentation is broken down into a few major categories. Lactic (or lacto) fermentation encompasses most of what you'll be attempting in your kitchen. In this form of fermentation, lactic acid is created by bacteria strains that eat sugar. While eating sugar and converting it to acid, microorganisms like Lactobacillus lower the pH of food, fermenting it into something sour and preservable.
Then, there is alcohol, or ethanol, fermentation, which is a process used to turn drinks into boozy stuff. If you're looking to make red wine vinegar (or any other type of vinegar), you'll be looking for tips on acetic fermentation, though many consider it just another type of alcohol production. The final common form of fermentation you're likely to try is one that comes from mold. In this process, a fungus inoculates food. It's commonly used to create cheese, miso, koji, and tempeh.
Sometimes, lacto-fermentation happens in the presence of, and with help from, other forms of bacteria or fermentation, such as when yeast combines with lactic acid-producing bacteria to make sourdough, or when multi-cultured substances convert tea into kombucha. This hybrid may be referred to as mixed or symbiotic fermentation.
Invest in the right tools
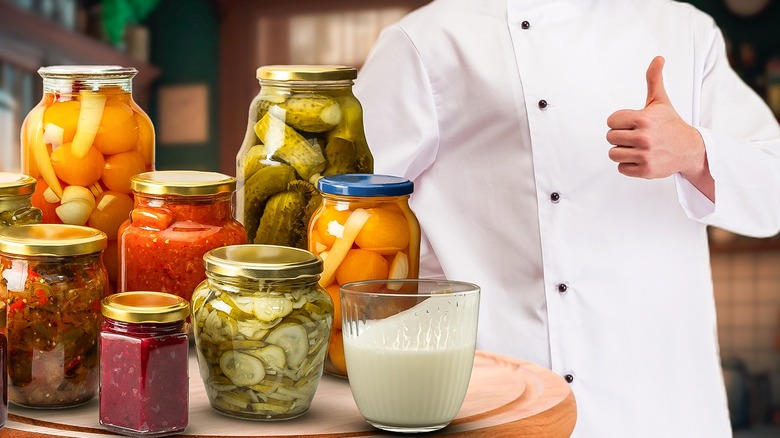
Pickling and canning have exploded in popularity since the pandemic. These days, we all have some Ball jars hanging around at home; if you're lucky, you might even have a water bath canner. Given that pickled food is similar in flavor to fermented food, it's tempting to think that the same equipment is used to produce both. However, you'll need distinct pieces to produce fermented foods.
"Some tools you need to begin fermenting foods are glass jars, airlock lids, and fermentation weights," says Olivia Roszkowski. The importance of the final recommendation can't be overstated. To reduce oxygen and facilitate bacterial growth and the production of lactic acid, fermented foods need to be completely submerged in their brine. Fermentation weights are the tool that keeps them under. They are typically made of glass, ceramic, or other nonreactive materials that can be placed in a jar to hold down fermented vegetables beneath their solution without introducing organic matter that could contaminate your food.
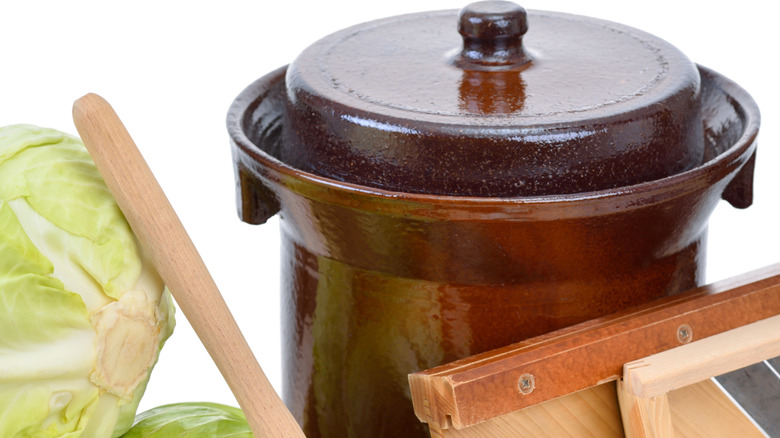
For Ann Kim, an important piece of equipment to keep on hand is a fermentation crock. As she tells Tasting Table, these "help keep a tight seal by preventing oxygen from entering but also allowing the gases to release."
Typically, fermentation crocks have a water channel and built-in weights that keep your vegetables submerged while automatically burping out the buildup of gases that occur during the lacto-fermentation process. Kim describes fermentation crocks as being "almost foolproof." When looking for fermentation crocks, stick with something made from nonporous material, and always avoid plastic to ensure you're not harboring bad bacteria.
Stock your pantry with the necessary ingredients

Fermentation tools are just empty vessels without the necessary components to make it happen. To ferment anything — vinegar, alcohol, kombucha, or kimchi — you need two main things: microorganisms and the substrates they feed on. Substrates are the grain, dairy, fruit, starch, or vegetable that you intend to turn into a fermented food. In many cases, they are already chock-full of the microorganisms that will ferment them. As far as Olivia Roszkowski is concerned, your grocery list should contain both. "It is helpful to keep a fine sea salt or Kosher salt, cane sugar, dry active yeast, probiotic starters, and raw apple cider vinegar in your fermentation pantry," she says.
Probiotic starters, like SCOBY, are cultures of bacteria and yeast. When placed into a vat of tea, they feast on cane sugar, resulting in the creation of kombucha. Similarly, the microorganisms in yeast — Saccharomyces cerevisiae, Candida humilis, or species of Lactobacillus — will eat the sugar in flour, developing sourdough. And if you intend to make miso, soy sauce, or sake, you'll need to use some koji.
In the same token, having some extra acid lying around can lend more predictability to fermentation. "Using raw apple cider vinegar adds additional bacterial and yeast strains, which strengthen the lacto-fermentation," says Roszkowski.
Some ingredients, like salt, aren't a substrate or a microorganism. All the same, they play an important role in suppressing bad bacteria. "Vegetables naturally release liquid when [they come] in contact with salt," says Ann Kim. By rubbing your cabbage leaves with salt, you cultivate a brine for your future kimchi, while also inhibiting the growth of pathogens.
Consider your climate

According to Ann Kim, temperature is "one of the most important factors" to be aware of when fermenting foods. Beer brewers know it, as do those who have ever tried to make their own wine. External and internal temperatures are closely associated with alcohol fermentation, but they're also important to consider when lacto-fermenting fresh produce as well.
"You will notice that the warmer the environment, the quicker the vegetables will ferment," says Kim. "I like to ferment anywhere between 65 to 70 degrees [Fahrenheit] for consistency." At temperatures greater than this, lactic acid-producing bacteria speed up. This can cause spoilage to your vegetables or fruits before they've had the chance to mature in flavor, and it can also affect texture as well. Faster fermenting may affect the brine levels of your containers, as well, encouraging greater consumption of water.
For Olivia Roszkowski, it's all about knowing the sweet spot of your home. "Find a place in your kitchen that works best, and stick to making ferments in that location," she says. If you know your house or kitchen runs hot, you may want to consider keeping your ferments in a pantry or closet. Alternatively, some months of the year are just a bad time to try. "I do not ferment too much in hot months such as August," says Roszkowski, "[The bacteria] will be too active."
Alternatively, fermenting in cooler months — or keeping your crock in the fridge — will have a noticeable impact, slowing down the anaerobic process. This isn't always a bad thing. "Cooler temperature will significantly slow down the fermentation process," according to Roszkowski. "Your ferments will continue to age and become more complex in flavor at a far slower rate."
Start with an approachable project
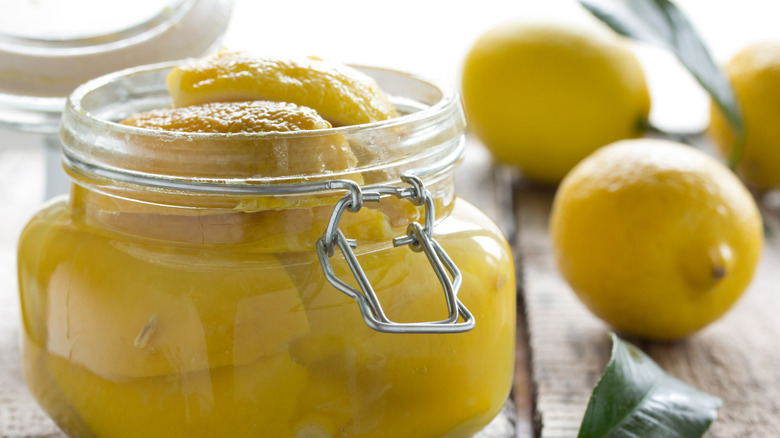
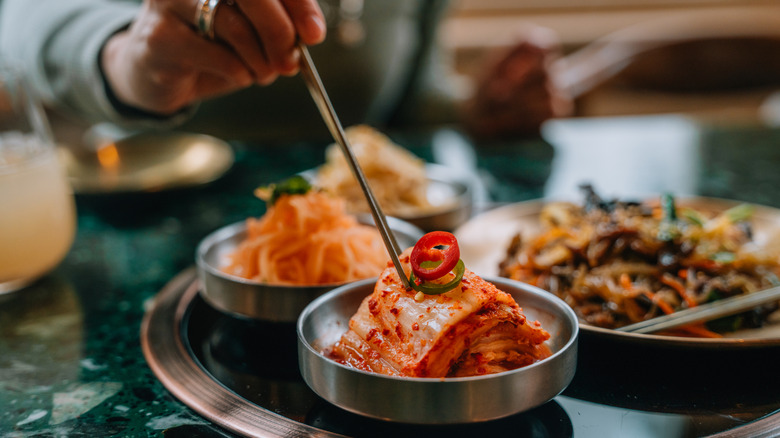
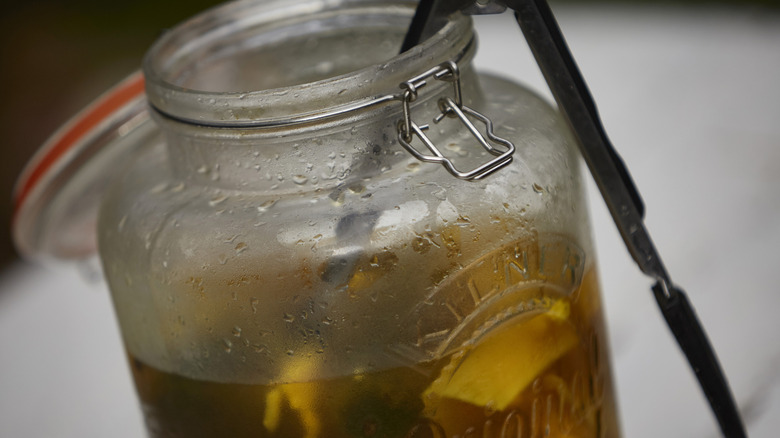
The upsides of becoming skilled in fermenting are many, but it takes practice to get there. Practice isn't just about trying and failing, though. Building confidence from successful projects is also important. So, we asked Ann Kim about the best way to begin fermenting. "The simplest and most forgiving place to start is with fermenting vegetables," she says. "All you need is a mason jar, vegetables of choice, salt, and patience." Olivia Roszkowski concurs. "Simple and approachable recipes to start lacto-fermenting are to make preserved lemons, kimchi, and sauerkraut."
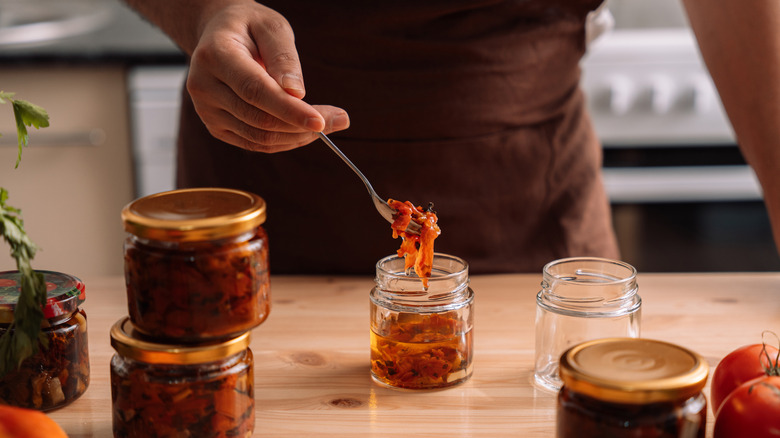
Simple kimchi recipes can take almost no time to prepare, and they are full of relatively accessible ingredients that will add a lot of nuance and complex flavors to your kitchen. Along the way, it's important to make sure you're avoiding common kimchi mistakes, such as going too heavy or too light on the brine and neglecting to weigh your produce down beneath any liquid.
Alternatively, preserving lemons with salt is an interesting choice that can introduce vegan sources of umami into your bag of tricks. By fermenting the peels in a brine mixture, you'll retain the citrus component while adding an edge of salinity to salads, chutneys, and even lemonade.
Keep in mind the things that make some ferments difficult
Once you've gotten a handle on how to ferment basic vegetables, you may feel inspired to move on to fermenting more difficult projects, such as tempeh, cheese, hot sauce, fish sauce, or even your own miso. Olivia Roszkowski offers a word of caution when looking toward these projects.
"It is best to limit any ferments that might expose your home environment to mold spores, such as koji," she says. Roszkowski's reasoning? Breathing in koji mold spores can possibly affect your health down the road, especially if you're not conscious of how they spread. However, if you're interested in making your own soy sauce or miso, you can't leave koji out of the equation. Instead, you'll just need to ensure you're following recipes and sterilizing your space as you go.
Some tough ferments have more to do with the specificity of the process than they do with using hazardous material. "Difficult ferments also include those that have a high salinity and take place over an extended time frame," says Roszkowski. "A longer time frame is more likely to face variability in light and temperature." Preparing appropriately for these variables is the best way to ensure success on longer-term projects. Heat and temperature aren't a reason to avoid fermenting hot sauce, for example. They just need to be accounted for.
Give yogurt and kefir a try
Kefir and yogurt occupy an interesting corner of the fermentation world. Both are dairy-based and are produced through a form of lacto-fermentation, but both are also considered to be symbiotic ferments. Because yogurt is fermented with multiple cultured strains of lactic acid-forming bacteria, the definition of being symbiotic is a bit looser. Kefir, on the other hand, is truer to the meaning, since it requires using a mix of yeast and lactic acid bacteria to ferment milk. Regardless, each makes a good project to practice symbiotic fermentation.
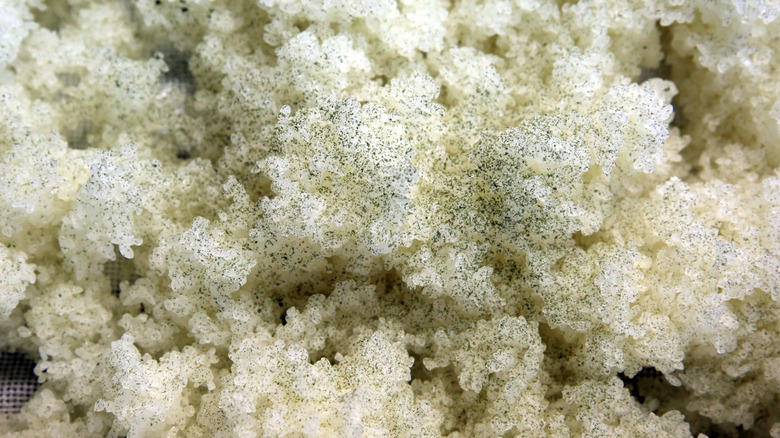
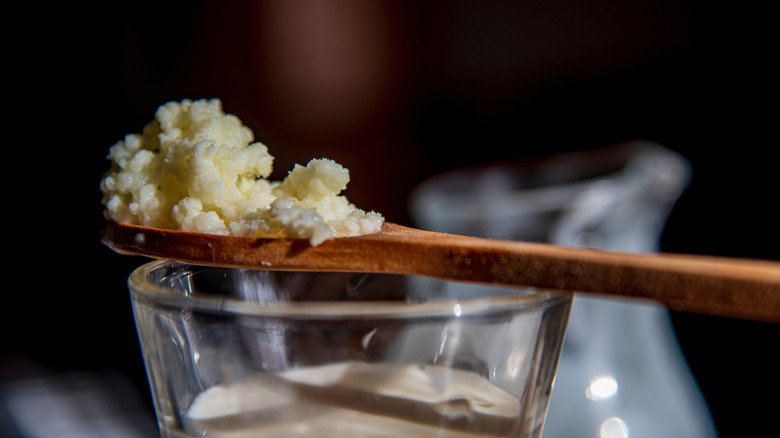
Homemade yogurt is the easiest of the two to start. That's primarily by virtue of requiring easily accessible materials. Making it does require the ability to keep your fermented product held at a very specific temperature, but you need only a mix of active bacteria strains to culture your own. You can often use leftover yogurt from your favorite brands, like Chobani. Kefir isn't much more difficult to make; it just requires more unique material. You'll need to find kefir grains, which are small white puffs inoculated by yeast and bacteria, and which ferment milk lactose into an effervescent, tangy drink.
Scraps and surprise ingredients make great ferments
Fermenting your own food and drinks is a great way to make use of food scraps as much as it is a method for putting a fresh face on ingredients that commonly show up in your kitchen. Olivia Roszkowski has a long list of items that make interesting fermented ingredients, including pomegranate seeds and tomatillos, shiso leaves, hibiscus flower, mango, and cauliflower. Think of the flavor of these ingredients when served fresh or even cooked and add a pinch of tart tanginess to it. The possibilities to layer and complicate these ingredients are endless when you consider fermenting them.
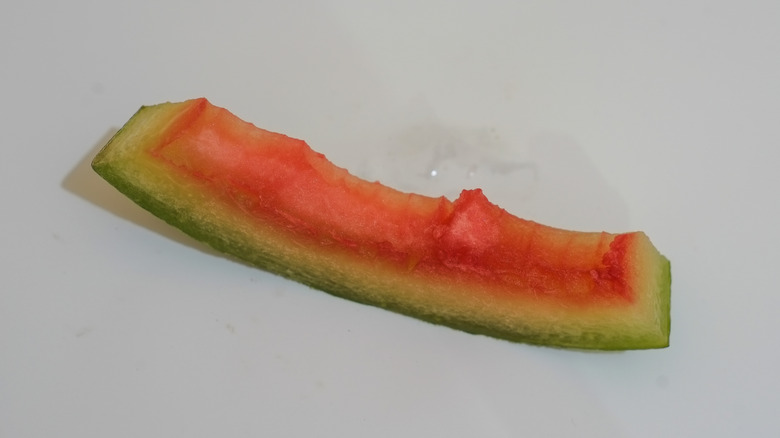
In the same way, sharpening your experience with fermentation can get you closer to zero-waste goals. Suddenly, you can repurpose your vegetable scraps as vinegar, or your spent coffee grounds can be used to flavor kombucha. A collection of watermelon rinds can become a refreshingly sour summer wine.
Apply the right balance
Whether you're looking to grow your personal comfort with fermentation in order to reap the nutritional benefits, or improve your culinary know-how, balance is an important. As Ann Kim tells us, it's crucial not to over-ferment your vegetables, being sure to look for an evenness of flavor — not too sour, not too mild — after just two or three days.
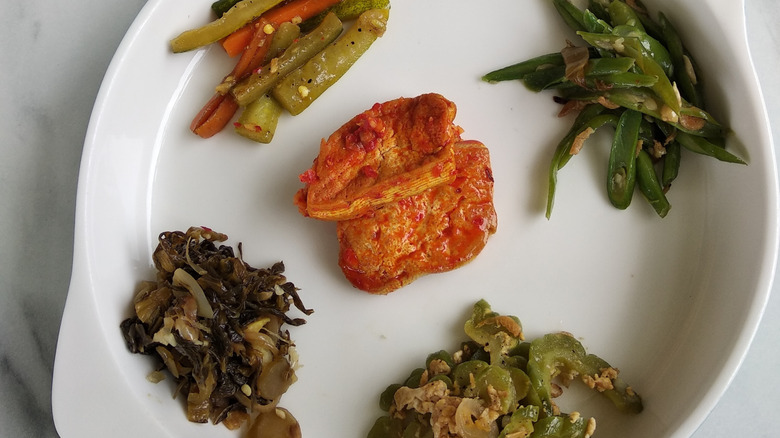
Balancing your fermented foods also means considering how you'll pair them, and when. "I personally like to eat younger kimchi as a side dish," says Kim, "and then save the really funky stuff for cooking." Olivia Roszkowski has similar suggestions for when to employ your fresh new foods: "You can also pair your ferments with starches, proteins, and higher-fat food items," she says. Such components can utilize the cleansing pucker, while the sour ferments find a grounding savory flavor as well.
There are ways to create balance in your ferments before it comes to pairing them with a meal. Think about the texture, says Roszkowski. "Adding bay leaves, grape leaves, or even black tea leaves into a ferment helps the produce retain crispness." But keep your hand light when adding them. "A small amount goes a long way, so as to not make the ferment bitter," she says. Much the same, you can add dried fruit, according to Roszkowski. That extra sweetness can mellow out your tangy ferment, but you'll need to keep a close eye, since bacteria especially love to consume pectin.
Give you ferments time (and attention)
Although Ann Kim mentions that fermented vegetables can be ready in as quickly as two to three days, Olivia Roszkowski cites five to seven as the ideal timeframe for letting it cook (so to speak). During this period, you should focus on fermenting your foods in a climate-controlled environment where variations in heat, light, and humidity aren't a factor. You'll also need to make sure you're burping the ferment regularly.
"If you are creating your ferments in a sealed jar, it is also important to release trapped gases created in the process," says Roszkowski. Without doing so, you run the risk of built-up pressure that could cause the top to pop, or an entire container to explode. It's always a good idea to taste along the way, as well. Use sterilized utensils and avoid reactive metal tools that can impart unintended flavor.
When you've seen the bubbles start to churn, your fermentation is technically ready, but some more tender love and care can be given to it if you're unprepared to release the project into the world. "I like to keep some of my batches [of kimchi] fermenting in the refrigerator for months," reveals Kim. Although she recommends you start burping or feeding your substrates daily, Roszkowski agrees that a long ferment is the eventual goal. "A seven-day fermentation interval with indefinite refrigeration to boost complex notes is a good starting point that avoids disturbing the ferments to taste every few days," she says.
Know when your ferment has gone wrong
There's nothing worse than putting your time and effort into a drawn-out process, only to find out that the end product has gone bad. Unfortunately, it will happen from time to time. The important thing to know is what that looks like in fermentation and, eventually, why it happened, so you can avoid it the next go-round.
The telltale signs of a rotten fermentation are not dissimilar to other spoiled foods. Putrid, off-putting smells are one signal. Visual appearance is another. "Any colored or black mold or anything not submerged should be tossed," says Olivia Roszkowski, "preferably in the jar in which it was produced." If your kimchi looks strangely slick or slimy, chances are, something went wrong.
Generally, if your ferment turned out bad, there was something wrong with the process. Maybe your temperature was inconsistent. It could have been too much oxygen in the vessel, or not enough salt to suppress the growth of bad bacteria. Likewise, poor-quality produce may have been harboring the same, or some stowaway microorganisms could have hopped a ride from unsanitized tools used to stir or taste the mix. If you want your fermentation to stay edible, then keep things sterilized and ensure the external variables are kept regular.