Baked Chicken Katsu Sandwich Recipe
If you've ever wanted a particularly interesting lesson in food history, chicken katsu might be the best place to start. Chicken katsu, or chikinkatsu, is a Japanese fried chicken cutlet dredged in panko bread crumbs. Katsu is a shortened version of the Japanese word "katsuretto," which translates to the English cutlet. Katsu — specifically tonkotsu, or pork cutlets — became popular in Japan after the introduction of French côtolette du veal. The French veal cutlets, because they were breaded and then fried in butter, didn't quite fit into the Japanese style of cooking and were traded for cheaper cuts of pork breaded in panko and deep fried. These crispy, light, and crunchy cutlets became one of Japan's most popular foods, appearing in curries, on ramen, and even between slices of bread for sandwiches.
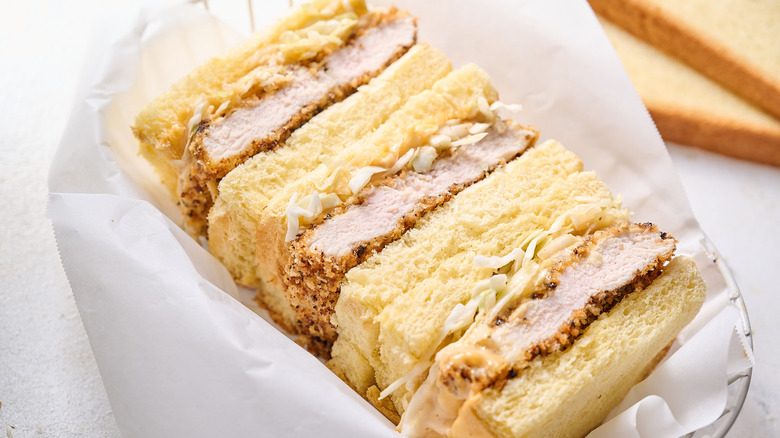
This recipe written with developer Michelle McGlinn takes the traditional panko-breaded concept of chicken katsu and adjusts it for baking, a method not typically used in the deep-fried dish. This makes these easy chicken katsu sandwiches effortless to make, more healthful, and easy to clean, thanks to the lack of frying oil. Achieving perfect baked chicken katsu requires a few tricks but is just as good as the real deal; and once you add a crunchy coleslaw and spicy Sriracha mayo, you'll be glad these are easy enough to make over and over again.
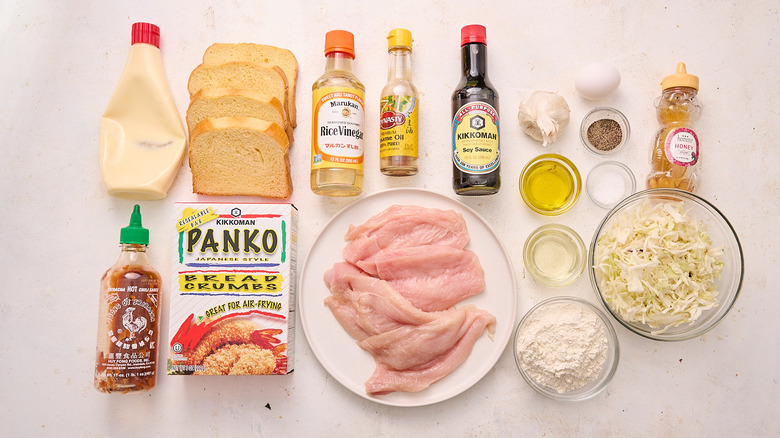
Gather ingredients for baked chicken katsu sandwiches
Chicken katsu differs from a dish like chicken karaage because it is typically made with skinless and boneless chicken breasts. You can buy pre-cut and tenderized chicken cutlets, or you can cut and tenderize them yourself starting with 2 large chicken breasts. From there, you'll need panko breadcrumbs, an egg, flour, salt, pepper, and oil for frying. For the coleslaw, you'll also need shredded green cabbage, garlic, soy sauce, rice wine vinegar, sesame oil, olive oil, and honey. Then, to make the spicy mayonnaise, you'll just need to add Sriracha and kewpie mayo (regular mayonnaise also works here). To put it all together, grab 8 slices of thick white sandwich bread.
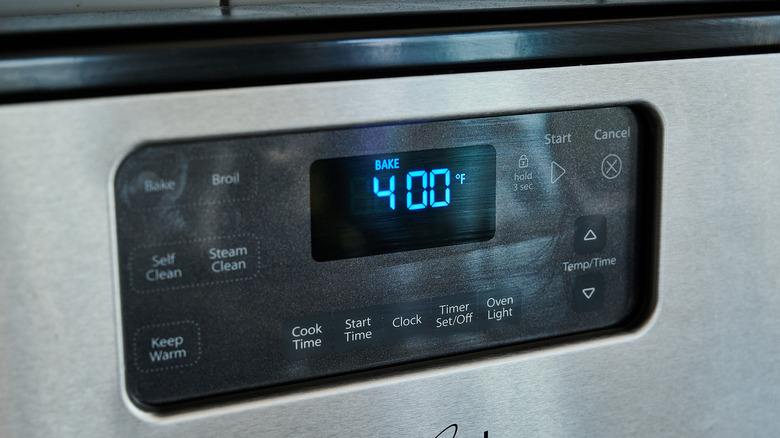
Step 1: Heat up the oven
Preheat the oven to 400 F.
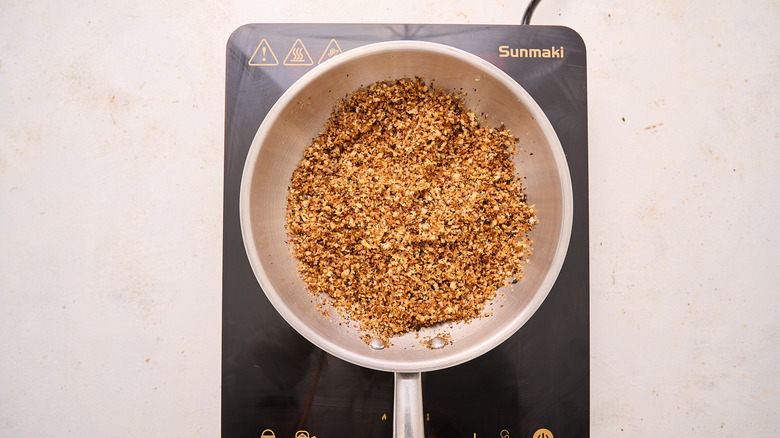
Step 2: Toast the panko
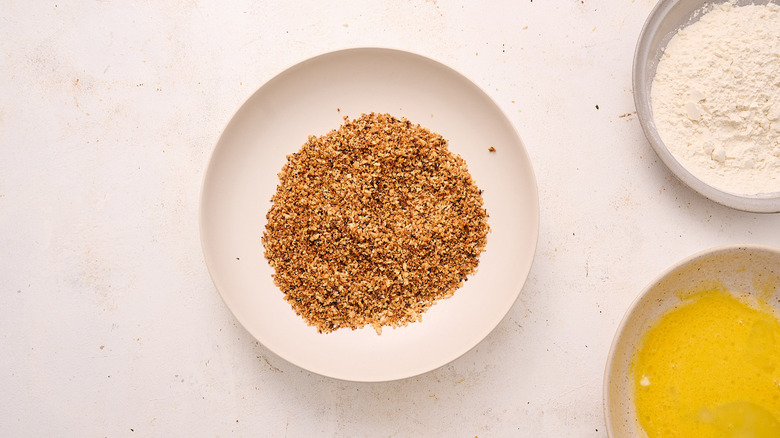
In a small skillet, heat 1 tablespoon of oil and the panko over medium-low heat. Toast until browned, stirring constantly, about 2 minutes.
Step 3: Transfer the panko to a bowl
Add the toasted panko to a shallow bowl.
Step 4: Prepare a dredging station
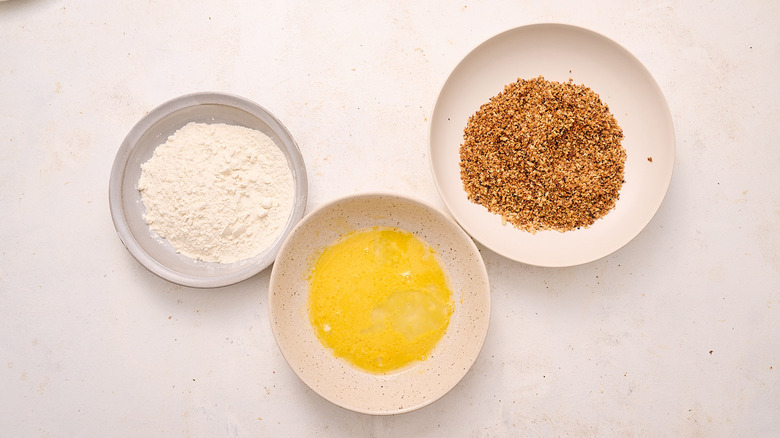
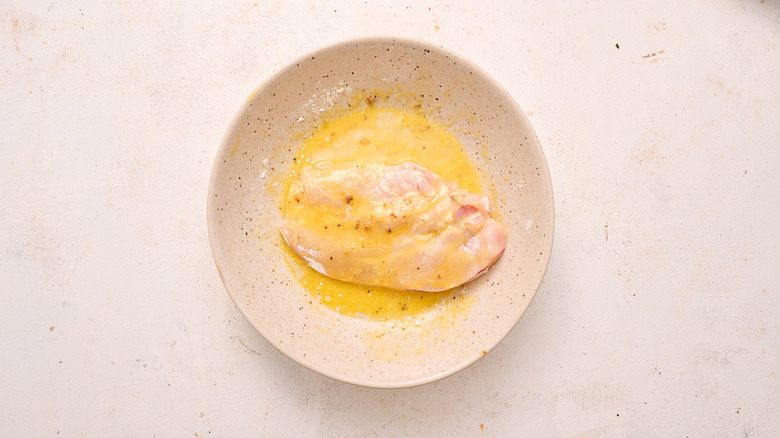
In another bowl, combine the beaten egg and 1 tablespoon oil. In a third bowl, add the flour.
Step 5: Tenderize and season the chicken
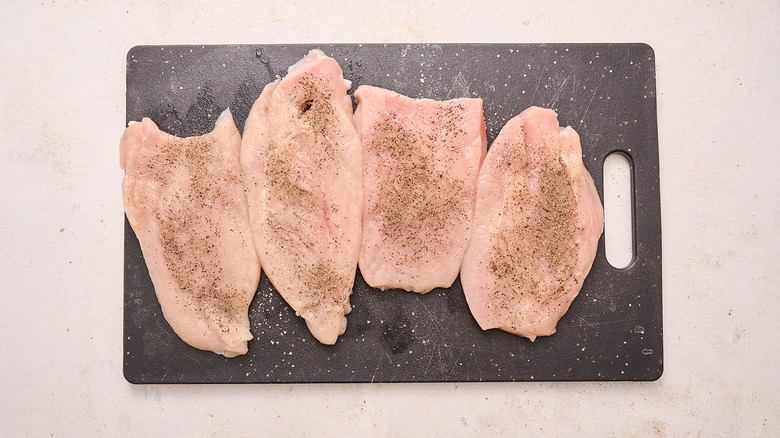
Pound each chicken cutlet to ¼-inch thickness and season with 1 teaspoon each of salt and pepper.
Step 6: Dredge in flour
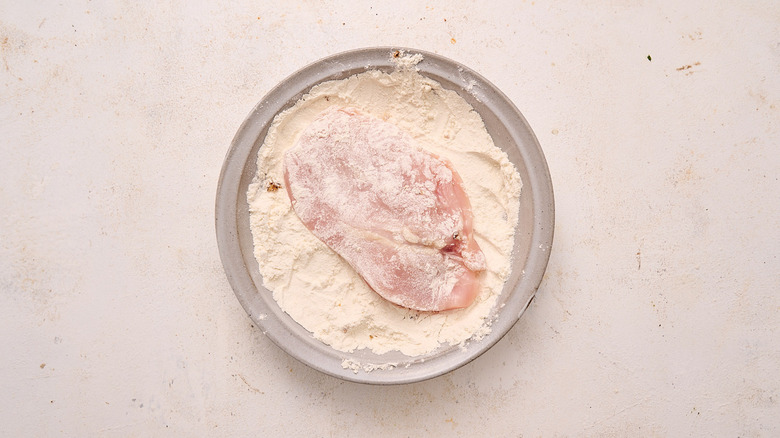
Dredge the chicken in flour.
Step 7: Dredge in egg
Dip the floured chicken into the egg.
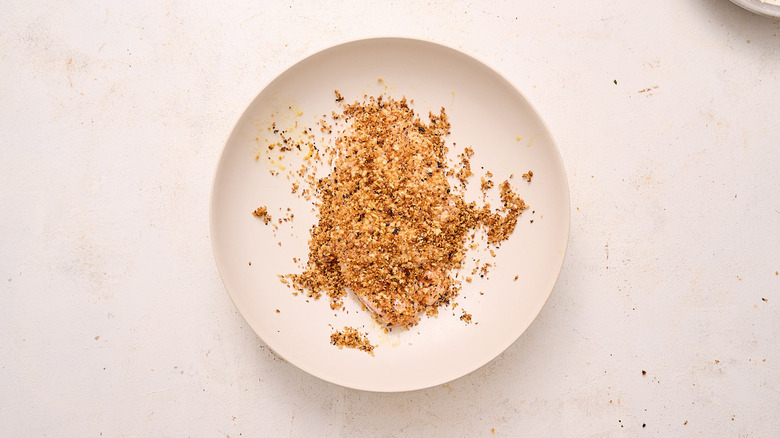
Step 8: Coat in panko
Press the chicken into the panko.
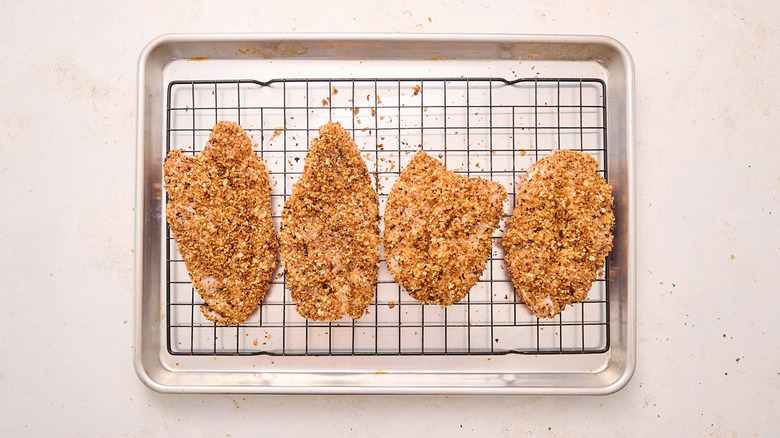
Step 9: Arrange the chicken on a wire rack
Arrange the chicken on a sheet tray fitted with a wire rack.
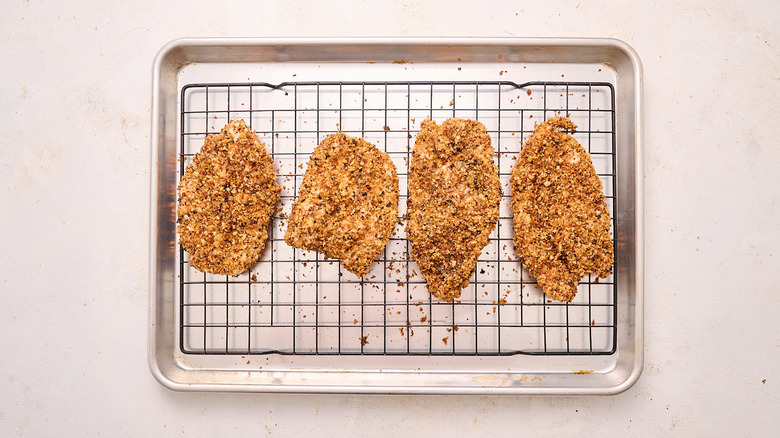
Step 10: Bake the chicken
Bake for 20 to 25 minutes, or until cooked through.
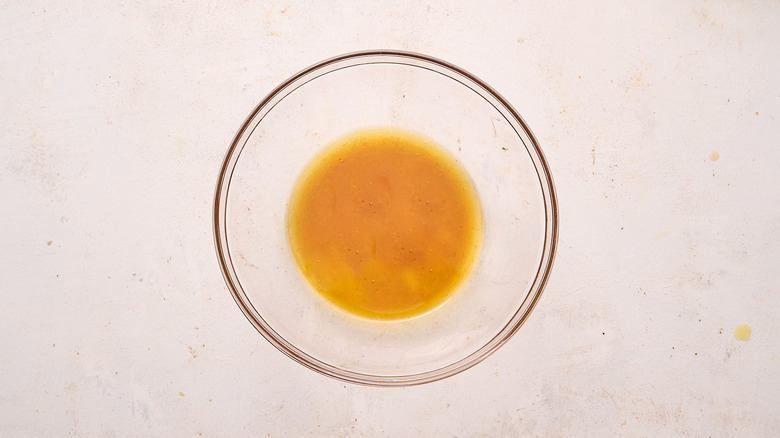
Step 11: Mix the dressing
In the meantime, combine the sesame oil, olive oil, honey, vinegar, soy sauce, and 1 garlic clove.
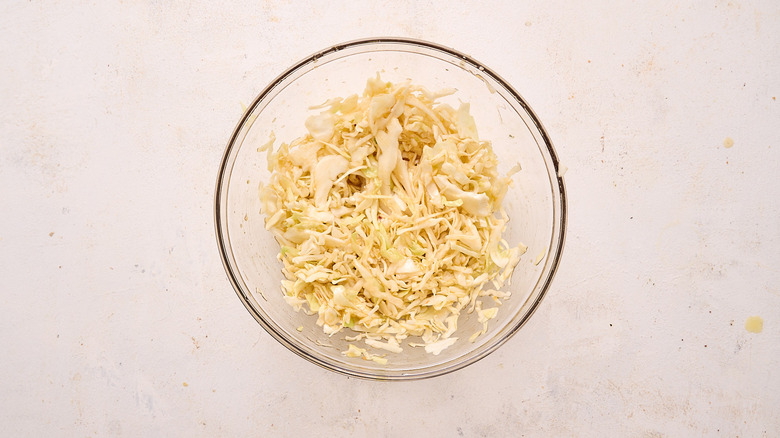
Step 12: Dress the slaw
Toss the dressing with the cabbage.
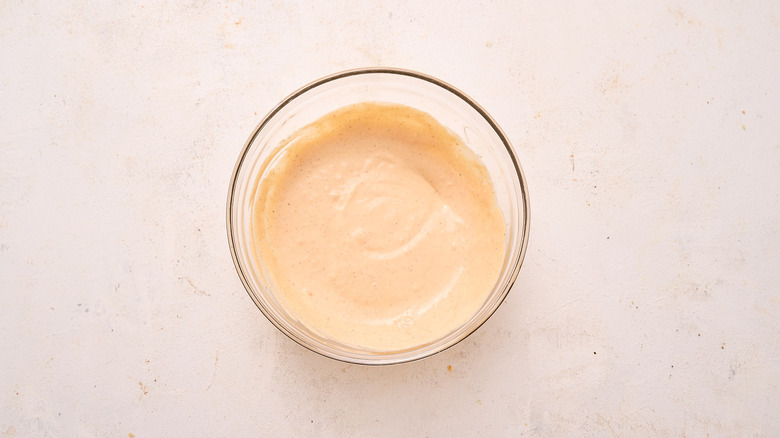
Step 13: Mix the spicy mayo
In another bowl, mix the mayo, Sriracha, remaining garlic, and ⅛ teaspoon each salt and pepper until well combined.
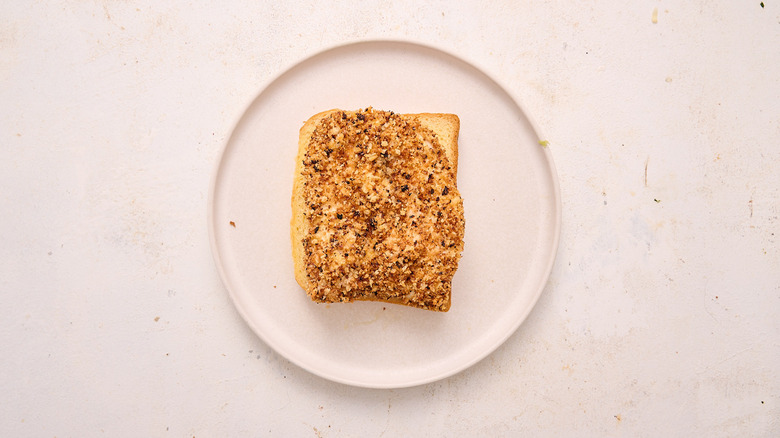
Step 14: Add chicken to a slice of bread
To build the chicken katsu sandwiches, add the baked chicken to a piece of bread.
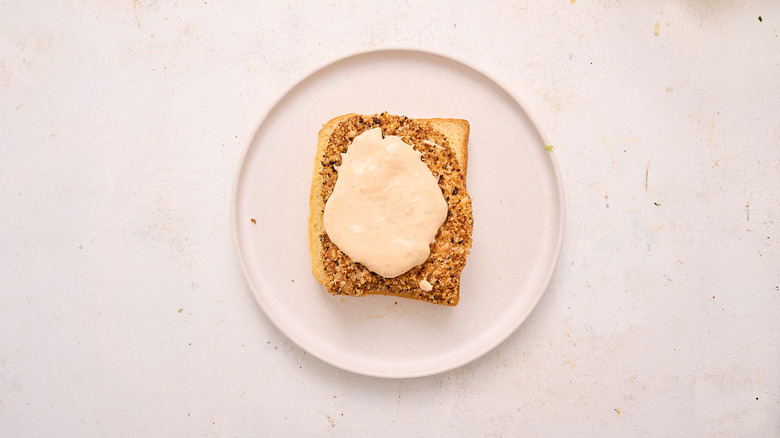
Step 15: Add the mayo
Spread with the mayo mixture.
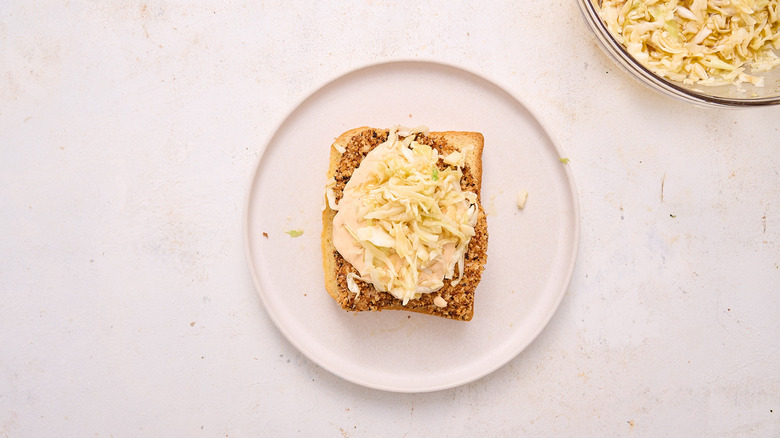
Step 16: Top with coleslaw
Add ½ cup of coleslaw.
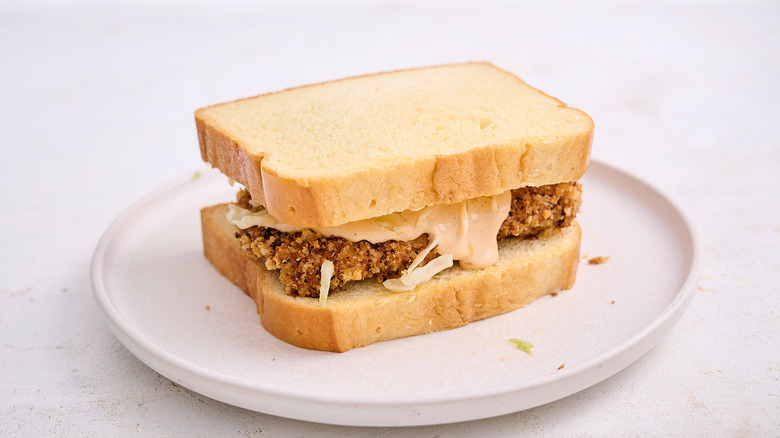
Step 17: Top with bread
Top with another piece of bread.
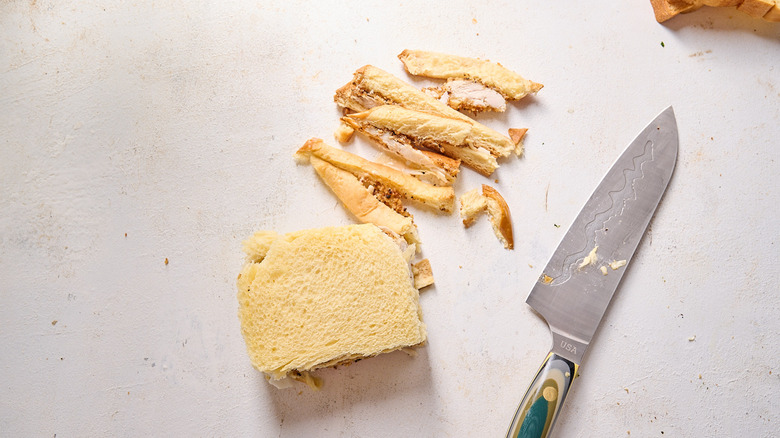
Step 18: Trim the sandwich
Slice away the crusts.
Step 19: Serve the sandwich
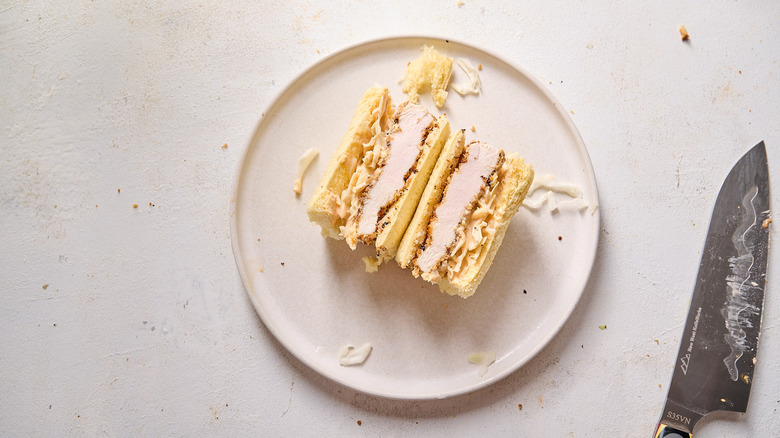
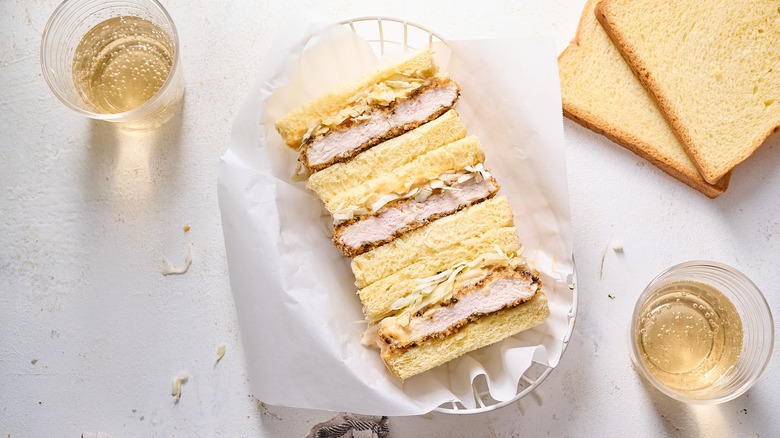
Cut the sandwich in half to serve.
Baked Chicken Katsu Sandwich Recipe
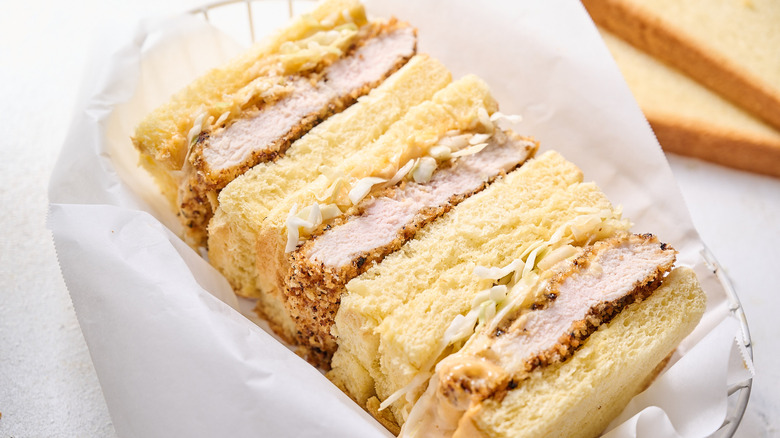
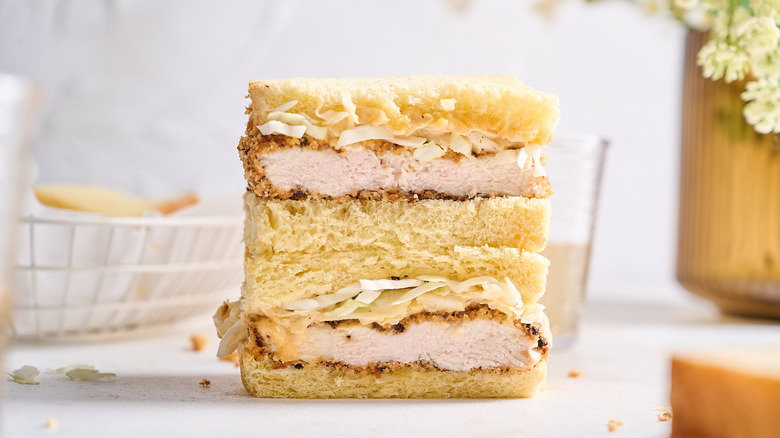
Perfectly light and crispy baked chicken is sandwiched on soft white bread with spicy Sriracha mayo and crunchy coleslaw in this easy chicken katsu recipe.
Ingredients
- 2 tablespoons canola oil, divided
- 1 cup panko breadcrumbs
- 1 egg, beaten
- ½ cup flour
- 1 pound boneless skinless chicken breast, sliced into 4 cutlets
- 1 ⅛ teaspoons salt, divided
- 1 ⅛ teaspoons pepper, divided
- 2 teaspoons sesame oil
- 2 tablespoons olive oil
- 1 teaspoon honey
- 3 tablespoons rice wine vinegar
- 1 teaspoon soy sauce
- 2 garlic cloves, grated, divided
- 2 cups shredded green cabbage
- ½ cup kewpie mayo
- 2 tablespoons Sriracha
- 8 slices thick sandwich bread
Directions
- Preheat the oven to 400 F.
- In a small skillet, heat 1 tablespoon of oil and the panko over medium-low heat. Toast until browned, stirring constantly, about 2 minutes.
- Add the toasted panko to a shallow bowl.
- In another bowl, combine the beaten egg and 1 tablespoon oil. In a third bowl, add the flour.
- Pound each chicken cutlet to ¼-inch thickness and season with 1 teaspoon each of salt and pepper.
- Dredge the chicken in flour.
- Dip the floured chicken into the egg.
- Press the chicken into the panko.
- Arrange the chicken on a sheet tray fitted with a wire rack.
- Bake for 20 to 25 minutes, or until cooked through.
- In the meantime, combine the sesame oil, olive oil, honey, vinegar, soy sauce, and 1 garlic clove.
- Toss the dressing with the cabbage.
- In another bowl, mix the mayo, Sriracha, remaining garlic, and 1/8 teaspoon each salt and pepper until well combined.
- To build the chicken katsu sandwiches, add the baked chicken to a piece of bread.
- Spread with the mayo mixture.
- Add 1/2 cup of coleslaw.
- Top with another piece of bread.
- Slice away the crusts.
- Cut the sandwich in half to serve.
Nutrition
| Calories per Serving | 781 |
| Total Fat | 45.6 g |
| Saturated Fat | 6.5 g |
| Trans Fat | 0.1 g |
| Cholesterol | 134.0 mg |
| Total Carbohydrates | 54.3 g |
| Dietary Fiber | 4.2 g |
| Total Sugars | 6.6 g |
| Sodium | 798.8 mg |
| Protein | 36.8 g |
What is the secret to baking chicken katsu?
When the Japanese transformed the French côtolette du veal, they deep-fried the katsu to match the light and crispy mouthfeel of traditional dishes like tempura. It is hard to achieve this texture without deep frying, especially because panko is best browned in hot oil (or in convection ovens like the air fryer). In the oven, you risk overcooking the chicken while waiting for the panko to brown and crisp.
The secret to brown and crispy panko breading for baked katsu, then, is to toast the crumbs ahead of dredging. This way, the panko is already browned before even reaching the oven. Toast the crumbs in a small amount of oil over medium or medium-low heat, stirring constantly and ensuring the crumbs stay well-oiled. If the crumbs begin to burn, don't panic, but simply remove them from the heat and continue stirring at a constant temperature. Once the chicken is breaded and in the oven, you'll need a meat thermometer to check the temperature since the chicken won't have a visible difference once done. The chicken is done once your thermometer reads 165 F.
What is the best bread to use for chicken katsu sandwiches?
Chicken katsu sandwiches are traditionally made with Japanese milk bread, which is enriched with (you guessed it) dairy such as milk. Milk bread is lighter and thicker than average white loaf bread and can be found at many bakeries or grocery stores or even made at home. If you can't access milk bread, however, there are plenty of substitutions that will still make a great katsu sando.
If you can find it, loaves of brioche are the most similar to milk bread in texture and are often sliced with similar thickness. Challah bread is another great option and, with the crusts cut away, also bears a resemblance to brioche or milk bread. You can also seek out Texas toast, which is thickly sliced white bread often used for French toast. If all else fails, standard white bread will do the trick — our advice for the perfect katsu sando, though, is to slice the crusts before assembly to avoid flattening the bread.
