16 Cocktail Hacks To Try Immediately, According To A Bartender

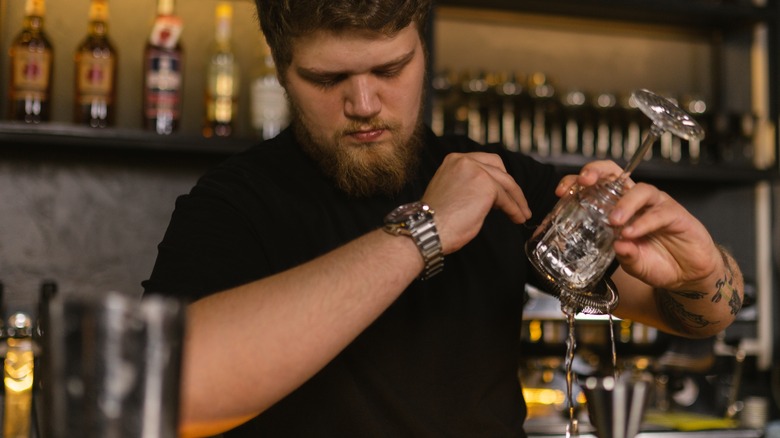
To be a successful bartender, there are a number of skills you're expected to have under your belt. Most of these simply come with experience — things like technique, knowledge of ingredients, and a mental library of recipes. Other learnable soft skills are more inherent, such as the ability to work under pressure, the temperament to work within the service industry, and a desire to explore and create. But one attribute supersedes all others: the ability to adapt and improvise. Simply put, if you know the shortcuts (or hacks) of cocktail-making? You'll be able to persevere in almost any situation.
With years of experience working at and managing bars, I've discovered numerous ways to improve on cocktails, craft novel recipes, and get by in the absence of certain professional-grade tools. Some cocktail tips were passed down to me by mentors, some were derived from the industry's rock stars, and a few I figured out independently. Whether you're working in a bar or making drinks for friends at home, these are the quickest and easiest hacks for boosting your cocktail-crafting abilities.
Know how to substitute tools

Despite the large range of specialist equipment available, you generally only need a handful of basic cocktail tools to whip up a world-class mixed drink. In fact, you can arguably get by with just a shaker, measuring jigger, bar spoon, and strainer if that's all you have. Still, if don't have any of those tools on hand, finding substitutes is straightforward enough — provided you understand the proper techniques for using those tools and their purpose.
For a shaker, you can use a lidded mason jar, for instance, while chopsticks are long enough to stir down a drink in a highball glass. For straining, a small sieve or tea strainer will do the trick. Additionally, if you don't have a jigger but want to make accurate measurements, just remember: A level tablespoon is roughly ½ an ounce, and a teaspoon is about ⅓ of a tablespoon (this allows you to add ingredients in smaller increments, as well).
Chill the glass while you mix
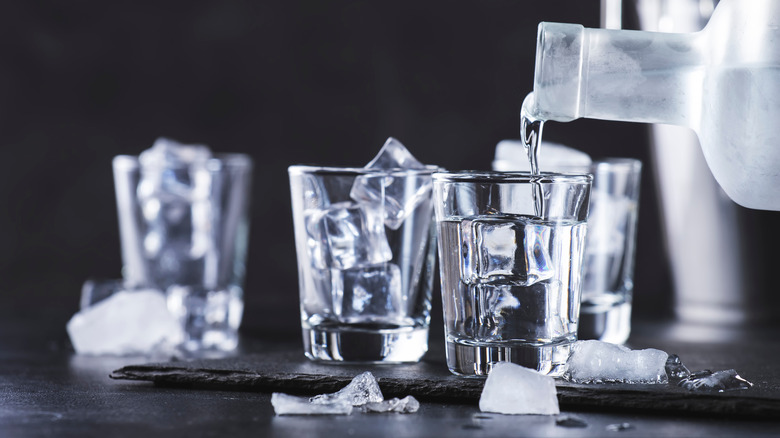
Aside from obvious things like taste and aroma, preservation of temperature is one of the most crucial parts of any eating or drinking experience. When a drink that's supposed to be enjoyed cold heats up — whether it's from the environment or a warm hand touching the glass — it becomes less enjoyable. One way around this is to store glasses in a fridge or freezer, though not everyone has the space to do this (and it may not be worth the fuss if you don't make cocktails very often).
Fortunately, it's extremely easy to chill a cocktail glass down from room temperature: simply fill the glass with ice water before you start making the beverage. By the time you're ready to pour your concoction into the glass, it should have chilled down enough to keep the drink sufficiently cool. Once you dump the icy water, you're good to go.
Make your own crushed ice in seconds
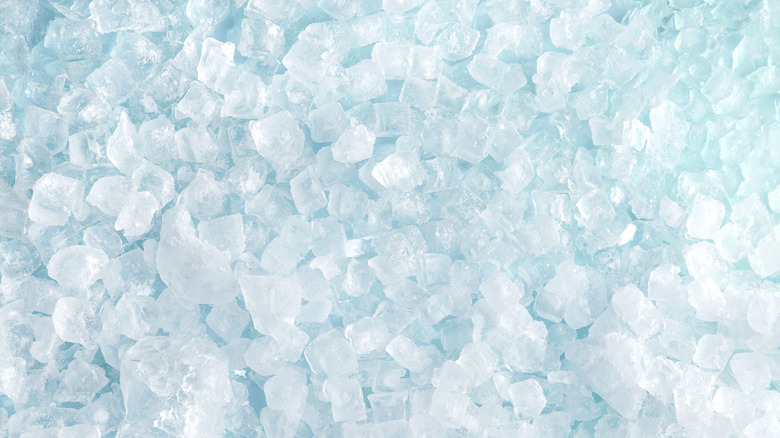
There are some cocktails that just aren't the same without crushed ice — and it's not just about aesthetics. After all, the ingredients in certain drinks (like mojitos or mint juleps) are gently stirred together rather than being diluted and chilled in a cocktail shaker. Since crushed ice has a larger surface area than regular-sized cubes, it's able to produce the same effect within the glass. Of course, the majority of bars don't have the luxury of a crushed ice machine, so it's reasonable to assume most households don't, either. Fortunately, crushing your own ice is extremely straightforward.
Now, it's not really the crushing bit that's challenging — it's managing to do so without making a mess. Some bartenders opt for what's called a Lewis bag, which is a canvas sack that you fill with ice and whack with a wooden mallet. While this undoubtedly looks more professional, if you're at home, a large Ziploc bag and a rolling pin will work just as well.
Add ice as late as possible
One of the ways I was taught to think about adding ice to a cocktail is that it's like setting off a timer. As soon as the ice hits the liquid, it's going to start melting quickly — thus adding more water to the drink. Now, apart from chilling the ingredients, this is exactly what we want ice to do. However, adding ice as late as possible means you have greater control over the dilution.
For example, say you're making two different cocktails in separate shakers. You've added your ingredients, but can only shake one cocktail at a time. If you add ice to both, by the time you've finished shaking the first cocktail? The ice in the second shaker will have already begun diluting the liquid inside, potentially leading to a watered down drink. The trick, then — especially when you're building a large round — is to only add the ice when you're ready to mix, shake, or stir.
Know how to pre-batch
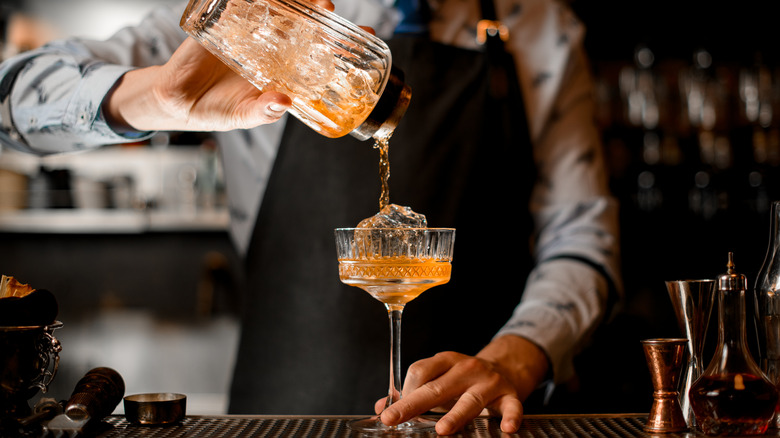
Nothing classes up a social gathering quite like a good cocktail, but not everyone can afford to employ a bartender for the evening. Making cocktails for a large crowd can also be extremely time-consuming, so knowing how to effectively pre-batch is crucial if you want to please everyone.
There are two main ways to approach pre-batching. If you want to keep the performative aspect of cocktail-making, you can figure out the ratio of your liquid ingredients ahead of time, bottle them on a larger scale, and stir or shake them with ice before serving. Alternatively, you can skip the ice step to save time, but you'll still need to add the same amount of water that would have been introduced by the ice.
To work out how much water to add, first weigh the combined ingredients without ice. Then, finish making the cocktail with ice, and weigh it again. After you calculate the difference, you'll know precisely how much water to add to your pre-batch before serving.
Tea makes for the easiest infusions
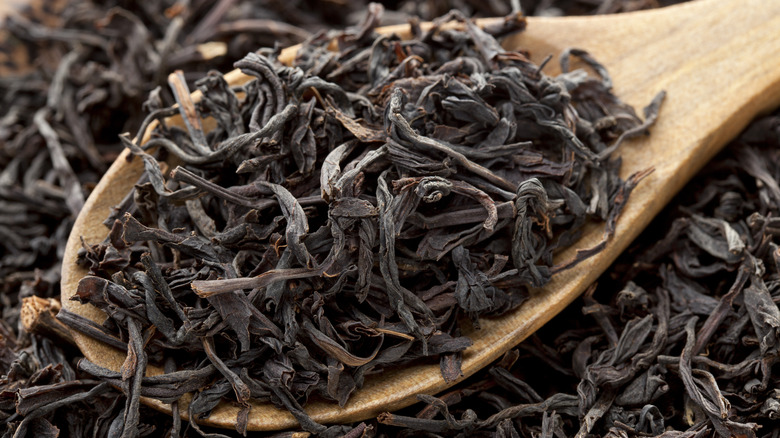
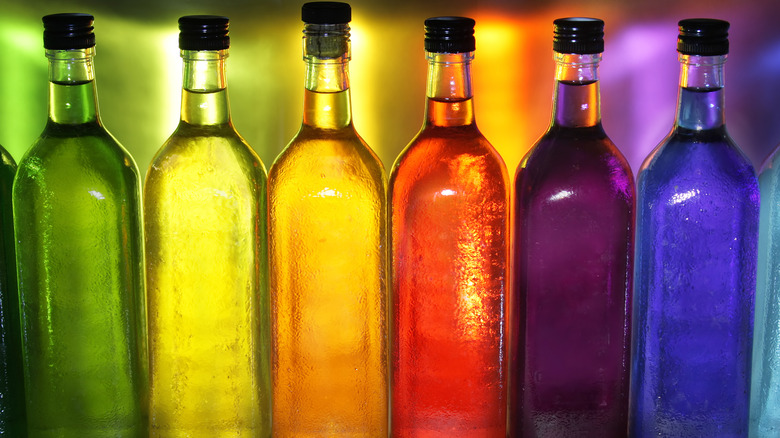
One of the best ways to experiment with new cocktail flavors is with infusions. These can range from something as simple as adding some citrus peels to a bottle of vodka, or fat-washing bourbon with bacon grease (trust me, it's delicious). The downside, however, is that infusing spirits takes time. Every infusion is different, but it generally takes three to five days for the flavors to develop, and sometimes much longer — which is where tea comes into the equation.
There are countless flavors and varieties of tea to experiment with that pair with a huge range of spirits. Plus, it only takes a few hours for tea to fully infuse a spirit, so you won't have to delist a cocktail for days if you run out. Just remember not to leave it in for much longer than required, or the alcohol may start to taste bitter and astringent.
Spruce up your simple syrup
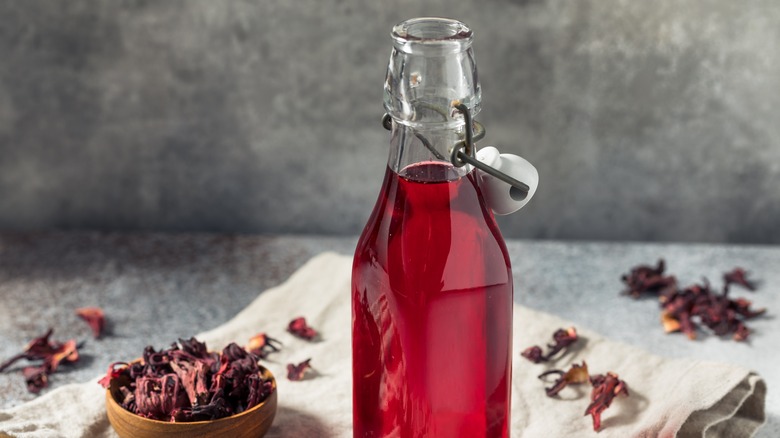
While infused spirits tend to get more attention, many folks forget that you can do the same with a simple syrup. Featured in a vast number of cocktail recipes, simple syrup is essentially just a 1:1 ratio of sugar dissolved in water. Depending on the ingredients you're adding, you can either infuse the syrup or infuse the water and mix in the sugar after. If you want to get fancy, you can also add fruit to sugar and water, then reduce the mixture on the stove.
Spruced-up simple syrups are great for a few reasons. If you mess up a spirit infusion, for example, you may end up having to throw away the entire bottle, which can be a costly waste. But if you get a simple syrup wrong, you're only losing sugar, water, and a few low-cost ingredients. Fancy homemade syrups are also one of my favorite mocktail hacks. Just add soda water and some citrus and you've got yourself a delicious, alcohol-free beverage in seconds.
Make a classy punch for large gatherings
If you don't have the time to prepare cocktails for a party or can't spare someone to serve them, your next best option is a classic punch. My go-to is normally a crowd-pleasing rum-based punch, but you can get creative as long as you understand the basics of flavor balancing.
You can generally break punch down into three flavor aspects: booze, sweet, and sour. You can use whatever spirit you like, but keep its taste profile in mind. The sweet is normally fruit juice, and the sour comes from citrus. Experiment on a small scale first, and once you've got these parts balanced, you can play around with spices and garnishes.
Additionally, larger ice blocks work better for big batch cocktails since they're less likely to make your punch too watery. If you want to get fancy, you can also try making a milk punch. Add hot milk to your punch, which will cause the citrus to curdle. Then strain the curds out with cheesecloth, and you'll end up with a clarified punch with a smoother mouthfeel.
Add your cheapest ingredient first
Even the most experienced bartenders make mistakes from time to time. You over-pour, over-dilute, or maybe just add the wrong ingredient under pressure; whatever the reason, you occasionally just have to throw out a cocktail and start again. In the industry, we call this "ullage," and while a certain amount of waste is factored into the budget, we want to keep it as low as possible. One of the simplest ways to do this is to add your cocktail ingredients in order from the cheapest to most expensive.
After all, if you start out with things like simple syrup and fruit juice and make a mistake, you're only throwing away low-cost ingredients. Generally, your spirits are going to be the costliest ingredients, so add these after — and save any premium liquors for last. There are also some ingredients that are easier to mess up (I'm looking at you, egg whites), so you may want to prepare these in a separate glass and add them at the very end, as well.
Make whipped cream with your cocktail tools
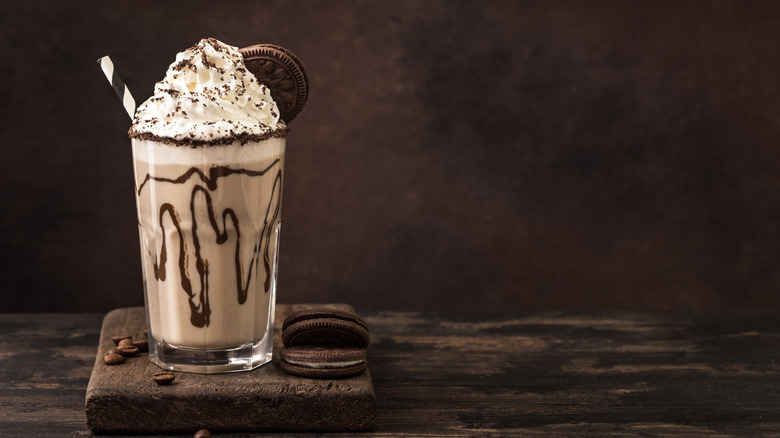
On occasion, you may find yourself needing to make a cocktail that calls for whipped cream. Perhaps you're making a batch of mudslides, a boozy milkshake, or a simple Irish coffee (with any number of decadent Irish cream liqueurs). Of course, even if you have a can of whipped cream on hand, these tend to be overly sweet and can throw off the balance of a drink's flavors. But if you have heavy cream in stock at home, you can whip it up yourself with this handy little trick.
First, remove the spring from the edge of a Hawthorn strainer and pop it into your cocktail shaker. Next, add your heavy cream and an ice cube to cool it down, and start shaking vigorously. There's no need to worry about proper technique — all you need is elbow grease. It should only take about 30 seconds for the cream to thicken, but if the consistency isn't right, keep going until you get your desired result.
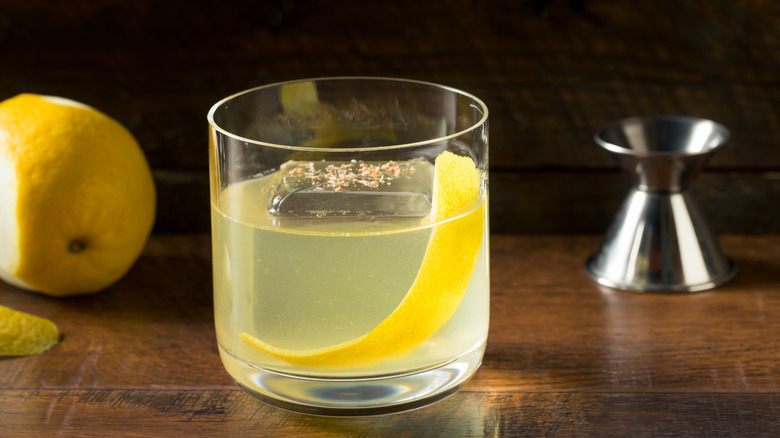
If a flavor is too intense, use a rinse
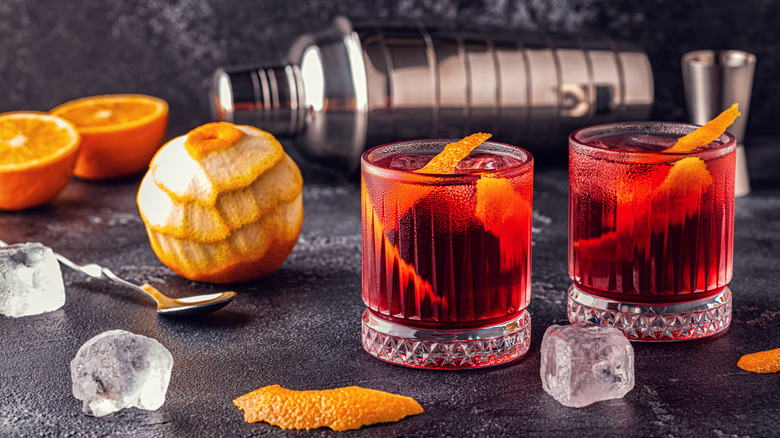
Some spirits and liqueurs — such as absinthe, Chartreuse, or peaty Scotch — have extremely unique flavors they can add to a cocktail's taste profile. The downside, however, is that they're highly potent. In some instances, the flavor or alcohol content of these ingredients can overpower the more delicate aspects of the rest of the drink, making it hard to find a balance. Fortunately, there's a solution — one that's used to great effect in classic cocktails like the sazerac.
Instead of adding the ingredient to your shaker or mixing glass, add a few drops to the cocktail glass, give it a swirl to coat the inside of the vessel, and empty it before you add the rest of the combined ingredients. Rinsing the glass with a potent liquid will let it contribute flavors and aroma to the final cocktail, but prevent it from becoming the star of the show.
Use a vegetable peeler for easy garnishes
One of the most underappreciated parts of a cocktail is the garnish. Of course, while it's there in part to make a drink look pretty, garnishes serve a deeper purpose. Citrus peel garnishes are a favorite because they look fresh and appealing, and offer an inviting aroma each time you raise the glass for a sip, as well. Now, typically, you'd use a paring knife to peel the citrus skin for garnishes, but this can be fiddly business — so try using a vegetable peeler instead.
A vegetable peeler is both quicker and easier to use than a paring knife. Plus, with practice, you may be able to get enough control to remove only the skin without any additional pith. You can also use your peeler on a cucumber for an elegant gin and tonic garnish. Instead of cutting wheels, peel the cucumber skin lengthways into a thin strip. Wrap it around the inside of a rocks glass or weave upwards in a tall highball, layering the ice as you go.
Invest in a dehydrator
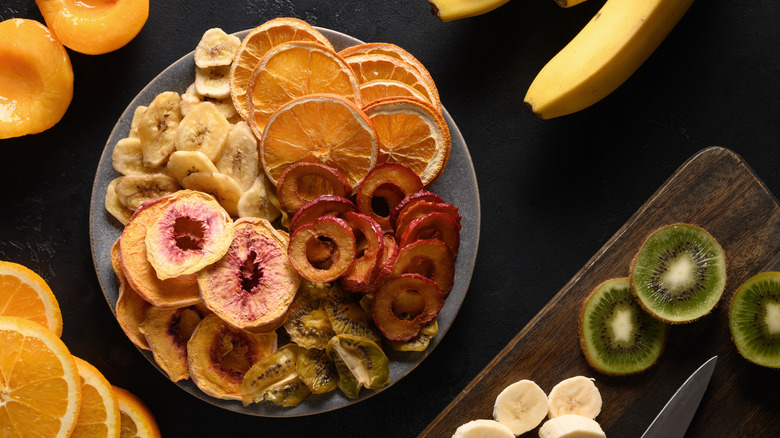
Aside from the standard cocktail tool kit, there are a number of kitchen appliances that you can put to great use in your bar. Arguably the most transformative device for elevating cocktails is the humble dehydrator. I still remember the day my manager brought one into the bar, and we spent a week dehydrating almost every fruit we could get our hands on.
This budget device (no need to splurge on anything too fancy) can be a game-changer. By dehydrating thin slices of fruit overnight, you'll end up with stunning garnishes that retained their aroma and, most importantly, have an extraordinary shelf life. A dehydrator will save time by letting you make batches of garnishes in advance, and you'll save money, too, as you'll no longer have to throw out unused fresh fruit.
Additionally, you can use a dehydrator to make flavored salts and sugars. Simply dehydrate a shallow dish of your favorite liqueur until it crystalizes, then grind it up with salt or sugar to make a deliciously unique powder for rimming cocktail glasses.
Try the Mr. Potato Head technique
Despite the unusual name, the Mr Potato Head technique is a method for creating novel drinks that's employed at every level of cocktail-making. It takes its name from the classic children's toy known for its replaceable parts.
The technique is remarkably simple, as well. Start with an existing cocktail template, remove an ingredient, and replace it with another. In some instances, you may want to replace an ingredient with something similar so it doesn't completely change the profile of the drink, but provides just enough difference to add an interesting new dimension.
It's also possible to swap out an ingredient for something that doesn't remotely resemble the one it's replacing, but the key, as always, is balance. For example, if you're taking out a sweet component, you'll need to make sure you're swapping in something that also contributes a saccharine quality, or alter another ingredient to compensate for that loss.
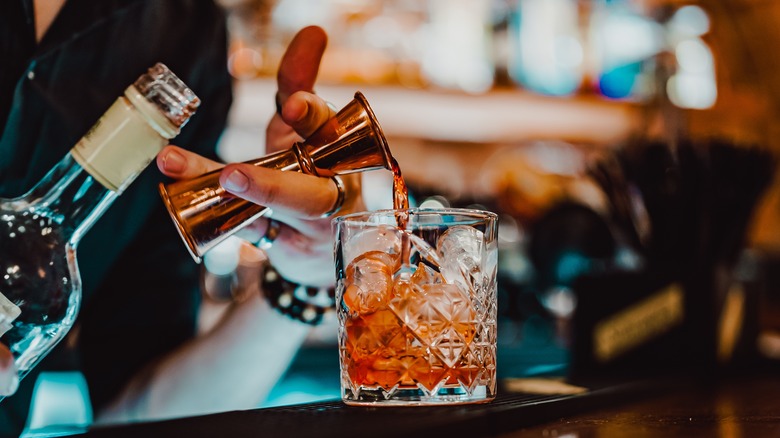
Split the base

The base of a cocktail is its core component –- typically, the dominant spirit like whiskey, gin, or rum. Since the base tends to form the backbone of a cocktail, altering it can make a nuanced yet notable difference in how a drink tastes.
Let's say you've got a cocktail that calls for 1 ounce of white rum as its base. We can replace half of that measure with an aged rum to add a deeper flavor that's perhaps more oak-forward or has a richer sweetness. You can also replace part of a blended scotch measure with a peaty scotch to add a touch of smoke, or pair a sweeter whiskey like bourbon or rye with a fruit-forward brandy.
You can also split liqueurs like vermouth by using both sweet and dry variants to adjust a drink's overall profile. It's a technique that calls for a little trial-and-error, but it's an unbeatable way to put interesting twists on cocktails without having to craft a new recipe from scratch.
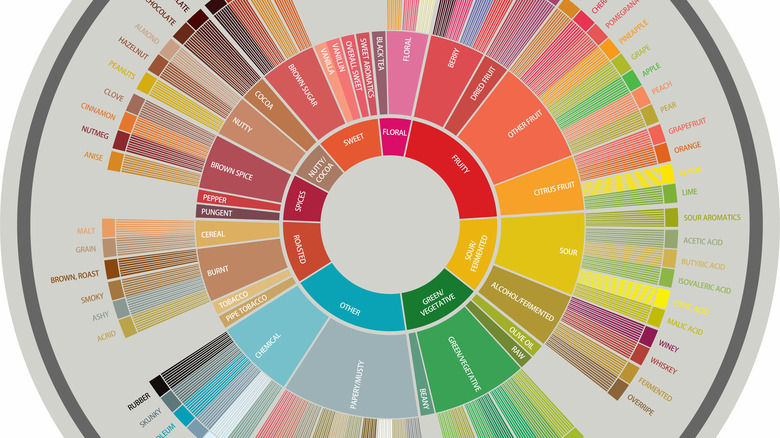
Use a flavor wheel for inspiration
With practice and experience, a bartender — like a chef — will become intimately familiar with the nature of their ingredients and how they interplay with one another. Relying solely on experimentation is both costly and time-consuming, though, so don't be afraid to use a cheat sheet.
Flavor wheels, of which there are plenty to be found online, are essentially just visual aids that break down flavor aspects into segments, such as spicy, woody, earthy, herbal, floral, and fruity. These sections are then broken down further; for example, fruity might then be split into berry, citrus, tropical, drupe, and pome.
These charts can vary in complexity, but cocktail-specific flavor wheels will list common cocktail ingredients under each category. Flavor wheels are the perfect tool for identifying specific ingredients that will imbue your recipe with a desired characteristic, and they're great for highlighting ingredients that you may not have considered. Over time, you can mark it with notes and additions, or even create your own from scratch.