

12 Rules Professional Bakers Think Home Bakers Should Know
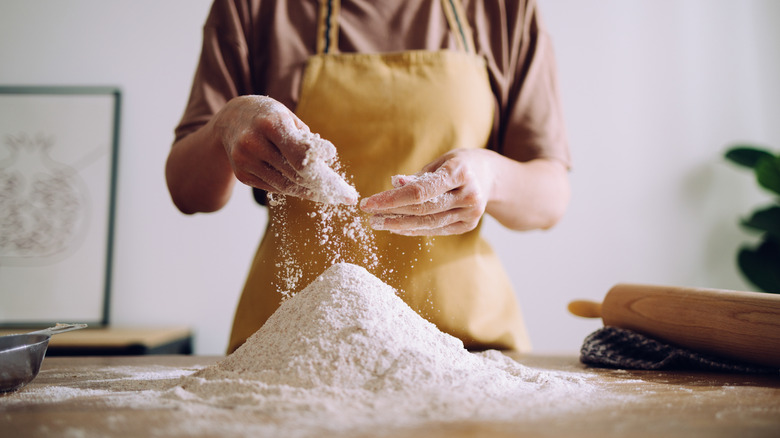
For many of us, baking is a soothing, cozy activity that helps ease the stress of everyday life. But every home baker has been reminded at some point that baking is a science, and you ignore instructions at your peril. Substitute sugar with honey, and you might discover that the texture and density of the crumb are lacking. Bake your signature cake in an unfamiliar oven, and you will probably find that it's burnt before the timer goes off. You could even learn the hard way that letting certain unmixed ingredients sit can lead to an unwanted chemical reaction.
None of these outcomes are conducive to a calming baking experience, especially when you're making something for a special occasion. No matter how creative you like to be in the kitchen, learning some of the basic rules that pastry chefs acquire in culinary school can be a game-changer. In the words of Isaac Bernal, Executive Chef of the Representation of Spain to the United Nations, "Pastry involves a lot of chemistry, but that doesn't mean it has to be complicated. Once you understand what each ingredient is doing... you stop simply following instructions. That's when you begin controlling the result." We spoke with five professional bakers to learn some ironclad rules they follow to get perfect bakes every time. Once you incorporate them into your kitchen habits, you'll have the confidence to dive into more challenging and creative recipes.
1. Store your ingredients properly
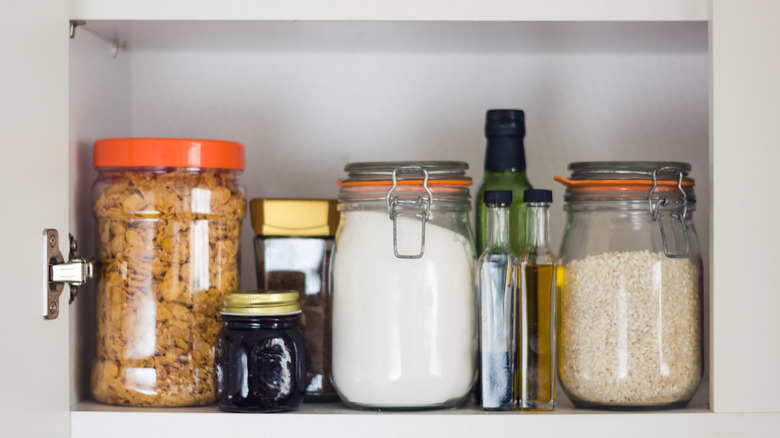
You can start upgrading your baked goods before you even read a recipe by storing the ingredients properly. Although it's convenient to keep staple ingredients in the most readily available place, doing so is often at odds with keeping them fresh. For example, storing spices near your stove makes them easy to access while you're cooking, but the heat and humidity in that part of your kitchen will make them degrade much more quickly than if you store them in a cool, dry place out of direct light.
According to Joan MacIsaac, chef and co-owner of Effie's Homemade Biscuits, there are several storage rules that most bakeries follow. First, nuts should be kept in sealed containers in the freezer and thawed before being incorporated into recipes. Dry ingredients should also be kept in sealed containers to keep bugs out, which is a hazard in even the cleanest of kitchens. MacIsaac also recommended storing chocolate in sealed containers and keeping it in a cool, dark place.
2. Always weigh your ingredients
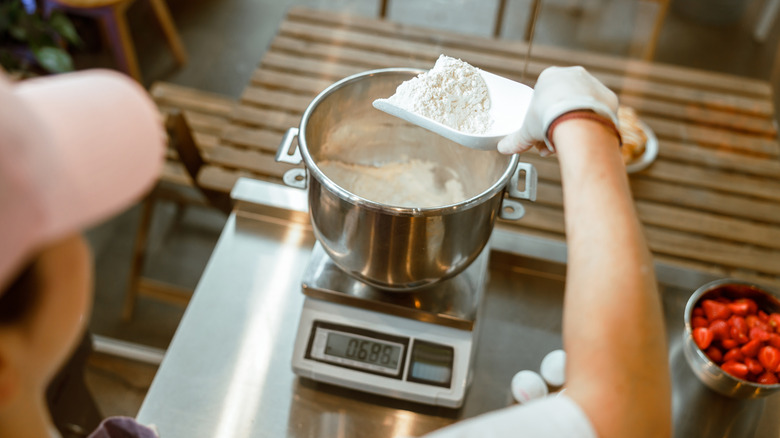
The most consistent rule we heard from the chefs we spoke to was about measuring ingredients. Unlike in Europe, where weight is used, the vast majority of American recipes call for volume measurements (usually in the form of cups and teaspoons). It's familiar to many of us, but according to the chefs we spoke to, it can lead to highly inconsistent results. "A cup of flour can contain very different amounts depending on how you fill that cup," Isaac Bernal explained, "But 120 grams is always 120 grams."
Caroline Corrente, the founder of Haymaker Bun Co. and a classically trained pastry chef who studied at Le Cordon Bleu, agreed with the importance of weighing all your ingredients but noted that flour is particularly fussy when measured by volume. "If you're only going to weigh one ingredient," she said, "Make it flour."
Measuring with cups and teaspoons is hardwired into the brains of many home bakers in America, and the thought of converting everything into grams can make math-phobes downright anxious. But once you learn the conversions of a small handful of measurements every home chef should know, you'll hardly have to stop to think about it. Plus, many of the best kitchen scales cost less than $15, which makes it one of the most economical kitchen upgrades that money can buy.
3. Make sure your ingredients are the right temperature
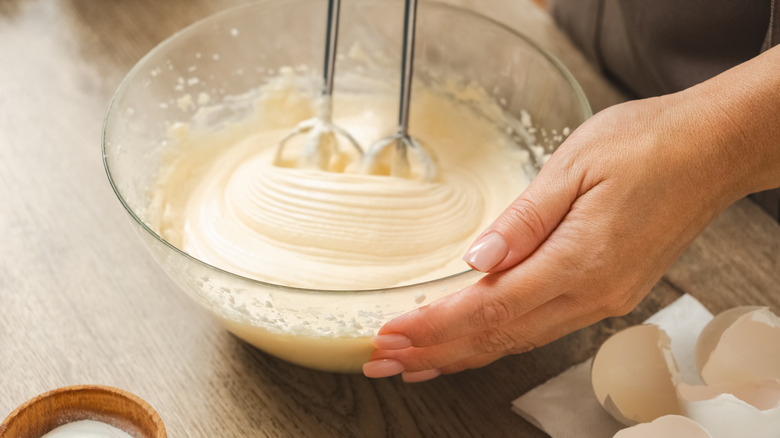
Temperature is a crucial part of any recipe when it comes to baking and cooking, but it's also important when you're getting your ingredients together. As Isaac Bernal put it, "People think ingredients are only the things they put into the bowl. Temperature is an ingredient too." In other words, if a recipe calls for room temperature butter, make sure it's not rock solid or melted. If it calls for room temperature eggs, put them out on the counter an hour before you start mixing your ingredients to make sure they aren't cold. Room temperature ingredients mix more readily, leaving you with a smooth batter that doesn't require you to overmix it in order to become cohesive.
If you're wondering what "room temperature" means, you'll be glad to know that it isn't as subjective as other steps in the baking process — it's 70 degrees Fahrenheit, a nice round number that's easy to remember. If you're in a hurry and need to get your ingredients to that magical 70-degree mark, Lisa Ruland, pastry chef and founder of the recipe website Unpeeled Journal, has some tips. For butter, skip the microwave, chop it into small pieces, and distribute them on a plate. As for eggs, they will reach room temperature in a matter of minutes if you submerge them in warm water.
4. Add spices to liquid ingredients, not dry
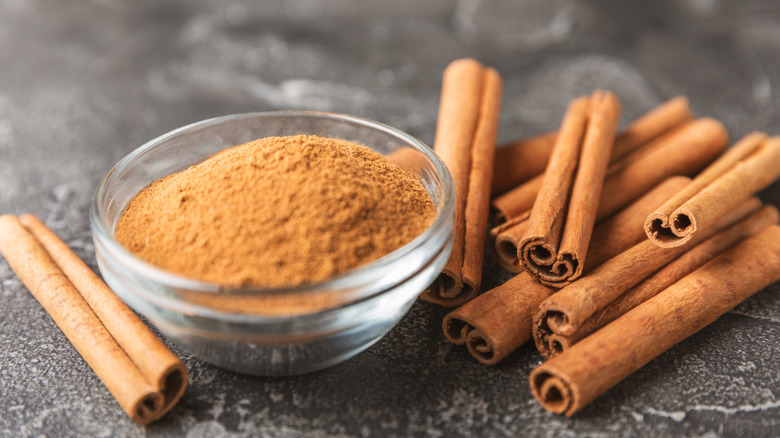
One of the conventions in baking recipes that you probably haven't questioned is the stipulation to add the spices to the dry ingredients instead of the wet ones. On one level, it makes sense. Dried spices are a similar texture to flour and baking powder, so they are easily incorporated. But as Lisa Ruland told us, there's a reason to think again about this common practice. "One of my [Culinary Institute of America] pastry instructors once told me to add them with the liquids (eggs, fat, sugar)," she revealed, explaining that doing so lets the spices "bloom and become more aromatic."
Luckily, this is a pretty straightforward change if you've been adding them to your dry ingredients until now. You'll need to make sure they don't clump together, but you can avoid that by sifting them into the wet ingredients first and letting them disperse into the mixture as they become saturated.
5. Avoid table salt
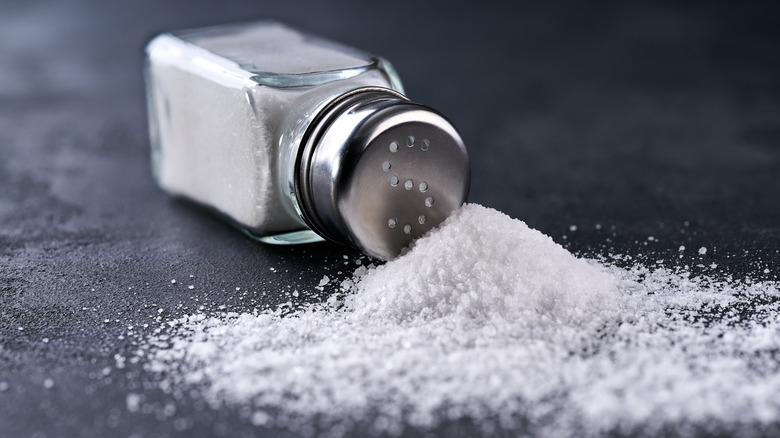
One of the ingredients that you probably don't think twice about when you're reading a recipe is the salt. You might be vaguely aware that salt is a surprisingly crucial ingredient in making bread or that it adds a heavenly flavor contrast to chocolate desserts, but the type of salt you use hardly seems relevant. But according to Lisa Rusland, that is simply not the case. "Virtually every professional pastry kitchen in America uses Diamond Crystal kosher salt, never table salt," she revealed. "Consequently, recipes you see will use a salt quantity based on Diamond Crystal's salinity." She was quick to stipulate that she has no affiliation with kosher salt that would make her a biased messenger.
It's not about quality or flavor, exactly, but about uniformity. If a recipe calls for a half teaspoon of kosher salt and you use a half teaspoon of table salt, you could end up with double the amount of sodium despite using the exact same volume measurement. Because sodium content varies so greatly between products, it's best to have kosher salt (if not the precise Diamond Crystal product) on hand for baking. That way, you'll be on the same page as the recipe writers and be more likely to achieve the expected results.
6. Be careful when adding ingredients to eggs
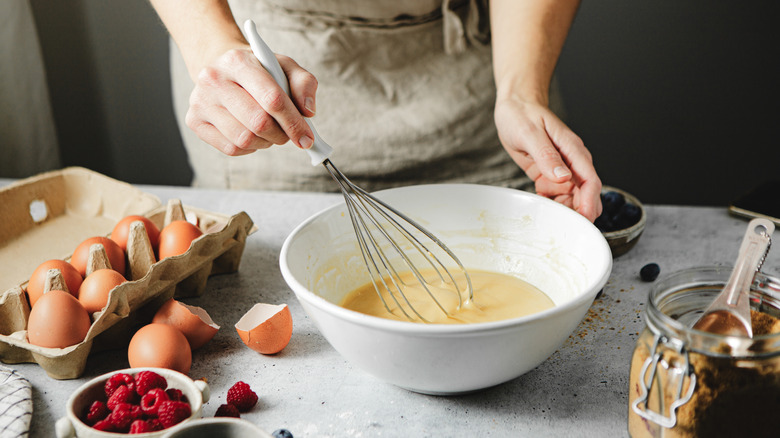
There are so many factors that you need to keep in mind when baking, from the type of salt you're using to the temperature of the ingredients. One thing you should add to the list is when and how you mix the ingredients, because according to Caroline Corrente, eggs can be very temperamental. "Don't add sugar, extracts, alcohol, or acidic ingredients directly to eggs and then let the mixture sit," she advised. "These ingredients can begin changing the proteins in the eggs, which can create an undesirable texture."
The best option is to wait to combine these ingredients until you are ready to mix them and continue the recipe to avoid compromising the end result. Timing is a key component in baking, and although proofing time, chilling time, and time in the oven are usually prescribed in recipes, the time between adding ingredients is also a factor in the final result.
7. Avoid salted butter
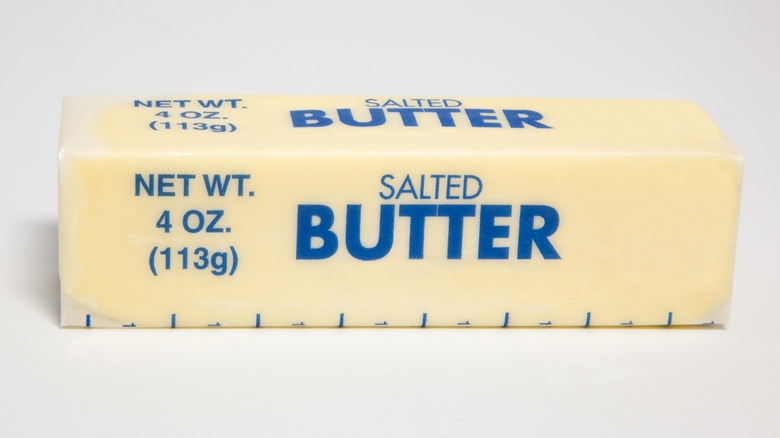
If you've ever started gathering ingredients for a recipe and discovered that you only had salted butter rather than unsalted butter, chances are, your response was to mentally shrug your shoulders and assume it wouldn't make a noticeable difference. If the recipe calls for a quarter teaspoon of salt anyway, you can always just reduce it to compensate for the salt in the butter. No one would know the difference. According to Jessica Mode, the culinary instructor and pastry chef behind the food website Homebody Eats, however, it's worth avoiding salted butter at all costs.
"The salt content of salted butter is not regulated or standardized," she explained, "Meaning every brand varies in how salty it is." Just as table salt can add an unwanted amount of sodium to baked goods compared with lower-sodium kosher salt, the amount of salt in salted butter can throw off not just the taste of a recipe but the chemistry of it. This humble ingredient helps form the structure and texture of dough, promotes the browning process, and helps to regulate the fermentation of yeasted dough. There's a reason recipes specify how much of it to use, and the only way you'll know that you're following the directions is if you're controlling how much you add.
8. Don't rush resting time
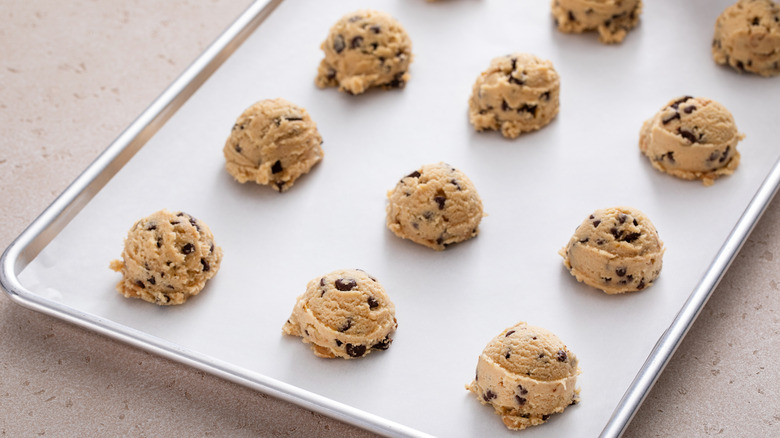
There is nothing more frustrating for a home baker than to get halfway through a recipe that you're planning to serve in under an hour, only to discover that you have to rest the dough. Some cookie recipes even insist on a full 24 hours of chilling time, while other chocolate chip cookie aficionados swear by letting the dough refrigerate for more than a week. Though that might be an exception rather than a rule, it is true that many baking recipes require you to leave the dough to rest before continuing with the instructions, and according to Isaac Bernal, you should absolutely follow that guidance. "People see 'rest for 30 minutes' or 'rest for one hour' and sometimes think that's the part of the recipe they can eliminate when they're in a hurry," he said. "Many times, you can't. That time may be allowing the flour to hydrate, the gluten to relax, the fat to become cold again, or fermentation and flavor to develop."
Like it or not, that unattended time is transformative, even when the dough isn't noticeably changing. It's one of the reasons why reading the recipe from beginning to end before starting is crucial. If you don't have time for resting the dough, it's better to pick a different recipe than skip this step.
9. Don't rely on the recipe for baking time
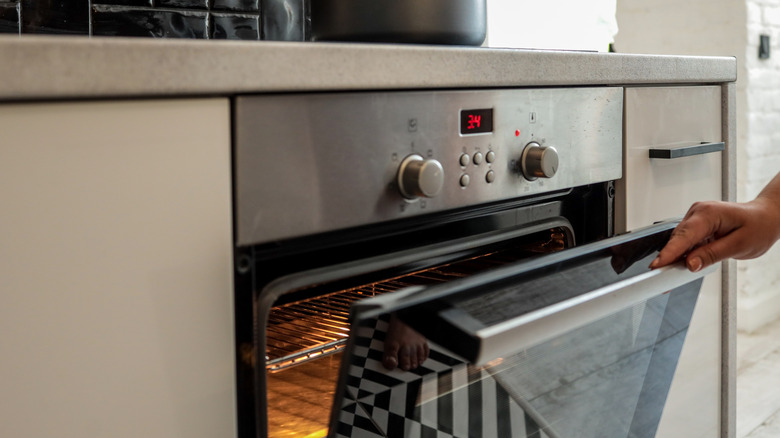
You'd be pretty confused if you opened a cookbook of bread or pastry recipes and found that the author didn't bother to tell you how long to bake anything. But according to the chefs we spoke to, these timings, while not completely useless, are by no means a one-size-fits-all situation. "Always bake by visual and physical cues, not by a time listed in a recipe," said Jessica Mode, adding, "Factors in baking can vary depending on your ingredients, equipment, and environment."
Isaac Bernal agreed, noting that you should let your senses guide you. When assessing whether your baked goods are done, you should be paying attention to their color, texture, aroma, and sometimes even their internal temperature. Use the timer as a guide, but make sure to check the oven before the timer goes off to see how quickly the process is progressing. This is one area of baking that is not an exact science, which will either come as a relief or a headache, depending on your feelings about rules and predictability.
10. Use light-colored pans
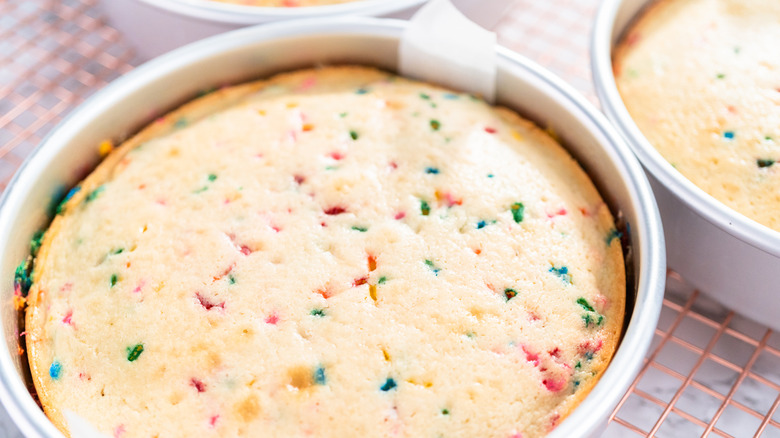
Another unexpected factor that can change how your breads and pastries bake is the color of the pans. This might sound far-fetched, but consider how, on a hot summer day, the black asphalt of a road absorbs and holds on to heat. The same principle is true with pans in a hot oven. Baking food in dark pans can lead to dry, overcooked results by the time your timer goes off. It's yet another reason to use your senses rather than a clock to determine how long you let your items bake, but it's also worth swapping out your pans just to be safe. Opting for ones that are lighter in color can have a significant impact on the texture of your breads and pastries by distributing the heat more evenly and avoiding a dark, crispy, and potentially burnt crust.
You don't have to get rid of your dark pans altogether, though. While lighter ones tend to be better for baking breads and pastries, they can help achieve the desired texture on other foods. If you want your roast veggies to be nice and crispy and brown on the edges, for example, a dark pan can help you achieve it. You may even prefer to use darker pans for cookies when you want them to be brown and crunchy. However, you may want to lower the temperature by about 20 degrees to avoid burning.
11. Use an oven thermometer
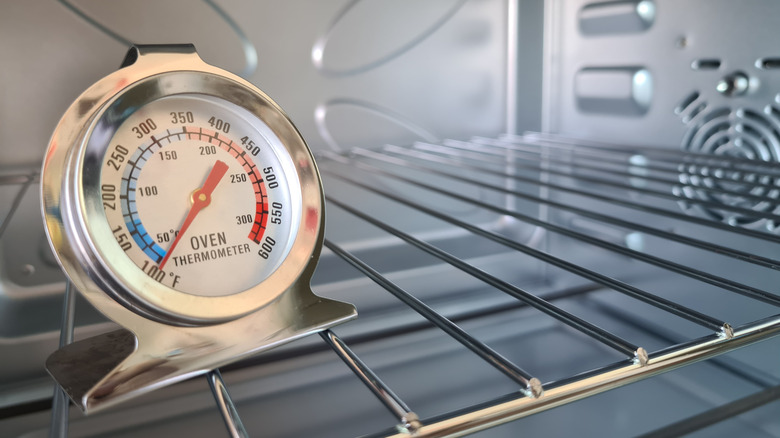
You'd think that temperature would be standardized, but when it comes to baking, no two ovens are the same. Luckily, there's a simple (and affordable) solution. "If your baked goods aren't turning out correctly (they easily burn or come out undercooked), get an oven thermometer," Jessica Mode advised. "Even a 5 degree difference in temperature can change the outcome of your baked goods, especially with delicate desserts like macarons." She even recommended replacing your thermometer every year to make sure the temperature is accurate.
It's worth keeping in mind that temperature doesn't just vary from oven to oven; it also varies within the same oven. As Isaac Bernal explained, ovens have hot spots and temperature cycles. You can't do much about it, but knowing where your oven's hot spots are can help you pick where to place your items to make sure they bake evenly. As a general rule, the best spot to position your racks is in the middle, which is also where Mode suggested putting your oven thermometer.
12. Only fill your piping bag halfway
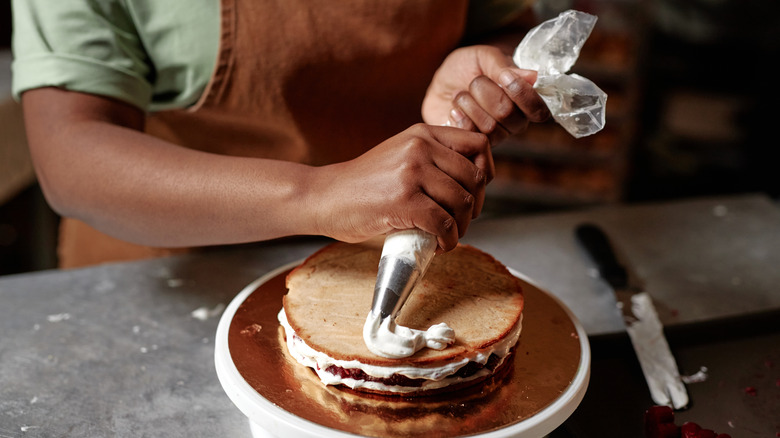
Even if you've mastered the baking process, you might spend years struggling to master the art of decoration. If you're a process-oriented person, you may love all the steps required to ice a cake, from the temperature of the ingredients to the all-important crumb coat to smoothing the sides at the end to give the finished product a professional look. But for many of us, the learning stops at the piping bag and all its complications. Luckily, Lisa Rusland has a rule that makes this finicky process easier: "Only fill the bag about halfway full to allow room for your hand to squeeze," she said.
You may have learned the hard way that overfilling the bag means that you'll be pressing on the icing the moment you try to hold it, which makes the mixture spill out prematurely. Filling the bag halfway gives you greater control even before you start piping, which sets you off on the right foot. Another rule that Rusland swears by is hovering the tip of the bag an inch over the dessert. Any closer and you are likely to produce shaky lines.