

How To Build A Better Crust On Cast Iron Chicken
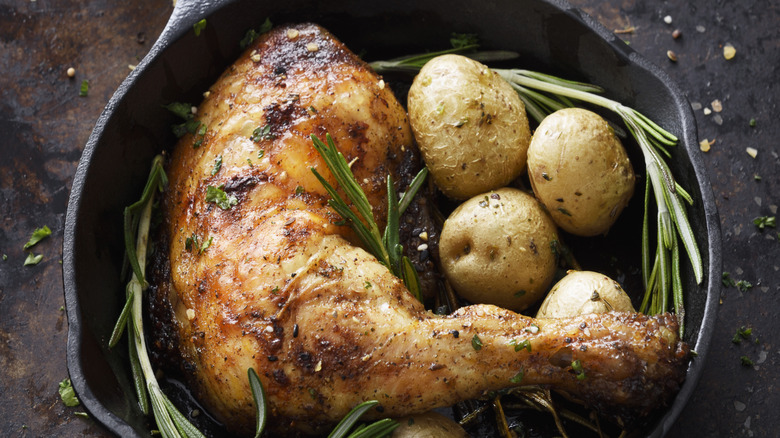
Really crispy cast-iron chicken is a strategic game of moving moisture around. You want to draw water out of the skin so it will brown but help the meat hold onto water so it cooks up tender and flavorful. The trick is creating conditions for both, and that starts before the chicken even hits the skillet.
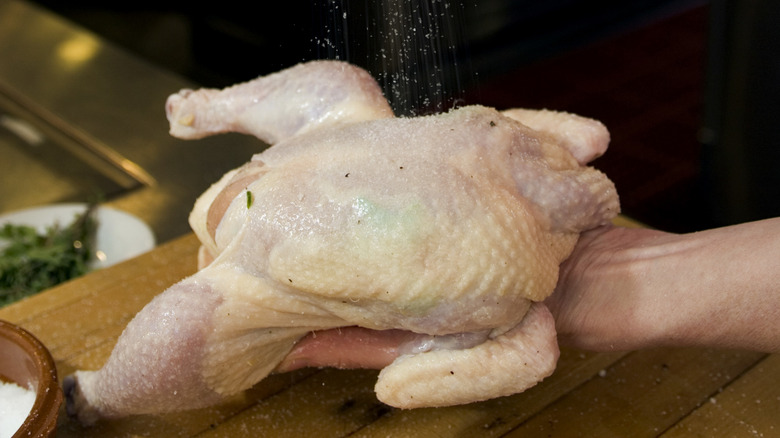
The first ingredients are salt and time. Season the chicken generously, at least a day ahead if you can, getting under the skin with the salt as much as you're willing to — nitrile gloves can help if you don't like the feel of raw chicken. Salt, through the magic of osmosis, initially draws moisture to the surface where it dissolves into a concentrated brine that is eventually reabsorbed back into the meat. Given enough time, salt can penetrate deeper and change the structure of proteins, which helps the chicken retain moisture during cooking. You can keep the chicken in a plastic bag while it marinates. Then if you have time, take it out and let it sit on a plate for a few hours in the fridge — the dry air will help slightly dehydrate the exterior. If you don't have time for that, you can give the skin a thorough pat with paper towels right before cooking.
Cooking the whole bird
To roast chicken for maximum crispiness, get your oven fairly hot, about 425 degrees Fahrenheit. Put your lightly oiled cast-iron skillet in the oven to preheat it. Cast iron can absorb and retain a considerable amount of heat, which is exactly how you want it when it meets the cold chicken. The initial contact with hot metal drives off any remaining surface moisture, prevents sticking, and gets browning underway through the Maillard reaction. After the bird is in, leave it alone, so the skin has uninterrupted contact with the pan long enough for the sear to fully develop.
For a whole chicken, place the bird breast-side down in the pan. This maximizes contact between the hot pan and the broadest expanse of skin. The breast is also the leanest part of the chicken and especially prone to drying out. Cooking upside-down lets the rendered fat and juices dripping from the undercarriage and thighs bathe the entire bird, collecting beneath it so the breast roasts in its own rendered fat.
Toward the latter part of cooking, carefully spoon the drippings over the exposed parts of the bird a couple of times. Basting the skin keeps it from getting too dry as it's exposed to the hot, dry air of your oven. You can also use a stick of butter, making for an especially rich, burnished exterior.
Go for the golden exterior and add flavor
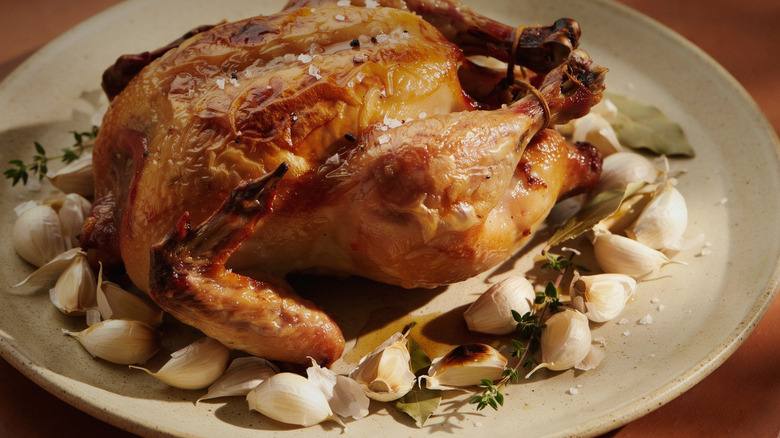
Don't be timid — you're looking for a skin that's deeply caramelized, closer to dulce de leche color than blushing beige. How long it takes depends on the size of your chicken and oven, so use an instant-read thermometer to determine if the meat is done – the USDA states all poultry should be cooked to 165 degrees Fahrenheit. When it's time to lift the bird out, test it gently around the edges first. If the skin is still gripping the cast iron, give it a little longer rather than pulling your carefully built crust off as it leaves the pan. When the skin is properly seared and browned, it should easily release when it's done.
An optional final step involves using white wine in your cooking, adding about a cup or so directly to the skillet in the last five to 10 minutes, letting it mingle with the rendered fat, juices, and browned fond already in the pan. Alcohol in the wine acts as a solvent, intensifying and concentrating flavor into a loose jus as water evaporates and the wine reduces. The breast will be sitting right in it, soaking it up before you carve and serve. It can also be used as a rustic pan sauce, spooned over any vegetables on your plate. You may sacrifice a little crispiness where the skin touches the wine, but it's a delicious trade.