

Clogged Keurig? This Overlooked Cleaning Task Could Be To Blame
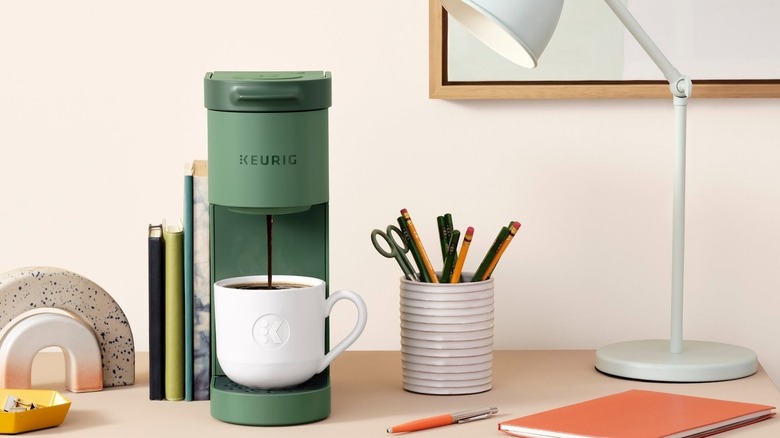
Making coffee with a Keurig might be the quickest brewing method there is. All you have to do is fill up the water reservoir, choose your K-Cup, select the size of your cup, and press the brew button. It's an especially convenient brewing method on busy mornings when you may not have time to make yourself a fancy latte, but it's no fun when you're greeted with a sputtering, clogged machine right before heading to work. If you find this happening to your Keurig, you might be forgetting to clean an essential piece of the machine: the needles.
There are at least two needles in every Keurig machine: the entrance needle and exit needle. The entrance needle is the one that pierces a hole through your K-Cup, while the exit needle is the one that punctures the bottom of the K-Cup to let the coffee run through it. If the space in and around your needles hasn't been cleaned in a while — or ever — you might notice inconsistent brews, coffee grounds in your cup, and general clogging. This happens because it's pretty easy for coffee grounds to get stuck in the crevices around the needles. Luckily, this is one Keurig issue you can resolve quickly using only a paper clip.
How to clean your Keurig's needles
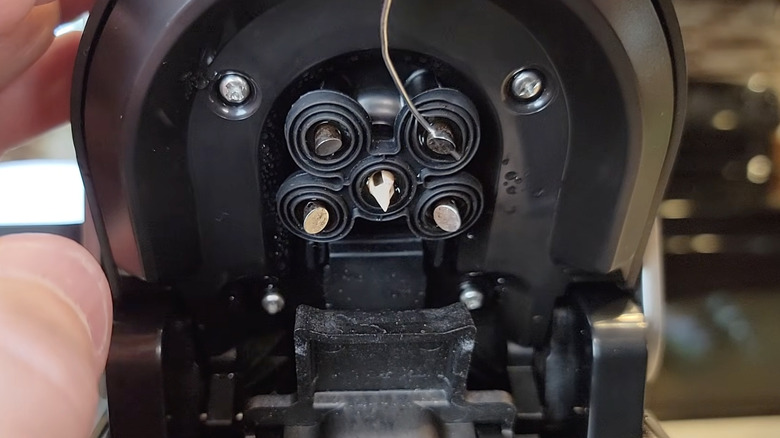
All you need to clean your Keurig needle is a paper clip and water. Before beginning, turn off your Keurig and unplug it. Remember Keurig needles are sharp, so handle each component with care. Straighten one end of your paper clip to create a cleaning tool. Next, remove the K-Cup pod holder and pull the bottom funnel piece off to separate them. Flip the pod holder upside down to find the tube that houses the exit needle. Then, insert your paper clip into the hole, gently wiggling it around to loosen any trapped coffee grounds. Once it's clean, rinse both pieces under running water.
To clean the entrance needle, open the lid of your Keurig. Then, look underneath it to find the needle. Depending on your model, your Keurig might have more than one needle at the top; if this is the case, clean each of them. Using your paper clip tool, clean the hole where the needle is sticking out, using the same technique to loosen debris.
If you still have issues with clogging, it might be time to descale your Keurig. Keurig recommends descaling your machine every three to six months; but if you're not using filtered or spring water — which is the type of water Keurig recommends for both cleaning and brewing — you're more likely to deal with calcium deposit buildup or scale, which can cause your coffee machine to clog or perform poorly. The most effective way to descale your coffee maker is by using citric acid, but vinegar works in a pinch, too. If descaling doesn't work, and your machine still clogs with each brew, that's a telltale sign that it's time to replace your Keurig.