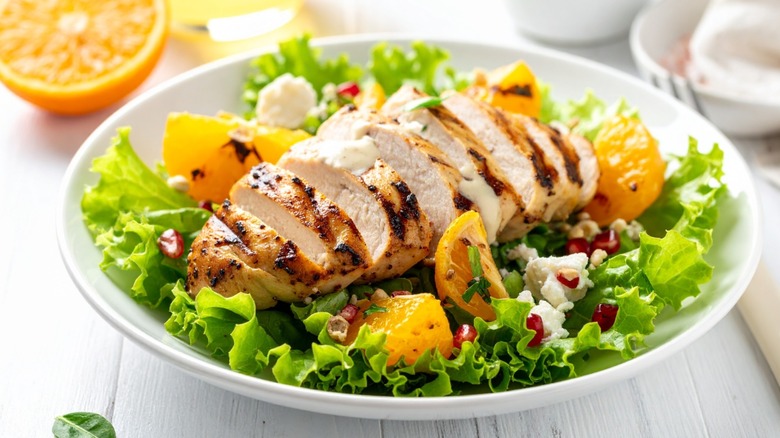
The Grilled Chicken Mistake That Is Costing You A Ton Of Juicy Flavor
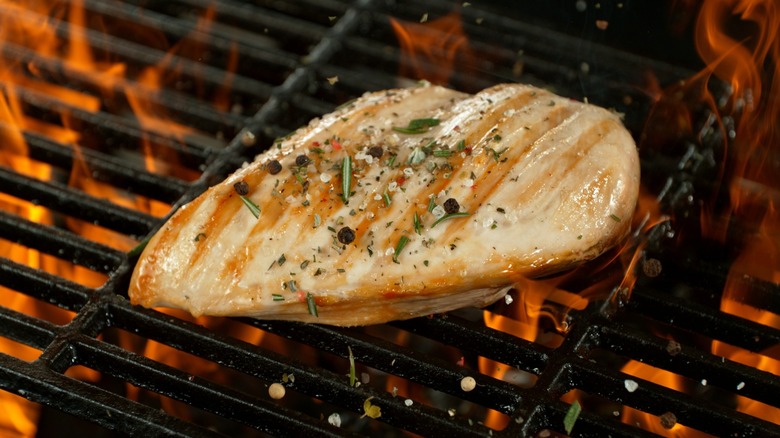
Chicken is never tastier or more mouthwateringly juicy and tender than when it's cooked properly on a grill or grill pan. But the last thing you want, whether you're making a chicken, avocado, and bacon sandwich, a grilled chicken Caesar salad, or a homestyle, backyard barbecue plate, is a dry piece of chicken. And there's one major grilling faux pas that will rob your chicken of those precious juices — pressing down on the chicken.
This is true whether you're grilling your chicken breast on the stovetop on an indoor grill pan, or outdoors on the backyard grill. Pushing down on the chicken with tongs or a spatula is something people often do for a variety of reasons. These can include trying to ensure the breast cooks evenly, a belief that it will cook faster, a bad habit picked up from watching someone else do it, or a fear that if the chicken isn't 100% smooshed against the pan, it might not cook all the way through and you could get sick, after all, chicken is one of the foods where salmonella can be found lurking.
Not only is pressing your chicken unnecessary, the pressure just downright winds up squeezing those succulent juices out of the meat, resulting in the loss of tons of flavor and delivering a tougher, stringier texture because of it. If you're someone who presses down on chicken, and you're nervous about changing your method, there are a few steps you can take to assuage your fears and ensure tender, juicy, flavorful chicken every time.
How to ensure the juiciest grilled chicken
The path to a juicy chicken breast starts before it ever meets the grill pan. First, use a meat tenderizer to pound down the breast before cooking. Specifically, working to even it out, distributing some of the thickness from the heftiest part to match the thinner areas. This will lessens overall cooking time (the longer the chicken stays over direct heat the more juices it loses), gives you that even cooking that people who press down are possibly trying for, and tenderizes the chicken.
You also want to make sure your grill or grill pan is well oiled and at a high heat. You'll want to have the skin-side (whether you're leaving skin on or not) down first (the presentation side) to receive those lovely grill marks. If the chicken breast has been pounded down thin enough, each side should only require about 3-5 minutes of cooking. Only flip once, avoid a bunch of moving, poking, pressing, and other fussing to seal in the juices and avoid releasing them.
Once both sides have a nice outer sear, you can finish them in the oven if necessary, the indirect heat will keep as much moisture inside as possible. If using an actual grill, move it from a side with direct flame to a side with indirect heat for finishing. Avoid overcooking by always adhering to the ideal temperature for perfectly cooked chicken. Lastly, just like with steak, allow the chicken to rest for 5-10 minutes before cutting into it.