Yes, You Can Grow Mushrooms In An Old Plastic Container — Here's How
According to Colorado State University, there are roughly 300 species of mushrooms out there that are safe for human consumption. Between their nutritional and wellness benefits, and the ability to flex as vegetarian steak alternatives or chicken substitutes, fungi fanatics know there are just as many reasons to eat mushrooms as there are edible varieties to try. Yet what's also known is that different types can be pricey. Sure, America's most popular mushroom, the white button, is a commodity crop, but gourmet varieties, like oysters, are a different ballgame. Fortunately, it's not difficult or costly to grow this species — and some others — yourself. You just need a few supplies and some old plastic containers.
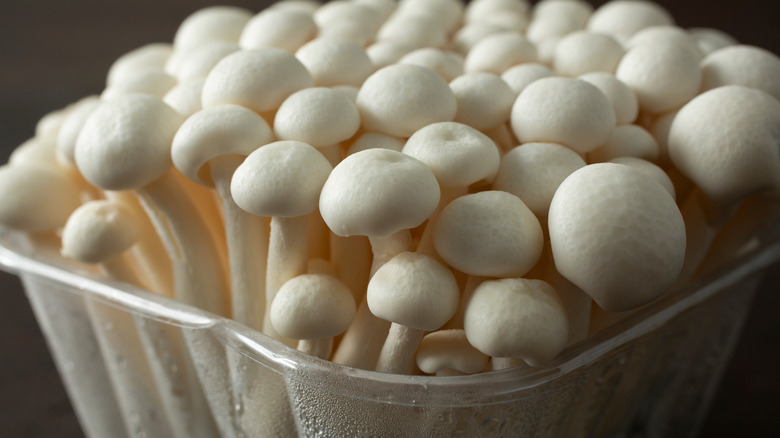
Indoor cultivation of mushrooms requires these basic things: You need spores or spawns, which are roughly equivalent to mushroom "seeds." Then there is the substrate, or the material that your shroomies will feed on and fruit from. Finally, a vessel is required to contain the whole process. For growing mushrooms at home, old plastic fruit containers, yogurt tubs, and salad clamshells are ideal; they're an optimized size for tabletop operations, and they save you from having to commit more waste to a landfill.
As for cultivation, the process will change depending on the type of mushrooms you want to fruit, the leftover containers you have on hand, and the supplies you do (or don't) want to buy. Generally, edible mushrooms require one of two categories of substrate. Fungi like morels, chanterelles, and truffles require living substrates and wild cultivation, while oysters, lion's mane, shiitake, and Agaricus bisporus (cremini and portobello) can grow from dead or dying material within your plastic container. The latter subset will be your best bet for growing at home, especially oysters.
Steps for growing mushrooms
Oyster mushrooms are particularly easy to fruit at home because they are aggressive growers and don't require many resources. In fact, they can even begin fruiting from the discarded stalks of store-bought shrooms if chopped into large bits and mixed with your substrate.
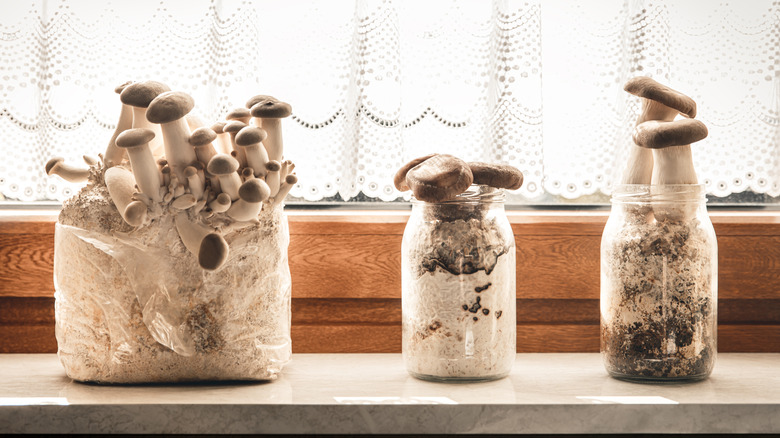
To start, make sure your old plastic container has been sanitized and fully dried. If you're using a yogurt tub or any other plastic container shaped like a bucket or barrel, poke a few pencil-sized holes in the sides at varying intervals. This will give the mycelium (mushroom roots) an outlet to direct the eventual fruit of your labor. If you're using a fruit box or clamshell, place the mushrooms with fruit from the open top.
Following that, you'll need to pasteurize your substrate to eliminate germs and bacteria. For a substrate, you can use wood shavings and straw, spent grains, or sawdust, but leftover cardboard works well, too. Pasteurization can be done via cold soaking your substrate in water with hydrated lime or submerging your substrate in hot water (between 160 and 180 degrees Fahrenheit) for around two hours. Once your substrate is sterile, you'll add it to your plastic container with the spores or spawns. Capping the plastic container with its lid is an important part of facilitating initial colonization.
From there, the game is all about time and attention. While your fungi spores are colonizing, they should remain in a place that is cool and dark, but still humid. In the case of oyster mushrooms, you should begin to notice "pinning" between 10 and 20 days later. When you've reached this stage, your shroom starts will need air to breathe, regular moisture, and a moderate temperature to prevent them from drying out. Maintain those conditions, and you could see a batch of your own shrooms in no time.