10 Tips You Need To Make Better Coffee In Your Moka Pot
We may receive a commission on purchases made from links.
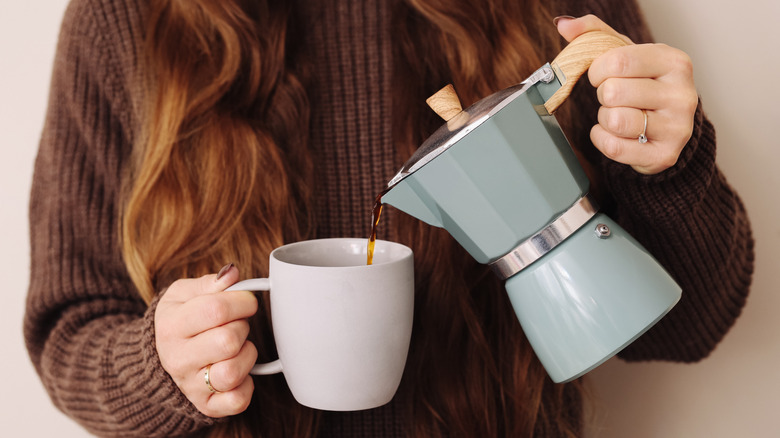
Whether you're brewing your very first cup of moka pot coffee or your thousandth, there's always something new to learn that can help you make better coffee. Moka pots are also known as stovetop espresso makers, and have been allowing coffee lovers to make superior coffee at home — without a fancy machine — since 1933. The perfect cup starts with how you wash your pot and ensuring you use the right water and beans, and ends with what you put in your coffee.
The first time I tasted moka pot coffee was at a friend's house in the early 2000s. As a coffee nerd and a former Gloria Jean's barista, I was instantly hooked by how rich and smooth the flavor was. It made for a far superior cappuccino than my cheap espresso machine, which was taking up valuable counter space. So, I bought a moka pot of my own, and have been making coffee with it ever since. While I've acquired other types of coffee makers since, the moka pot is still my default. I like the ceremony and simplicity, as well as the plain fact that it makes great coffee.
Over the years, I've brewed thousands of cups of moka pot coffee. I've also experimented a lot, and there are many pieces of wisdom I've gleaned along the way. So, if you're ready to discover some new tips for how to use your moka pot to make better coffee, read on.
Wash your moka pot the correct way
Making better coffee in your moka pot starts with a good washing routine. Before you brew in a brand new pot, you're going to want to clean it properly to avoid ending up with a mouthful of coffee that tastes like it was made inside a car engine.
The first step is to clean the inside with water, wiping away any manufacturing residue with a soft cloth or paper towel. Using soap is one of the worst moka pot mistakes you can make, so you should never throw it into a dishwasher or soapy water if you want to continue drinking great-tasting coffee. Next, you'll want to "brew" a pot of water only by filling just the water chamber and leaving the coffee chamber empty. Finally, brew at least three pots using a small amount of coffee, which seasons the pot by infusing the surface with oils.
You should wash your pot after every use with water only, and dry it with a clean cloth. To deep clean the bottom chamber, add two teaspoons of citric acid or vinegar to the water and brew a pot without coffee. You can remove limescale with baking soda, vinegar, or citric acid. The gasket can be cleaned by soaking it in water and wiping it with a soft cloth. You should also periodically wash the valve in the bottom chamber with hot water, moving the piston as you do so to ensure it's functioning properly.
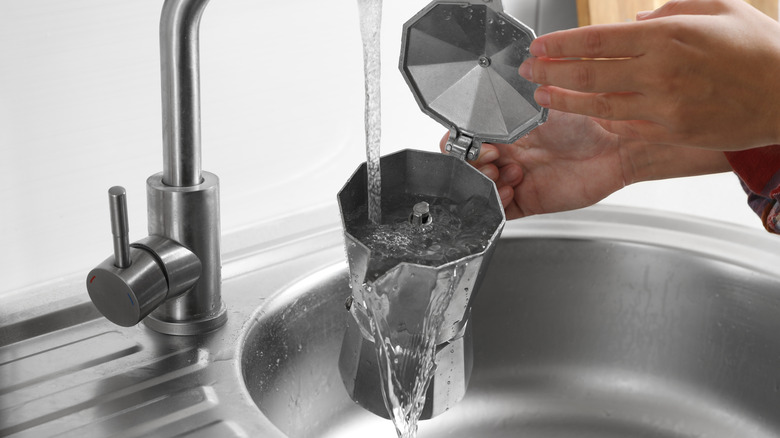
Start with clean, cold water
A tip that's indispensable for making superior coffee in a moka pot is to start with clean, cold water. The obvious reason for starting with the right water is that it's the main component of your coffee; however, it also helps keep your moka pot in good shape.
If you want coffee that tastes great, ideally, you should use filtered water because it contains fewer impurities that might affect the natural taste of the beans. Water hardness can affect your coffee too. Using overly hard water that contains lots of minerals results in bitter, less flavorful coffee, and causes limescale buildup that may damage your moka pot. So, if you have hard water, you may want to use a water softener or brew with bottled water.
Moka pot users' opinions differ on whether it's best to start with hot water or cold water; however, having tried both, I find that using refrigerator-cold water makes for much better-tasting coffee. I'd even go as far as saying that when I brewed with hot water, it resulted in some of the worst coffee I've made. Additionally, I always double-check the external temperature of the water chamber before I put my moka pot on the stovetop to make sure I actually put water in there. I learned the hard way that if you accidentally brew with an empty water chamber, you can end up with a charred gasket that needs replacing and a pot that requires a lot of cleaning before your coffee stops tasting burned.
Use the right roast and grind level for your coffee beans
Experimentation is the key to getting your moka pot coffee to taste right. While there are pre-ground coffee options tailored for specific moka pots, like Illy's Moka Pot Preparation and Bialetti's Perfetto Moka, many people end up buying a grinder and experimenting with different roasts and grind levels to get the perfect flavor.
Moka pots require a coffee grind that's somewhere between a drip coffee maker and an espresso machine, because the rate at which water flows through the grounds sits somewhere in between that of those machines. If your coffee tastes too weak or sour, it's underextracted and requires a finer grind. If it's too bitter, the coffee is overextracted and needs a coarser grind.
When brewing with a moka pot, I prefer medium or medium-dark roast coffee. However, it's possible to adjust your grind to suit other roast levels, making them taste richer or toning down the flavor intensity. For example, if your light-roast coffee isn't tasting strong enough, you can try a finer grind; conversely, if your dark-roast coffee is too strong, you might want to try a coarser grind. Think of it like this — a finer grind means the coffee has more surface area for the water to pass through, making the coffee stronger. Meanwhile, a coarser grind has less surface area, resulting in weaker coffee.
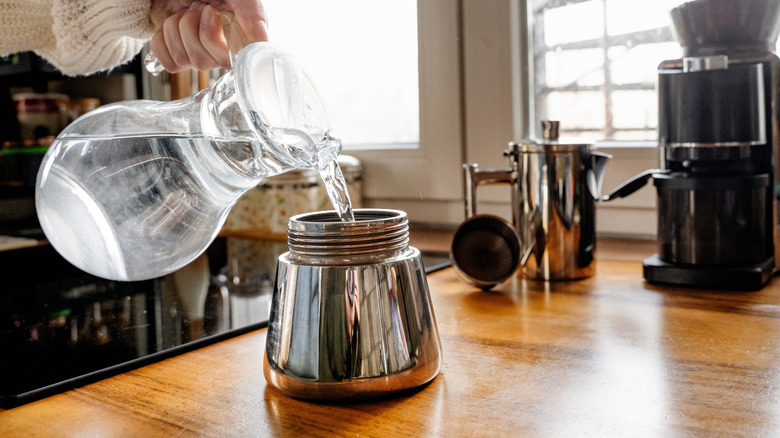
Use the correct amounts of coffee and water
The quantity of coffee you put into your moka pot should correspond to the amount of water you use. Thus, if you're brewing a smaller amount of coffee than your pot holds (or you don't know the exact volume of your pot), measuring out the water first can give you an idea of how much coffee you need to add.
Since I have a small moka pot and use its full capacity every time, I fill the coffee basket nearly to the top. Keep in mind that the water should sit just below the steam valve if you're completely filling the pot, so there's no need to measure the water separately in this case. However, if you've got a larger moka pot and don't plan to use its full capacity, you have to pay more attention to the water-to-coffee ratio. You typically want to aim for one and a half to two tablespoons of coffee grounds for every six ounces of water. Once again, it's an area where you might need to experiment to figure out what best suits your tastes.
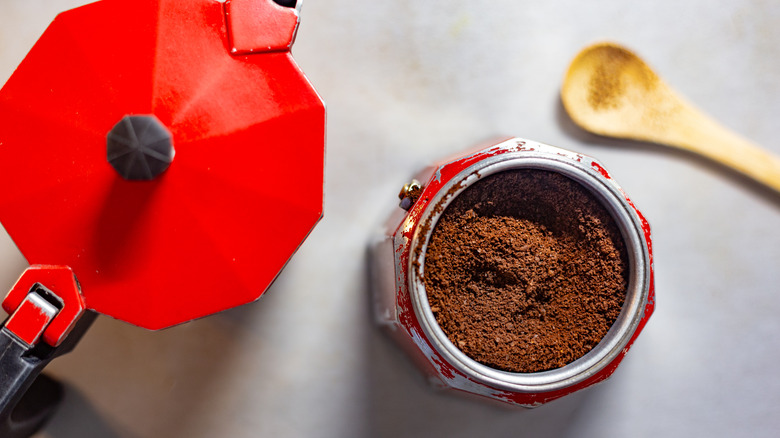
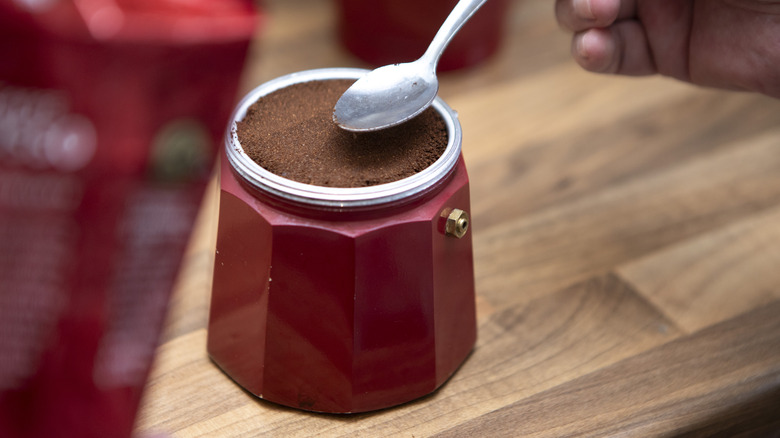
Don't tamp the coffee grounds
If you have experience using an espresso machine, you're going to be tempted to tamp down your coffee grounds – don't. Water doesn't move through a moka pot nearly as quickly as it does in an espresso machine. So, it can't break through a tightly-packed puck of grounds as easily.
I evenly distribute my grounds so there aren't any hills and valleys. You can do it with clean fingers or a utensil like a spoon if you'd like. Just don't press it down and pack it tightly. The problem with having an uneven surface is that when the water boils up through the funnel, it's going to take the path of least resistance. So, if there's a valley or an area that's not tamped as firmly, it will push through that area rather than moving through the grounds evenly, resulting in under-extracted coffee that's less flavorful or sour. Then again, if it's packed too tightly all over, it can end up over-extracted and bitter since the water can't move through the grounds as quickly as it should be able to.
Heat low and slow
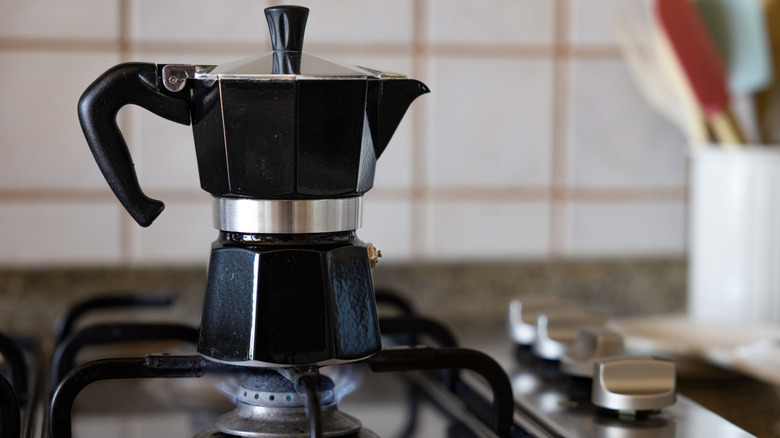
Another moka pot tip worth knowing is to heat the water low and slow. I've used a moka pot with a variety of stovetops, and there's a bit of a learning curve for each type. The key is to find the sweet spot where you can heat the water slowly enough that your coffee doesn't come to a raging, sputtering boil, but quickly enough that you're not waiting ages for your coffee to brew. You'll also want to remember to position the pot handle away from the heating element to prevent it from becoming too hot to touch or getting damaged.
The first time you use your moka pot with a particular stovetop, you may need to experiment a bit. In my experience, gas stovetops are the easiest to use with moka pots. Make sure the flame is low enough to cover the base of the pot, then turn it down slightly to achieve a gentle boil. I've found that electric stovetops can take some trial and error and that using the lowest setting is often a bad idea because the heat stays off more than it's on, so the water rarely boils. I typically go slightly lower than the medium heat setting, but your stovetop may be different. If the coffee spurts, sputters, and gurgles like it's dying, the heat is too high; if the coffee doesn't start to boil, the heat is too low.
Know when to take your moka pot off the heat

If you don't want to end up with over-extracted or burned coffee, it's important to know when to take your moka pot off the burner. The simple approach is to remove it from the heat once the water starts making a gentle bubbling sound, but there are a few ways to ensure you don't miss your cue.
I find it's worth keeping the lid of the moka pot open so you can see and hear what's happening inside. If you can't hear the coffee bubbling, another sign to kill the heat is when the rising coffee stream gets thinner and the coffee turns honey-colored. There are also "singing" moka pots that play a tune when your coffee is ready, like the Bialetti model, which plays the "Stranger Things" theme when it's finished brewing.
It's also worth knowing how long it takes your moka pot to brew in case you need to leave it unattended. I've found that the brew time depends on the stove type and temperature, and that it's affected by altitude. If you time how long it takes to brew, you can set a timer in the future, making it easier to multitask without forgetting about your coffee. As I mentioned earlier, if the moka pot continues to brew once the water reservoir is empty, it can damage the gasket.
Cool the moka pot if you're not ready to pour
Once you take your moka pot off the heat, you'll want to cool it down so the coffee doesn't continue to brew. If you're like me and only brew one cup at a time, this step may not apply to you. However, it's important if you have a larger pot and don't plan on pouring all the coffee immediately. I've experimented with a few different cooling methods, but whichever you prefer, you'll want to avoid moving the moka pot around too much. If the water moves through the spent grounds, it can taint the taste of your coffee.
One method involves placing the moka pot on a cold towel to halt the brewing process. Alternatively, you can place the whole pot in a bowl of cold water. Personally, I find the simplest approach is to unscrew the bottom chamber from the top, using a dish towel to avoid burning my hands on the hot metal. Whichever method you use, the goal is to prevent any more water from bubbling up through the coffee.
Reduce the amount of sediment in your coffee cup

I've found that some moka pots end up with more coffee sediment in the upper chamber during the brewing process than others. If you're having this problem with your pot, there are a couple of strategies to mitigate it.
The first solution is to use a paper filter, and you can find specialized versions that are designed for use with moka pots. It's important to know that, unlike a drip coffee maker, the filter needs to be placed on top of the coffee itself, below the upper chamber and gasket. If you like, you can lightly mist the filter with water to help it stick in place before screwing the upper chamber onto the water reservoir.
However, if you don't have a paper filter, there's another method that can help reduce the amount of sediment that ends up in your cup. Simply pour the coffee very slowly, leaving a little behind in the pot, as those dregs typically contain the most sediment. It's not a foolproof approach, but it should result in a less muddy cup of coffee.
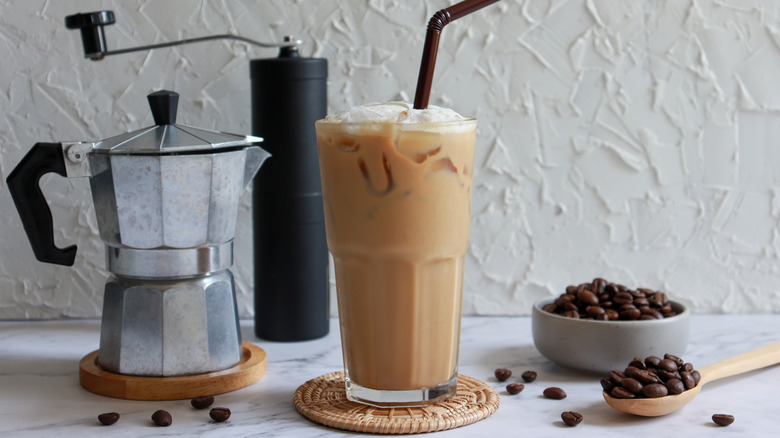
Finish with hot, hand-shaken milk
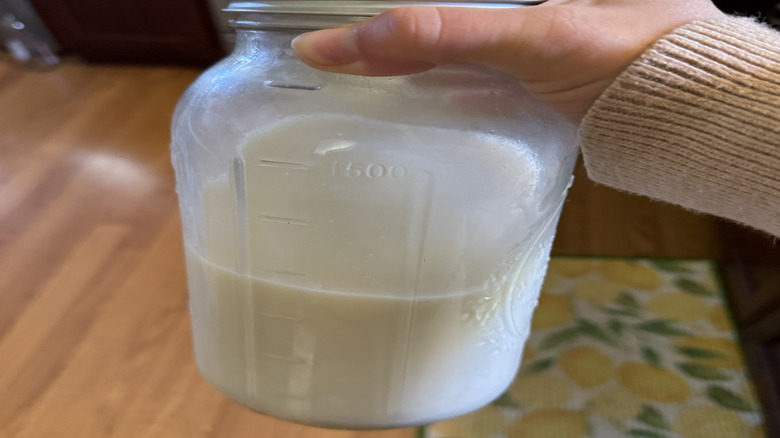
My final tip for completing the ceremony of using a moka pot is to make a simplified cappuccino by topping off your coffee with hot, hand-shaken milk. All you need is a microwave, a Mason jar with a lid, and your milk of choice. Keep in mind that some milks are better for frothing than others — real dairy milk, almond milk, and oat milk made for baristas (like Oatly) tend to create the best froth.
Simply fill the jar with as much milk as required, and any of the sweeteners or flavorings you typically use — I personally like to use brown sugar and vanilla or almond flavorings. Then, screw the lid on tight and shake the jar for about 30 seconds. Finally, remove the lid and heat the jar in the microwave for 60-90 seconds (depending on the power of your appliance). Be sure to keep an eye on the jar, as the froth can rise quickly, and you'll want to turn the microwave off before the milk starts overflowing. When your hot milk is ready, simply pour it over the coffee in your cup, using a spoon to get all the remaining froth out.