You've Probably Been Crimping Pie Crust Wrong, So We Had An Expert Chime In
We may receive a commission on purchases made from links.
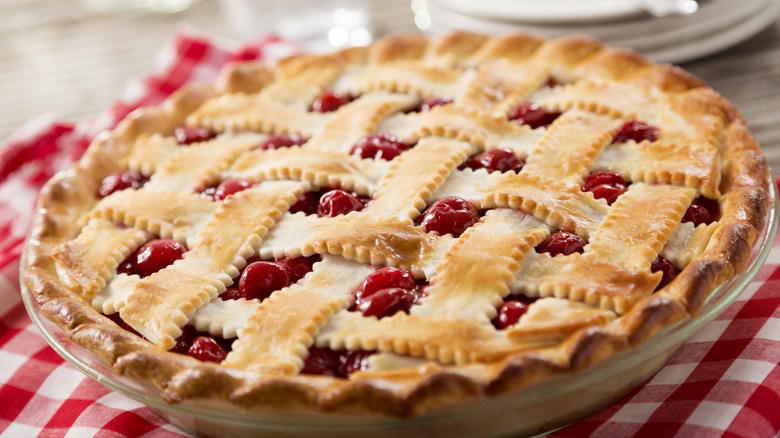
We're all after that picture-perfect homemade pie — flaky, golden-brown, and expertly decorated with those intricate, swooping edges. But if your crusts tend to sag, shrink, or look a little too rustic for your liking, you're far from alone. That ornate, bakery-style design built into your pie crust, otherwise known as crimping, is deceptively tricky to pull off. Most home bakers think of it as purely aesthetic, but as Joy Wilson, the pro baker and cookbook author behind "Joy The Baker," explains, you're likely making some simple mistakes that can ruin an otherwise perfect pie.
According to Wilson, precision starts at the edges. "They burn fast and collapse," she says. Creating even edges when crimping helps ensure a uniform bake. You'll also want a thick enough layer of pie crust on the edges, so it holds up in the oven without getting scorched. To help prevent burns, one easy hack is to cover the edges in aluminum foil or use a dedicated pie crust shield.
Wilson also warns that a delicate touch is crucial for a successful bake. "Warm hands melt the butter, and that kills flake," she says. Not only that, but you must give your crimped pie some time to rest before setting it in the oven. "Crust shrinks if it hasn't had time to firm back up," Wilson says. "Give it at least 30 minutes in the fridge or freezer before baking."
How to properly crimp like a pie-baking professional
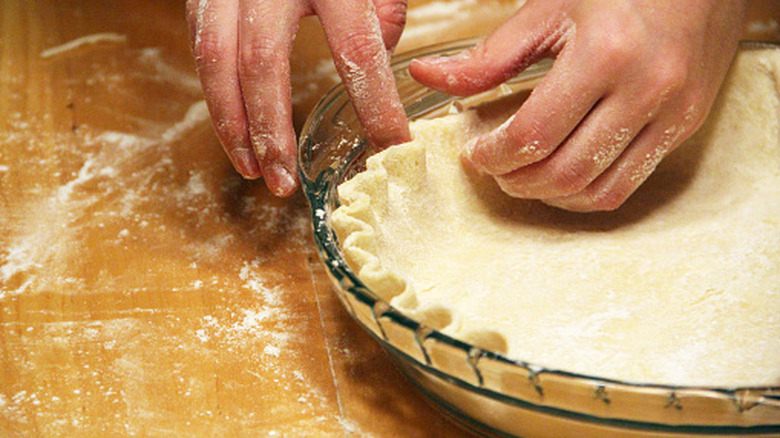
There are countless pie crimping techniques out there, all requiring a wide range of difficulty and precision. As for Wilson, she prefers to keep things simple. "You've got options," she says, "but I'm a classic finger-crimper." It's a tried-and-true, no-frills method that doesn't require any fancy gadgets and gizmos. The process starts right after rolling out your pie crust dough into the pie pan, and you've trimmed away any excess dough. "Roll your crust edge under itself to form a sealed rim," Wilson explains. This gives the crust an even structure and uniform visual appearance, as well as ensuring there's enough dough to hold an even shape after baking.
Next, it's time for that signature, scalloped edge. "Use the knuckle of one finger to push from the inside while pinching around it with your thumb and forefinger from the outside," Wilson says. This creates that Instagram-worthy wavy pattern that adorns the most beautiful pie crusts on the internet, from the classic pumpkin pie to a gooey Dutch apple pie. It might take some practice to create an even finger crimp, but Wilson suggests a simple tip to help smooth out the process. "Work your way around the pie, rotating the dish as needed, she says. Beyond looks, Wilson adds that a properly-crimped dough has a functional purpose. "It looks fancy and helps seal the crust so fillings don't bubble over," she says.